Updated June 30, 2026 · 9 min read
The short answer
The most common bathroom tile mistakes are skipping soft movement joints, ignoring a tile’s slip (DCOF) rating on floors, using the wrong grout type or width, creating lippage by not leveling, and tiling wet zones over the wrong substrate. Avoiding them protects against cracked grout, slips, and water damage in Boise bathrooms.
Key takeaways
- Always include flexible silicone soft joints at changes of plane and perimeters — grout there will crack.
- Floor and shower-pan tile should meet a slip-resistance (DCOF) threshold; polished tile underfoot is a hazard.
- Grout type, width, and sealing must match the tile and the wet environment, not just the look.
- Lippage and sliver cuts come from poor layout planning, not bad tile.
- Material and waterproofing decisions belong to the dedicated guides — this list is about execution.
Why do tile jobs fail even with good tile?
Most bathroom tile that fails does not fail because of the tile. It fails because of how the tile was set: a layout that started in the wrong place, grout that should have been silicone, a polished floor that turns slick when wet, or a shower wall built over the wrong substrate. The product on the wall is often the same porcelain you would have chosen anyway — the difference is in the dozens of small decisions made before and during installation.
This article is a checklist of those execution mistakes. It is not a buying guide and not a waterproofing manual. When the right move is to compare materials or build a proper wet area, we point you to the guide that owns that topic. The goal here is simple: help you spot the red flags in a quote or a finished job, and understand the fix for each one.
How to use this list
Each mistake is a self-contained unit with a clear "do this instead." You do not need to be a tradesperson to use it — you need to know what good looks like so you can ask the right questions before tile goes up.
Mistake 1: Starting the layout in the wrong place?
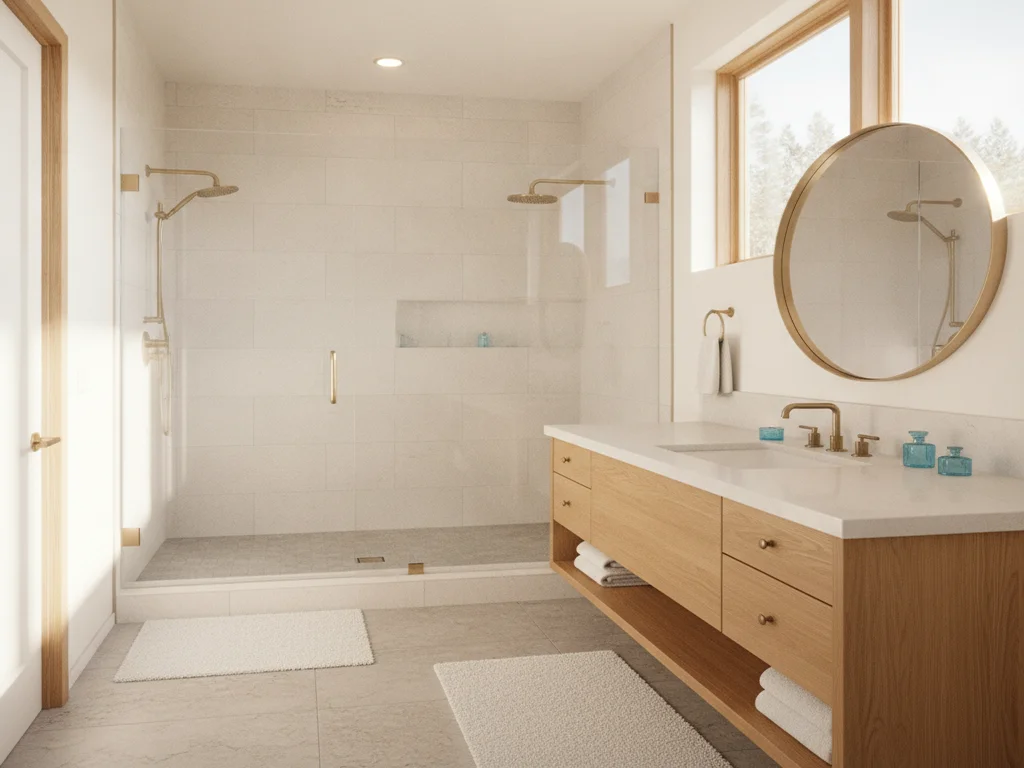
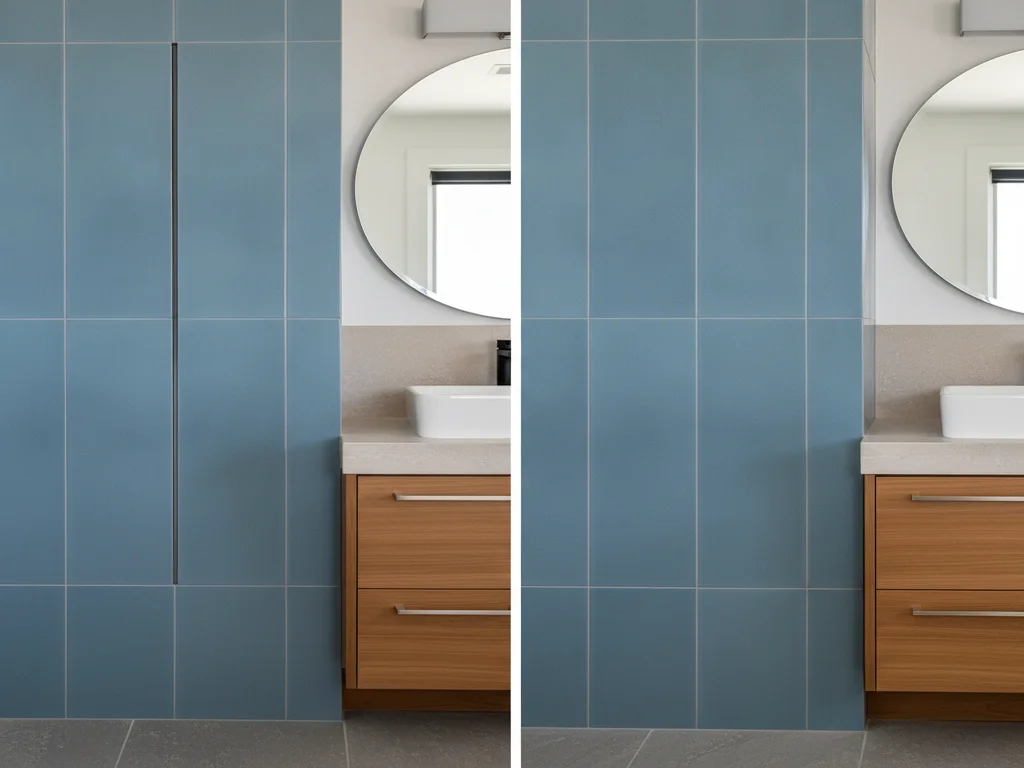
1. A bad layout origin sets the tone for the whole job. If the installer simply starts in a corner and works outward, the cuts land wherever they land — often leaving a thin sliver against the most visible wall. A considered layout dry-lays the field first, centers the pattern on the focal wall or the room’s sightline, and balances the cuts on opposite edges so they look intentional.
Do this instead: agree on the layout origin and focal point before any thinset is mixed. The National Kitchen & Bath Association’s planning guidance treats balanced layout as a fundamentals issue, not a finishing touch. For showers and feature walls, our team handles this as part of expert tile and stonework installation.
Mistake 2: Leaving thin sliver cuts at walls and corners?
2. Sliver cuts — a one-inch ribbon of tile jammed against a wall or at an inside corner — are the tell-tale sign of an unplanned layout. They look like an afterthought, they crack and pop loose more easily, and they draw the eye straight to the weakest part of the job. Good layout plans full or near-full tiles at the focal points and pushes the smaller cuts to the least visible edges.
Mistake 3: Skipping leveling clips and creating lippage?
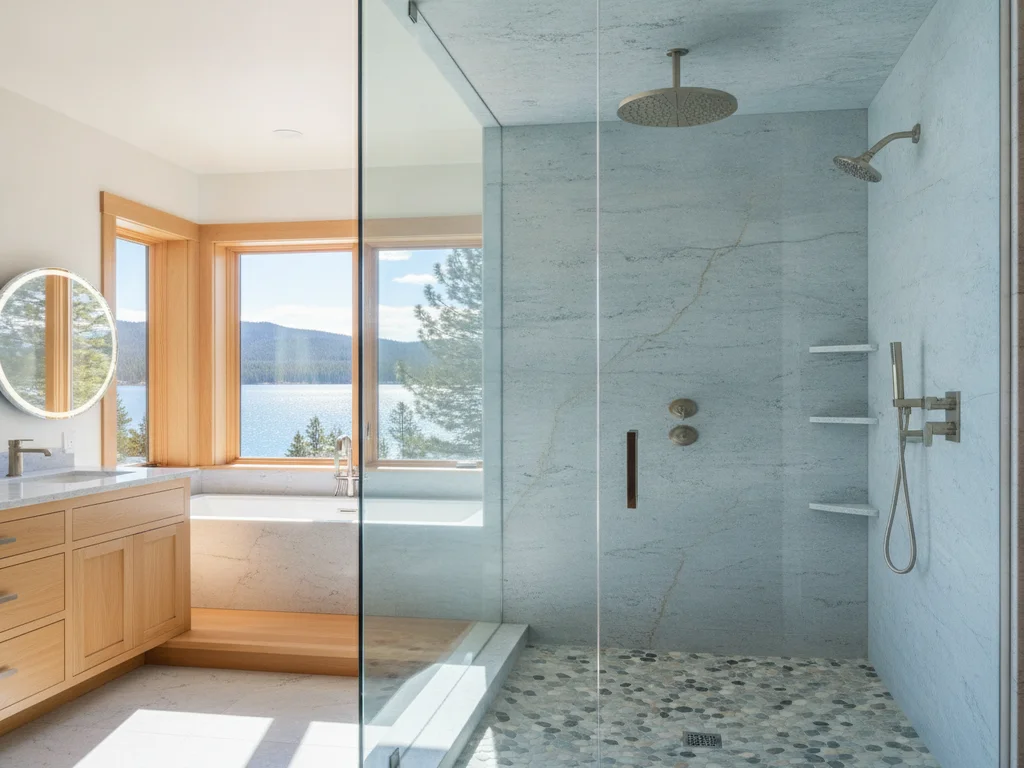
3. Lippage is when one tile sits higher than its neighbor, so you can feel and see the ridge between them. It is most obvious with large-format tile and under raking light. Leveling clips (lippage-control systems) hold adjacent tiles flush while the thinset cures, and proper back-buttering fills voids that let tiles settle unevenly. Skipping them to save time is one of the most common — and most visible — tile mistakes.
Mistake 4: Misaligning floor and wall grout lines?
4. Misaligned grout lines between the floor and the wall, or between two planes that meet, break the visual rhythm of a room. When the joints run continuously where the eye expects them to, a bathroom reads as custom and calm; when they jump, it reads as careless. This is a layout decision made on paper, before the first tile is cut.
Mistake 5: Using the wrong grout type or width?
5. The wrong grout — or the wrong joint width for it — causes cracking, pinholing, and a finish that never looks right. The traditional rule is that sanded grout suits wider joints and unsanded suits very narrow ones, though many modern high-performance grouts are rated across a range; always follow the grout manufacturer’s width spec for the product you choose. Joint width also matters for rectified large-format tile, which is designed for tight, consistent lines.
Mistake 6: Not sealing cement grout (or choosing a stain-prone color)?
6. Unsealed cement grout absorbs water and stains, and in a hard-water area it shows mineral residue fast. Much of the Treasure Valley has moderately hard to hard water — roughly 6–15 grains per gallon depending on neighborhood — so a pale grout in a heavy-use shower can look dingy within a season. Either seal cement grout on schedule, choose a mid-tone color that hides residue, or specify a high-performance grout that does not need sealing. For the materials behind these looks, see which shower wall material fits your bathroom.
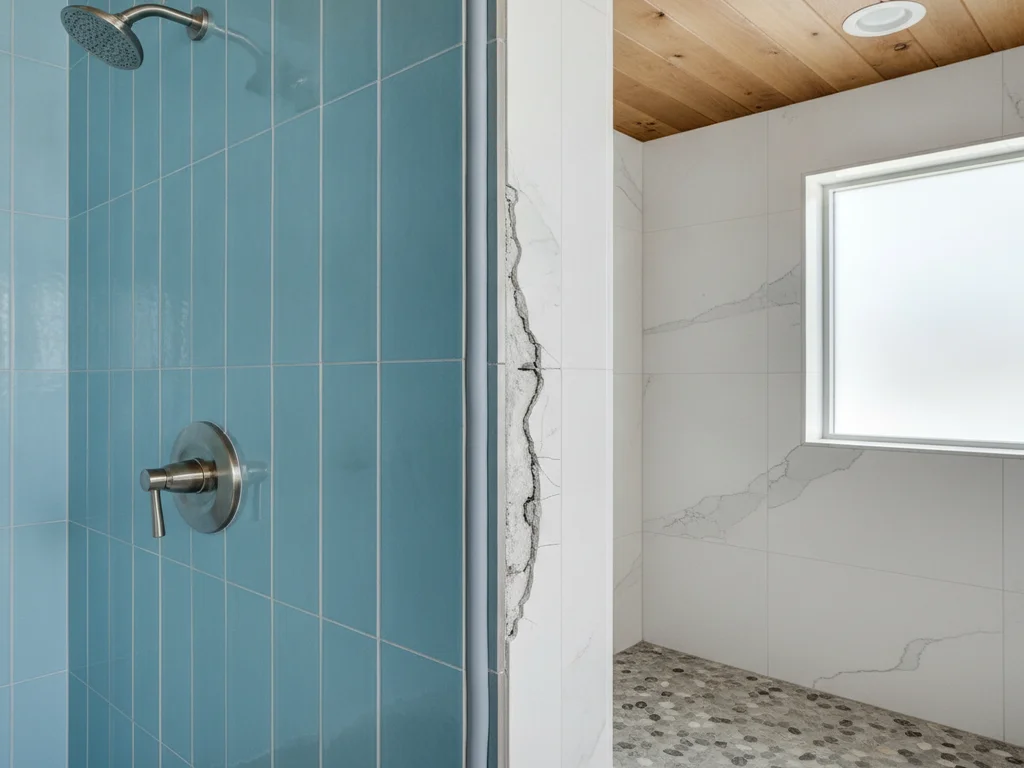
Mistake 7: Grouting movement joints instead of using silicone?
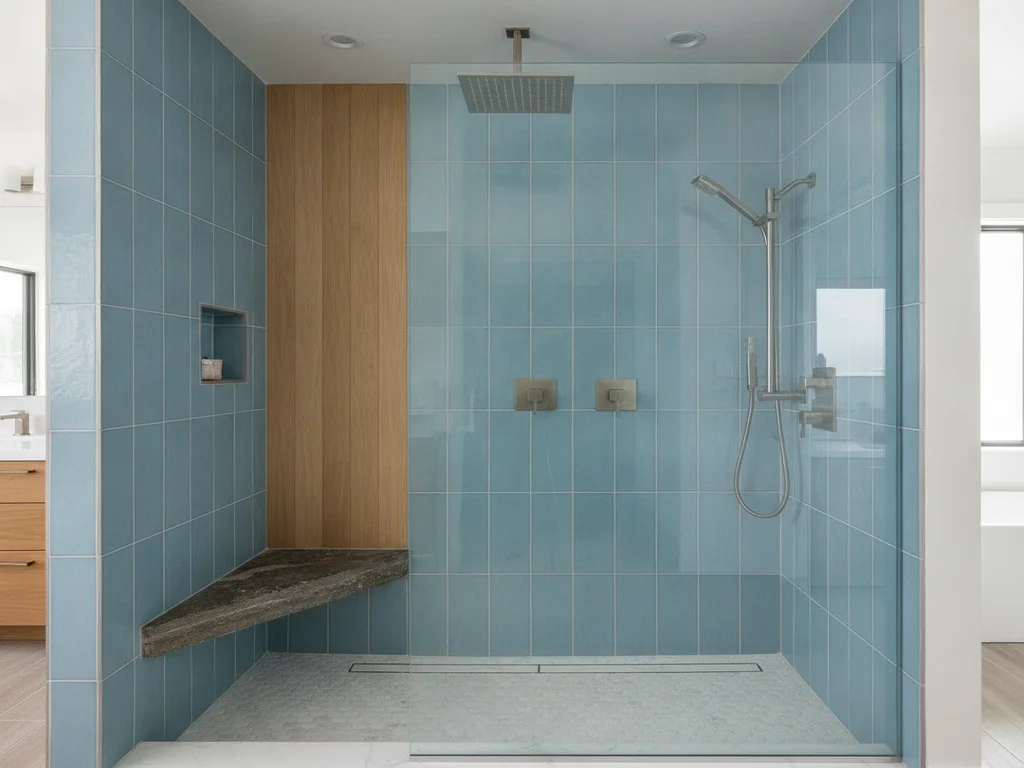
7. Rigid grout in the corners is the single most common cause of cracked joints. Where two planes meet — wall-to-wall, wall-to-floor, and around the perimeter — tile assemblies need a flexible soft joint, not grout. The Tile Council of North America’s movement-joint guidance (detail EJ171) calls for these flexible joints precisely because buildings expand, contract, and settle. A color-matched silicone in those locations moves with the structure; grout simply cracks. Boise’s dry climate and large seasonal temperature swings make this even more important.
Mistake 8: Ignoring the tile’s slip (DCOF) rating on floors?
8. Ignoring slip resistance turns a beautiful floor into a hazard. Floor and shower-pan tile carry a DCOF (dynamic coefficient of friction) rating measured by the ANSI A326.3 / DCOF AcuTest method; a common benchmark for level interior floors that may get wet is a DCOF of 0.42 or higher. A glossy wall tile may be gorgeous but is rarely appropriate underfoot in a wet room. Ask for the DCOF value before you commit to a floor tile, and see the right flooring for a wet, slip-prone bathroom for the material trade-offs.
Mistake 9: Putting polished or oversized tile on a shower pan?
9. The wrong tile on the shower pan causes two problems at once. Polished tile is slick when wet, and very large tile cannot follow the multi-directional slope a shower floor needs to drain toward the drain. Smaller mosaic tile (or a curbless system with a linear drain) lets the floor pitch correctly and adds grip from the extra grout lines. The pan is the one place where smaller tile is usually the better call.
Mistake 10: Using porous natural stone untreated in wet zones?
10. Untreated natural stone in a shower absorbs water, stains, and can etch from everyday cleaners. Some stones are simply poor choices for a wet wall or floor, and the ones that work need the right sealer on a maintenance schedule. This is really a material decision, so we keep the depth where it belongs — compare options in which shower wall material fits your bathroom before you fall for a slab in a showroom.
Mistake 11: Tiling a shower over drywall or the wrong substrate?
11. Tiling a wet area over standard drywall is a waterproofing failure waiting to happen. Showers need a proper backer board and a waterproofing membrane (or an integrated panel system), not painted drywall or even standard green board behind the tile. The tile and grout are not the waterproof layer — the system behind them is. This is its own subject; see how showers are properly waterproofed for the full system.
Mistake 12: Forgetting the shower floor slope to the drain?
12. A flat or under-sloped shower floor holds standing water, which leads to staining, mildew, and eventually leaks. A traditional pan is sloped roughly a quarter inch per foot toward the drain; pre-formed sloped trays and linear-drain systems build the correct pitch in for you. If water pools anywhere but the drain after a shower, the slope is wrong.
Mistake 13: Mismatched tile sizes that fight a small Boise bathroom?
13. Tile out of scale with the room makes a small bathroom feel busier and smaller. Many of Boise’s older North End and Bench bathrooms are compact single baths; very small mosaic everywhere multiplies grout lines and visual clutter, while enormous slabs can look awkward against short walls. Choosing a size that suits the room — and using fewer competing patterns — does more for the space than any single trendy tile.
Mistake 14: Regrouting over a failing joint instead of fixing the cause?
14. Regrouting over a problem treats the symptom. If grout keeps cracking in the same corner, the real issue is usually a missing soft joint or movement in the substrate — new grout in the same spot will crack again. Diagnose the cause first: is it a change of plane that needed silicone? A loose tile? A flexing floor? Fix that, then regrout.
Mistake 15: Skipping trim/edge profiles and leaving raw tile edges?
15. Raw, exposed tile edges at outside corners and terminations look unfinished and chip easily. A metal or matched edge profile (Schluter-style trim) gives a clean, durable transition and protects the vulnerable edge. Bullnose tile is the traditional alternative where it is available. Either way, the edge should be a deliberate detail, not an afterthought.
Mistake 16: Rushing — grouting or sealing before thinset cures?
16. Rushing the cure undermines everything above it. Grouting before the thinset has set can trap moisture and shift tiles; sealing before grout has cured can lock in haze. Each product has a cure time for a reason. A job that is paced to the materials lasts; a job rushed to hit a date often comes back.
How can a homeowner spot these mistakes in a quote or finished job?
You do not need to inspect like a pro to catch the big ones. Ask the quoting contractor four questions: where does the layout start and how are the cuts balanced; what goes in the corners (the right answer is silicone, not grout); what is the DCOF rating of the floor tile; and what waterproofing system sits behind the shower tile. On a finished job, run your hand across large-format walls for lippage, look for sliver cuts at the focal wall, check that corners are silicone, and pour a little water on the shower floor to confirm it drains to the drain.
For the decisions this article deliberately delegates, use the dedicated guides: material comparisons in which shower wall material fits your bathroom and the right flooring for a wet, slip-prone bathroom, waterproofing in how showers are properly waterproofed, and budgets in how much a Boise bathroom remodel costs. When you want the work done right the first time, you can see finished Boise bathrooms for a sense of the standard.
Ready to plan your Boise bathroom?
Licensed & insured · 3-year workmanship warranty
Frequently asked questions
- What is the most common bathroom tile mistake?
- Grouting the corners and changes of plane instead of using a flexible silicone soft joint. Grout in those locations cannot move with the building and cracks. The Tile Council of North America’s movement-joint guidance calls for flexible joints at perimeters and where planes meet.
- Do I really need movement (soft) joints in a tiled shower?
- Yes. Tile assemblies expand, contract, and settle, and rigid grout at corners and perimeters cracks as a result. A color-matched silicone soft joint at every change of plane moves with the structure. This is standard TCNA guidance, not an optional upgrade — especially with Boise’s seasonal temperature swings.
- What slip rating (DCOF) should bathroom floor tile have?
- Floor tile that may get wet is commonly specified at a DCOF (dynamic coefficient of friction) of 0.42 or higher, measured by the ANSI A326.3 / DCOF AcuTest method. Always confirm the rating before buying floor or shower-pan tile, and treat glossy wall tile as inappropriate underfoot.
- Why does my grout keep cracking in the corners?
- Almost always because the corner was grouted rigidly instead of filled with flexible silicone. New grout in the same spot will crack again. Diagnose the cause — a missing soft joint, a loose tile, or a flexing floor — fix that, then re-grout with silicone at the change of plane.
- Can you tile a shower directly over drywall?
- No. A shower needs proper backer board plus a waterproofing membrane or an integrated panel system — not standard drywall. The tile and grout are not the waterproof layer; the system behind them is. See our shower waterproofing guide for how that system is built.
- Should bathroom grout be sealed in Boise’s hard water?
- Cement grout should be sealed on a maintenance schedule, or you can choose a high-performance grout that does not require sealing. Much of the Treasure Valley has moderately hard to hard water (roughly 6–15 grains per gallon by neighborhood), so unsealed pale grout shows mineral residue quickly.
Sources
- Tile Council of North America — Handbook movement-joint guidance (EJ171)
- ANSI A326.3 / DCOF AcuTest — tile slip resistance
- Schluter Systems — edge profiles & movement joints
- National Kitchen & Bath Association — bathroom planning guidelines
Claims and figures are drawn from the sources above and provided for general guidance; your project may vary. Photography is illustrative of design concepts. For a fixed price on your specific bathroom, request a free estimate.