Updated July 16, 2026 · 7 min read
By Boise Bath — bathroom & shower remodeling in Boise & the Treasure Valley
The short answer
Shower fixtures split into trim — the visible handle, plate, showerhead, and arm — and the valve behind the wall. If the valve is sound and new trim matches its brand and series, a trim-only swap updates the look with no tile work. A worn, leaking, or obsolete valve means opening the wall — a plumbing job, not a trim job.
Key takeaways
- Trim kits are valve-specific: a new handle and plate must match the brand and series of the valve behind the wall, not just look right.
- Showerheads and arms are the exception — they use a universal 1/2-inch thread, so any head fits any shower.
- A trim-only swap needs a healthy valve; drips, temperature drift, and stiff handles are valve symptoms that trim cannot fix.
- Modern pressure-balancing valves are a safety upgrade over pre-1990s two-handle setups, not just a convenience.
- WaterSense-labeled showerheads cut water use meaningfully without the weak-flow feel of early low-flow heads, per the EPA.
What actually counts as “fixtures and trim”?
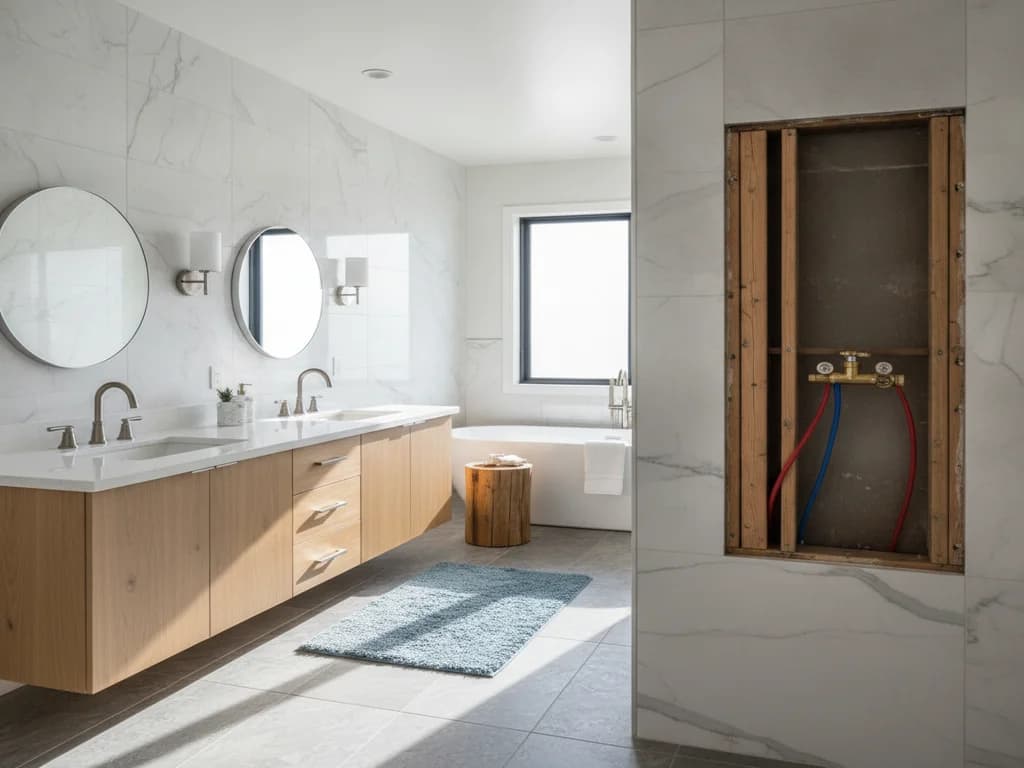
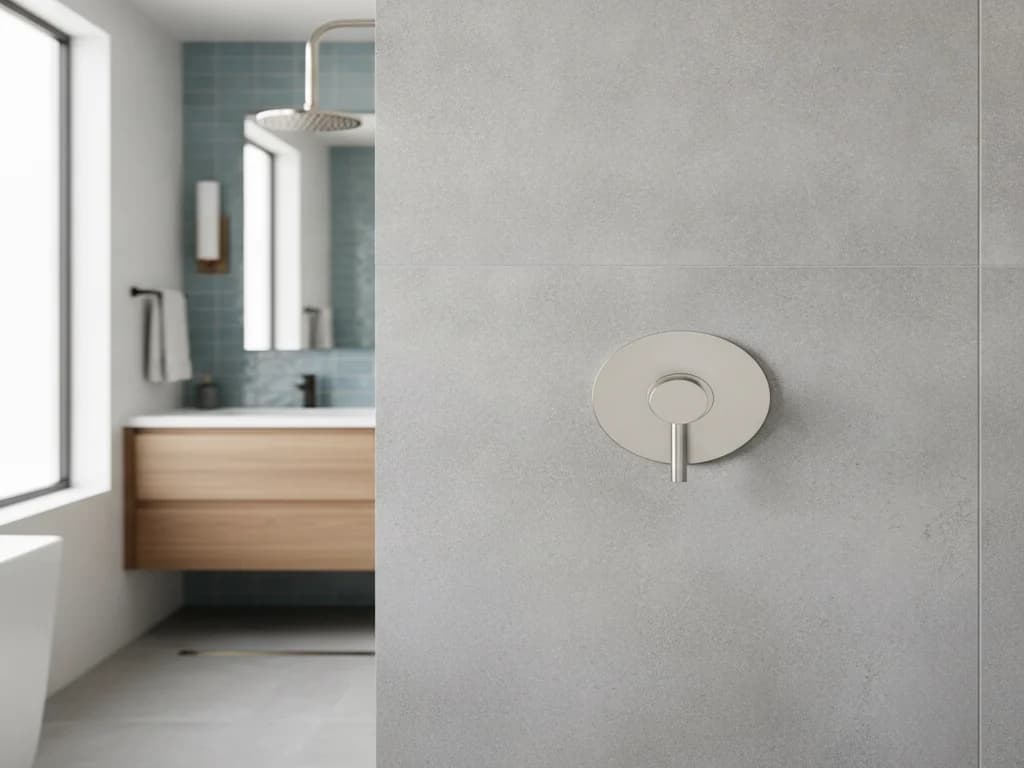
Everything you can see and touch is trim: the handle, the escutcheon (the plate behind the handle), the showerhead and its arm, a tub spout if there is one, and any hand shower and slide bar. Behind the escutcheon, inside the wall, lives the valve — the mixing device that blends hot and cold — with a replaceable cartridge inside it.
That split is the whole story of this project. Trim threads and clips onto the valve from the finished side of the wall, so swapping it disturbs no tile and no plumbing. The valve is soldered or fitted into the supply lines behind waterproofed tile, so replacing it means opening a wall.
When someone says they want to "replace the shower fixtures," they usually mean the trim — and the good news is that is often all the job requires.
When does a trim-only swap work?
Two conditions. First, the valve must be healthy: it holds temperature, the handle operates smoothly, and nothing drips when the shower is off. Second, the new trim must match the valve — and this is the part that surprises homeowners. Trim kits are engineered to a specific manufacturer’s valve body and series: a Delta trim kit fits Delta valves, a Moen kit fits Moen, and even within one brand, series matter.
Identify the valve first, then shop. The brand is usually stamped on the existing escutcheon or the cartridge, and manufacturers like Delta and Moen publish compatibility charts precisely because their common valve bodies (Delta’s MultiChoice, Moen’s Posi-Temp and M-PACT) have stayed consistent for decades. If yours is one of those, the entire finish and style catalog is open to you — no wall opening required.
If the drip or temperature drift is the actual complaint, a new cartridge in the existing valve — a normal wear part — often fixes it during the same visit as the trim swap.
When does the valve itself have to go?
Some symptoms live behind the wall no matter what trim you bolt on: a drip that persists after a new cartridge, temperature that lurches when a toilet flushes (the signature of an old valve with no pressure balancing), corroded or obsolete valve bodies with no parts availability, and the classic two- or three-handle setups from before modern single-handle valves.
A valve replacement is a genuinely different project — the wall gets opened (from the front, or sometimes from a closet behind), the plumbing is cut and reworked, and in most Treasure Valley jurisdictions it is permitted plumbing work. We cover that whole job separately in replacing a shower valve; the short version here is that if your valve is failing, spend nothing on trim until the valve plan is settled, because new trim comes with the new valve anyway.
The gray zone is the working-but-ancient valve during a cosmetic refresh. If the shower will be remodeled within a few years, putting money into trim for an obsolete valve twice is the trap to avoid.
Trim cannot fix a valve problem
Dripping, wandering temperature, and a handle that fights you are all symptoms of the cartridge or valve behind the wall. New trim on a failing valve is a fresh coat of paint on a bad engine — and if the valve later needs replacement, the wall opens and the trim decision restarts. Diagnose the valve first; it is a five-minute check for a plumber.
Showerheads, arms, and hand showers: the universal parts
Here the compatibility anxiety disappears. Showerheads and shower arms in North America share a standard 1/2-inch threaded connection, so any head fits any shower regardless of the valve brand. The same goes for most hand-shower kits that replace the head at the arm.
That makes the head the easiest meaningful upgrade in the whole bathroom. Modern heads are dramatically better than what most 1990s and 2000s houses shipped with, and the EPA’s WaterSense program certifies heads that use no more than 1.8 gallons per minute while meeting spray-performance standards — a real difference on a water bill without the sad-drizzle feel of early low-flow heads. The style landscape — rain heads, handhelds, dual systems, body sprays — is its own decision tree, which shower head types compared walks through.
One caveat: rain heads mounted from the ceiling, added body sprays, or anything that changes where water comes out of the wall is plumbing rough-in work, not a trim swap. Screwing a better head onto the existing arm is the trim-level move.
Matching finishes across the bathroom
A trim refresh is usually motivated by finish — polished chrome giving way to brushed nickel, matte black, or brushed gold. Two practical rules keep it from going sideways. Stay within one manufacturer’s finish name for pieces that sit next to each other, because "brushed nickel" varies visibly between brands. And decide upfront whether the towel bars, faucet, and door hardware are joining the change, because one updated fixture makes the rest of the room’s chrome look dated rather than intentional.
The full finish landscape — what shows water spots, what holds up to hard water, what is trending versus timeless — is covered in bathroom fixture finishes, and keeping any finish looking new is a maintenance topic we handle in bathroom fixture care.
What does fixture and trim replacement cost?
The parts span a wide range: basic trim kits start under a hundred dollars, while designer series with matching heads run several hundred or more. On labor, cost guides from HomeAdvisor and Angi put simple fixture swaps at roughly $100 to $300 in plumber time, while a full valve replacement — with wall access, new valve, and trim — commonly lands in the $500 to $1,500 range depending on access and local rates.
The bundling logic is straightforward: a trim kit, a new cartridge, and a new showerhead all install in one visit, so grouping them costs little more in labor than any one alone. And if the answer to the valve question was "it has to go," that is the moment fixture selection becomes part of a bigger conversation — one that how to choose shower fixtures is built for.
| Factor | Trim-only swap | Valve replacement |
|---|---|---|
| What it fixes | Dated look, worn finish | Drips, temperature swings, obsolete valves |
| Wall/tile work | None | Wall opened (front or rear access) |
| Compatibility | Must match existing valve brand/series | Any brand — trim chosen with the valve |
| Permit | No | Typically yes (plumbing permit) |
| Typical cost, installed | Roughly $200–$500 with parts, per Angi | Roughly $500–$1,500, per HomeAdvisor |
When a fixture refresh signals a bigger project
A trim swap is sometimes the first tug on a longer thread. If the escutcheon comes off and reveals crumbling backer board or soft tile around the valve, water has been getting behind the wall — a waterproofing problem trim cannot paper over. Likewise, if the fixture refresh is motivated by a shower that feels dated top to bottom, pricing the trim against a walk-in shower remodel is worth an evening: fixtures are included in a remodel, and money spent twice on trim is the most common small regret we hear about.
The clean decision rule: sound shower plus dated trim equals swap it and enjoy it; failing valve or failing walls equals put the budget where the problem is.
What the process looks like
- 1
Identify the valve behind the trim
The plumber pulls the handle and escutcheon to read the valve brand and series, and checks the cartridge and valve body condition — the five minutes that determines whether this is a trim job or a valve job.
- 2
Verify trim compatibility and source parts
New trim is matched to the valve using the manufacturer’s compatibility data (Delta, Moen, and Kohler all publish charts for their standard valve bodies), and the head, hand shower, and any tub spout are gathered in matching finishes.
- 3
Shut off water and swap the cartridge if warranted
With supply off, a worn cartridge is replaced as cheap insurance while the valve is open — it is the wear part behind most drips and stiff handles.
- 4
Install the new trim
The escutcheon is set and sealed to the tile per the manufacturer’s spec, the handle is fitted and its rotation limit stop is adjusted to a safe maximum temperature, and any tub spout is swapped.
- 5
Replace the showerhead and arm
The old arm comes out, threads are cleaned and sealed, and the new arm and head go on — the universal 1/2-inch connection means brand does not matter here.
- 6
Test under pressure
Water comes back on and every connection is checked hot and cold — behind the escutcheon, at the arm, at the spout — with temperature and pressure balance confirmed before the tools leave.
Ready to plan your Boise bathroom?
Licensed & insured · 3-year workmanship warranty
Frequently asked questions
- Can I replace shower trim without replacing the valve?
- Yes, if the valve is healthy and the new trim matches its brand and series. Trim installs from the finished side of the wall with no tile work. The valve brand is usually stamped on the old escutcheon or cartridge, and manufacturers publish compatibility charts for their standard valve bodies — Delta MultiChoice and Moen Posi-Temp being the most common.
- Do shower trim kits fit any valve?
- No — this is the most common misconception in the project. Trim is engineered to a specific manufacturer’s valve body, so a Kohler kit will not fit a Delta valve no matter how it looks. The only universal parts are the showerhead and arm, which share a standard 1/2-inch thread across all brands.
- How do I know if I need a new valve instead of just trim?
- Valve symptoms are functional: dripping that a new cartridge does not cure, temperature that lurches when other fixtures run, a handle that grinds or seizes, or a pre-1990s multi-handle setup with no pressure balancing. If the only complaint is the look, the valve is probably fine — a plumber can confirm in minutes with the trim off.
- How much does it cost to replace shower fixtures?
- For a trim-and-head swap on a compatible valve, expect roughly $200 to $500 installed depending on the kit, per Angi’s cost data. If the valve must be replaced, HomeAdvisor puts the typical all-in range around $500 to $1,500, driven by wall access and local plumbing rates. Bundling trim, cartridge, and head into one visit is the efficient move.
- Are low-flow showerheads worth it?
- Modern ones, yes. The EPA’s WaterSense label certifies heads at 1.8 gallons per minute or less that also meet independent spray-force and coverage standards — a different experience from the first-generation low-flow heads that earned the weak reputation. In a household of daily showerers the water and water-heating savings are ongoing and real.
- Should fixtures match throughout the bathroom?
- Pieces in the same zone should match exactly — shower trim, head, and hand shower in one finish from one brand, since finish names vary between manufacturers. Across the room, a deliberate two-finish scheme works, but a single updated fixture against a room of old chrome reads unfinished. Decide the room’s finish plan before ordering the first part.
Sources
Claims and figures are drawn from the sources above and provided for general guidance; your project may vary. Photography is illustrative of design concepts. For a fixed price on your specific bathroom, request a free estimate.