Updated July 16, 2026 · 6 min read
By Boise Bath — bathroom & shower remodeling in Boise & the Treasure Valley
The short answer
A shower valve lives inside the wall, connected to the supply lines — so replacing it means opening the wall from the shower side, from the room behind it, or through an access panel. A licensed plumber swaps the valve body in a few hours; the wall and tile repair around it is what drives the real cost.
Key takeaways
- The valve body is plumbed into the wall cavity — replacing it always means opening the wall somewhere, and where you open it drives the cost.
- A dripping shower often needs only a new cartridge, not a new valve — the valve body itself is replaced when it leaks, corrodes, or its parts are obsolete.
- Access from the room behind the shower — a closet or bedroom wall — often saves the tile entirely, because drywall patches are cheap and tile surgery is not.
- Modern plumbing code requires anti-scald protection, so an old two-handle valve is replaced with a pressure-balancing or thermostatic valve, not another two-handle.
- The cheapest time to replace a valve is during a shower remodel, when the wall is already open — which is why pros always replace it then.
Where does the shower valve actually live?
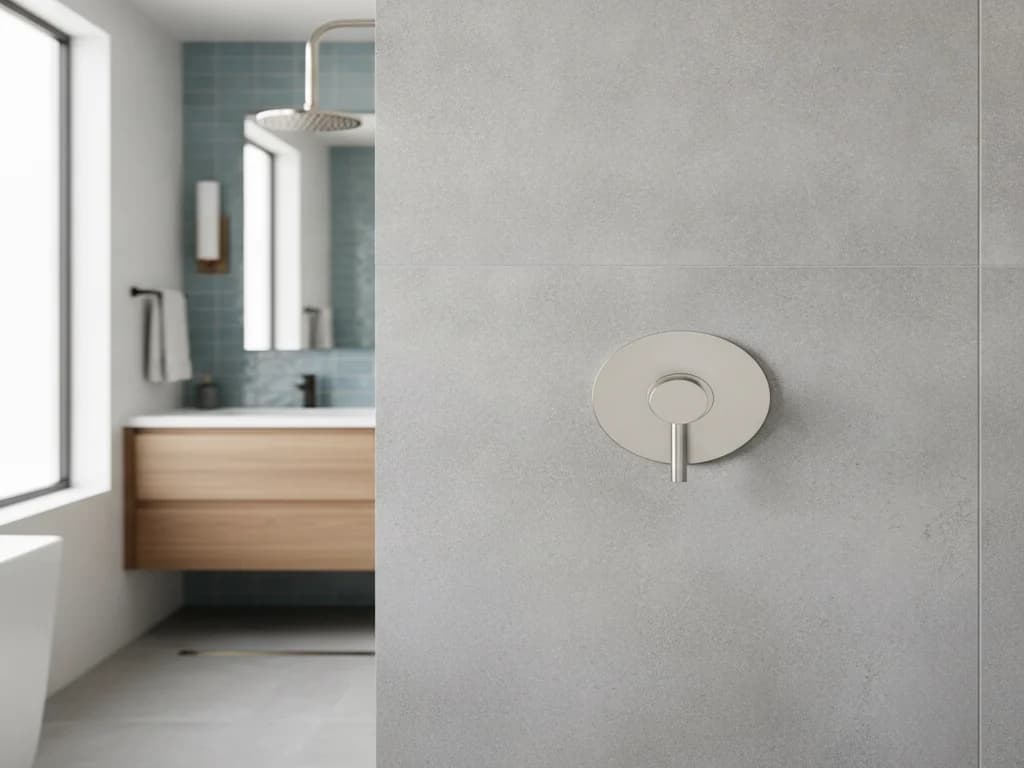
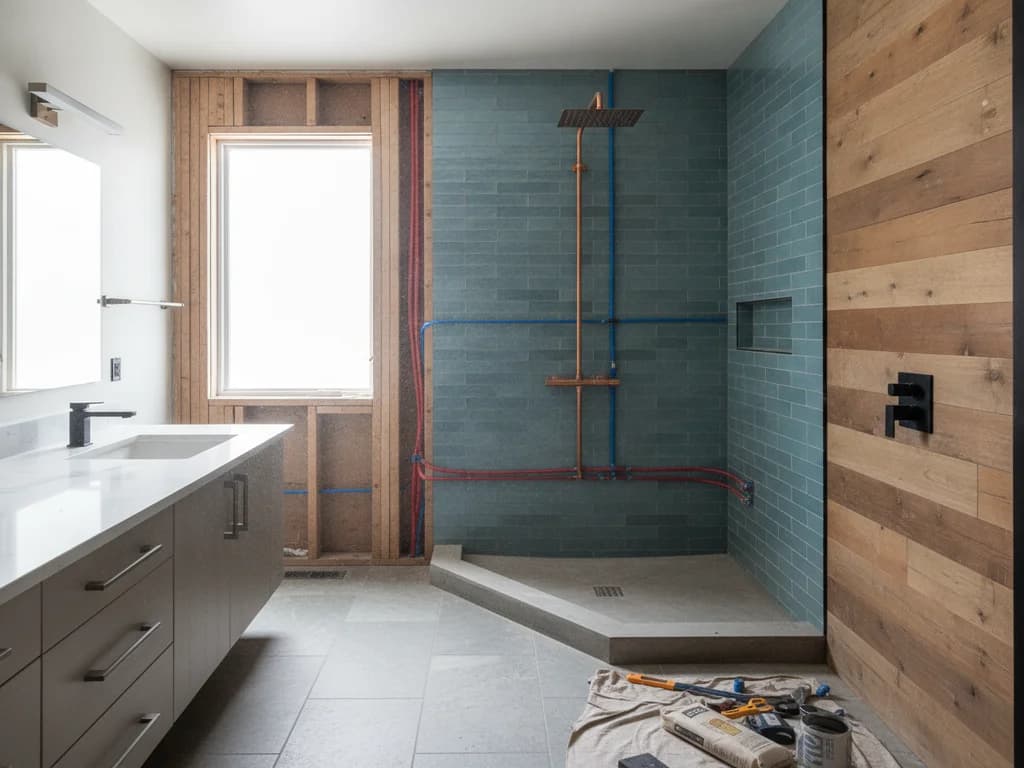
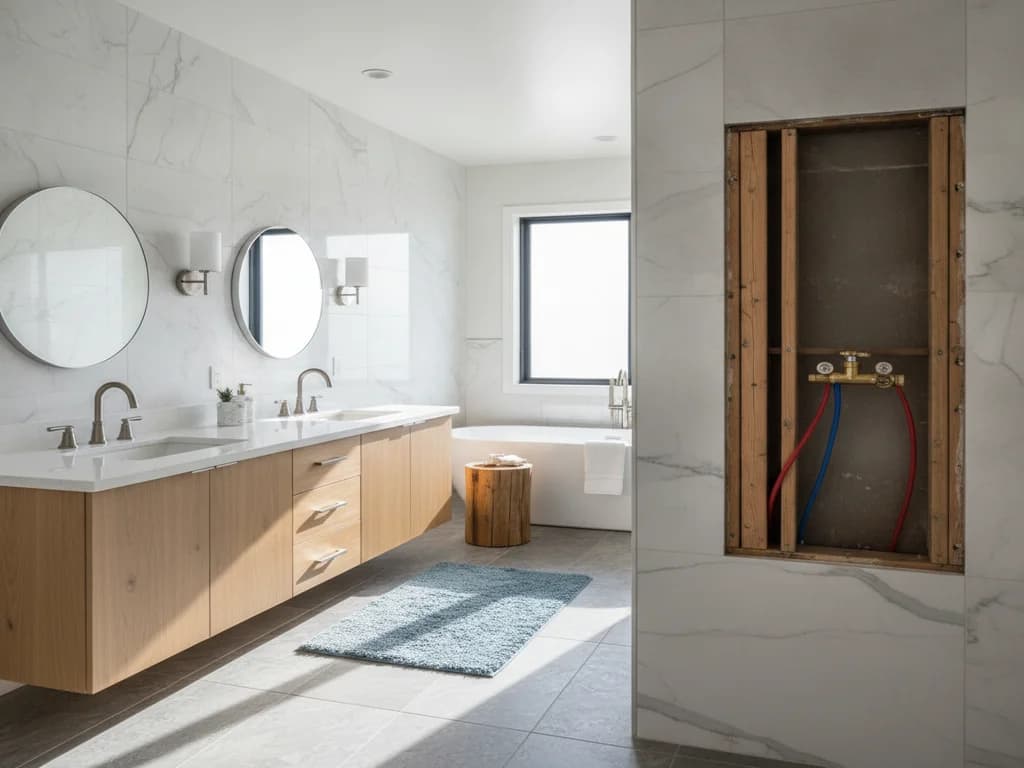
Behind the trim plate you see is a hole in the wall, and behind that is the valve body — a brass fitting soldered or crimped to the hot and cold supply lines, with a riser running up to the shower arm. It was plumbed in when the wall was open and it is anchored to the framing.
That is why this is not a faucet swap. The handle, cartridge, and trim can be serviced from the front through the trim opening, but the valve body itself cannot come out through a hole the size of a saucer. Replacing it means opening the wall enough to cut the old body out of the lines and plumb a new one in.
Cartridge swap or full valve replacement?
Most shower drips and temperature complaints are cartridge problems, and a cartridge is a front-side service part — no wall opening required. Manufacturers like Moen and Delta keep cartridges available for decades precisely so the valve body can stay in the wall.
The valve body itself gets replaced when it is the problem: it leaks inside the wall, the seats are corroded past service, replacement parts no longer exist for an off-brand or obsolete valve, or you are converting a two-handle setup to a single modern control. It is also replaced any time the shower wall is open for a remodel — more on that below.
Choosing what goes in its place — pressure-balancing versus thermostatic, and the trim families that fit each — is its own decision, and we cover it in a dedicated valve-selection guide. The short version for this article: something code-compliant and serviceable goes in, and anti-scald valves explained covers why that protection is non-negotiable.
The three ways into the wall
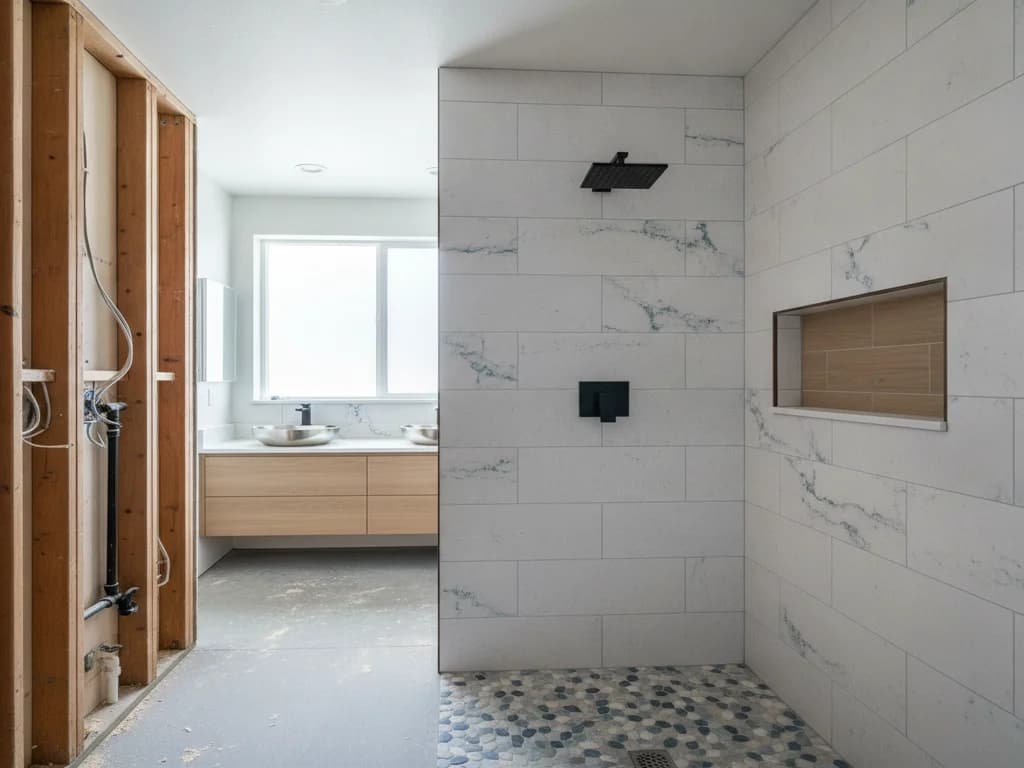
Every valve replacement is an access decision, and there are only three doors. The first is through the shower wall itself: cutting the tile or surround around the valve. The second is from the room on the other side of the plumbing wall — often a closet, hallway, or bedroom — where a drywall opening is cut, the valve is swapped from behind, and the drywall is patched and painted.
The third is an existing access panel, which some builders installed behind tub and shower valves. If your home has one, the job gets dramatically simpler — and if it does not, a plumber will often install one while they are in there, so the next service never opens a wall again.
| Access route | What gets opened | Repair afterward | Best when |
|---|---|---|---|
| Through the shower wall | Tile or surround around the valve | Tile patch or oversized trim plate | Surround is being replaced anyway |
| From the room behind | Drywall in a closet or bedroom | Drywall patch and paint | Tile is worth preserving |
| Existing access panel | A removable panel | None | The builder planned ahead |
What happens to the tile?
If the job goes through the shower side, the honest answer is that tile rarely survives untouched. A careful crew cuts a minimal opening and patches it, and oversized remodel trim plates exist specifically to cover a larger-than-original hole — but matching decade-old discontinued tile is often impossible, and a visible patch bothers some homeowners more than others.
That is why the from-behind route is usually the first choice when the shower finish is worth keeping, and why a failing valve inside a dated surround is often the event that tips a household into the remodel they were already considering. If the walls are coming off anyway, the valve replacement is effectively free labor inside the bigger job.
A leaking valve does not wait
A valve weeping inside the wall soaks framing and insulation around the clock, not just when the shower runs. If you see a stain on the ceiling below or the wall behind the shower, treat it as urgent — the water damage compounds quietly while the drip stays small.
Old two-handle valves and today’s code
Plenty of 1970s–1990s Treasure Valley homes still run two-handle or three-handle shower valves with no scald protection. Modern plumbing code — the International Code Council model codes that Idaho jurisdictions adopt — requires shower valves to be pressure-balancing or thermostatic, so a like-for-like two-handle replacement is off the table.
The conversion is routine: the old handles come out, the wall opening is sized for a single valve, and a cover plate or tile repair handles the extra holes. Pairing the new valve with matching trim is where finish decisions come in — our shower fixture selection guide walks through heads, trim, and finishes once the valve question is settled.
Cost, permits, and remodel timing
National cost guides such as HomeAdvisor and Angi put shower valve replacement roughly in the several-hundred-dollar range when access is simple, climbing toward a thousand or more when tile has to be cut and repaired — the plumbing is the predictable part, the wall repair is the variable.
Valve replacement is permitted plumbing work in Boise and neighboring cities; the City of Boise Planning & Development Services issues the plumbing permit and a licensed contractor handles the inspection. During a full shower remodel, the valve rides on the same permit as the rest of the plumbing.
The timing logic is simple: replacing a valve through a finished wall pays for access once, and replacing the surround later pays for it again. If the shower is within a few years of a remodel anyway, one project — with the valve, drain, and waterproofing done together — nearly always beats two.
What the process looks like
- 1
Diagnose and locate
The contractor confirms the valve body is truly the problem — not the cartridge — and maps what sits behind the plumbing wall to pick the least destructive access route.
- 2
Shut down and open the wall
Water is shut off at the house, the work area is protected, and the chosen opening is cut — through the surround, the back-side drywall, or an existing panel.
- 3
Cut out the old valve
The old body is cut free of the supply lines and riser. Corroded or marginal pipe around it is trimmed back to sound material while the wall is open.
- 4
Set the new valve
A new pressure-balancing or thermostatic valve is plumbed in, anchored to blocking at the correct depth for the finished wall, with stops and connections per the manufacturer spec.
- 5
Pressure-test and inspect
The system is pressurized and the new connections are checked before anything closes. Permitted work gets its inspection at this stage, while the valve is still visible.
- 6
Close up and trim out
The wall is repaired — tile patch, drywall and paint, or a new access panel — and the trim, handle, and shower head go on last, followed by a running water test.
Ready to plan your Boise bathroom?
Licensed & insured · 3-year workmanship warranty
Frequently asked questions
- Can you replace a shower valve without removing tile?
- Often, yes — if the wall behind the shower backs onto a closet, hallway, or bedroom, a plumber can open the drywall from that side, swap the valve, and patch the drywall, leaving the tile untouched. When the valve wall is exterior or inaccessible, the opening comes through the shower side and the tile gets a repair or an oversized trim plate.
- How much does it cost to replace a shower valve?
- Cost guides like HomeAdvisor and Angi put the job roughly in the several-hundred-dollar range with easy access, and closer to a thousand or beyond when tile must be cut and restored. The plumbing itself is consistent — the spread comes almost entirely from what kind of wall has to be opened and repaired.
- How do I know if I need a new valve or just a new cartridge?
- Drips from the shower head, stiff handles, and temperature drift are usually cartridge problems — a front-side fix with no wall work. You need a new valve body when it leaks inside the wall, parts for it are no longer made, or you are converting an old two-handle setup to a single modern anti-scald control.
- Can I replace a two-handle shower valve with a single-handle one?
- Yes, and code effectively requires it: modern plumbing codes mandate pressure-balancing or thermostatic valves, which are single-control designs. The conversion involves opening the wall, removing both old valve bodies, plumbing in one new valve, and covering the old handle holes with a conversion plate or tile repair.
- Does replacing a shower valve require a permit in Boise?
- Yes — swapping the valve body is regulated plumbing work, and the City of Boise Planning & Development Services requires a plumbing permit for it, as do the neighboring Treasure Valley cities. Your licensed contractor pulls the permit and schedules the inspection before the wall closes up.
- How long does a shower valve replacement take?
- With straightforward access, the plumbing itself is a few hours — shut-down, cut-out, new valve, pressure test. The calendar time depends on the wall repair: a drywall patch adds a day for mud and paint, while a tile repair can stretch the finish work across several visits.
Sources
- Moen
- HomeAdvisor — True Cost Guide
- International Code Council (IRC/IBC)
- City of Boise — Planning & Development Services
Claims and figures are drawn from the sources above and provided for general guidance; your project may vary. Photography is illustrative of design concepts. For a fixed price on your specific bathroom, request a free estimate.