Updated July 16, 2026 · 7 min read
By Boise Bath — bathroom & shower remodeling in Boise & the Treasure Valley
The short answer
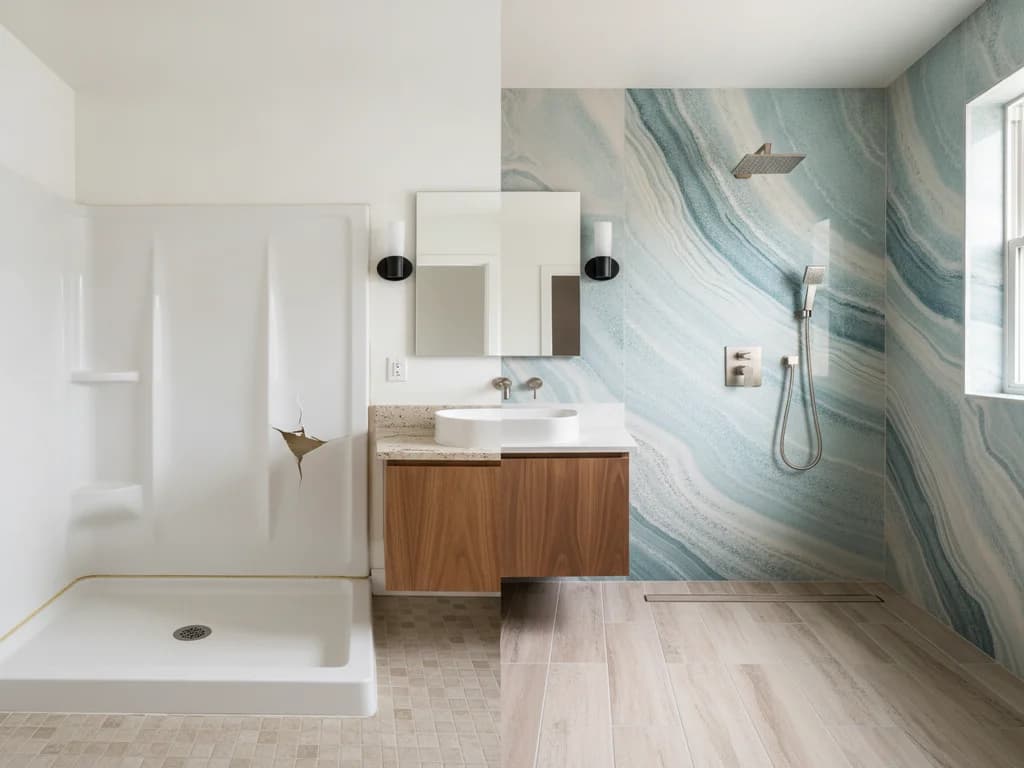
Replacing shower tile means removing the old tile together with the backer board it is bonded to — chiseling tile off intact substrate is not practical — then installing new backer, new waterproofing, and new tile from the studs out. The waterproofing resets with the tile. A full shower retile typically takes four to seven days including cure times.
Key takeaways
- Tile bonds to its substrate permanently — demo takes the backer board with it, so a retile is a wall rebuild, not a resurfacing job.
- The waterproofing layer lives behind the tile, so it is replaced in the same project; tile and grout alone were never the water barrier.
- Cracked or hollow-sounding tile, failing grout that fails again after repair, and stains on adjacent walls or ceilings are the retile triggers.
- Tiling over existing tile in a shower is a shortcut that reputable installers refuse — it adds weight and traps whatever is failing underneath.
- Cure times for waterproofing, thinset, and grout — not the tile setting itself — drive the multi-day schedule.
Why can’t you just replace the tile and keep the wall?
Because thinset mortar bonds tile to its backer board for good. Prying tile off takes the face of the board with it, and by the time a wall of tile is down, the substrate is destroyed — which is why every professional retile strips the wet walls to the studs and rebuilds from there.
That is not wasted work. Tile-industry standards from the Tile Council of North America and the National Tile Contractors Association treat the assembly — framing, backer, membrane, tile — as one system. Replacing the visible layer while keeping a decades-old hidden layer would put brand-new tile over the oldest part of the shower.
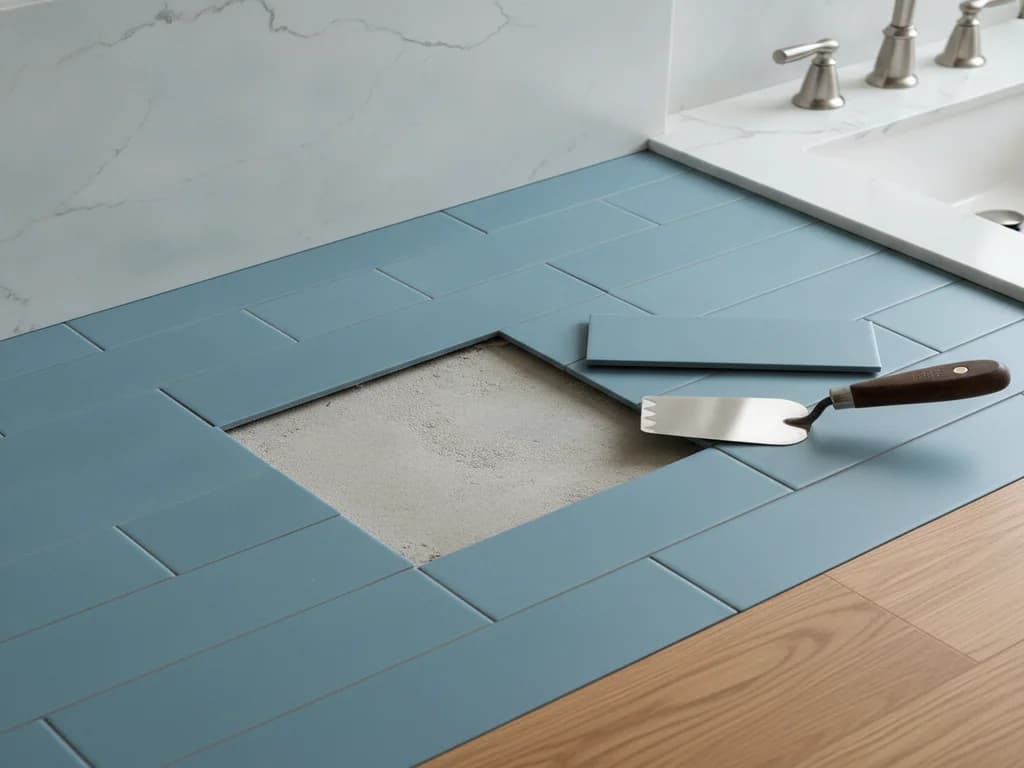
If your problem is one cracked tile or crumbling grout lines rather than a failing wall, start smaller: replacing cracked bathroom tile and replacing bathroom grout cover the repair-scale fixes and when they hold.
When is a shower actually due for a retile?
The strong signals: tiles that sound hollow when tapped across a whole area (the bond or the board behind is failing), cracks that recur or run through multiple tiles, grout that crumbles again within months of being redone, and moisture showing up outside the shower — a stain on the ceiling below or bubbling paint on the back side of a shower wall.
That last group matters most. Grout and tile are not waterproof; the membrane behind them is. When water is escaping the assembly, the failure is in the layer you cannot see, and no amount of regrouting or caulking fixes a membrane from the wrong side.
Dated-but-sound tile is a different conversation. If the assembly is dry and solid and you simply hate the 4x4 almond field tile, a retile is a design choice — a legitimate one, best folded into a broader shower update while the walls are open.
Grout is not your waterproofing
Cement grout is porous by design — water passes through it and is supposed to be stopped by the membrane behind the tile. A shower that leaks does not have a grout problem; it has a waterproofing problem, and that layer is only reachable by removing the tile.
The waterproofing resets with the tile
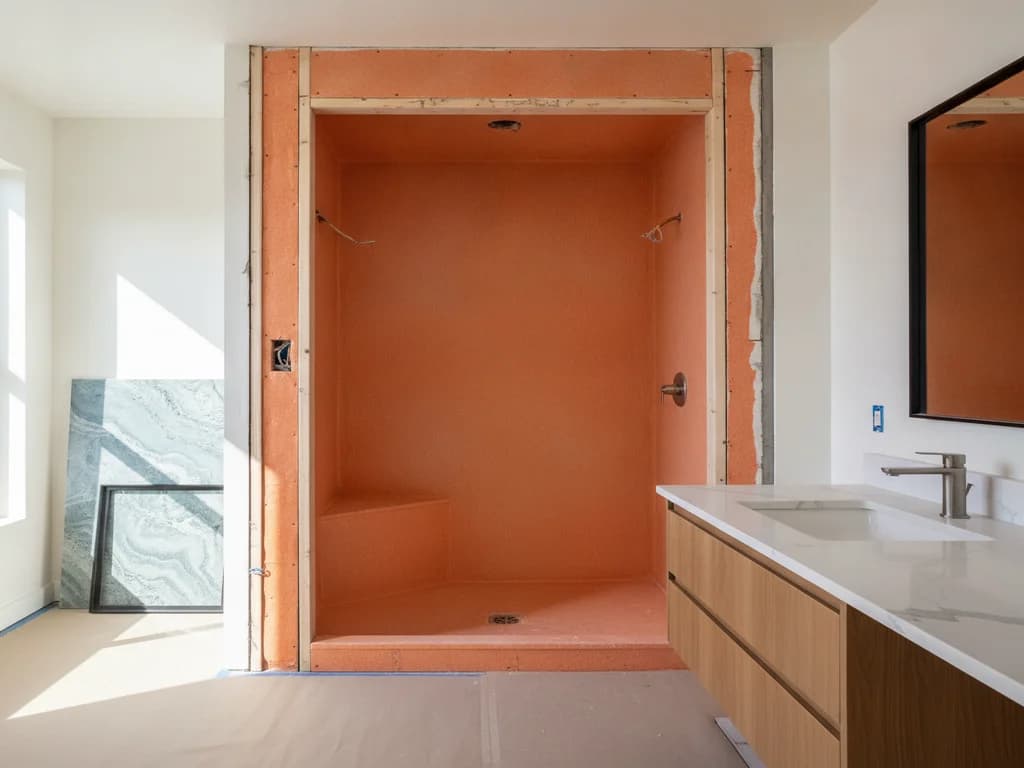
This is the part of a retile most homeowners have never seen priced out, and it is the most important line in the bid. Once the old walls are open, the new assembly goes up in order: cement or foam backer board, then a continuous waterproofing layer — a sheet membrane, a liquid-applied membrane, or an integrated foam-board system — then tile.
Older Boise-area showers often relied on a plastic moisture barrier stapled behind the backer, or on nothing at all. Modern surface-applied membranes from manufacturers like Schluter and Custom Building Products put the waterproofing directly under the tile, which keeps the board itself dry. The systems and how they differ are covered in our shower waterproofing guide — and if the walls are being rebuilt anyway, replacing shower waterproofing explains why this is the only economical moment to do it.
The practical takeaway: a retile quote that does not name a waterproofing system is a quote for the wrong job.
Can you tile over existing shower tile?
In a dry hallway, tile-over-tile is at least debatable. In a shower, it is not: the new layer adds weight the wall was not framed for, moves every plumbing trim and glass line out half an inch, and — decisive on its own — buries the existing waterproofing one layer deeper while fixing nothing about it. Whatever was failing keeps failing, now under two layers of tile.
Reputable installers decline the job, and industry guidance sides with them. The demo day you are trying to skip is one day of a week-long project.
Choosing what goes back on the walls
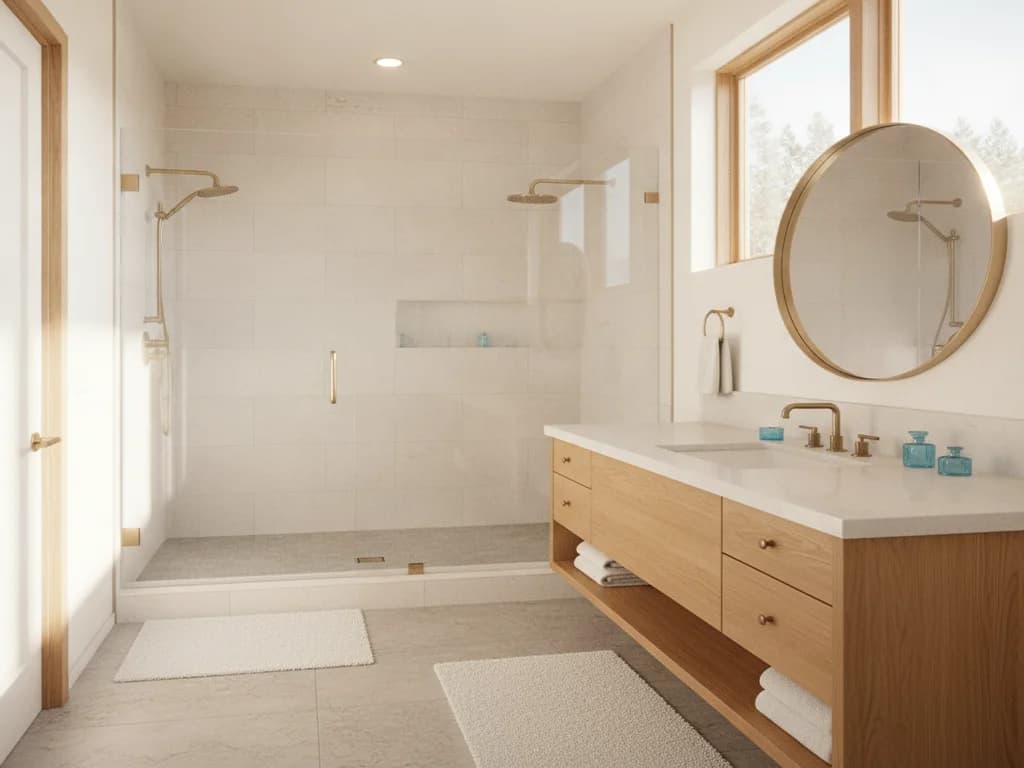
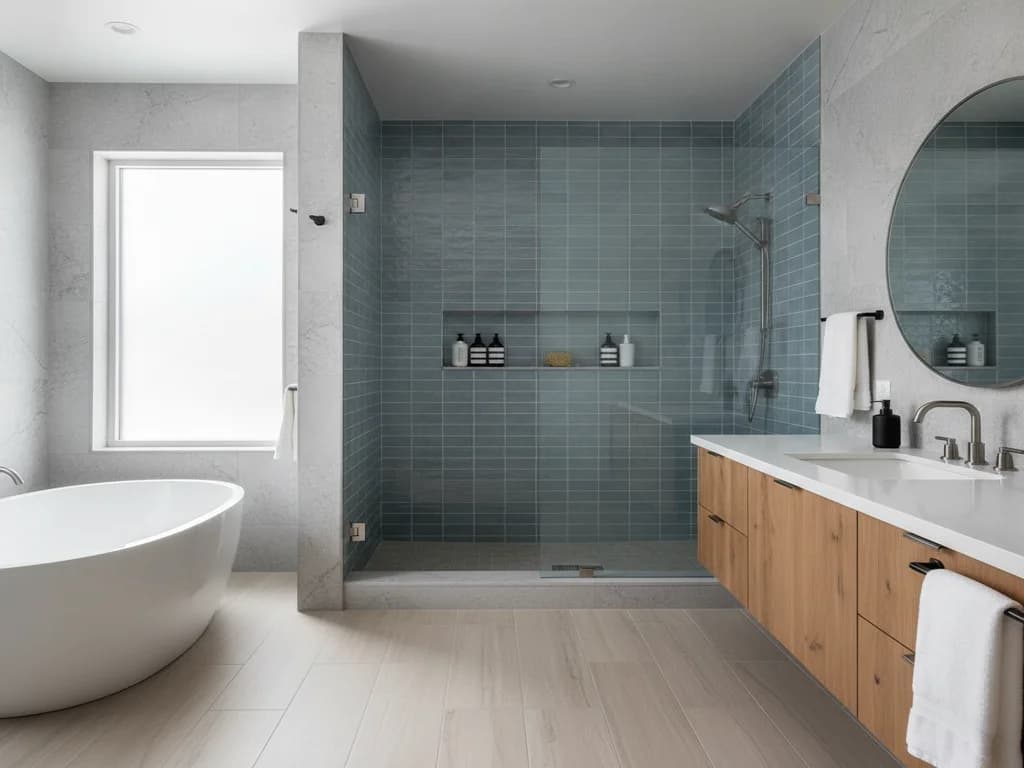
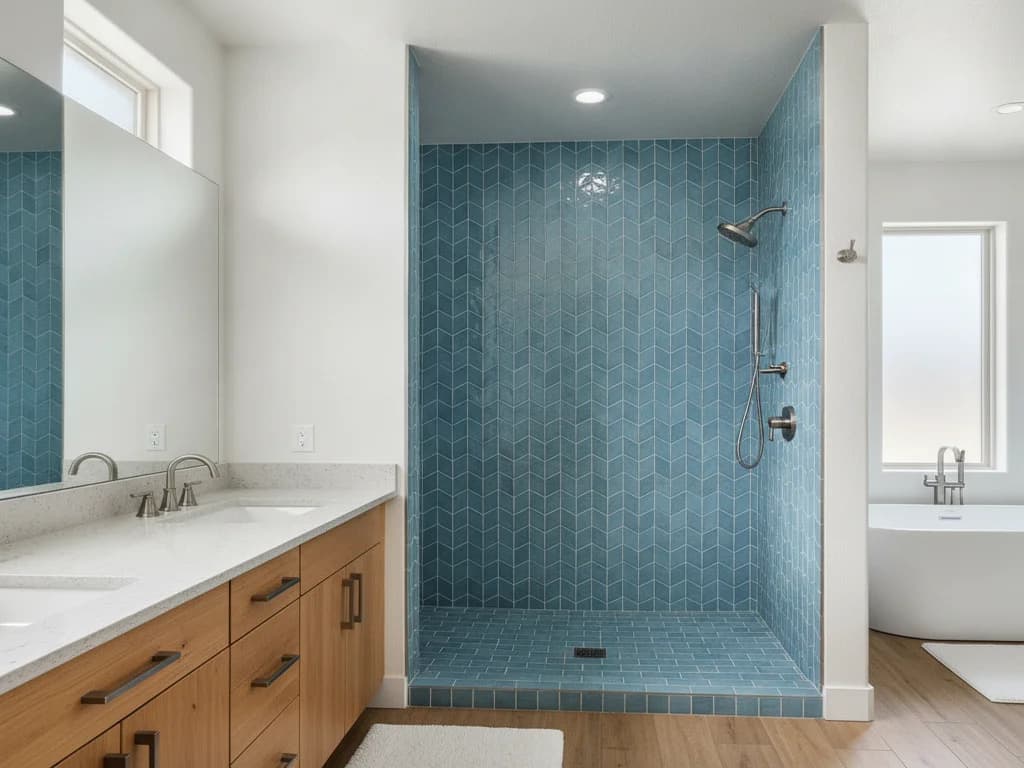
A retile is also a design reset, and the choices deserve their own guides rather than a paragraph here. For the material itself — porcelain versus ceramic versus natural stone versus stepping away from tile entirely — see best shower wall materials. For pattern and layout decisions that make or break the finished look, tile layout planning is the place to start, and epoxy vs. cement grout covers the one product choice that most changes long-term upkeep in hard-water country.
Two build-stage notes worth making here: large-format tile hides fewer substrate sins and demands flatter walls, which a studs-out rebuild delivers anyway. And every change of plane — corners, curb, niche — gets silicone rather than grout, which is where many original showers went wrong. Avoidable missteps are cataloged in bathroom tile mistakes.
Cost, timeline, and permits
National cost guides put a full shower retile roughly between $2,500 and $10,000+, per HomeAdvisor and Angi data, with tile choice and labor driving most of the spread — the drivers are broken down in shower tile cost factors. Hidden damage found at demo is the honest wildcard: sound framing keeps you at the low end, rot at the pan line adds repair days.
Expect four to seven working days. Demo is fast; membranes, thinset, and grout each need cure time, and rushing any of them is how new showers fail early. If the valve is replaced — usual in any shower old enough to retile — a plumbing permit through City of Boise Planning & Development Services or your local jurisdiction comes with it.
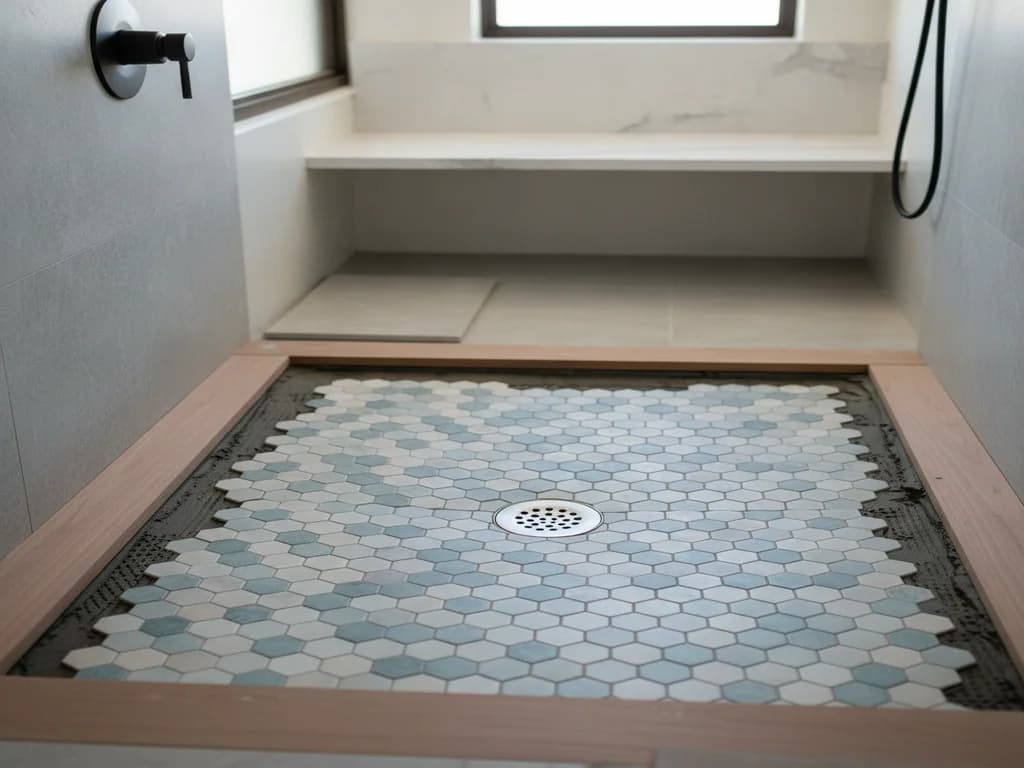
If the floor of the shower is failing too, the pan is its own subject: replacing shower floor tile covers where floor-only work is honest and where it is not.
| Situation | Right-sized fix | Holds up when |
|---|---|---|
| One or two cracked tiles, dry assembly | Tile repair | The crack came from impact, not movement behind |
| Crumbling grout, tile sound and bonded | Regrout + reseal | Grout failed from age, not water behind the wall |
| Hollow areas, recurring cracks, leaks showing outside the shower | Full retile to the studs | Always — the failed layer is behind the tile |
What the process looks like
- 1
Assess the assembly and scope the job
The contractor taps for hollow bond, checks for moisture outside the shower, confirms what substrate and waterproofing era the shower was built in, and scopes walls-only versus walls-plus-pan.
- 2
Protect the room and set up dust control
Tile demo is the dustiest day of the project — floors and the exit path get covered, the room is masked, and an extractor runs during removal.
- 3
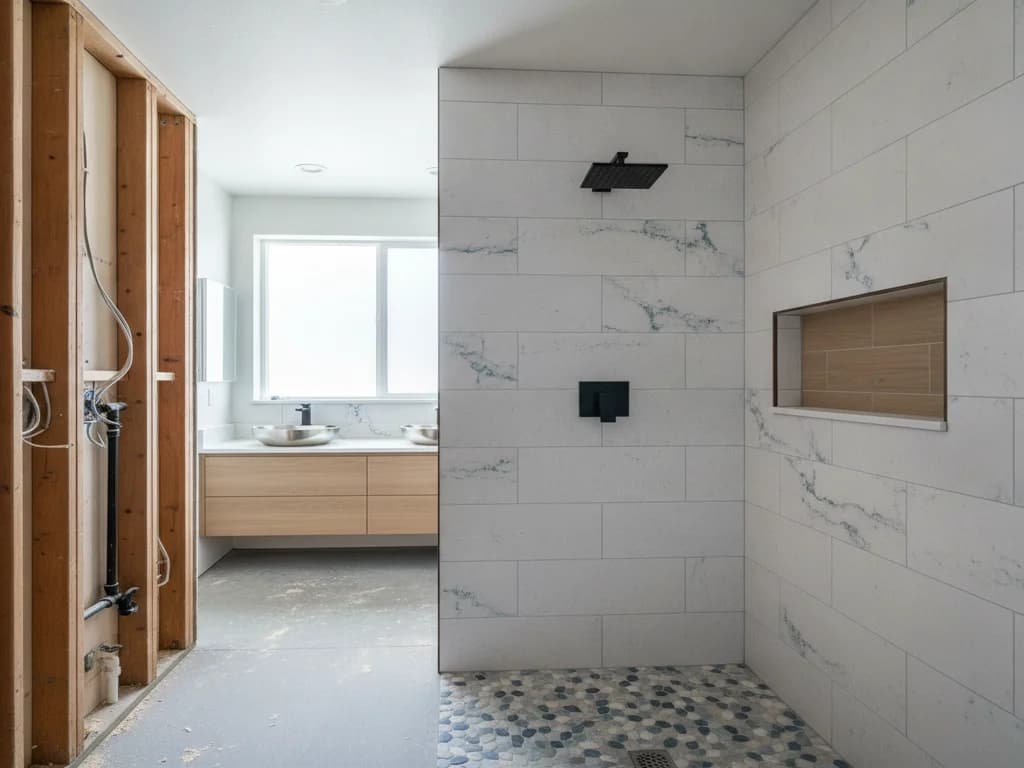
Demo tile and substrate to the studs
Tile and backer come off together across the wet walls, old fasteners and membrane remnants are cleared, and debris goes out the same day.
- 4
Inspect and repair framing and plumbing
Open walls get checked for moisture damage, any compromised framing is replaced, blocking goes in for niches, glass, and grab bars, and an aging valve is swapped under permit with a rough-in inspection.
- 5
Install new backer board
Cement or foam board goes up flat and plumb — the flatness standard is higher for large-format tile, and this is the stage that determines it.
- 6
Apply the waterproofing system
Sheet or liquid membrane is applied continuously across walls, corners, curb, and niche per the manufacturer’s spec, then flood-checked or cure-verified before any tile is set.
- 7
Set tile, grout, and seal
Tile is laid out from the planned layout lines, set, and cured; grout follows, with silicone at every change of plane and a sealer where the grout type calls for it.
- 8
Trim out and water-test
Valve trim, glass, and accessories are installed, the shower is water-tested, and permitted work gets its final inspection before handover.
Ready to plan your Boise bathroom?
Licensed & insured · 3-year workmanship warranty
Frequently asked questions
- How much does it cost to retile a shower?
- National guides such as HomeAdvisor and Angi put full shower retiles roughly between $2,500 and $10,000 or more. Tile selection and labor drive most of the spread; the substrate and waterproofing rebuild is fairly constant. Hidden framing damage found at demo is the main add — a fixed local bid after an in-person look beats any national range.
- Do you have to replace the waterproofing when you retile a shower?
- Yes — as a practical matter it is unavoidable and as a quality matter it is the point. Demo destroys the substrate the old membrane lived on, and no installer can warranty new tile over an old, unverifiable water barrier. The membrane is rebuilt with the walls, which is why a retile bid should always name the waterproofing system.
- Can I retile just one wall of the shower?
- Structurally it is possible if the other walls are genuinely sound, but the waterproofing has to tie into the adjacent walls correctly, matching discontinued tile is a lottery, and you inherit the remaining walls’ age. It is honest for impact damage on an otherwise young shower; for a shower old enough to be failing, whole-enclosure work is the better spend.
- How long does a shower retile take?
- Four to seven working days is typical: a day of demo and inspection, a day or two of backer and waterproofing with cure time, two or more days of setting and grouting, then trim-out. Epoxy grout and membrane cure requirements add schedule but pay for themselves in durability. The shower is out of service throughout.
- Is it worth retiling a shower that works but looks dated?
- If the assembly is dry and solid, it is a design decision rather than a repair — and a reasonable one, since dated tile drags a bathroom’s whole appearance. The smart move is bundling it: while the walls are open you can add a niche, upgrade the valve, and fix layout complaints for a fraction of what each costs as a standalone project later.
Sources
- Tile Council of North America (TCNA)
- National Tile Contractors Association
- HomeAdvisor — True Cost Guide
- Schluter Systems
- City of Boise — Planning & Development Services
Claims and figures are drawn from the sources above and provided for general guidance; your project may vary. Photography is illustrative of design concepts. For a fixed price on your specific bathroom, request a free estimate.