Updated July 16, 2026 · 7 min read
By Boise Bath — bathroom & shower remodeling in Boise & the Treasure Valley
The short answer
Shower waterproofing cannot be repaired from the front — the membrane sits behind the tile and backer board. Redoing it means stripping the shower to the studs, fixing any damaged framing, installing a new waterproofing system, and rebuilding the finished surfaces. In practice, a failed membrane turns into a full shower rebuild, usually one to two weeks of work.
Key takeaways
- The waterproofing layer sits behind the tile and substrate — there is no access to it without removing everything in front of it.
- Tile and grout are not waterproof; per the Tile Council of North America, the membrane behind them is what keeps water out of the wall. Sealing grout cannot fix a failed membrane.
- Ceiling stains below, damp drywall beside the shower, loose tile, and a persistent musty smell are the classic signs the membrane — not the grout — has failed.
- A waterproofing redo is a rebuild: demo to studs, framing and subfloor repair, a new membrane system, then new finishes. The pan almost always goes with it.
- The forced rebuild is also the cheapest moment to change the shower — size, niche, glass, or a curbless entry cost the least while everything is already open.
Why can’t failed waterproofing be fixed from the front?
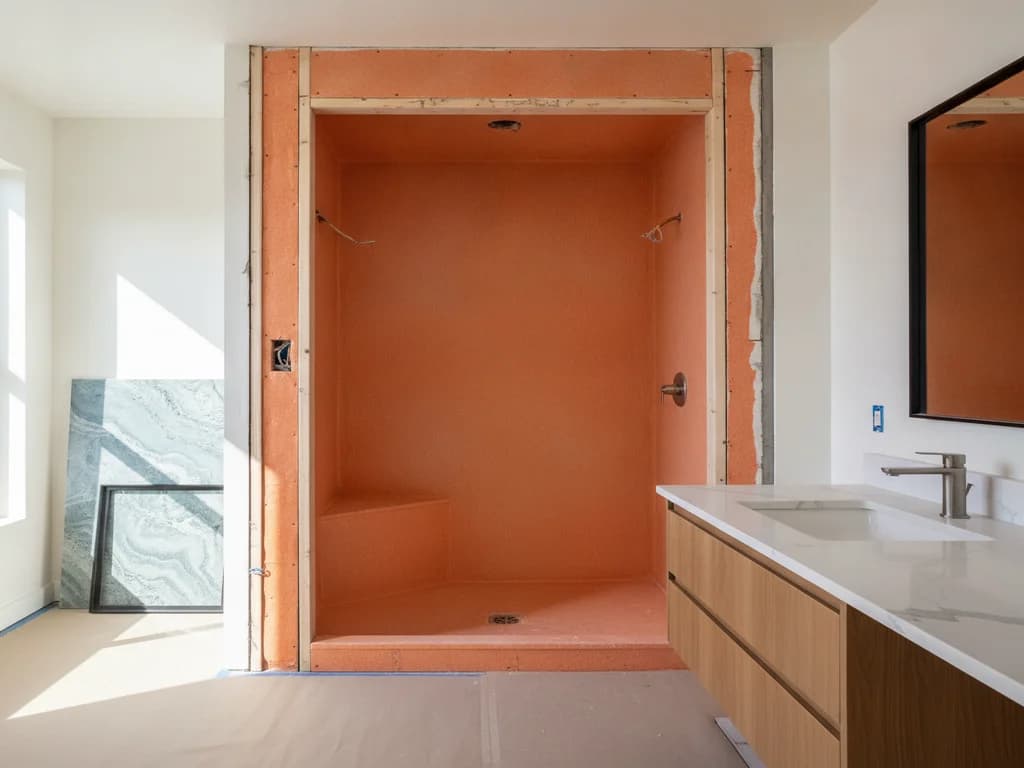
Because of where it lives. In a properly built shower, the waterproofing membrane is applied over the backer board — or is the layer the tile bonds to — and the pan membrane runs beneath the mortar bed and floor tile. Every part of it sits behind or under the surfaces you can see.
So when the membrane fails, there is nothing to reach from inside the shower. Recoating the tile, recaulking corners, or sealing grout treats the finish, not the failure — water keeps finding the same breach behind the wall. The only real fix is removing the finished surfaces and substrate to rebuild the waterproofing layer itself.
Isn’t the tile itself waterproof?
No — and this is the misunderstanding that sells a lot of useless grout sealer. The Tile Council of North America is direct about it: tile and grout are not waterproofing. Grout is porous cement, tile has joints, and a working shower assembly assumes some moisture gets past the surface and is stopped by the membrane behind it.
That is why a shower with a healthy membrane can have ugly grout and never leak, while a shower with beautiful grout over a failed membrane rots the wall behind it. The tile is the armor; the membrane is the raincoat.
Grout sealer will not save a failed membrane
If water is showing up outside the shower — on a ceiling below or a wall beside it — no surface product can fix that. Money spent on sealers and recaulking at that stage only delays the rebuild while the framing keeps getting wet.
How does shower waterproofing fail?
Sometimes it was never right: seams that were not treated, fasteners driven through the membrane, penetrations left unsealed at the valve or niche, or a pan built without a proper slope so water sat against the liner for years. Failures like these often show up within a few years of the original install.
Other times it is simply age. Many older Treasure Valley showers were built on a felt-paper-and-mud-bed system or an early pan liner, and those materials have a service life; decades of wet-dry cycles eventually crack or embrittle them. What a correct modern assembly looks like — sheet membranes, liquid-applied coatings, foam board systems — is covered in our shower waterproofing guide; this article is about what happens when the one you have is done.
What are the signs the membrane has failed?
The evidence shows up outside the shower before it shows up inside. A stain or bubbling paint on the ceiling below the bathroom, damp or soft drywall on the walls adjacent to the shower, and baseboard or flooring damage just outside the curb are the classic tells.
Inside the shower: tile that sounds hollow or comes loose, grout lines that keep darkening long after the shower dries, and efflorescence — a white mineral crust — at the base of the walls or floor joints. A persistent musty smell in the bathroom is a warning of its own; the EPA notes that mold grows wherever building materials stay damp, and a wall cavity behind a leaking shower is exactly that.
None of these prove which layer failed — a bad drain gasket or a valve leak can mimic a membrane failure. A contractor confirms the source before anyone starts demolition, sometimes with moisture readings from the adjacent room or crawl space.
What does the redo actually involve?
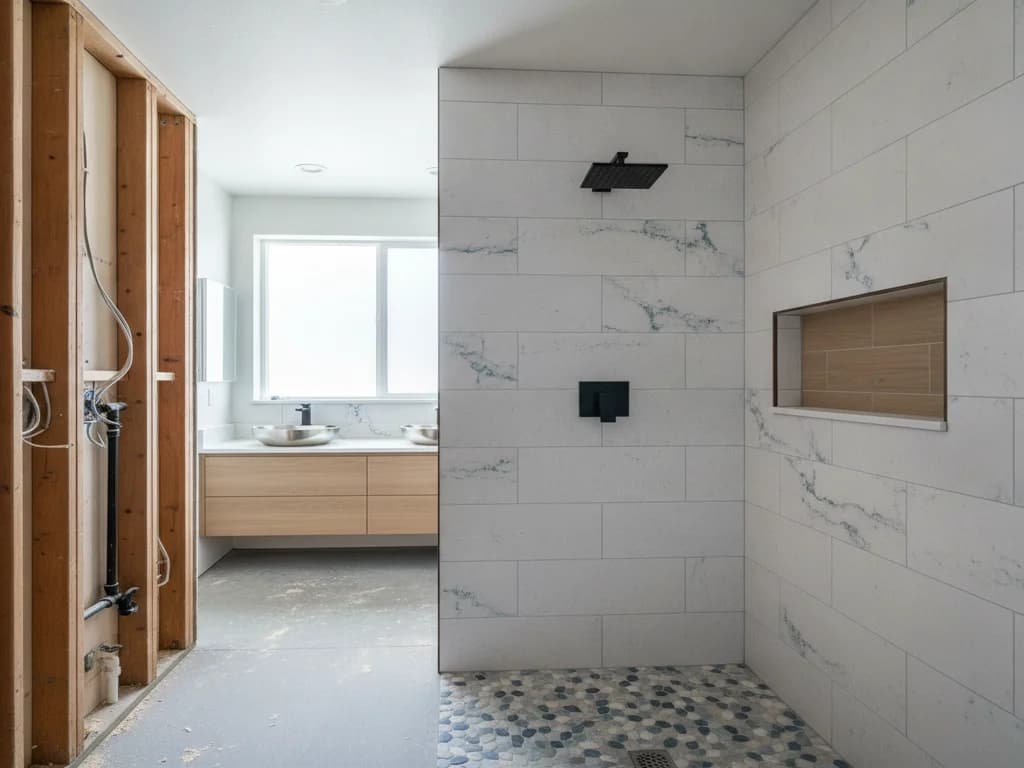
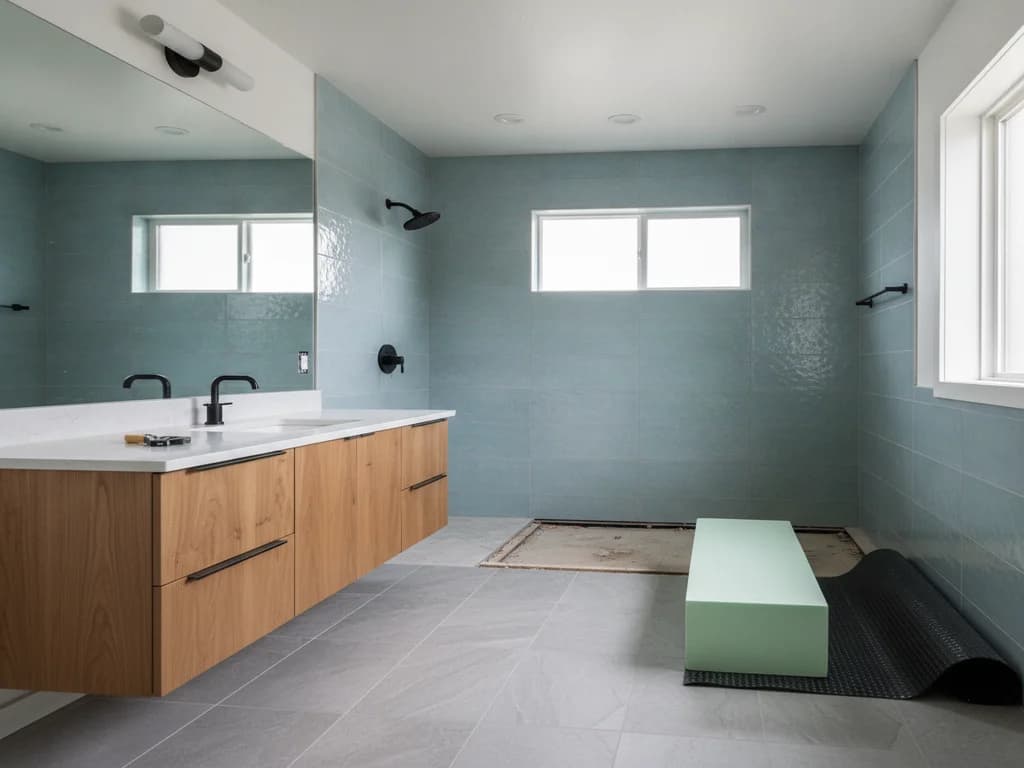
Everything in front of the membrane comes off: tile or surround panels, the substrate they were bonded to, and — in nearly every case — the shower pan, since wall and floor waterproofing form one connected system and a new wall membrane cannot tie into a decades-old liner with any integrity. Our shower pan replacement article covers that piece of the job.
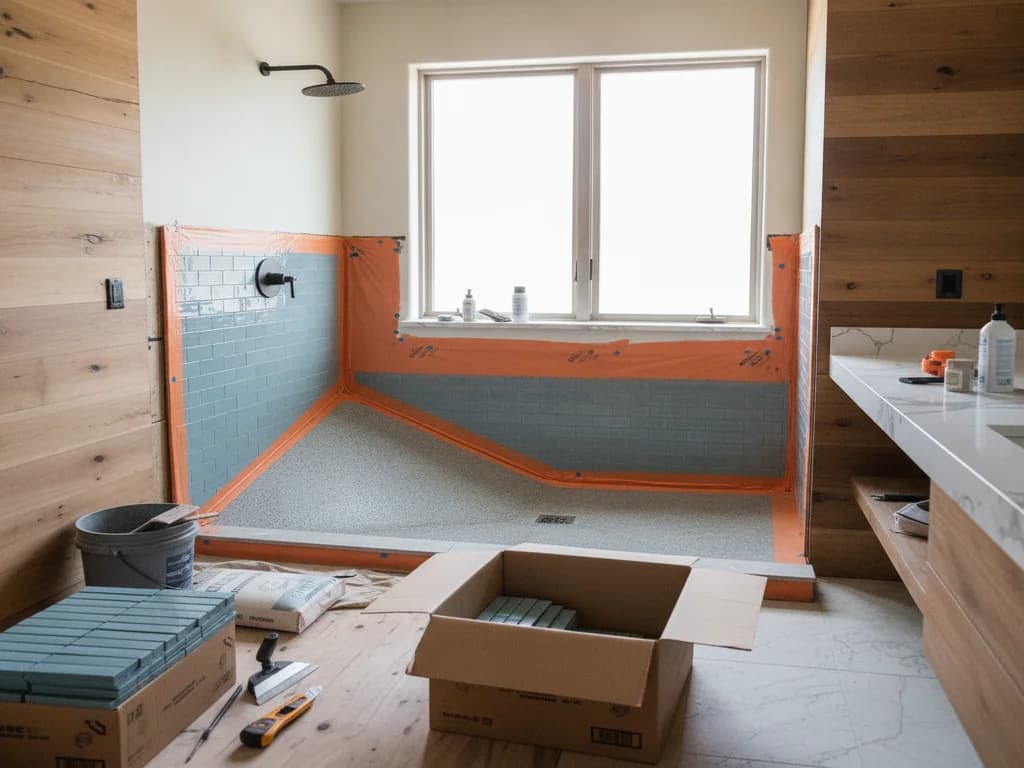
With the alcove down to the studs, the crew deals with what the water did: replacing rotted framing or subfloor sections, drying out the cavity, and removing mold-affected material. Then the shower is rebuilt as one new assembly — substrate, a continuous modern membrane system from a manufacturer like Schluter or Custom Building Products, a flood-tested pan, and new finishes over the top.
In other words: redoing waterproofing is not a repair with a rebuild attached — it is a rebuild, with waterproofing as its reason.
The silver lining: a forced rebuild is a free redesign
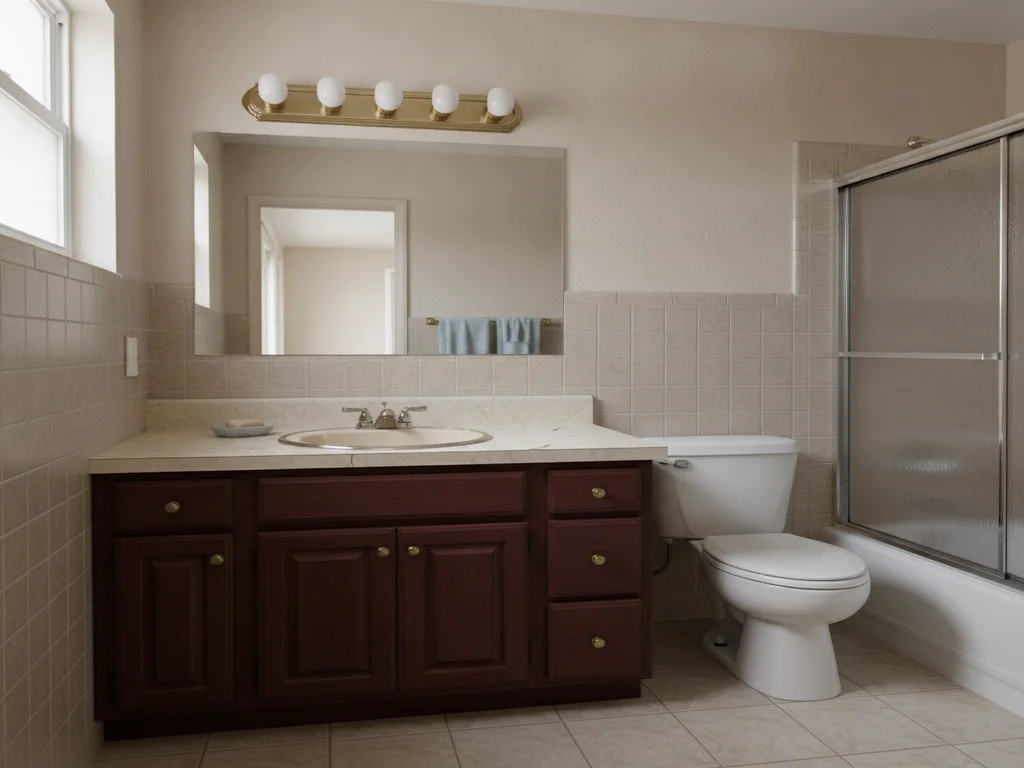
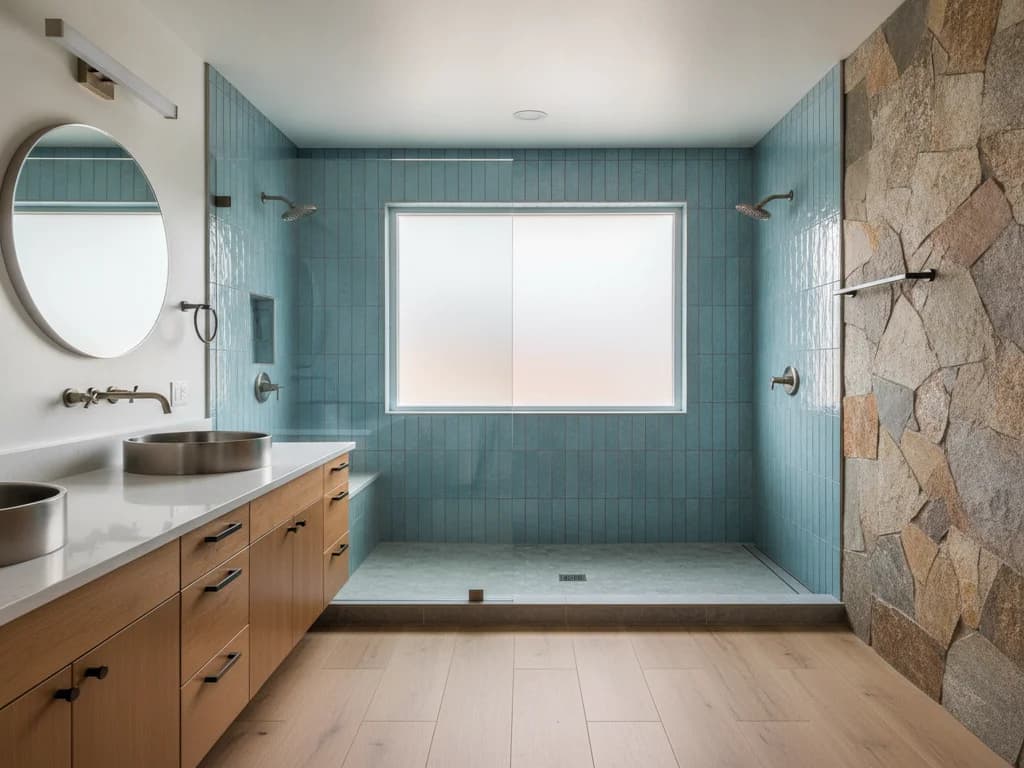
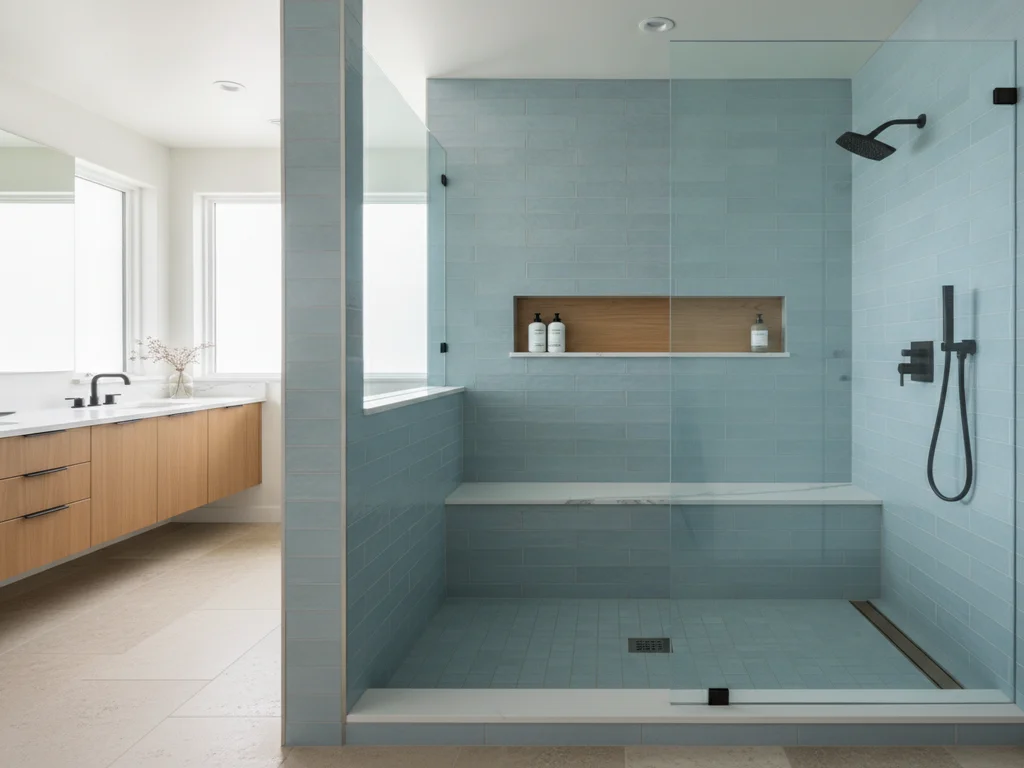
Since the shower is going to the studs regardless, changing it costs far less than it ever would on its own. This is the moment to add the recessed niche, put blocking in the walls for future grab bars or heavy glass, upsize the opening, or rethink the entry entirely — a curbless conversion is dramatically cheaper when the floor is already open.
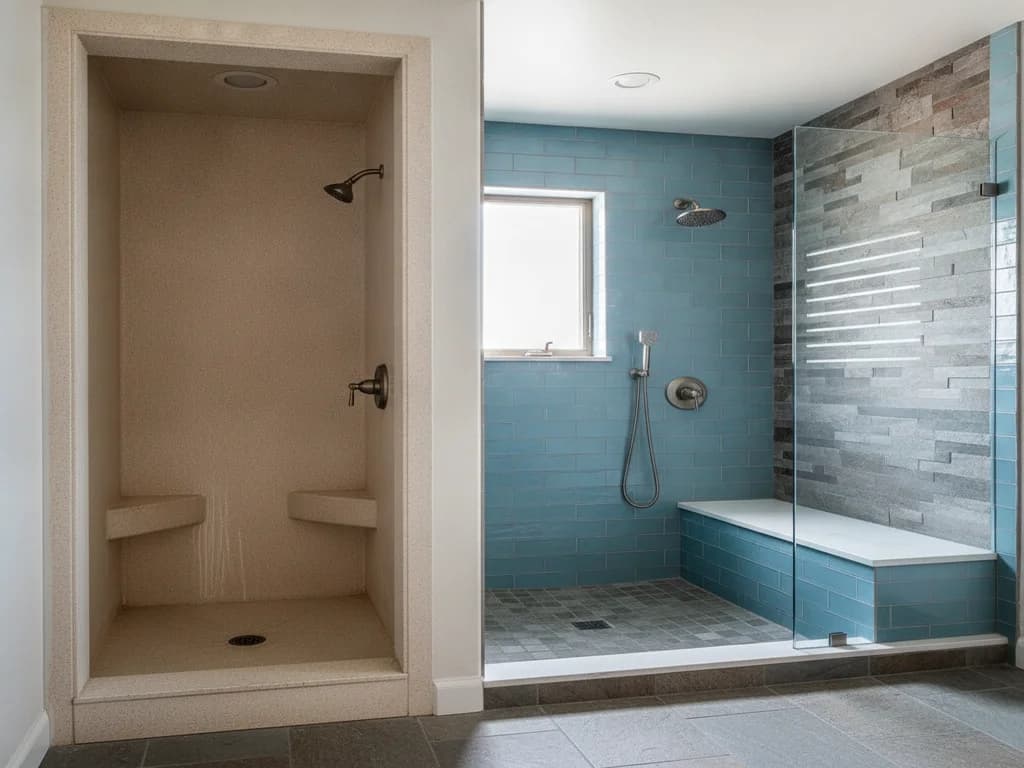
Plenty of homeowners facing a failed membrane in a dated shower simply upgrade the whole thing — the tear-out they are paying for is the same tear-out a tub-to-shower conversion or a full walk-in remodel would need anyway.
Cost, timeline, and permits
Because the scope is a shower rebuild, the budget is remodel-shaped: national cost guides such as HomeAdvisor and Angi put full shower replacement broadly between a few thousand dollars and ten thousand or more, with hidden water damage as the main wildcard — rotted framing and subfloor repair add to any estimate written before demo.
Timeline runs about one to two weeks: demo and drying at the front, then the rebuild sequence with membrane cure times and a flood test before tile. Plumbing touched along the way — and the valve and drain almost always are — is permitted and inspected work through the City of Boise Planning & Development Services or your city’s equivalent.
What the process looks like
- 1
Confirm the source of the moisture
The contractor verifies the membrane is the failure — not a drain gasket, valve leak, or supply line — using moisture readings and inspection from the adjacent room, ceiling below, or crawl space.
- 2
Protect and demo to the studs
The bathroom is masked and floors protected, then tile, substrate, and the pan come out until the framing and subfloor are fully exposed. Wet material is removed, not built over.
- 3
Repair and dry the structure
Rotted studs, blocking, and subfloor sections are cut out and replaced, mold-affected material is remediated, and the cavity is dried and verified before anything closes it back up.
- 4
Update the plumbing while it is exposed
An aging valve and drain are replaced now — permitted and inspected — since reaching them later would mean cutting into the brand-new assembly.
- 5
Build the new waterproofing system
New substrate goes up and a continuous membrane system is installed per the manufacturer spec — walls, pan, curb or curbless entry, and every seam, corner, and penetration treated as one connected assembly.
- 6
Flood-test before finishes
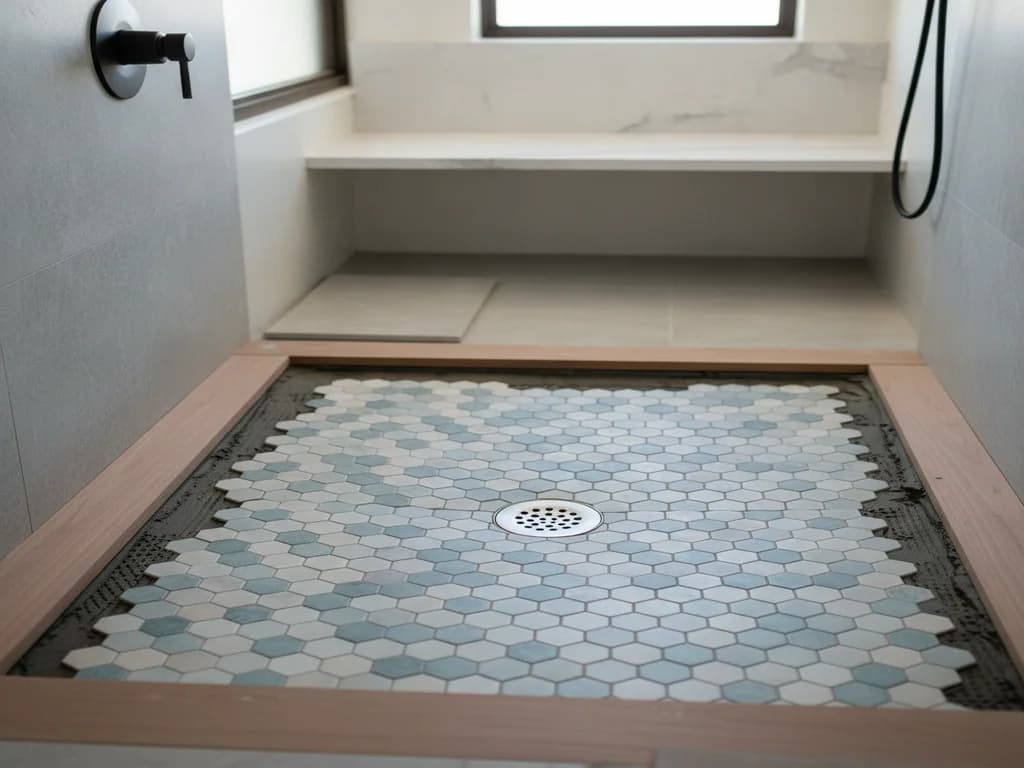
The pan is plugged and flood-tested to verify the new system holds water before it disappears behind tile — the single most important checkpoint in the rebuild.
- 7
Rebuild the finished shower
Tile or panels, grout and sealant, glass, and trim go on last, followed by a final running-water check and cleanup.
Ready to plan your Boise bathroom?
Licensed & insured · 3-year workmanship warranty
Frequently asked questions
- Can you redo shower waterproofing without removing the tile?
- No. The membrane sits behind the tile and its substrate, so there is no path to it from the front. Surface treatments — grout sealer, recaulking, paint-on coatings over tile — do not reconnect a failed membrane and only postpone the rebuild while the wall cavity keeps taking on water.
- How do I know if it’s the membrane and not just bad grout?
- Follow where the water shows up. Stains on the ceiling below, damp drywall beside the shower, or damage outside the curb mean water is getting past the membrane — a grout problem alone cannot do that. Cracked or missing grout with no moisture outside the shower is a maintenance item, not a failure.
- How much does redoing shower waterproofing cost?
- Plan for shower-rebuild money, not repair money: national guides like HomeAdvisor and Angi put full shower replacement roughly between a few thousand and ten thousand dollars or more. The wildcard is concealed water damage — framing and subfloor repair discovered during demo adds to whatever was quoted from the outside.
- Does the shower pan have to be replaced too?
- Almost always. The wall and floor waterproofing work as one connected system, and a new wall membrane cannot reliably tie into a decades-old pan liner — the joint between new and old becomes the next failure point. Rebuilding the pan with the walls is what makes the new system trustworthy.
- Is mold behind a leaking shower dangerous?
- It should be taken seriously. The EPA notes mold grows wherever building materials stay damp, and a wall cavity behind a failed membrane can stay wet for months. The remedy is part of the rebuild: remove affected material, fix the moisture source, and dry the structure before closing it up — not surface treatment.
- How long does a waterproofing redo take?
- Typically one to two weeks. Demo and structural drying set the pace at the front end, and membrane cure times plus a flood test gate the middle — that test happens before tile goes on, because it is the last time the system is visible. Tile, grout, and glass fill out the back half of the schedule.
Sources
- Tile Council of North America (TCNA)
- Schluter Systems
- Custom Building Products (RedGard)
- EPA — Mold
- HomeAdvisor — True Cost Guide
Claims and figures are drawn from the sources above and provided for general guidance; your project may vary. Photography is illustrative of design concepts. For a fixed price on your specific bathroom, request a free estimate.