Updated July 16, 2026 · 7 min read
By Boise Bath — bathroom & shower remodeling in Boise & the Treasure Valley
The short answer
Replacing a shower pan means removing the shower floor down to the subfloor and building a new waterproof base — an acrylic pan, a tile-ready foam pan, or a traditional mud bed. The pan is structural waterproofing, so a failed one cannot be patched from above. Expect two to five days of work, longer for full tile.
Key takeaways
- The shower pan is the waterproof structure under the floor you stand on — once it leaks, surface fixes like regrouting or caulk cannot reach the failure.
- The three replacement systems are acrylic/composite pans (fastest), tile-ready foam pans (tile look, factory-sloped), and traditional mud beds (any size or shape).
- A leaking pan usually announces itself outside the shower: stains on the ceiling below, damp baseboards, or a musty smell — not inside it.
- Pan replacement almost always takes the bottom course of wall tile with it, because the wall waterproofing has to lap over the new pan.
- National cost guides put pan replacement roughly between $1,000 and $3,500 installed, per HomeAdvisor — drain relocation and tile push it higher.
What exactly is the shower pan?
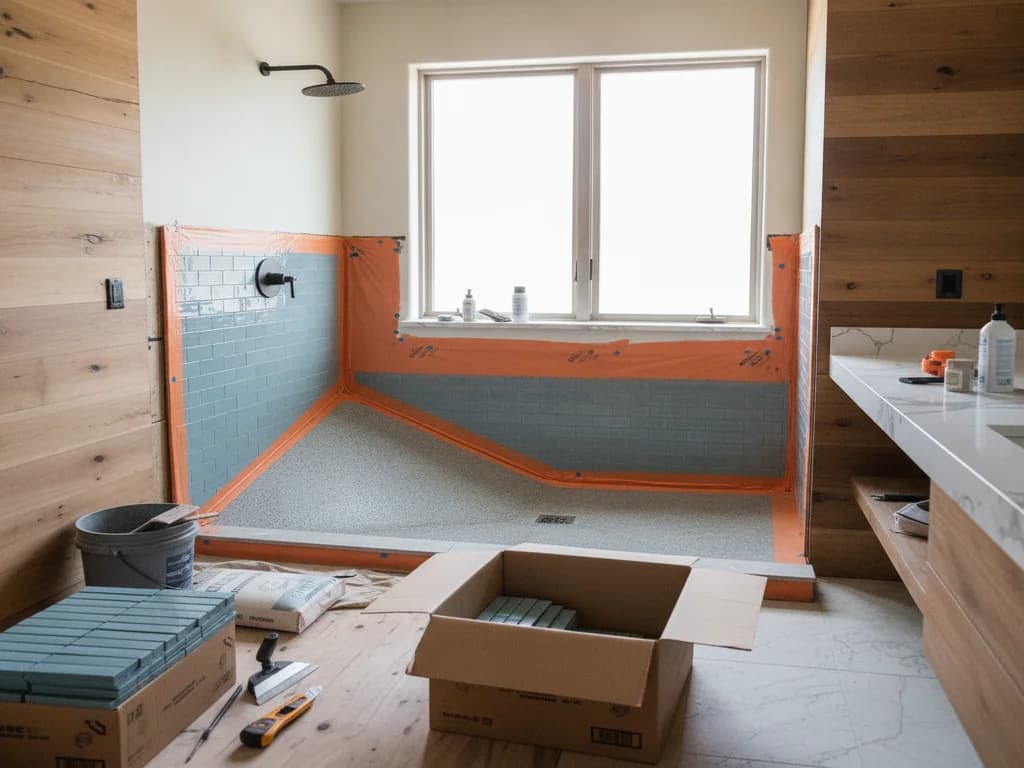
The pan is the waterproof base of the shower — everything between the subfloor and the surface you stand on. In a one-piece or drop-in shower, the pan is the molded acrylic or fiberglass floor itself. In a tiled shower, the pan is a hidden assembly: a sloped bed with a waterproof membrane that catches any water passing through the tile and grout and steers it to the drain.
That hidden role is why the terms get confusing. The tile you see is not the pan — it is the wear surface on top of the pan. When contractors talk about pan failure, they mean the waterproofing underneath has been breached, and water is reaching the subfloor instead of the drain.
What does a failing shower pan look like?
The frustrating part: a failed pan often looks fine from inside the shower. Because the pan sits under the surface, the evidence usually shows up around it — a water stain on the ceiling of the room below, baseboards or flooring near the shower that swell or discolor, a musty smell that cleaning never fixes, or grout and tiles at the shower floor that keep cracking and loosening no matter how often they are repaired.
Inside the shower, the tells are movement: a floor that flexes underfoot, tiles that sound hollow when tapped, or a molded pan with visible cracks radiating from the drain or corners. Any flex means the structure under the surface is compromised.
Confirming a pan leak — as opposed to a valve, drain gasket, or wall leak — takes a proper diagnostic, and we will cover the test methods in a dedicated guide on the signs of a failing shower pan. The short version for now: recurring moisture around a shower that has already been regrouted and recaulked points at the pan.
Regrouting will not fix a pan leak
Grout and tile were never the waterproofing — the membrane below them is. If moisture keeps coming back after surface repairs, more grout or caulk only hides the problem while the subfloor stays wet. That is the point to open it up, not reseal it.
Why can’t a shower pan be patched?
Because the failure is at the bottom of the assembly and everything above it is in the way. A cracked liner or a rotted mud bed sits under the tile, under the setting bed, and often under the bottom course of wall tile — the wall waterproofing laps over the pan like shingles, which is exactly how systems from manufacturers like Schluter are designed to work.
Coating products and drain-side patches exist, but they treat the symptom on the surface while trapped moisture keeps working on the wood below. Industry method standards from the Tile Council of North America treat the pan as a continuous system for a reason: it either sheds all the water to the drain, or it fails. Replacement rebuilds that system from the subfloor up — and it is the only fix that also lets you repair whatever the leak already damaged.
The three shower pan types compared
Everything that can go back in falls into three families. An acrylic or composite pan is a factory-molded base that sits on the subfloor — the fastest, most predictable install, in standard sizes, and the natural pairing for wall panel systems.
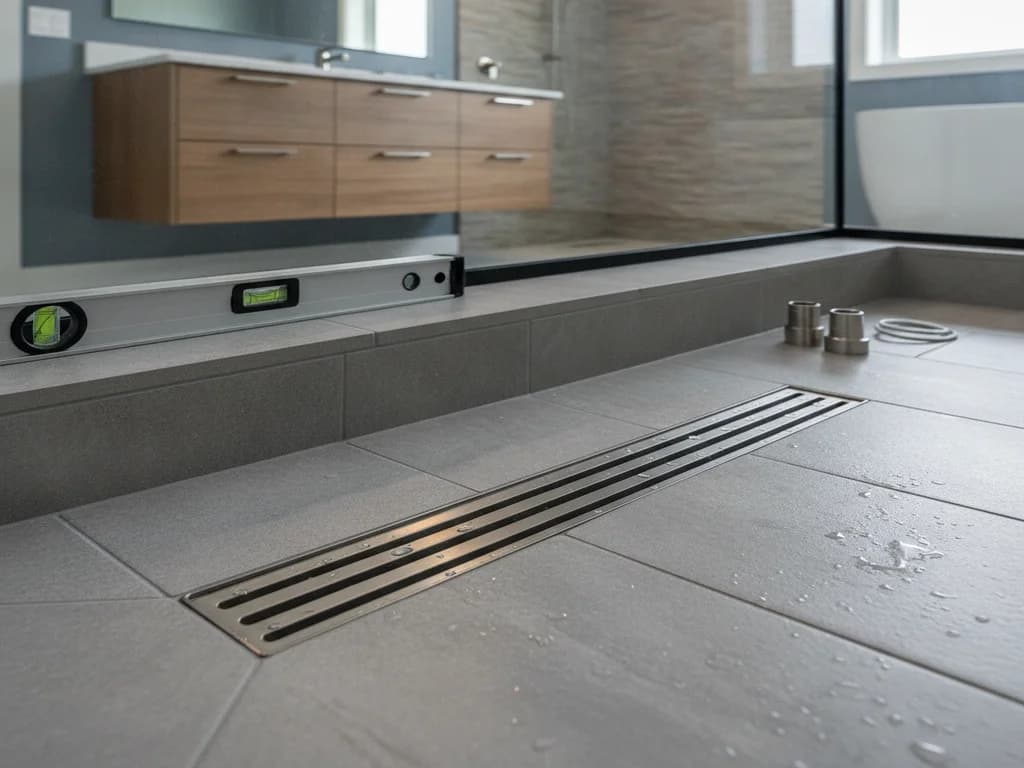
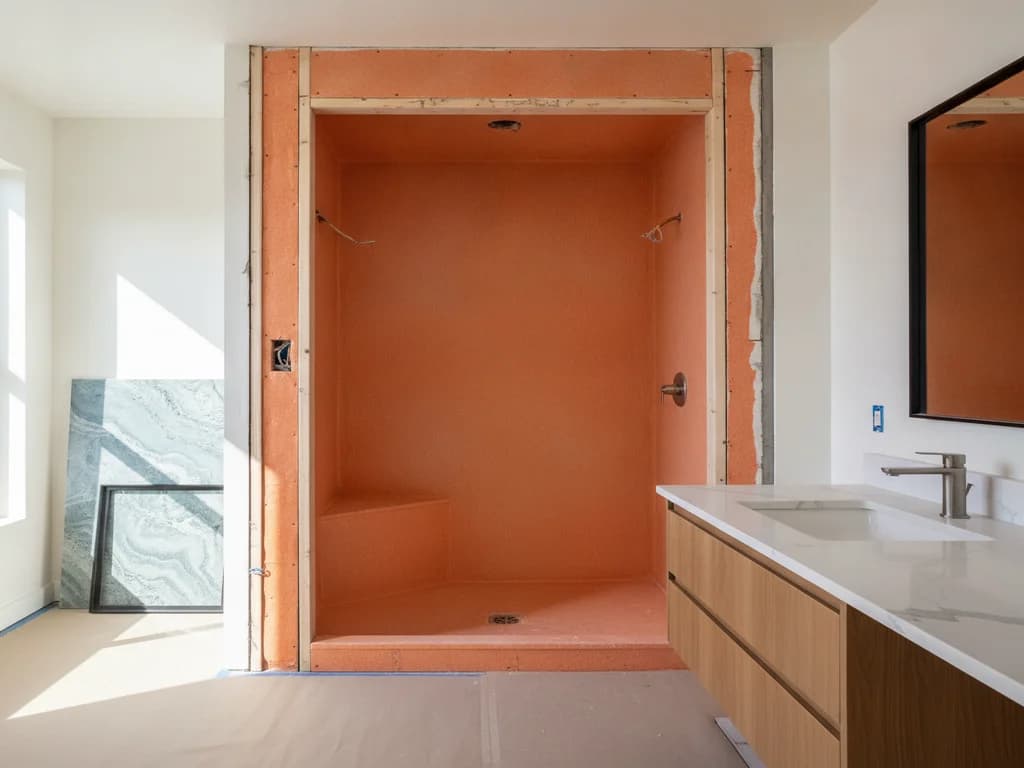
A tile-ready foam pan (Schluter, wedi, and similar) is a factory-sloped, inherently waterproof foam base that gets tiled over. It brings the precision of a molded pan to a tiled shower and has largely become the modern default for tile.
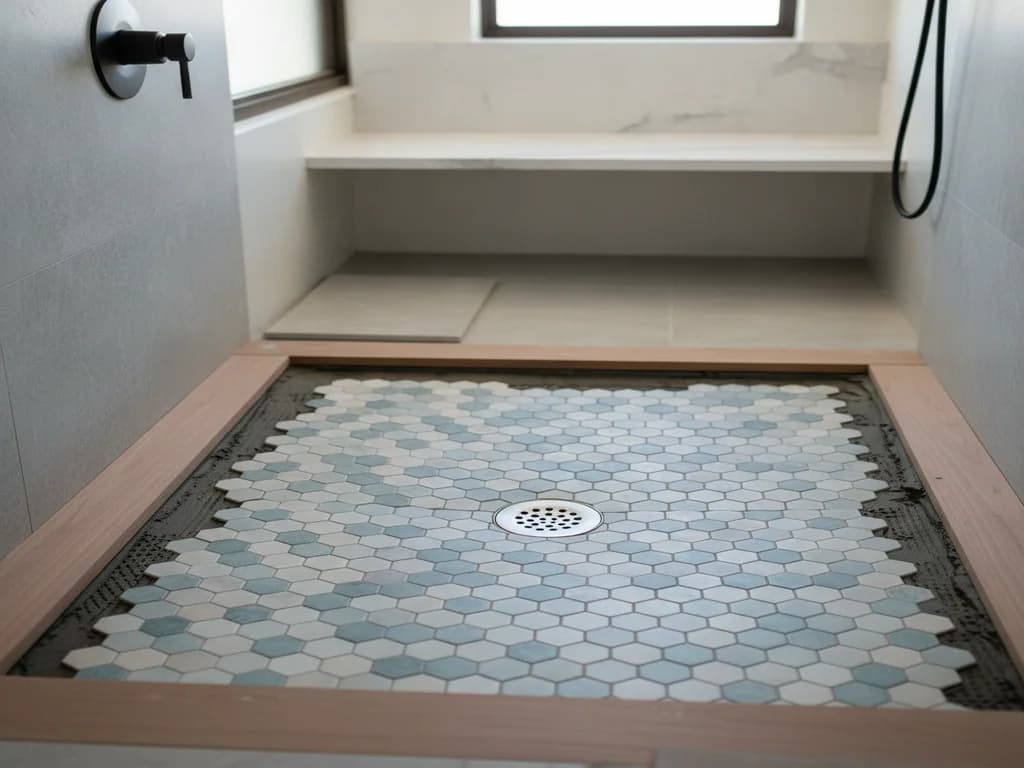
A traditional mud bed is a hand-floated sloped mortar bed with a membrane — the old-school method, and still the answer when the shower is an unusual size or shape that no factory pan matches. It depends entirely on the installer’s skill, which is where the bad ones came from and the great ones still come from.
| Pan type | Surface | Install speed | Best for |
|---|---|---|---|
| Acrylic / composite | Molded finish (no tile) | Fastest | Standard alcoves, budget-focused swaps, panel-wall showers |
| Tile-ready foam | Tile | Fast | Tiled showers in standard-ish footprints; curbless conversions |
| Traditional mud bed | Tile | Slowest | Custom sizes and shapes no factory pan fits |
Does replacing the pan mean redoing the whole shower?
Not the whole shower — but rarely just the floor, either. The wall waterproofing has to lap over the new pan, so the bottom course or two of wall tile typically comes off and gets rebuilt into the new assembly. A skilled tile setter can often blend that repair, though matching decade-old tile is a real limitation.
This is also the honest fork in the road. If the walls are dated, the valve is original, or you have been wanting a curbless entry anyway, the pan replacement already includes most of the disruptive work — demo, plumbing access, waterproofing tie-ins. Folding the pan into a full shower replacement usually costs meaningfully less than doing the two projects a few years apart. Our shower waterproofing guide shows what the full rebuilt assembly looks like.
Cost, permits, and timeline
National cost guides put shower pan replacement roughly between $1,000 and $3,500 installed, per HomeAdvisor — with acrylic pans at the low end and mud bed or tile-ready pans with new tile at the top. Moving the drain, repairing subfloor rot, or rebuilding wall tile adds to that. A fixed local bid after someone actually looks at the shower beats any national average.
In Boise and the surrounding Treasure Valley cities, drain or trap work triggers a plumbing permit through the City of Boise Planning & Development Services or the equivalent local office — a licensed contractor pulls it and schedules the inspections. Timeline runs about two to five days: acrylic swaps at the short end, tiled pans at the long end with membrane and grout cure time.
What the process looks like
- 1
Confirm the pan is actually the problem
The contractor rules out the valve, drain gasket, and wall penetrations first, then verifies the pan failure — replacing a pan to fix a leaking valve is an expensive miss.
- 2
Protect the room and demo the floor
Floors and the path out get covered, then the shower floor comes out — tile, setting bed, and old membrane down to the subfloor, plus the bottom course of wall tile so the new waterproofing can lap correctly.
- 3
Inspect and repair the subfloor and framing
With the pan out, the crew checks how far moisture traveled. Soft subfloor and any compromised framing get cut out and replaced now, while everything is open.
- 4
Rough in the drain
The drain assembly is replaced to match the new pan system — a clamping drain for a liner, a bonding-flange drain for foam pans — and repositioned if the layout changes. Permitted work gets its inspection here.
- 5
Build the new pan
The acrylic pan is set in a mortar bed, or the tile-ready pan is bonded to the subfloor, or the mud bed is floated to slope — each per the manufacturer’s or TCNA method spec.
- 6
Waterproof and tie into the walls
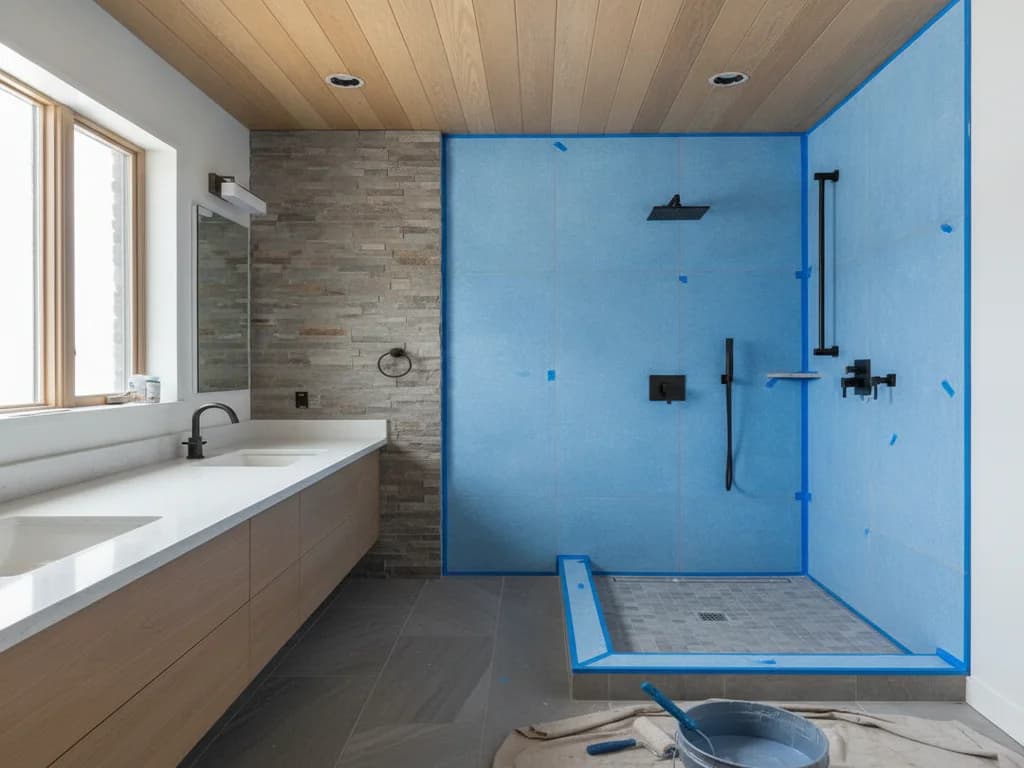
Membrane, seams, corners, and the drain connection are sealed as one continuous system, with the wall waterproofing lapped over the pan.
- 7
Set the surface and water-test
Tile is set and grouted (or the acrylic pan is trimmed and sealed), the assembly is flood- or water-tested, and the rebuilt wall course is finished before the final walkthrough.
Ready to plan your Boise bathroom?
Licensed & insured · 3-year workmanship warranty
Frequently asked questions
- Can you replace a shower pan without replacing the tile walls?
- Usually yes — with an asterisk. The wall tile above stays, but the bottom course or two typically comes off so the wall waterproofing can lap over the new pan correctly. A good tile setter rebuilds that band, though matching older discontinued tile exactly is not always possible, which is worth knowing before demo starts.
- How long does a shower pan replacement take?
- About two to five days for most showers. An acrylic pan swap into an existing alcove sits at the short end. A tiled pan — tile-ready foam or mud bed — takes longer because the membrane, mortar, and grout each need cure time before the next stage, and a water test comes before the shower goes back into service.
- What is the difference between a tile-ready pan and a mud bed?
- A tile-ready pan is a factory-made, pre-sloped waterproof foam base that gets tiled directly — precision comes from the factory. A mud bed is a sloped mortar base floated by hand with a membrane, buildable to any size or shape. Tile-ready pans are faster and less installer-dependent; mud beds win when no factory pan fits the footprint.
- How much does it cost to replace a shower pan?
- National guides such as HomeAdvisor put the range at roughly $1,000–$3,500 installed, depending on pan type and whether tile work is included. Drain relocation, subfloor repair, and rebuilding wall tile add to it. Because the real cost driver is what the leak already damaged, a local inspection and fixed bid is the only number worth budgeting from.
- Is a leaking shower pan an emergency?
- It is not a burst pipe, but it should not wait a season. Every shower run sends more water into the subfloor, and the repair cost grows with the rot — a contained pan replacement can become a subfloor and framing repair. If a ceiling stain below the bathroom is growing, stop using that shower until it is diagnosed.
- Should I replace the pan or the whole shower?
- If the walls, valve, and glass are in good shape and you like the shower, replace the pan. If the shower is dated or the valve is original, the pan job already includes the disruptive parts — demo, plumbing access, waterproofing — so folding it into a full replacement usually costs less than doing the projects separately a few years apart.
Sources
- Tile Council of North America (TCNA)
- Schluter Systems
- HomeAdvisor — True Cost Guide
- City of Boise — Planning & Development Services
Claims and figures are drawn from the sources above and provided for general guidance; your project may vary. Photography is illustrative of design concepts. For a fixed price on your specific bathroom, request a free estimate.