Updated July 16, 2026 · 7 min read
By Boise Bath — bathroom & shower remodeling in Boise & the Treasure Valley
The short answer
Most fiberglass showers are one-piece units set during construction, before the drywall — so they cannot fit back out the bathroom door intact. Replacement means cutting the unit into sections, stripping the alcove to the studs, then installing a multi-piece system, wall panels, or tile over new waterproofing. Expect three days to a week of work.
Key takeaways
- One-piece fiberglass units were installed before the interior walls were finished — the doorway is smaller than the unit, so removal means cutting it apart.
- There is typically no waterproofing behind a fiberglass unit — just bare studs — so the replacement is built up from a new waterproofed substrate.
- Cracking or flexing in the shower floor is the most common trigger for replacement; a spongy pan means the supporting structure needs a look.
- Replacement options that fit through a finished doorway: multi-piece acrylic systems, large-format wall panels over a new pan, or custom tile.
- The tear-out is loud and dusty but fast — the cutting itself usually takes hours, not days, with the right dust control.
Why can’t a one-piece fiberglass shower just be pulled out?
Because it never came through the bathroom door in the first place. One-piece fiberglass units — the standard fixture in production homebuilding for decades, including thousands of 1990s and 2000s Treasure Valley houses — were set into the framing during construction, before the drywall and interior doors went in.
A typical unit is around five feet wide and over six feet tall as a single molded shell. A finished bathroom doorway is 24 to 32 inches. The geometry only works one direction, which is why publications like This Old House describe removal the same way every contractor does: the unit gets cut into manageable sections and carried out.
That sounds dramatic, but for an experienced crew it is routine — a reciprocating saw, sheet plastic and dust control, and a few hours of noisy work.
When is a fiberglass shower due for replacement?
Fiberglass is the budget end of the molded-shower spectrum, with a thin gelcoat finish over a fiberglass shell. The common end-of-life signs: a floor pan that flexes or feels spongy underfoot, cracks radiating from the drain or corners, a chalky finish that no longer comes clean, and yellowing that cleaning does not touch.
A flexing floor deserves the most attention. It usually means the pan was never fully supported underneath, and years of movement can fatigue the fiberglass into cracking — at which point water may be reaching the subfloor below. Hairline spider cracks in the gelcoat are cosmetic; cracks you can feel or that flex when pressed are structural.
Hard Treasure Valley water accelerates the cosmetic decline: mineral deposits etch into worn gelcoat and become effectively permanent once the finish is gone.
What will you find behind the unit?
Usually: nothing. One-piece units were designed to be their own waterproofing, so behind the shell is typically bare framing — no membrane, no backer board. The drywall in the room simply dies into the unit’s nailing flange.
That has two consequences. First, the replacement system is built from the studs out with proper substrate and waterproofing — our shower waterproofing guide explains what a correct assembly looks like. Second, if the unit ever leaked at the drain or the flange, the damage went straight into unprotected framing and subfloor.
The flange line is where leaks hide
Where the drywall meets the unit’s nailing flange is the classic failure point — caulk fails, splash water wicks in, and the framing behind stays damp. When the unit comes out, insist on a good look (and photos) of the studs and subfloor before anything new goes in.
What are your replacement options?
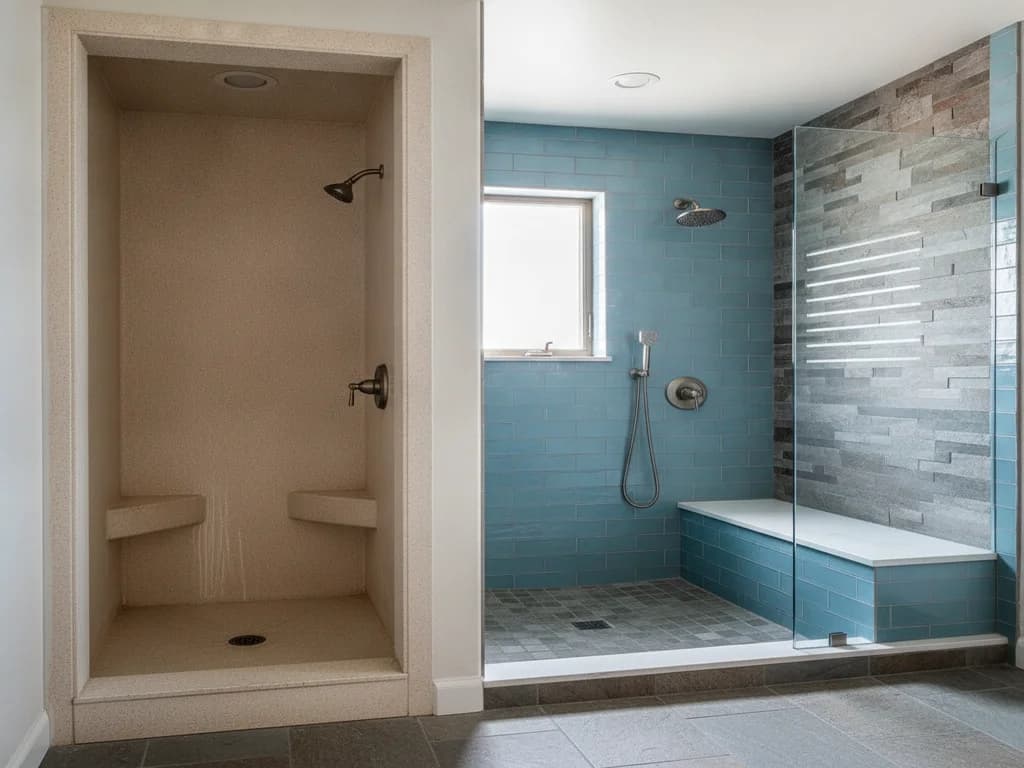
Everything that replaces a one-piece unit has to fit through a finished doorway, which is why all the modern options are modular. A multi-piece acrylic or composite shower system — separate pan and wall sections — is the closest like-for-like swap and the fastest install.
A step up in looks: a manufactured pan with large-format wall panels, which get you a grout-free, stone- or tile-look wall. We break down the systems in shower wall panel systems and compare the whole field in best shower wall materials.
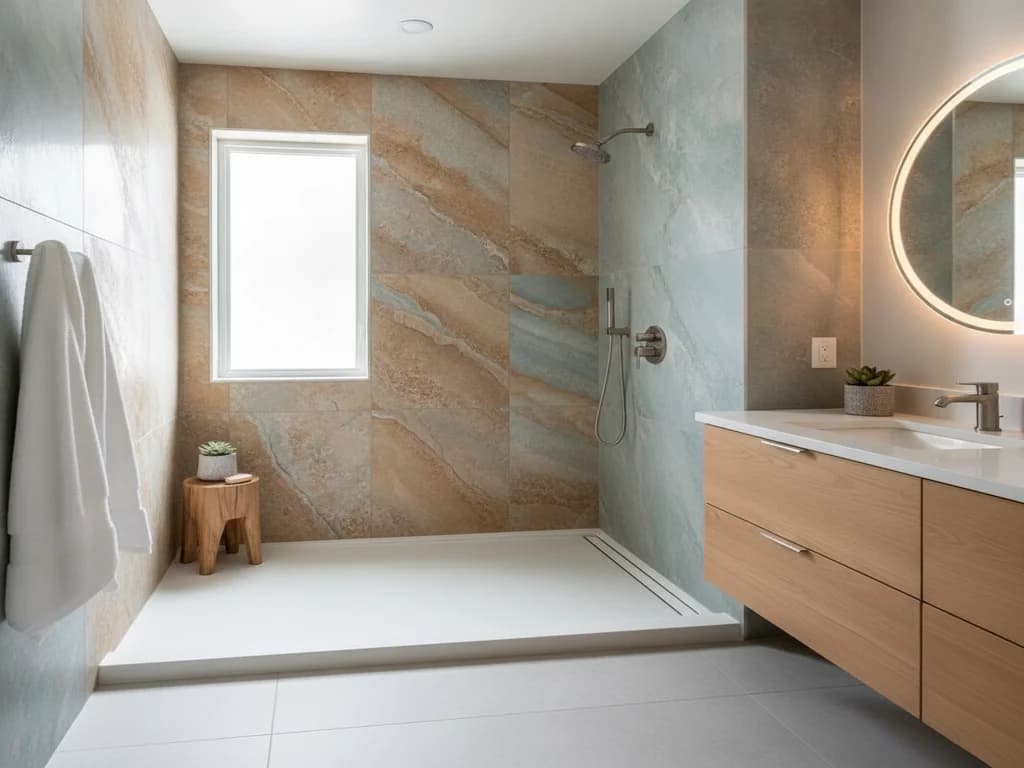
The full-custom path is a tiled shower over a waterproofed base — any size, curbless if you want it, and the option that transforms a builder-grade bathroom the most. The acrylic vs. tile shower comparison covers that trade-off honestly.
| Option | Look | Install speed | Maintenance | Best for |
|---|---|---|---|---|
| Multi-piece acrylic system | Clean, simple | Fastest | Lowest | Budget-focused like-for-like swap |
| Pan + wall panels | Stone/tile look, no grout | Fast | Low | Modern update without tile cost |
| Custom tile | Unlimited design | Longest | Grout upkeep | Full transformation, curbless entries |
Is this the moment to upgrade the shower itself?
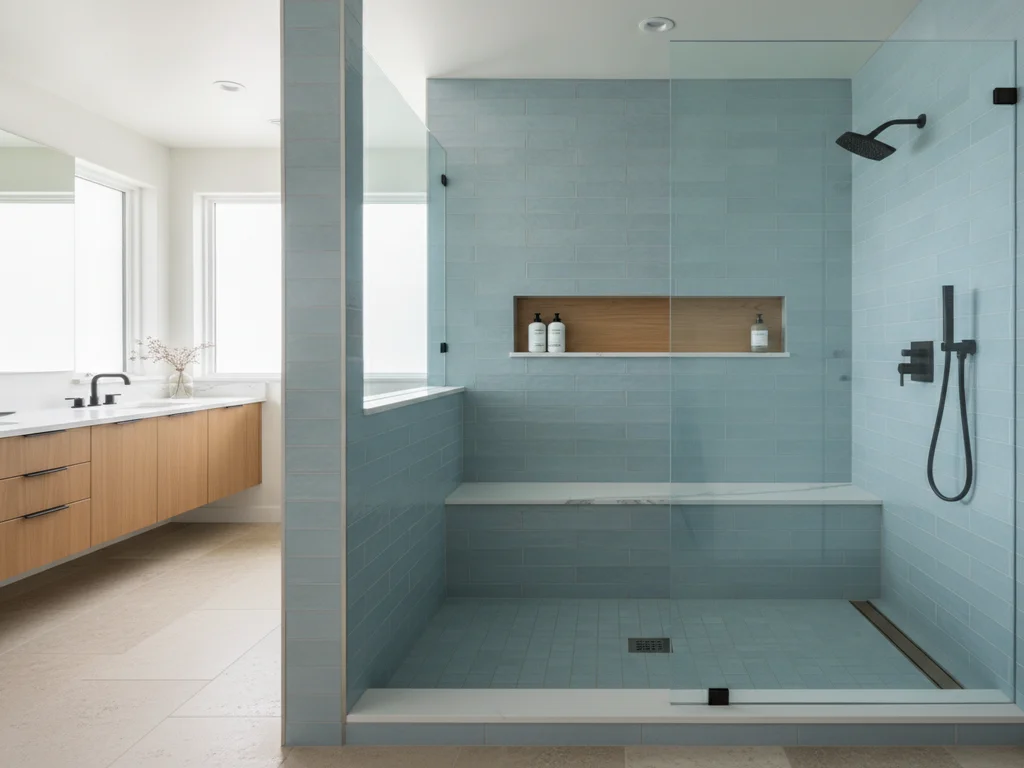
Since the alcove is going down to the studs anyway, upgrades that are expensive to retrofit later are cheap to include now: a new pressure-balancing valve, a recessed niche, blocking for grab bars, better lighting, and — if the framing allows — a curbless entry.
Many one-piece units also sit in a footprint slightly smaller than the framed alcove, so the replacement often gains a couple of inches of shoulder room for free. For budget context on the upgrade path, see our Boise walk-in shower cost guide, and for design direction, walk-in shower ideas.
Permits and timeline
If the valve or drain is replaced or moved — which nearly always happens, since a decades-old unit means decades-old plumbing — the City of Boise Planning & Development Services requires a plumbing permit, as do the neighboring Treasure Valley cities. A licensed contractor pulls it and handles inspections.
The overall project runs about three days to a week: the tear-out itself is quick, and the schedule is driven by the replacement system — acrylic and panel systems at the short end, custom tile at the long end with waterproofing and grout cure time.
What the process looks like
- 1
Assess the unit and pick the replacement
The contractor confirms the alcove framing dimensions behind the unit, checks the pan for flex and signs of past leaks, and locks in the replacement system so demo does not start before materials are on site.
- 2
Set up protection and dust control
Floors and the exit path get covered, the room is masked with plastic, and a dust extractor or negative-air setup runs during cutting — fiberglass dust is unpleasant and travels.
- 3
Disconnect and cut out the unit
Water is shut off, the drain and valve trim are disconnected, fasteners at the nailing flange are removed, and the unit is cut into sections with a reciprocating saw and carried out.
- 4
Inspect framing, subfloor, and plumbing
With the alcove open, the crew checks for moisture damage at the flange line and drain, replaces any compromised framing or subfloor, and evaluates the age of the valve and drain lines.
- 5
Rough in plumbing updates
A new pressure-balancing valve is set, the drain is repositioned if the new pan requires it, and blocking goes in for niches, glass, and grab bars. Permitted work gets its rough-in inspection here.
- 6
Build the substrate and waterproofing
Unlike the original unit, the new shower gets a real substrate: backer board or foam board with a continuous waterproofing membrane on the walls and a sloped, sealed base.
- 7
Install the new pan and walls
The pan is set and connected, then the acrylic sections, wall panels, or tile go up, with corners and penetrations sealed as the system specifies.
- 8
Finish with glass, trim, and final inspection
Glass and fixture trim are installed, everything is sealed and water-tested, and the permit is closed with a final inspection before the walkthrough.
Ready to plan your Boise bathroom?
Licensed & insured · 3-year workmanship warranty
Frequently asked questions
- Can you remove a one-piece fiberglass shower without cutting it?
- Rarely. The unit was installed before the drywall and interior doors during construction, and a finished doorway is far narrower than the molded shell. Unless a wall is coming down anyway as part of a larger remodel, cutting the unit into sections is the standard, fastest, and least destructive removal method.
- What is behind a fiberglass shower unit?
- Usually bare studs. One-piece units acted as their own waterproofing, so there is typically no membrane or backer board behind them — the room’s drywall just ends at the nailing flange. That is why a replacement is built up from new substrate and waterproofing rather than reusing what is there.
- Should I repair or replace a cracked fiberglass shower?
- Hairline gelcoat spider cracks are cosmetic and can be patched or lived with. Cracks that flex when you press on them — especially in the floor pan — mean the shell is fatiguing over an unsupported spot, and water may already be reaching the subfloor. At that point a repair is a short-term patch and replacement is the honest fix.
- How much does it cost to replace a fiberglass shower?
- National cost guides such as HomeAdvisor and Angi put shower replacement broadly between a few thousand dollars and ten thousand or more — the spread depends almost entirely on what goes back in, from a multi-piece acrylic system at the low end to full custom tile at the top. A fixed local bid beats budgeting from national averages.
- How long does replacing a fiberglass shower take?
- The cut-out itself usually takes a crew only a few hours. The full project — demo, framing and plumbing checks, waterproofing, and the new system — runs about three days to a week, with acrylic and panel systems at the short end and custom tile at the long end due to cure times.
- Can you tile over a fiberglass shower instead of removing it?
- No. Tile needs a rigid, bonded substrate, and a fiberglass shell flexes and sheds adhesion — any tile job over it will crack and fail. The unit has to come out so tile can be installed over proper backer board and waterproofing, which is also your chance to fix whatever is behind it.
Sources
- This Old House — Bathrooms
- HomeAdvisor — True Cost Guide
- Schluter Systems
- City of Boise — Planning & Development Services
Claims and figures are drawn from the sources above and provided for general guidance; your project may vary. Photography is illustrative of design concepts. For a fixed price on your specific bathroom, request a free estimate.