Updated July 16, 2026 · 6 min read
By Boise Bath — bathroom & shower remodeling in Boise & the Treasure Valley
The short answer
Acrylic showers are usually multi-piece systems glued and clipped to the studs, so replacement means removing the panels and pan, repairing the substrate underneath, and installing a new system — upgraded acrylic, grout-free wall panels, or custom tile over real waterproofing. Most replacements take three days to a week and need a permit when plumbing changes.
Key takeaways
- Quick identification: acrylic feels warm and looks glossy with color through the material; fiberglass feels cooler, shows a thinner painted-look gelcoat, and often has a visible weave on the back side.
- Acrylic units are usually multi-piece and adhesive-mounted, so they come out with far less cutting than one-piece fiberglass showers.
- Cracking around the drain, panels pulling away from walls, and adhesive failure behind the panels are the replacement triggers that matter.
- You cannot tile over acrylic — the shell flexes and sheds adhesion — so an upgrade to tile always starts with removal.
- With the walls open, valve replacement, a niche, grab-bar blocking, and a curbless entry are cheap to add and expensive to retrofit later.
How do you know your shower is acrylic and not fiberglass?
A quick field check settles it in most cases. Acrylic feels slightly warm to the touch and has a deep, glossy surface with color running through the sheet; fiberglass feels cooler and its gelcoat finish looks more like paint — thin, and prone to wearing through to a dull, fibrous layer. Press on a wall: quality acrylic feels more rigid, while fiberglass flexes more readily.
Two more tells: acrylic showers are usually multi-piece systems with visible seams where pan meets walls, while one-piece molded shells are almost always fiberglass. And if you can see the back side through an access panel, fiberglass shows a rough, strand-like weave.
That is the short version — enough to plan a replacement. The full acrylic-versus-fiberglass comparison, including cost and longevity trade-offs, is a topic of its own.
When does an acrylic shower need replacing?
Acrylic is the more durable of the molded-shower materials, and manufacturer guidance from companies like Kohler positions it as a decades-long surface. But it does fail, and the signs are specific: cracks radiating from the drain or pan corners, panels bowing or pulling away from the wall as adhesive lets go, and seams whose caulk keeps failing no matter how often it is redone.
Finish decline is the slower path. Years of abrasive cleaners dull the gloss, and Treasure Valley hard water leaves mineral deposits that etch into a worn surface. Unlike fiberglass gelcoat, acrylic tolerates polishing — but once cracks or adhesion failures appear, refinishing is a patch on a system that is done.
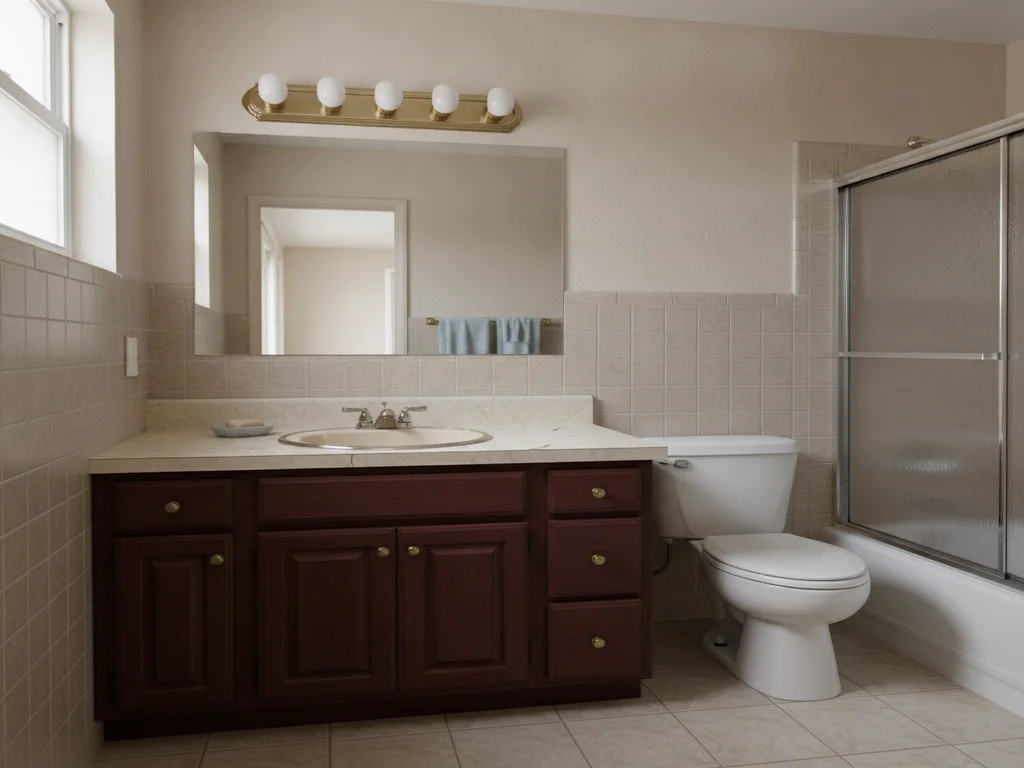
The other honest reason: the shower works fine but looks like 2003. A dated almond acrylic surround drags a bathroom down even when nothing is broken, and replacement is how builder-grade becomes current.
What does removing an acrylic shower involve?
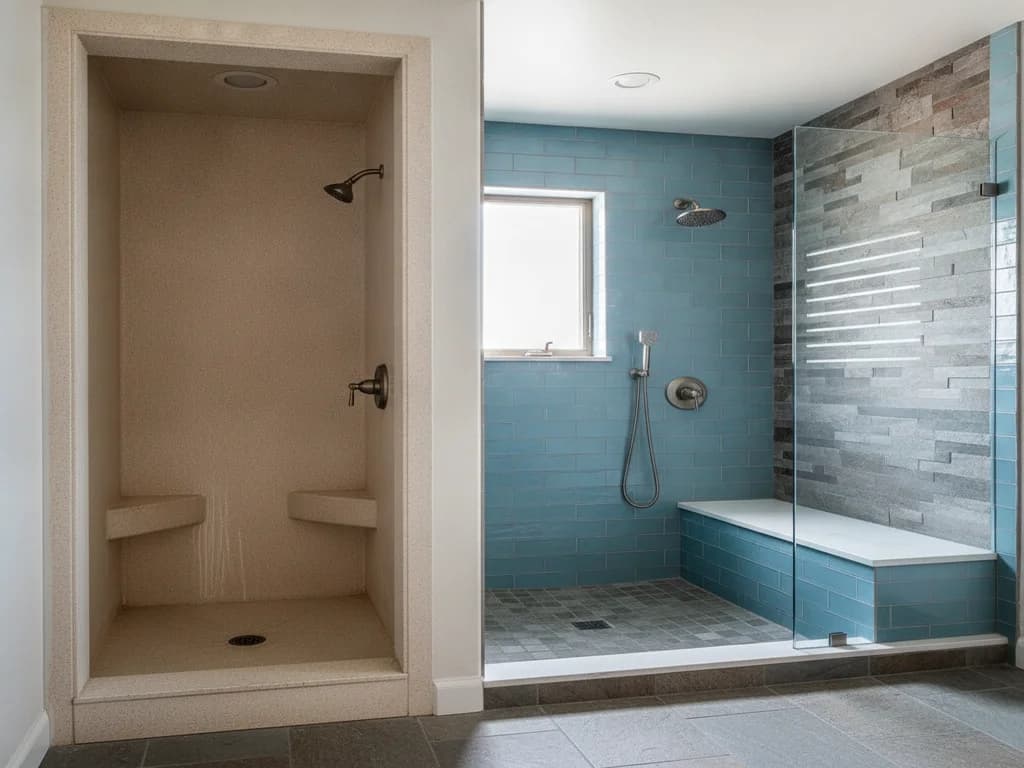
Less drama than a one-piece fiberglass tear-out. Because most acrylic showers are multi-piece — a pan plus two or three wall panels — the sections came in through the door and can leave the same way, often with minimal cutting.
The work is in the adhesive. Panels are typically glued to the substrate and clipped or screwed at flanges, so removal takes chunks of drywall or backer with it. Crews plan on replacing the substrate rather than salvaging it, which is fine — the new system wants fresh, flat backing anyway.
Once the panels and pan are out, the alcove gets the same inspection any shower demo does: framing and subfloor checked for moisture damage at the seams and drain, and the age of the valve and drain lines evaluated.
Failed seam caulk is the leak path to check
On multi-piece acrylic systems, the pan-to-wall seam is the waterproofing — when its caulk fails, water goes straight to the substrate and subfloor. If your seams have been re-caulked repeatedly, ask the crew to look hard at the framing below the seam line during demo.
What are the modern replacement paths?
If you liked what you had, today’s acrylic systems are a straight upgrade — thicker sheet, better pans, more current profiles and colors. It is the fastest, most budget-friendly path and keeps maintenance near zero.
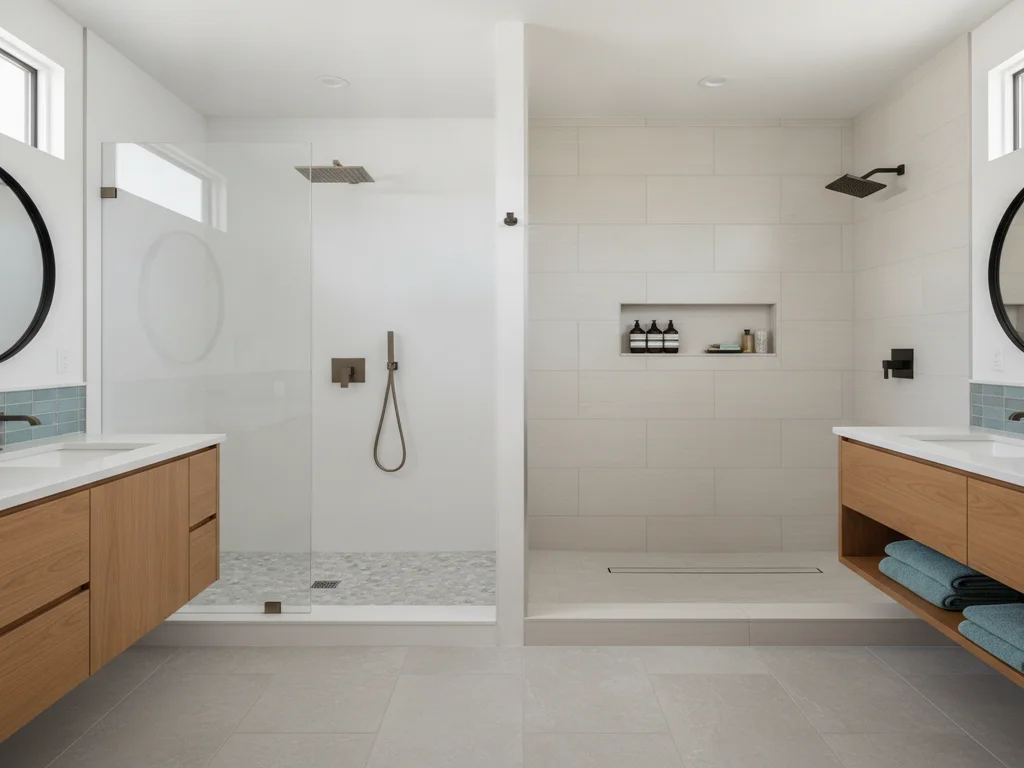
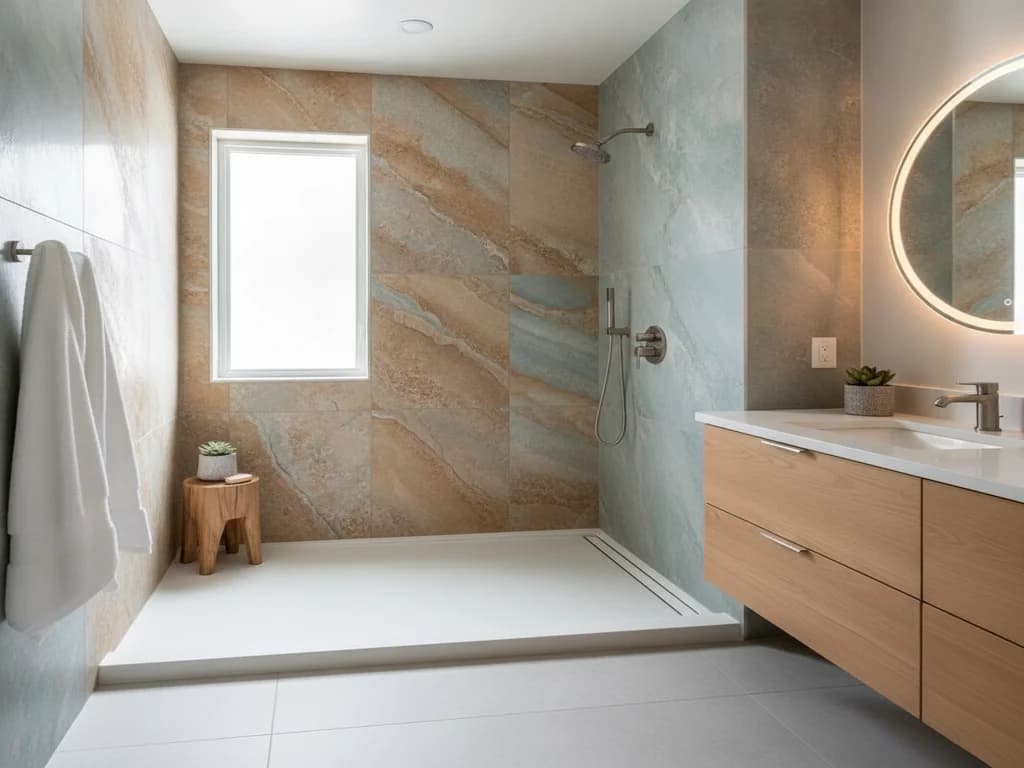
The middle path is a manufactured pan with large-format wall panels — stone- and tile-look sheets that install grout-free. Our shower wall panel systems guide covers the options, and best shower wall materials puts them beside every alternative.
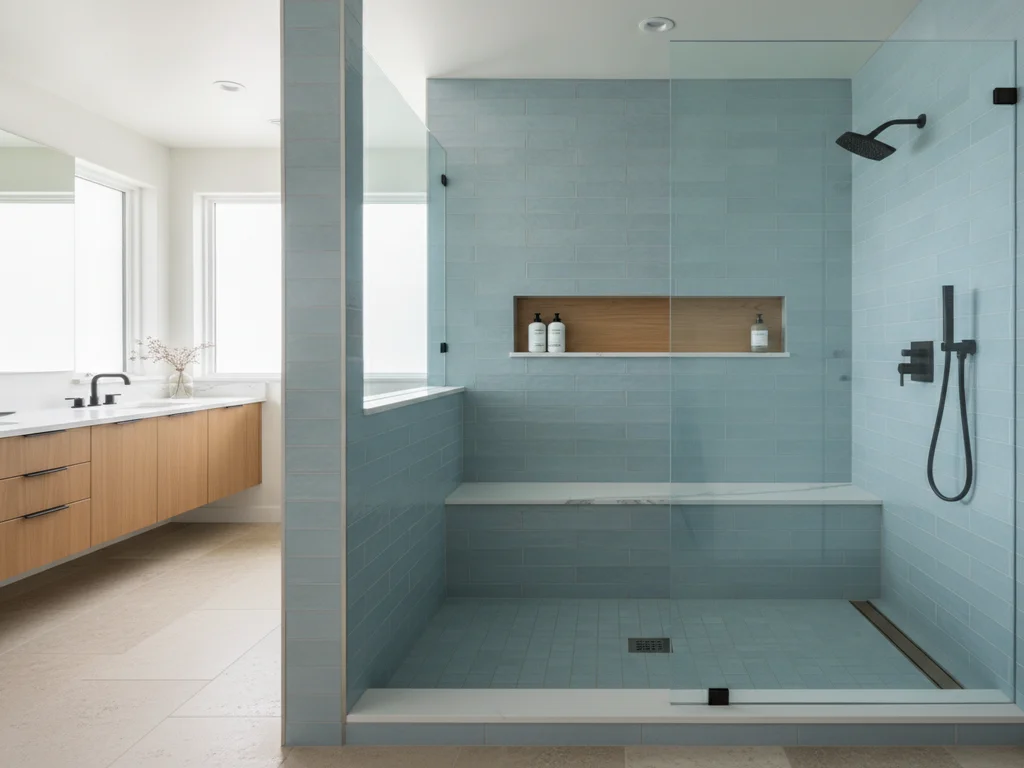
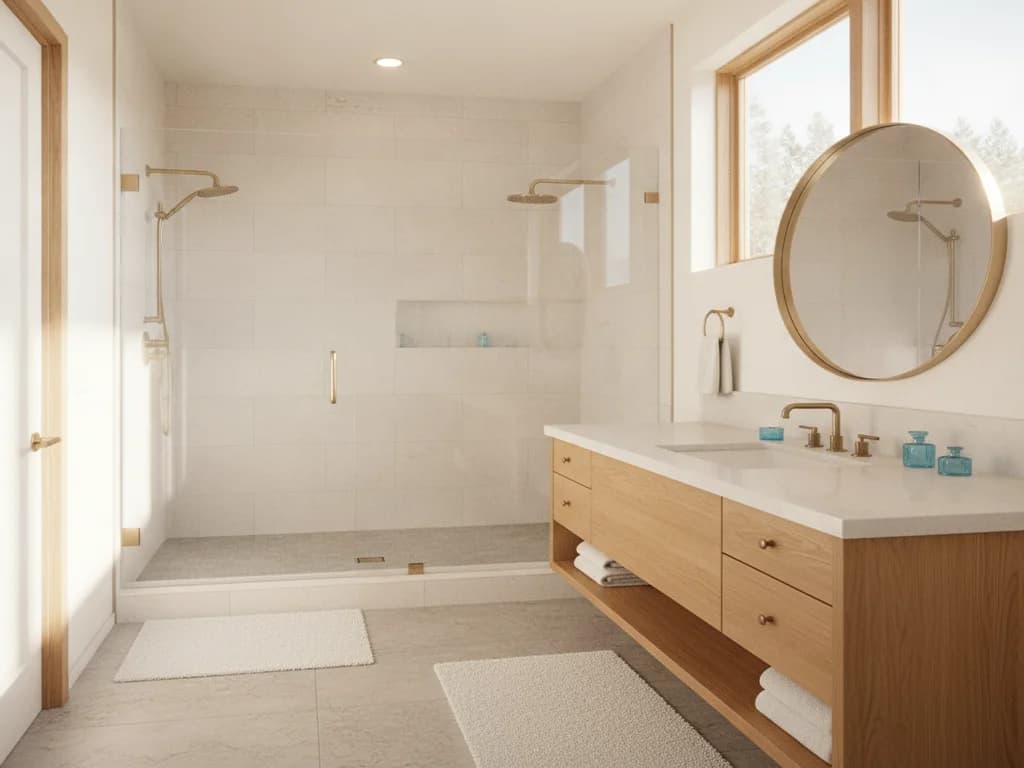
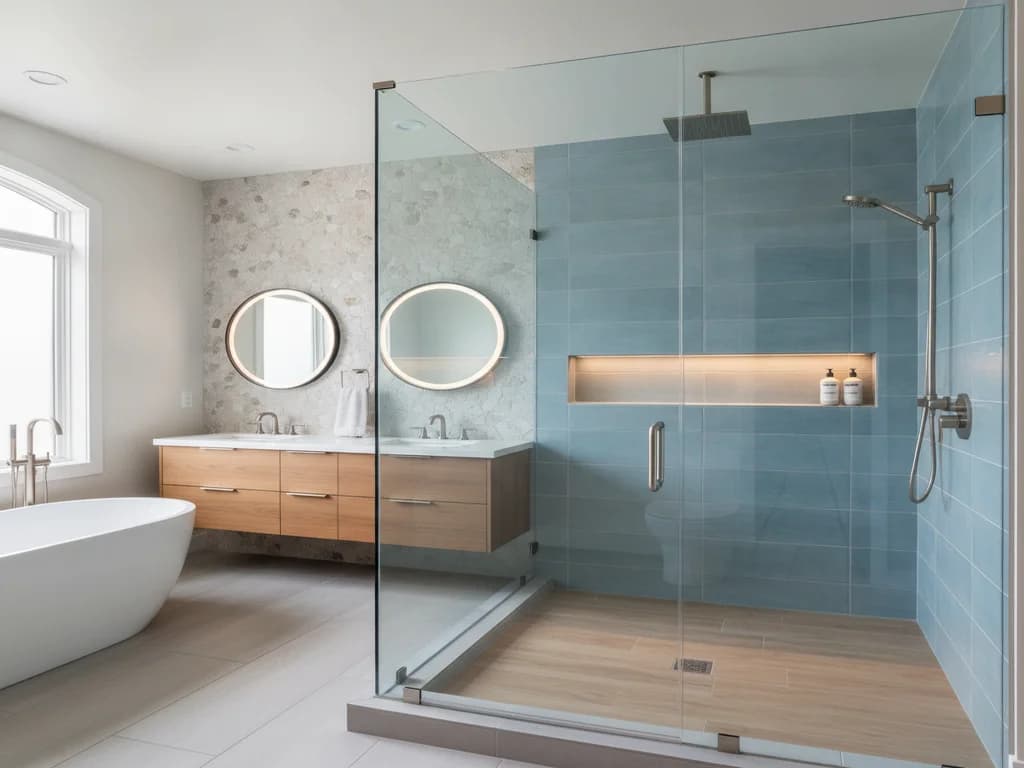
The full transformation is custom tile over a waterproofed assembly — any layout, any size, curbless if the framing allows. It costs and takes the most; whether it is worth it over acrylic is exactly what our acrylic vs. tile shower comparison weighs. Design direction lives in walk-in shower ideas.
What should you upgrade while the walls are open?
The demo exposes everything that is expensive to reach later. A new pressure-balancing valve is near-automatic if the existing one is decades old. Blocking for grab bars costs almost nothing now and makes the bathroom age-ready. A recessed niche replaces the corner shampoo rack forever.
And because tile and panel systems are built over real waterproofing — a proper membrane assembly, not caulked seams — the replacement shower is more robust than what came out. Our shower waterproofing guide explains what should be behind whatever finish you choose.
Permits, timeline, and cost
When the valve or drain changes — typical on any shower old enough to replace — the City of Boise Planning & Development Services requires a plumbing permit, with the same rule across the Treasure Valley cities. Your contractor pulls it and schedules inspections.
Timeline runs about three days to a week: acrylic-to-acrylic swaps and panel systems at the short end, custom tile at the long end for waterproofing and grout cure. Cost guides such as Angi and HomeAdvisor place shower replacement broadly between a few thousand dollars and ten thousand or more depending on the system — the finish choice, not the demo, drives the number.
What the process looks like
- 1
Confirm the material and scope
The contractor verifies the shower is a multi-piece acrylic system, measures the alcove framing, checks seams and the pan for leak history, and locks in the replacement system before demo.
- 2
Protect the room and remove trim
Floors and the door path are covered, water is shut off, and glass, fixture trim, and accessories come off so the panels are fully exposed.
- 3
Remove the panels and pan
Wall panels are cut free of their adhesive and unfastened at the flanges, then the pan is disconnected from the drain and lifted out — sections leave through the door with far less cutting than a one-piece unit.
- 4
Strip and inspect the substrate
Adhesive-damaged drywall or backer comes out to the studs, and the crew inspects framing and subfloor for moisture damage below the old seams and drain, repairing what demo reveals.
- 5
Update the plumbing rough-in
A new valve is set, the drain is adjusted for the new pan, and blocking goes in for niches, glass hardware, and grab bars. Permitted work gets its rough-in inspection here.
- 6
Install substrate and waterproofing
New backer or foam board goes up with a continuous waterproofing membrane and a sloped, sealed base — the layer the old caulked seams never had.
- 7
Set the new system and finish
The new pan, panels, or tile are installed per the system spec, then glass, trim, and sealant complete the shower, followed by a water test and final inspection.
Ready to plan your Boise bathroom?
Licensed & insured · 3-year workmanship warranty
Frequently asked questions
- How can I tell if my shower is acrylic or fiberglass?
- Touch and look: acrylic feels warm and glossy with color through the material and stays fairly rigid when pressed; fiberglass feels cooler, flexes more, and wears its thin gelcoat finish through to a dull surface. Multi-piece surrounds with seams are usually acrylic, while one-piece molded shells are almost always fiberglass.
- Can you tile over an acrylic shower?
- No. Acrylic flexes and its surface sheds thinset adhesion, so tile applied over it will crack and delaminate. Upgrading to tile means removing the acrylic system, repairing the substrate, and building a waterproofed assembly first — which is also when hidden damage behind old seams gets fixed.
- Is removing an acrylic shower easier than removing fiberglass?
- Usually, yes. Acrylic showers are typically multi-piece systems that entered through a finished doorway and can exit the same way, so removal is mostly about cutting adhesive loose rather than sawing a shell apart. One-piece fiberglass units, installed before the drywall, have to be cut into sections to leave.
- Can you replace just the acrylic shower pan and keep the walls?
- Sometimes, if the walls are sound and the pan is a compatible standalone piece — but on glued multi-piece systems the pan-to-wall seam rarely separates cleanly, and a new pan mated to aging walls recreates the seam that failed. Most crews recommend replacing the system together so the waterproofing is continuous.
- How much does replacing an acrylic shower cost?
- National guides like Angi and HomeAdvisor put shower replacement broadly between a few thousand dollars and ten thousand or more. An acrylic-to-acrylic swap sits at the low end, panel systems in the middle, and custom tile at the top — what goes back in drives the price far more than the removal does.
Sources
Claims and figures are drawn from the sources above and provided for general guidance; your project may vary. Photography is illustrative of design concepts. For a fixed price on your specific bathroom, request a free estimate.