Updated July 16, 2026 · 7 min read
By Boise Bath — bathroom & shower remodeling in Boise & the Treasure Valley
The short answer
Replacing a bathtub with a walk-in shower means removing the tub and surround, upsizing the drain from 1.5 to 2 inches per code, waterproofing the alcove, then installing a shower pan, walls, glass, and fixtures. Most professional conversions take about three days to a week, and Boise requires a permit when plumbing changes.
Key takeaways
- A tub-to-shower conversion is a plumbing project first: code requires a 2-inch shower drain, while most tubs drain through 1.5-inch lines.
- The old tub alcove almost never has shower-grade waterproofing behind it — the new system is built from the studs out.
- The tub footprint (typically 60 by 30–32 inches) converts cleanly into a generous walk-in shower without moving walls.
- Expect roughly three days to a week of on-site work for a standard conversion; tile takes longer than panel systems.
- The City of Boise requires a permit when supply or drain plumbing is altered — which nearly every conversion does.
What does replacing a bathtub with a walk-in shower involve?
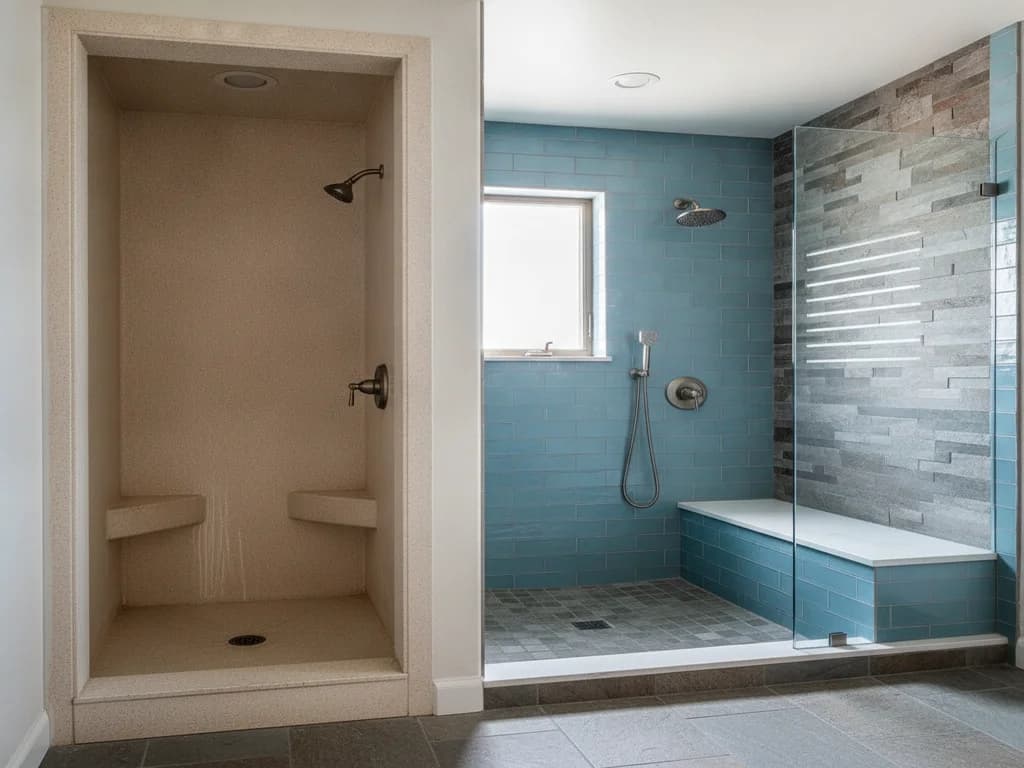
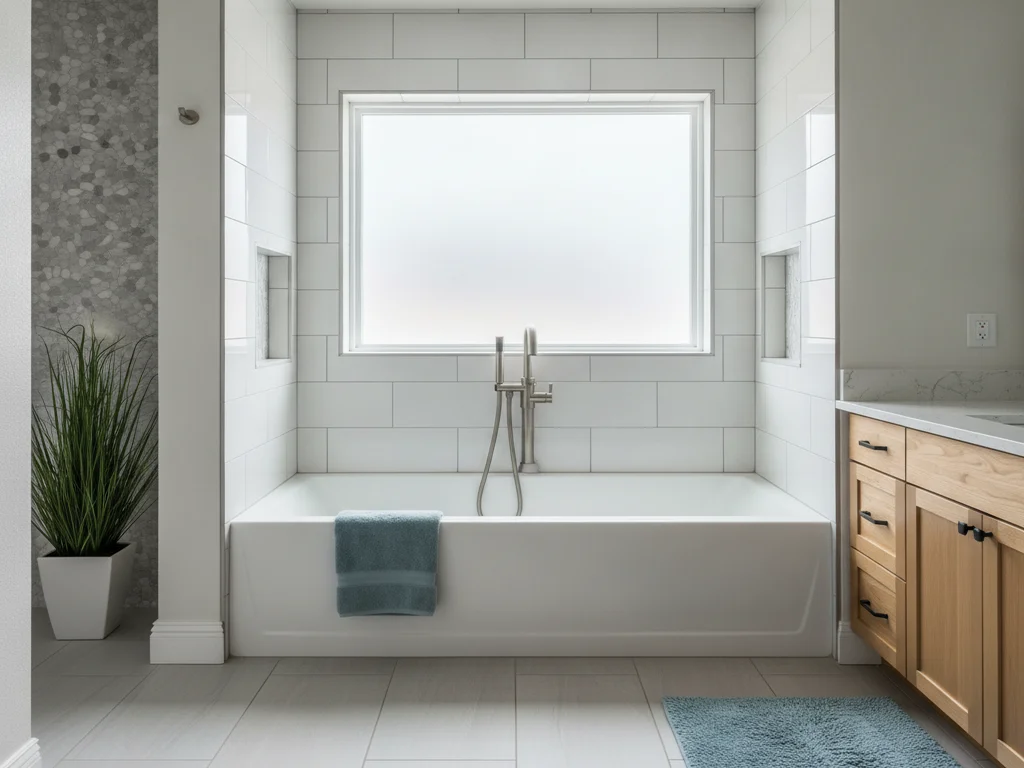
At its core, the project swaps one fixture for a completely different wet-area system inside the same footprint. The tub and its surround come out, the drain and valve get reworked, the alcove is rebuilt and waterproofed, and a shower pan, wall finish, glass, and fixtures go in.
That makes it more involved than a simple fixture swap but far less disruptive than a full remodel. The floor plan usually stays put: a standard tub alcove — about 60 inches wide and 30 to 32 inches deep — is already a comfortable walk-in shower footprint, so walls rarely move.
This guide covers the work itself. If you are still weighing whether to keep a tub at all, start with our walk-in shower vs. tub-to-shower decision guide — especially if this is the only tub in the house.
What happens to the plumbing when the tub comes out?
This is the part most homeowners underestimate. Under the International Residential Code, a shower needs a 2-inch drain line, while bathtubs typically drain through 1.5-inch lines — so the drain assembly under the floor is opened up and upsized, not just reconnected.
The drain location usually moves too. A tub drain sits at one end of the alcove; a shower drain is placed for the pan you choose — centered for a standard pan, or at one edge for a linear drain. The tub overflow disappears entirely.
The valve almost always gets replaced at the same time. The old tub/shower valve and spout come out, and a shower-only pressure-balancing valve goes in — set at shower height, positioned for the new layout.
Why is waterproofing rebuilt from the studs out?
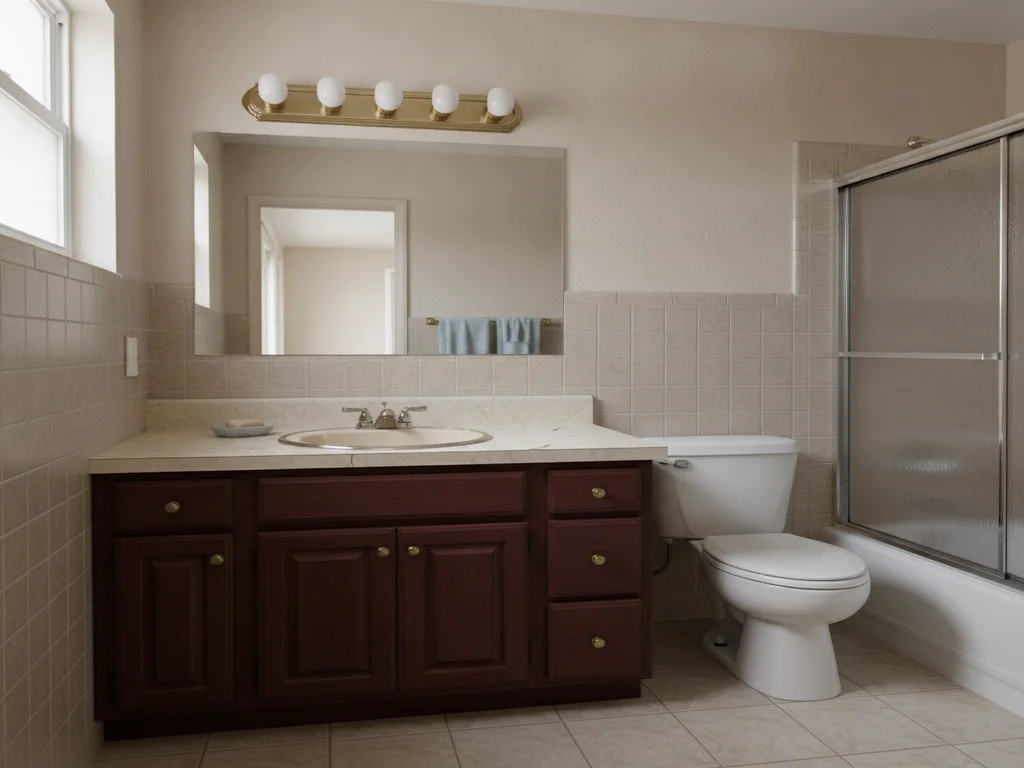
A tub alcove was built to shed splash water over a tub rim — not to handle the direct, daily saturation a shower puts on its walls and floor. Behind most tub surrounds you will find standard drywall or, at best, basic cement board with no membrane.
A proper conversion strips the alcove to the framing and builds a continuous waterproofing system: a sloped, sealed pan and membrane-protected walls, using a bonded-membrane or foam-board system such as those made by Schluter. How that assembly works — and why it matters more than the tile you see — is covered in our shower waterproofing guide.
The open-wall moment is the cheapest time to fix problems
Once the tub is out, the framing, subfloor, and plumbing are fully exposed. If there is hidden moisture damage from an old leak — common around tub drains in 1990s and 2000s Treasure Valley homes — this is when it gets found and repaired for the least money. Budget a small contingency for it.
What are your options for the walls and base?
The base is either a manufactured shower pan (acrylic or composite, fast to install and reliable) or a fully tiled floor built over a waterproofed mortar or foam base — which is also how you get a curbless, level entry.
For walls, the main paths are tile or large-format wall panels. Tile offers unlimited design range; panel systems install faster with almost no grout to maintain. We compare the materials in depth in best shower wall materials and weigh the two big camps in acrylic vs. tile showers.
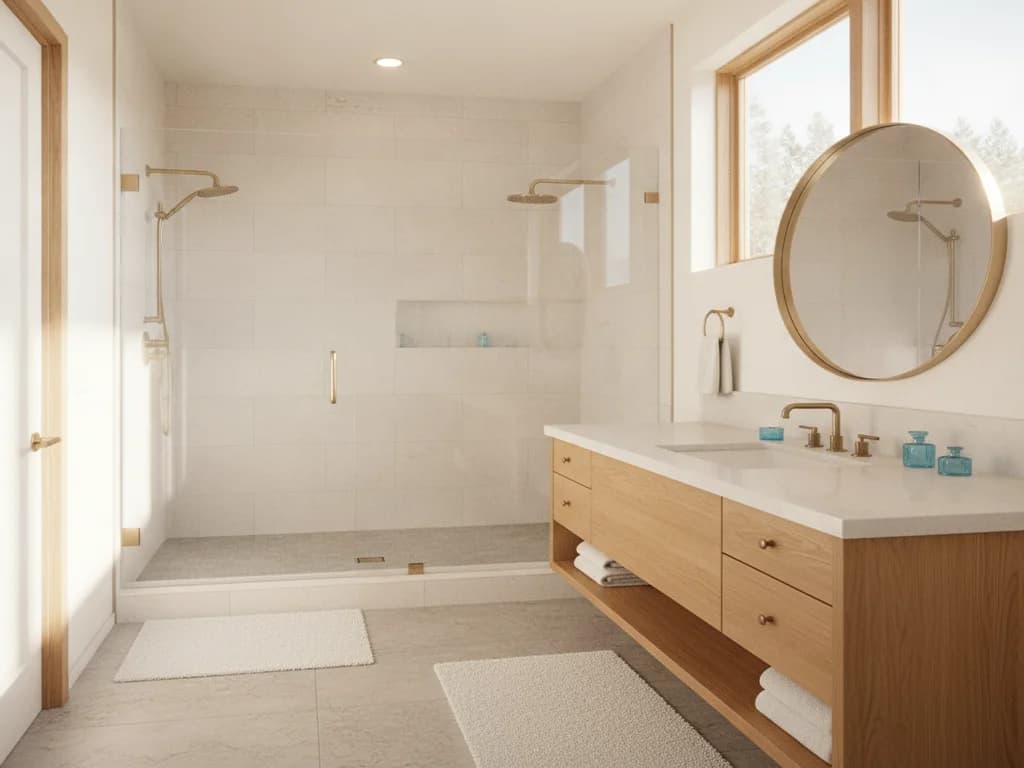
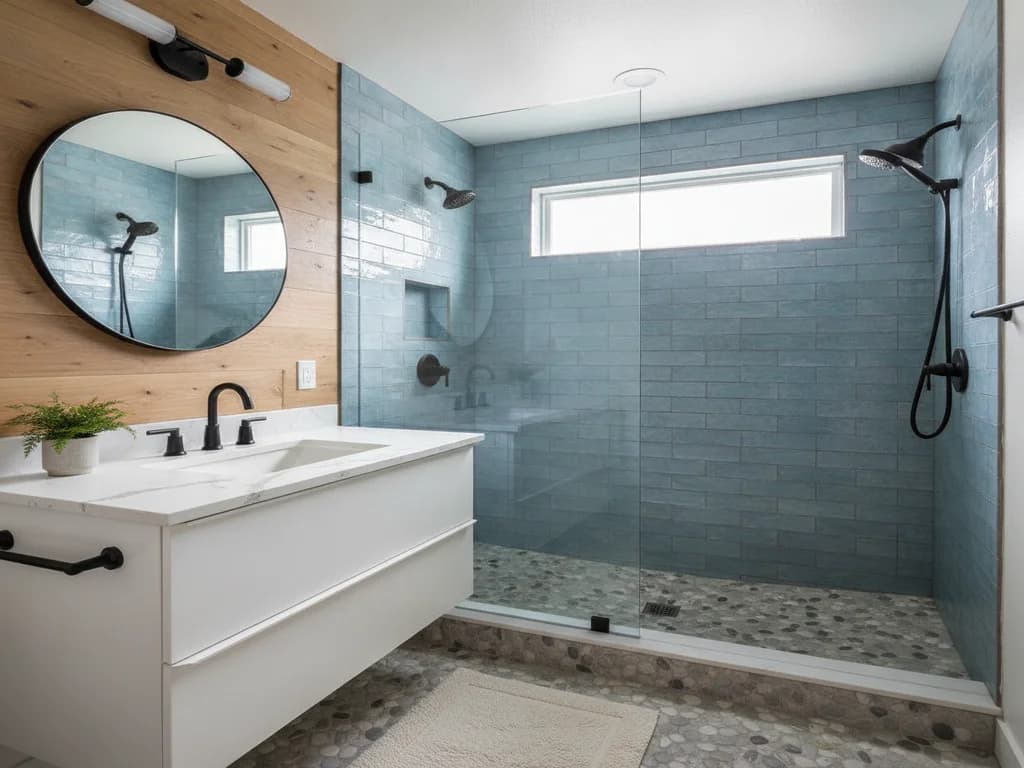
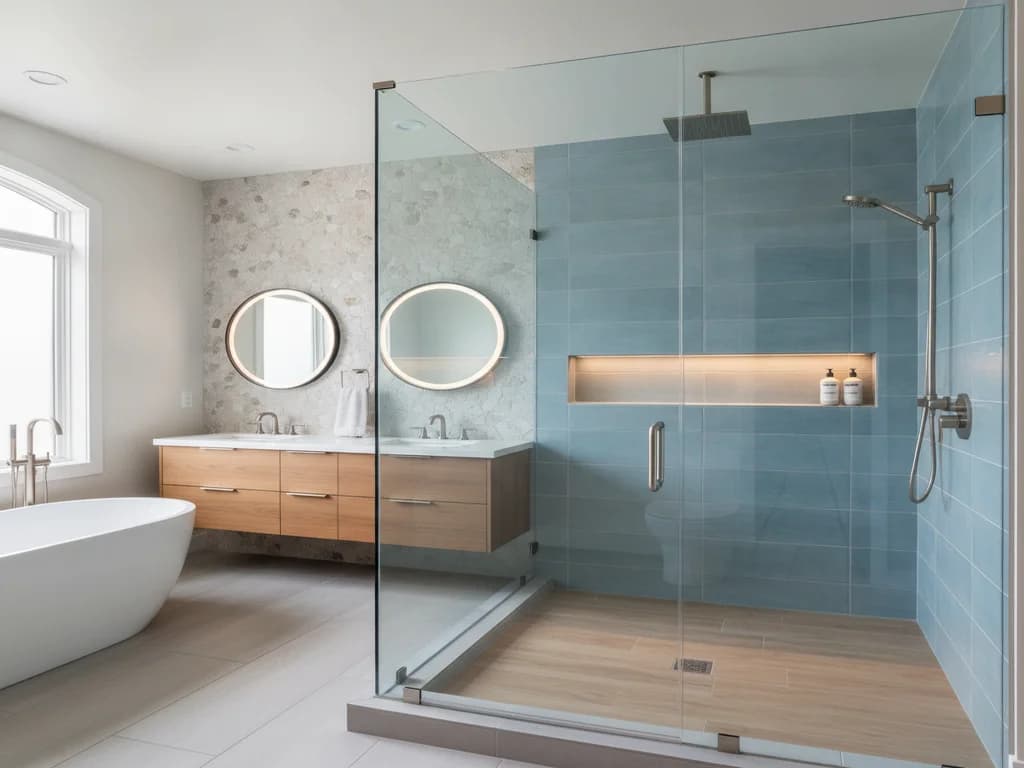
Glass is the finishing decision: a single fixed panel, a frameless door, or a fully doorless entry. For layouts, niches, benches, and finishes, browse our tub-to-shower conversion ideas — that guide owns the design side of this project.
Do you need a permit for a tub-to-shower conversion in Boise?
Almost certainly yes. The City of Boise Planning & Development Services requires permits when plumbing is altered, and nearly every conversion changes the drain and valve. Meridian, Nampa, Eagle, and the other Treasure Valley cities have their own building departments with similar requirements.
A licensed contractor handles the permit and inspections as part of the job. It is worth confirming that is included in any bid — unpermitted plumbing work can surface as a problem during a home sale.
How long does the conversion take?
A standard conversion runs about three days to a week of on-site work once materials are in hand. Panel-system walls land at the short end; custom tile takes longer because waterproofing, tile setting, and grout each need their own cure and working time.
Plan for the bathroom to be out of service for the duration. If it is your only full bath, read remodeling your only bathroom for how crews sequence the work to shorten the gap.
What does a tub-to-shower conversion cost?
Cost depends mostly on the wall system, the base, glass, and what the demo reveals — a panel-and-pan conversion sits at a very different number than a curbless custom tile build. We keep all the local figures, ranges, and line items in one place: see our Boise tub-to-shower conversion cost guide for current numbers.
What the process looks like
- 1
Design and measure
The contractor confirms the alcove dimensions, drain and valve locations, and your selections — pan or tile base, wall system, glass, and fixtures — then orders materials so demo does not start until everything is on hand.
- 2
Protect the home and remove the tub
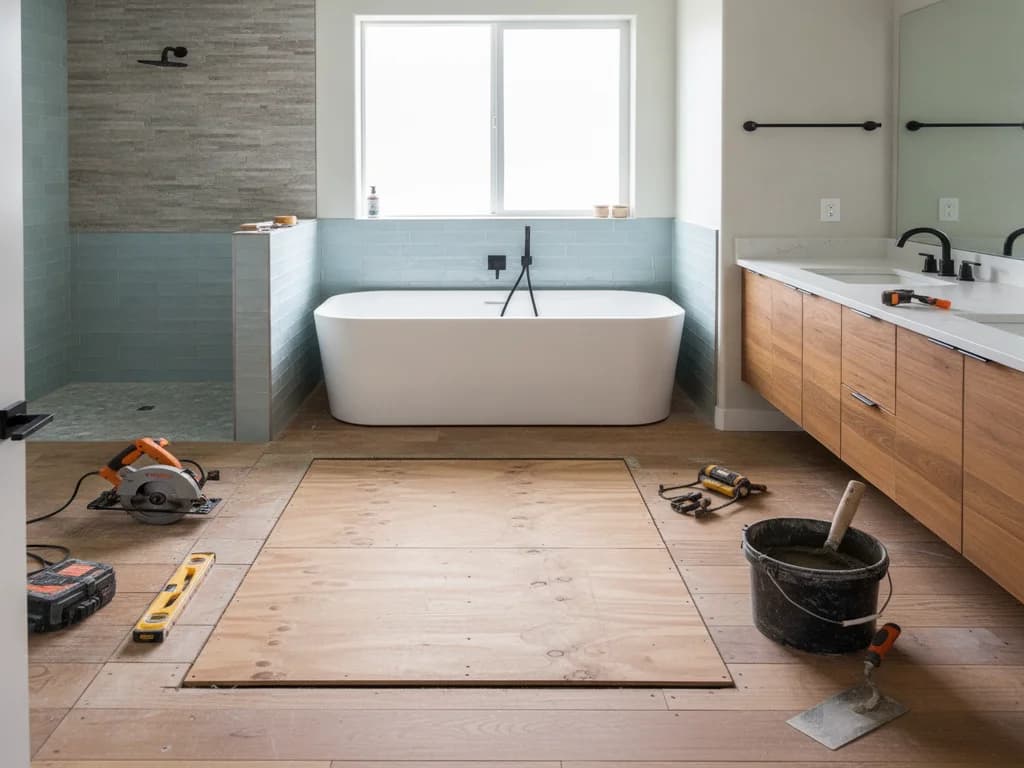
Floors and the path to the door get protected, water is shut off, and the tub, surround, and old wall board come out. Steel tubs are heavy and often cut for removal; the alcove is stripped to bare studs.
- 3
Rough in the new plumbing
The drain is upsized to the 2-inch line code requires and relocated for the new pan, the overflow is removed, and a new shower valve is set at the correct height. This stage gets a rough-in inspection under the permit.
- 4
Repair framing and subfloor
Any moisture-damaged framing or subfloor found behind the tub is replaced, and blocking is added for glass hardware, niches, benches, or future grab bars while the walls are open.
- 5
Waterproof the alcove
A continuous waterproofing system goes in — sloped pan or foam base, membrane or coated board on the walls, sealed corners and penetrations — so the tile or panels that follow are decoration over a sealed shell, not the water barrier itself.
- 6
Install the base and walls
The shower pan is set and connected, then walls are finished in tile or panel systems, with niches and benches built in as designed.
- 7
Set glass, fixtures, and trim
Glass panels or doors are measured and installed, the valve trim, shower head, and accessories go on, and everything is sealed at changes of plane.
- 8
Final inspection and walkthrough
The permit is closed with a final inspection, the shower is water-tested, and the contractor walks you through care — including cure times before first use on tiled builds.
Ready to plan your Boise bathroom?
Licensed & insured · 3-year workmanship warranty
Frequently asked questions
- Can any bathtub be replaced with a walk-in shower?
- Nearly any standard alcove tub can be, because the 60-by-30-inch footprint already suits a walk-in shower and the walls do not need to move. Corner and garden tubs common in 1990s Treasure Valley homes convert too, though the larger deck area means more rebuilding around the new shower.
- Does the drain have to move in a tub-to-shower conversion?
- Almost always. Code requires a 2-inch drain for showers while tubs typically use 1.5-inch lines, so the line is upsized under the floor, and the drain is repositioned from the tub end to wherever the new pan needs it. This is the main reason the project is plumbing-permit work rather than a cosmetic swap.
- How long does replacing a tub with a walk-in shower take?
- Plan on roughly three days to a week of on-site work for a standard conversion. Panel-system walls finish fastest; custom tile adds time for waterproofing, setting, and grout cure. Hidden damage found during demo can extend the schedule, which is why good contractors build in contingency.
- Do I need a permit to convert a tub to a shower in Boise?
- Yes in nearly all cases, because the drain and valve work counts as altering plumbing — City of Boise Planning & Development Services requires a permit for that, and neighboring Treasure Valley cities have similar rules. A licensed contractor pulls the permit and schedules the rough-in and final inspections for you.
- Will removing my bathtub hurt resale value?
- It depends on whether another tub remains in the house and who buys in your neighborhood — that trade-off is exactly what our walk-in shower vs. tub-to-shower guide walks through. As a rule of thumb, converting a second or third bathroom is low-risk; converting the only tub deserves more thought.
- What is behind a bathtub wall that has to change?
- Usually ordinary drywall or basic cement board with no waterproof membrane — fine behind a tub rim, inadequate for a shower. The conversion strips the alcove to the studs and installs a continuous waterproofing system on the floor and walls before any tile or panels go on.
Sources
- International Code Council (IRC/IBC)
- Schluter Systems
- City of Boise — Planning & Development Services
- National Kitchen & Bath Association (NKBA)
Claims and figures are drawn from the sources above and provided for general guidance; your project may vary. Photography is illustrative of design concepts. For a fixed price on your specific bathroom, request a free estimate.