Updated July 16, 2026 · 7 min read
By Boise Bath — bathroom & shower remodeling in Boise & the Treasure Valley
The short answer
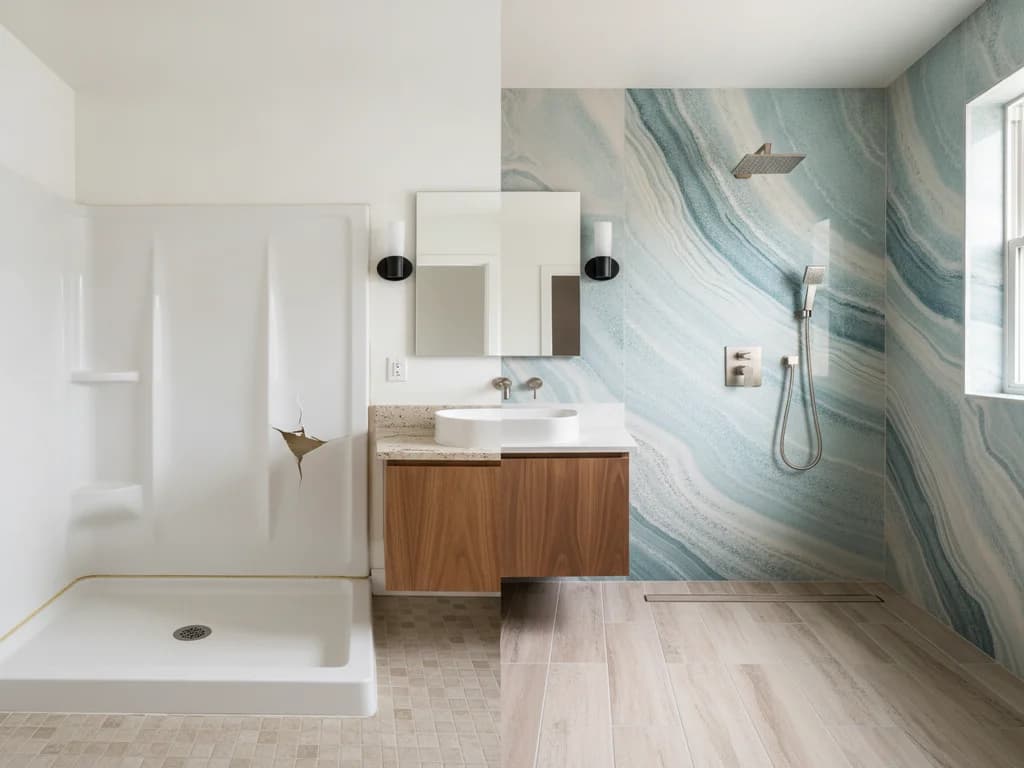
Replacing a shower surround means removing the old panels along with the drywall or backer they were glued to — the adhesive does not release cleanly — then rebuilding the walls with new substrate and waterproofing before the new surface goes on. From there you choose modern wall panels or tile. Most surround replacements take two to five days.
Key takeaways
- Glue-up surround panels rarely come off intact — the adhesive tears out chunks of the wall behind, so the substrate gets replaced along with the panels.
- Many surrounds were glued over plain drywall or greenboard with no waterproofing behind them, so the rebuild starts at the studs.
- Gaps at panel seams and corners are the classic failure point — by the time seams open up, water has usually been reaching the wall behind for a while.
- Your two realistic replacement paths are modern wall panels (fast, grout-free) or tile over new waterproofing (unlimited design).
- New panels should never be installed over old panels or damaged walls — trapped moisture has nowhere to go.
What counts as a shower surround — and why it fails
A shower surround is the wall kit around a shower pan or tub: usually three or five acrylic, PVC composite, or fiberglass panels glued and sometimes screwed to the walls, with caulked seams at the corners. They were the fast, cheap wall finish in huge numbers of Treasure Valley homes from the 1990s and 2000s — a step up from a one-piece unit only in that they fit through a finished doorway.
The weak points are built in. Every seam and corner depends on caulk, the panels flex when leaned on, and the adhesive bond slowly gives up in a hot, wet environment. Once a seam opens or a panel bulges away from the wall, splash water starts reaching whatever is behind it.
If your surround is a one-piece molded unit rather than glued panels, the removal story is different — see replacing a fiberglass shower for why those have to be cut out.
How do you know the surround is done?
The clearest signals: seams or corner joints that have opened or grown dark behind the caulk, panels that flex, rattle, or sound hollow when pressed, bulging or soft spots that suggest the wall behind has swelled, and mildew that keeps returning at the same seam no matter how often you clean it.
A yellowed or scratched finish is cosmetic. Movement is not. A panel that has released from its adhesive is a panel with a wet wall behind it more often than not, and the fix is not more caulk.
If the panels are sound and the real complaint is a failing tub or pan below them, start with replacing a shower pan instead — though in practice the two usually get replaced together, because the pan-to-wall joint cannot be rebuilt properly with old panels in place.
Why the old panels take the wall with them
Surround panels go on with construction adhesive, and after years of heat cycles that bond is often stronger than the paper face of the drywall behind it. Prying a panel off tears out chunks of the wall surface — which is fine, because that wall was never going to stay anyway.
Here is what a tear-out typically reveals: panels glued directly over plain drywall or greenboard, no membrane of any kind, and — where seams failed — swollen, stained, or moldy board around the lower corners. Neither drywall nor greenboard is an acceptable wet-wall substrate under current practice; tile-industry standards from the Tile Council of North America call for cement board or equivalent with a waterproofing membrane in wet areas.
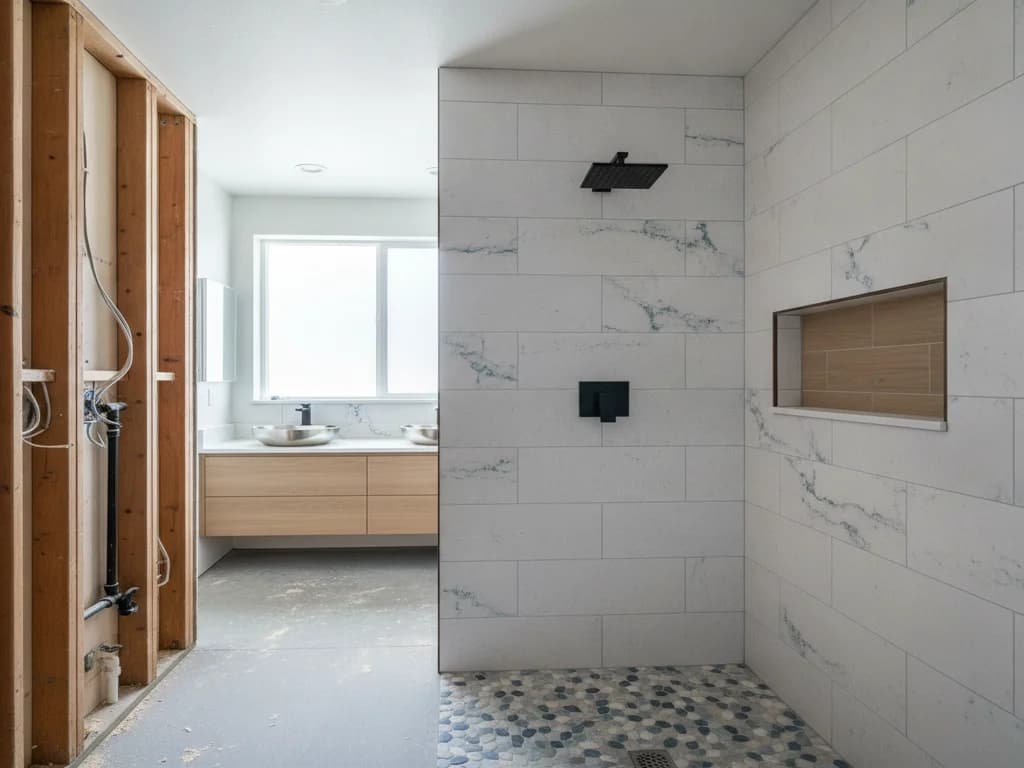
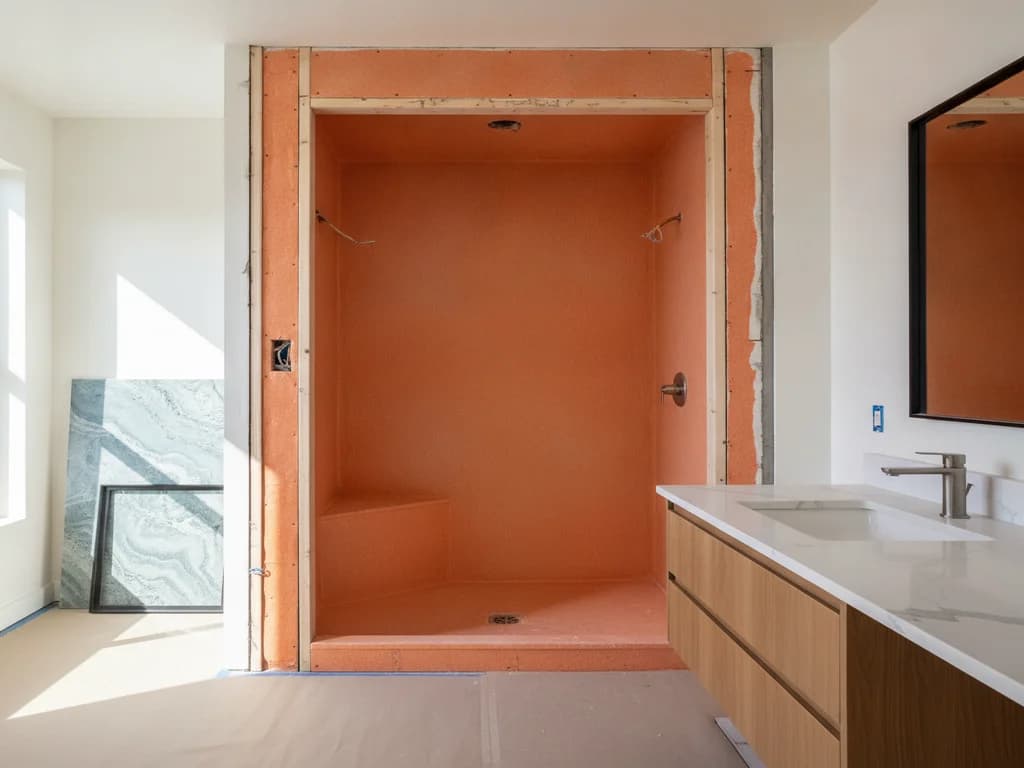
So a surround replacement is honestly a wall rebuild: strip to the studs, fix any moisture damage, then install new backer and waterproofing. Our shower waterproofing guide walks through what a correct assembly looks like.
Never panel over a problem
Installing new panels over old panels or over stained drywall traps moisture against the framing with no path out. Any bid that skips the tear-out and "resurfaces" the walls is deferring the real repair — and hiding whatever is already growing back there.
New panels or tile: which should go back in?
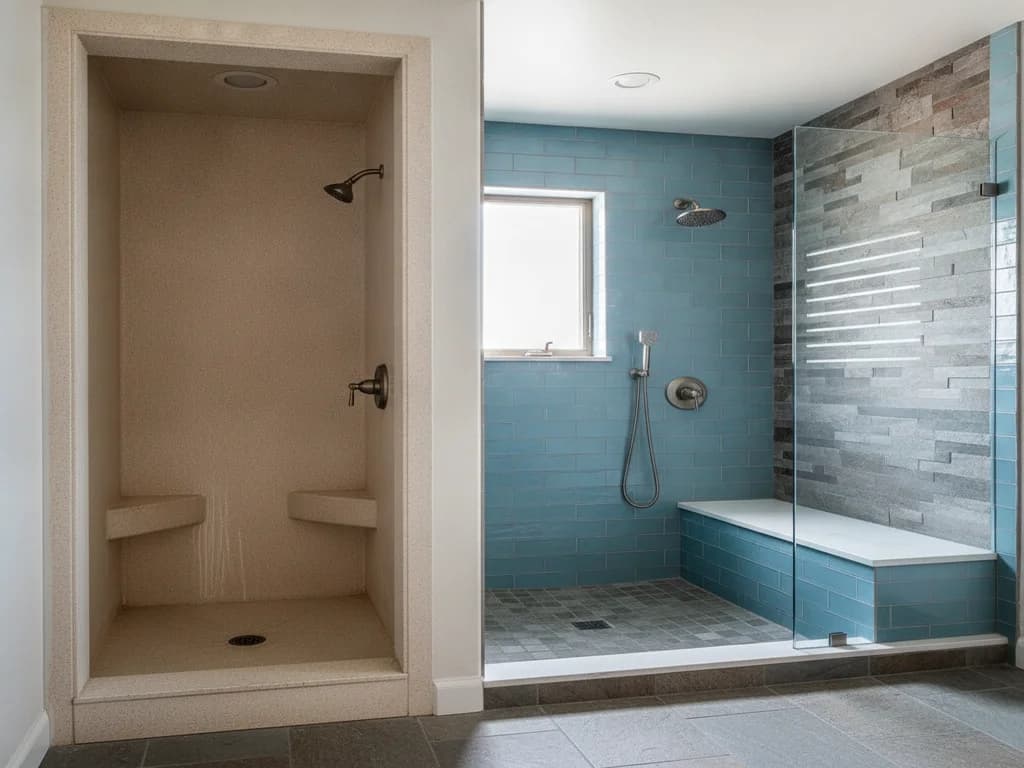
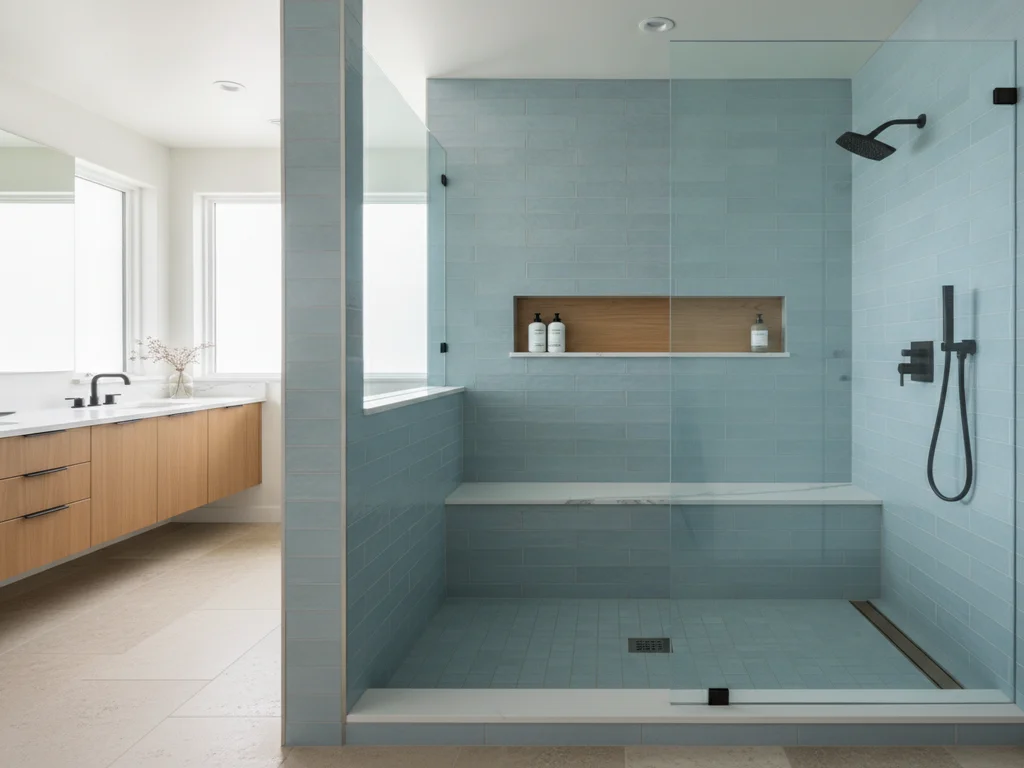
Modern wall panels are a different product from the glue-up kits they replace — large-format solid-surface, PVC composite, or laminate sheets with engineered seams, installed over a waterproofed wall rather than instead of one. They are grout-free, fast to install, and easy to keep clean, which matters with the Treasure Valley’s hard water. The brands, materials, and price tiers are their own topic — our shower wall panel systems guide compares them properly.
Tile is the full-custom path: any size, pattern, or niche layout you want, over the same new waterproofing. It costs more and takes longer, but it transforms a builder-grade bathroom in a way panels do not. Replacing shower tile covers that build, and best shower wall materials compares the whole field if you are genuinely torn.
| Path | Look | Install time | Upkeep | Best for |
|---|---|---|---|---|
| Modern wall panels | Stone/tile look, no grout lines | 2–3 days | Lowest — wipe-down walls | Fast, low-maintenance update |
| Custom tile | Unlimited design, real grout joints | 4–5+ days | Grout sealing over time | Full transformation, niches, patterns |
| Like-for-like glue-up kit | Same dated seams | Fastest | Caulked seams fail again | Rarely worth it — same weak points |
What does replacing a shower surround cost?
National cost guides put shower wall replacement in a wide band — roughly $1,000 to $3,000 for panel systems installed and considerably more for full custom tile, per HomeAdvisor and Angi cost data — with the spread driven by what goes back on the walls and how much hidden damage the tear-out reveals.
The honest budgeting note: the tear-out is where surprises live. Sound framing behind the old panels keeps the project at the low end; rotted studs or subfloor at the pan line add repair days. A fixed local bid after someone has actually looked at your shower beats any national average.
Plumbing changes — a new valve, a relocated drain — trigger a plumbing permit through City of Boise Planning & Development Services or your local Treasure Valley building department, which a licensed contractor pulls and closes.
Worth doing at the same time
With the walls open, the cheap-now upgrades are the same ones that are expensive later: a pressure-balancing valve if yours predates one, blocking for grab bars and future glass, a recessed niche, and better lighting. If the surround sits over a tub you no longer use, this is also the natural moment for a tub-to-shower conversion — the demo overlaps almost entirely.
What the process looks like
- 1
Confirm the wall assembly and pick the replacement
The contractor checks what the panels are glued to, probes for soft spots at seams and the pan line, and locks in panels or tile so materials are on site before demo starts.
- 2
Protect the room and remove trim
Floors and the exit path get covered, fixture trim and any doors or rods come off, and the water is shut off at the valve.
- 3
Strip the panels and the substrate behind them
Panels are pried and cut off along with the adhesive-bonded drywall behind them, back to the studs across the wet walls. Old fasteners and adhesive ridges are cleared from the framing.
- 4
Inspect and repair framing and plumbing
The open walls get checked for moisture damage at seams and the pan-to-wall joint, compromised framing is replaced, and the valve and drain age is evaluated. Permitted plumbing work gets its rough-in inspection here.
- 5
Install new backer and waterproofing
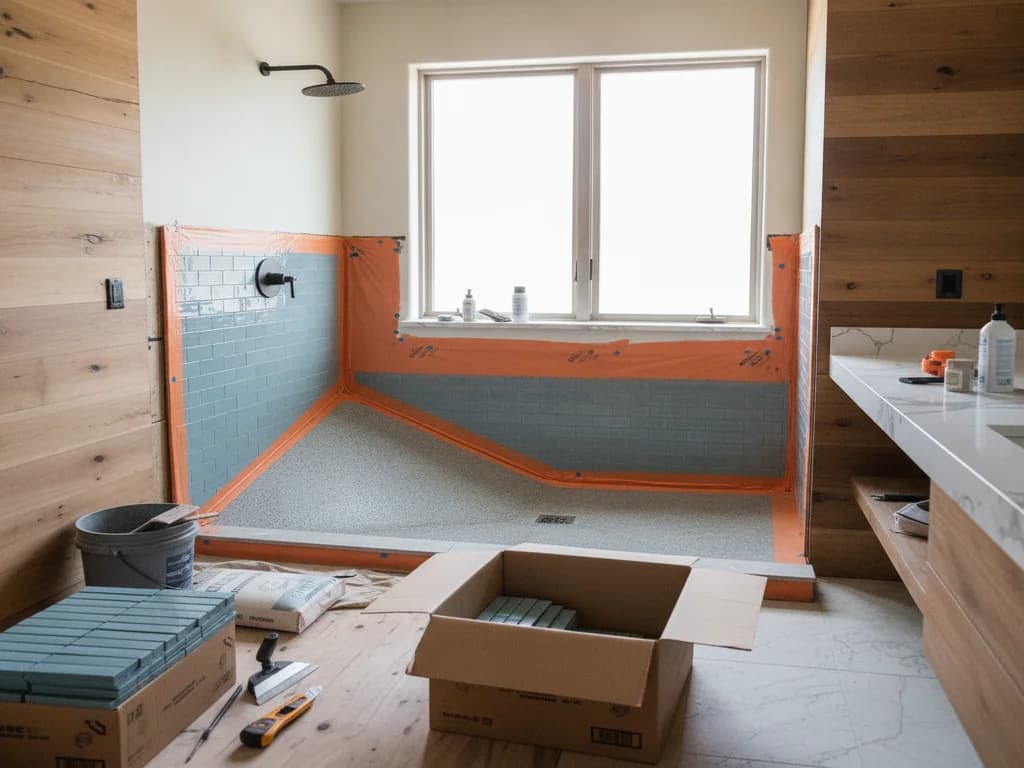
Cement board or foam backer goes up with a continuous waterproofing membrane — the layer the original surround never had.
- 6
Set the new walls
Wall panels are bonded and seam-sealed per the manufacturer’s system, or tile is set, grouted, and sealed over the membrane.
- 7
Trim out, seal, and water-test
Fixture trim, glass or a rod, and silicone at all changes of plane go in, followed by a water test and final inspection if a permit was pulled.
Ready to plan your Boise bathroom?
Licensed & insured · 3-year workmanship warranty
Frequently asked questions
- Can you replace just one panel of a shower surround?
- Almost never. Matching panels for a discontinued kit are rarely available, the adhesive tear-out damages the wall behind the one panel, and the seams to its neighbors cannot be rebuilt to factory spec in place. By the time one panel has failed, the assembly behind the others is usually the same age and condition — replacement is done as a set.
- Can new shower panels be installed over old ones?
- No reputable installer will do it. The old panels flex, their seams leak, and covering them traps moisture against the wall with no path out. Manufacturers of modern panel systems specify a flat, solid, waterproofed substrate — which means the old panels and the damaged wall behind them come out first.
- Is it cheaper to replace a surround with panels or tile?
- Panels are the lower-cost, faster path — national guides such as HomeAdvisor put installed panel systems roughly in the $1,000–$3,000 range, while full custom tile runs meaningfully higher because of labor and cure times. The tear-out, waterproofing, and plumbing work cost about the same either way; the walls themselves are where the price diverges.
- How long does a shower surround replacement take?
- Two to three days for a panel system, four to five or more for tile — grout and waterproofing cure times drive the difference. Add time if the tear-out reveals framing or subfloor repairs. The shower is out of service for the duration, so plan around a second bathroom if you have one.
- What is behind a glue-up shower surround?
- Usually plain drywall or greenboard with construction adhesive — and no waterproofing membrane at all. The surround itself was the only water barrier, which is why failed seams so often mean stained or moldy board behind. Current tile-industry standards call for cement backer and a membrane in wet areas, so the replacement is built to a higher spec than the original.
Sources
- Tile Council of North America (TCNA)
- HomeAdvisor — True Cost Guide
- Angi — Cost Guides
- City of Boise — Planning & Development Services
Claims and figures are drawn from the sources above and provided for general guidance; your project may vary. Photography is illustrative of design concepts. For a fixed price on your specific bathroom, request a free estimate.