Updated July 5, 2026 · 9 min read
By Boise Bath — bathroom & shower remodeling in Boise & the Treasure Valley
The short answer
A bathroom remodel follows a fixed sequence: demolition, rough-in plumbing and electrical, an inspection before walls close up, substrate and backer board, waterproofing, tile with cure time, then fixtures and glass last. Each step depends on the one before it — tiling before an inspection passes or setting glass before tile cures causes rework and failures.
Key takeaways
- The sequence exists because each step depends physically on the one before it, not by convention.
- An inspection has to clear rough-in before walls close — this is a code requirement, not a formality.
- Waterproofing and tile both need real cure time; rushing either is the top cause of early shower failures.
- Custom shower glass is measured after tile is set, not before — plan for that built-in gap.
- Skipping ahead in the sequence doesn’t save time; it moves the cost to a later, more expensive repair.
Why order matters more than speed
A bathroom remodel isn’t a checklist you can reorder to suit a schedule — it’s a dependency chain. You cannot waterproof a wall that isn’t framed and roughed in. You cannot tile over waterproofing that hasn’t cured. You cannot set a vanity on a floor that isn’t tiled, or measure custom glass for an opening that isn’t finished. Every step below is a prerequisite for the one after it, which is why a contractor who seems "slow" at one stage is very often just refusing to skip ahead.
This guide covers the construction-side sequence — what happens after demo day. If you’re earlier in the process and still working out goals, budget, and layout, that’s a separate sequence we cover in how to plan a bathroom remodel. This one picks up where that one leaves off.
The sequence, at a glance
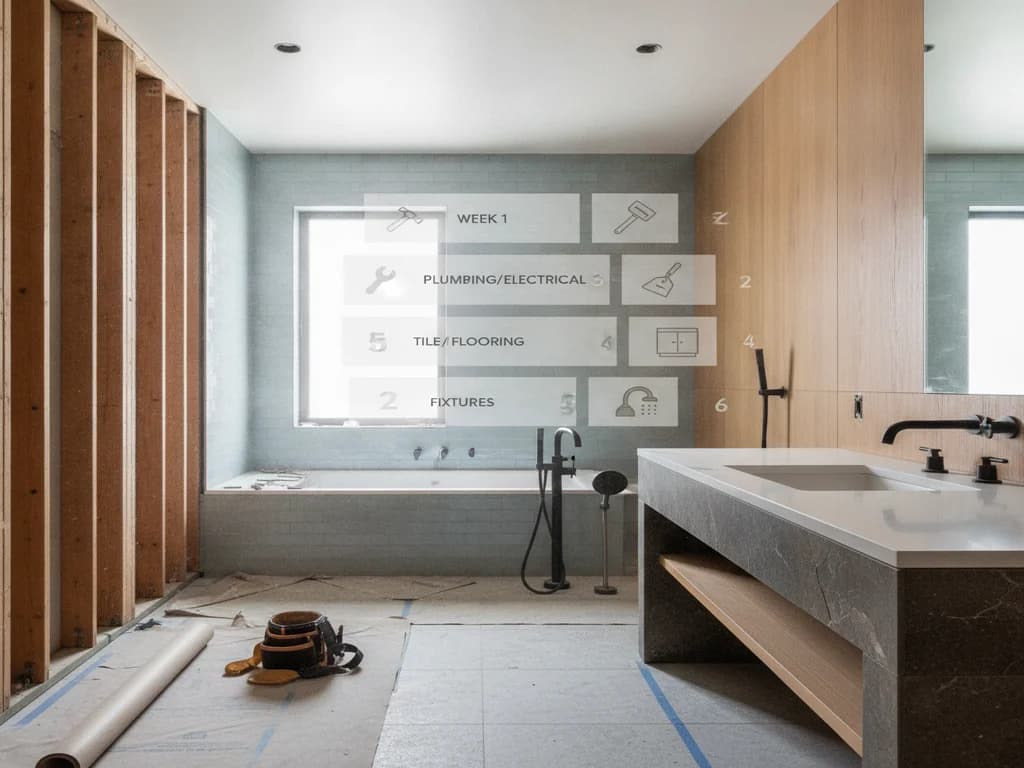
Demolition → rough-in plumbing & electrical → inspection → substrate & backer board → waterproofing → tile (with cure time) → fixtures → glass. Each arrow is a real dependency, not a suggestion.
1. Demolition
Demolition removes the old fixtures, tile, and often the wall surface down to the studs, clearing the way to see what’s actually behind the walls. This is also when hidden conditions — old wiring, deteriorated subfloor, or past water damage — get discovered, which is why a realistic schedule includes a buffer at this stage rather than assuming a clean start.
2. Rough-in: plumbing and electrical
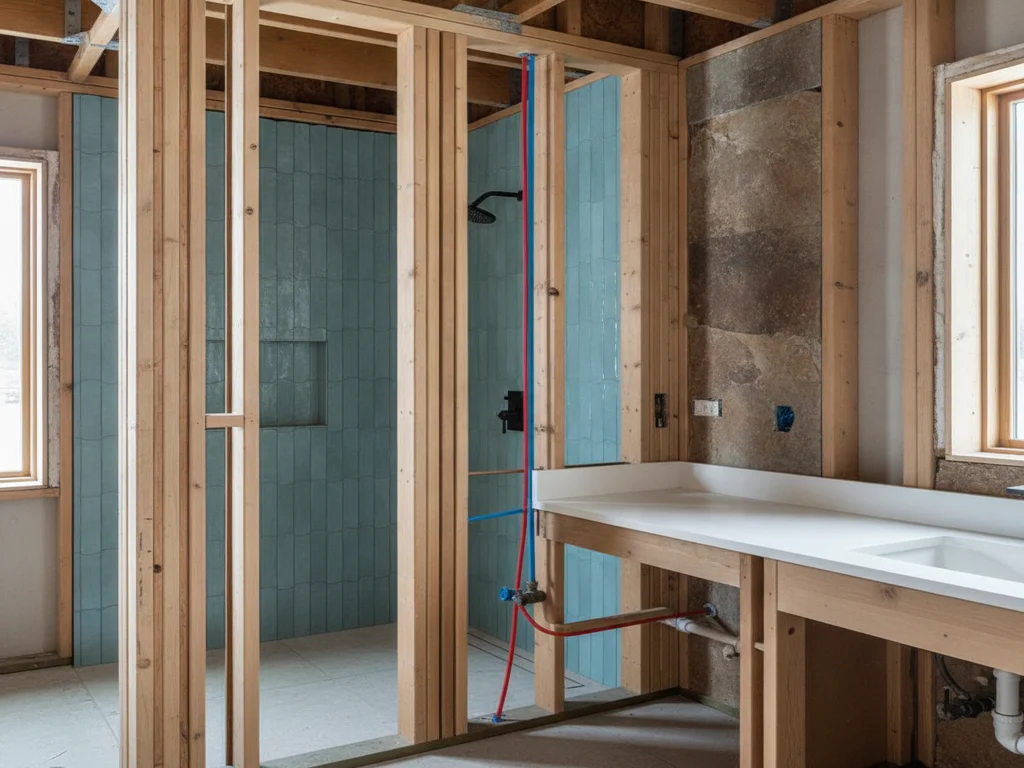
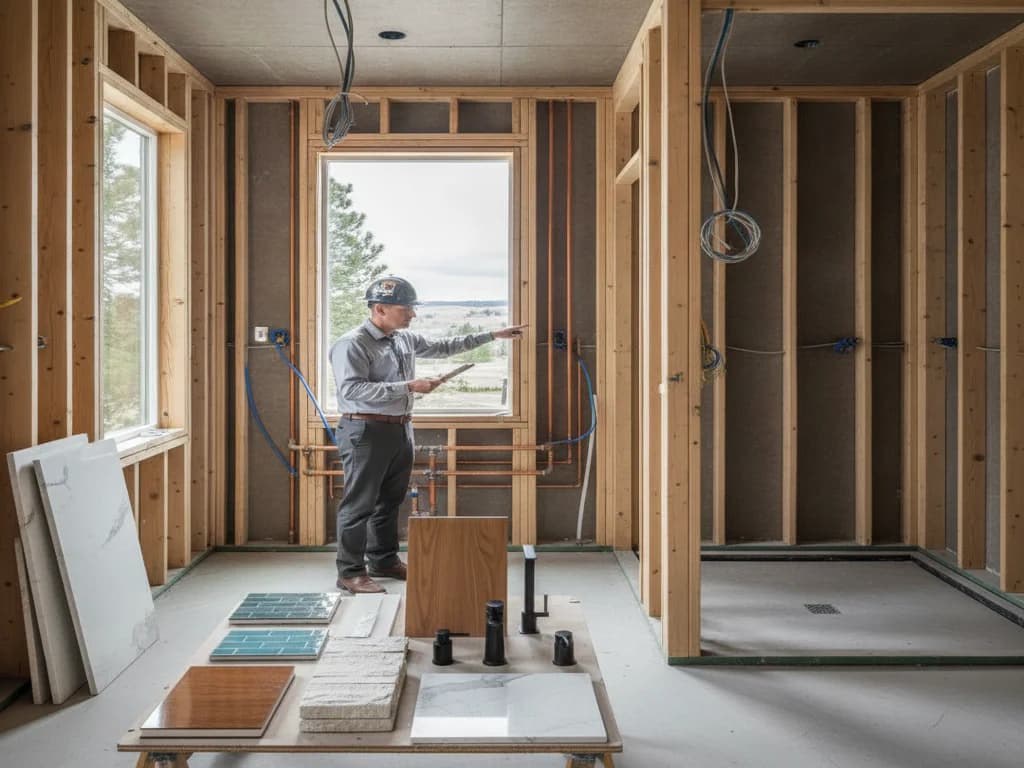
With the walls open, plumbing and electrical get run or relocated to their new positions — supply and drain lines, new circuits, exhaust fan ducting. This step has to happen before anything else can close the walls up, because rough-in is the last point at which pipes and wires are easy to access. It’s also the stage where a layout decided during planning meets reality; a rough-in relocation that looked simple on paper sometimes reveals why it wasn’t.
3. Inspection before anything closes up
Before insulation, backer board, or drywall goes over the new rough-in, it has to be inspected and approved — this is a code requirement enforced by the local building department, not an optional courtesy. Covering rough-in work before it’s inspected typically means opening it back up, so this step cannot be rushed or skipped no matter how ready the crew is to move forward. A failed inspection means fixing the issue and scheduling a second one, which is the exact reason getting it right the first time is faster than trying to save a day here.
4. Substrate and backer board
Once rough-in is approved, the wet areas get the correct substrate — cement backer board or an equivalent foam board system — installed in place of the drywall or green board that has no business being in a shower. This Old House’s coverage of the remodel process confirms this order explicitly: plumbing and electrical updates come first, and the backer board or foam board that creates "a tough, durable bond for the tiles" goes in before any tile work begins. Standard drywall is not a waterproofing substrate, and skipping straight from rough-in to tile without the right backer is one of the most common corners cut on a rushed job.
5. Waterproofing
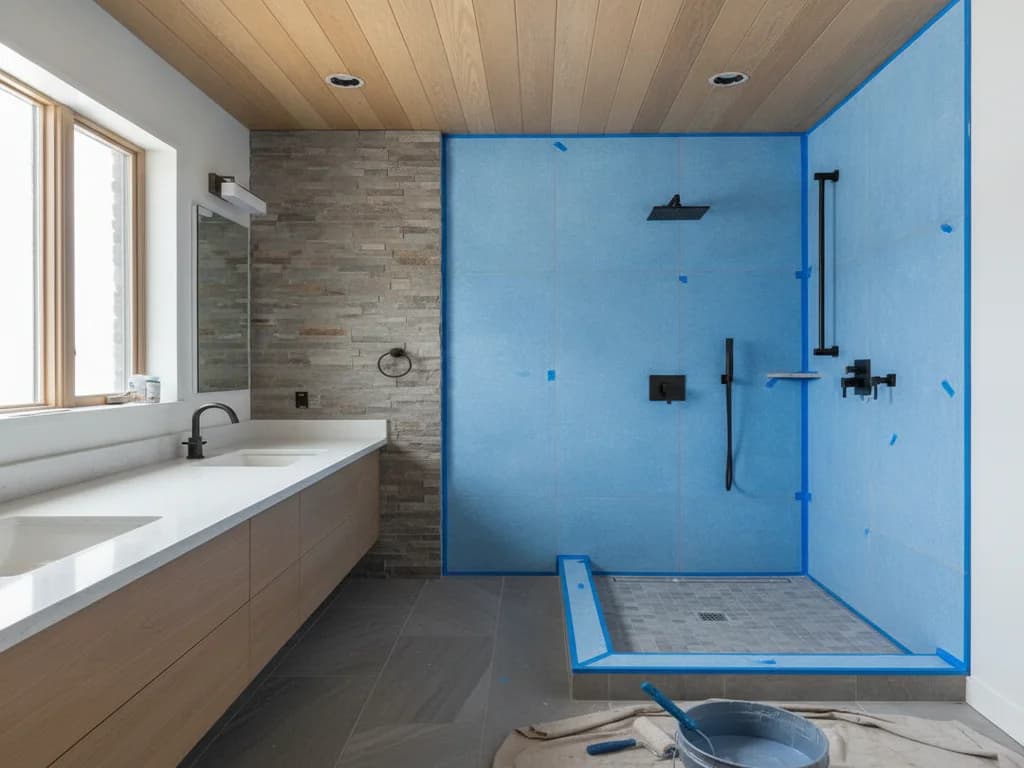
Waterproofing goes over the substrate before a single tile is set — a continuous membrane, plus a properly sloped pan if it’s a traditional shower base, is the actual water barrier, not the tile itself. The Tile Council of North America’s Handbook details correct shower receptor assembly for exactly this reason, and manufacturer systems like Schluter’s are designed and tested as a complete assembly rather than individual parts. This is also the stage where a flood test — filling the pan and confirming it holds before tiling — belongs, because it catches a defect while it’s still a cheap fix rather than a tear-out.
6. Tile — and why it needs to cure
Tile goes on only after waterproofing is complete and, in most systems, cured for the time the manufacturer specifies. Schluter’s installation guidance and the TCNA Handbook both call for real cure windows between the membrane and the tile, and again between tile-setting and grouting — mortar and grout need that time to reach their working strength. Rushing this stage is one of the most common causes of early failures: a membrane tiled over before it’s cured can trap moisture or fail to bond correctly, and the fix is a full tear-out, not a touch-up.
Curing is not the schedule stalling
When a shower sits for a day before grouting or a membrane cures before tile goes on, that time is the build protecting itself. Forcing the next step early to hit a date is how you get cracked grout, a failed membrane, and a repair that costs far more than the days it would have saved.
7. Fixtures
With tile finished and cured, fixtures go in — the vanity, toilet, faucets, showerhead and valve trim. This has to follow tile rather than precede it, since setting a vanity or toilet flange before the floor tile is down means either working around it poorly or resetting it after the fact.
8. Glass — measured and installed last
Custom shower glass is typically measured only after tile is fully installed, since the glass has to be fabricated to the exact finished opening — not the framed opening from weeks earlier. That means a gap between "tile done" and "glass installed" is normal and expected, not a delay, because fabrication takes real time after that final measurement. Glass installation is the last step precisely because it’s the one most dependent on everything else being finished first.
What breaks when the order is wrong
Every shortcut in this sequence trades a small amount of time now for a larger repair later. The table below maps the most common shortcuts to what actually fails.
| Shortcut taken | What breaks |
|---|---|
| Closing walls before inspection | Opening the wall back up; possible re-inspection delay |
| Skipping proper backer board | Substrate breaks down behind tile; tile loosens or cracks |
| Tiling before waterproofing cures | Trapped moisture, membrane failure, eventual tear-out |
| Rushing grout cure time | Cracked grout, compromised water barrier |
| Setting fixtures before tile is done | Reset or damaged fixtures, poor tile fit around them |
| Measuring glass before tile is finished | Glass fabricated to the wrong opening |
Build it in the right order
The sequence above isn’t arbitrary — it’s the order that makes a shower and bathroom actually last. A contractor who insists on an inspection before closing walls, a cure period before grouting, or measuring glass after tile is protecting the result, not padding the schedule.
When you’re ready to have this sequence handled correctly from demo to final walkthrough, explore a full bathroom remodel built in the right order or request a free estimate.
Ready to plan your Boise bathroom?
Licensed & insured · 3-year workmanship warranty
Frequently asked questions
- What is the correct order of steps in a bathroom remodel?
- Demolition, then rough-in plumbing and electrical, then an inspection before walls close, then substrate and backer board, then waterproofing, then tile (with cure time), then fixtures, and finally custom glass, which is measured only after tile is finished. Each step depends physically on the one before it.
- Why does tile need to cure before fixtures go in?
- Mortar and grout need real time to reach their working strength, and the waterproofing membrane beneath the tile needs to cure fully before it’s trusted to hold up under use. Setting fixtures or using the shower before that cure time is complete risks cracked grout and a compromised water barrier.
- What happens if the order of operations is skipped or rushed?
- The most common consequences are a failed inspection requiring rework, a waterproofing membrane that fails from being tiled over too soon, cracked grout from rushed cure time, and shower glass fabricated to the wrong opening because it was measured before tile was finished. Nearly all of these turn a small time savings into a larger, more expensive repair.
Sources
- This Old House — bathroom remodel process & substrate order
- Tile Council of North America (TCNA) — TCNA Handbook
- Schluter Systems — membrane & mortar installation/cure guidance
- Tile Council of North America — Handbook for Ceramic, Glass & Stone Tile Installation
- City of Boise — Building Permits
Claims and figures are drawn from the sources above and provided for general guidance; your project may vary. Photography is illustrative of design concepts. For a fixed price on your specific bathroom, request a free estimate.