Updated July 6, 2026 · 8 min read
By Boise Bath — bathroom & shower remodeling in Boise & the Treasure Valley
The short answer
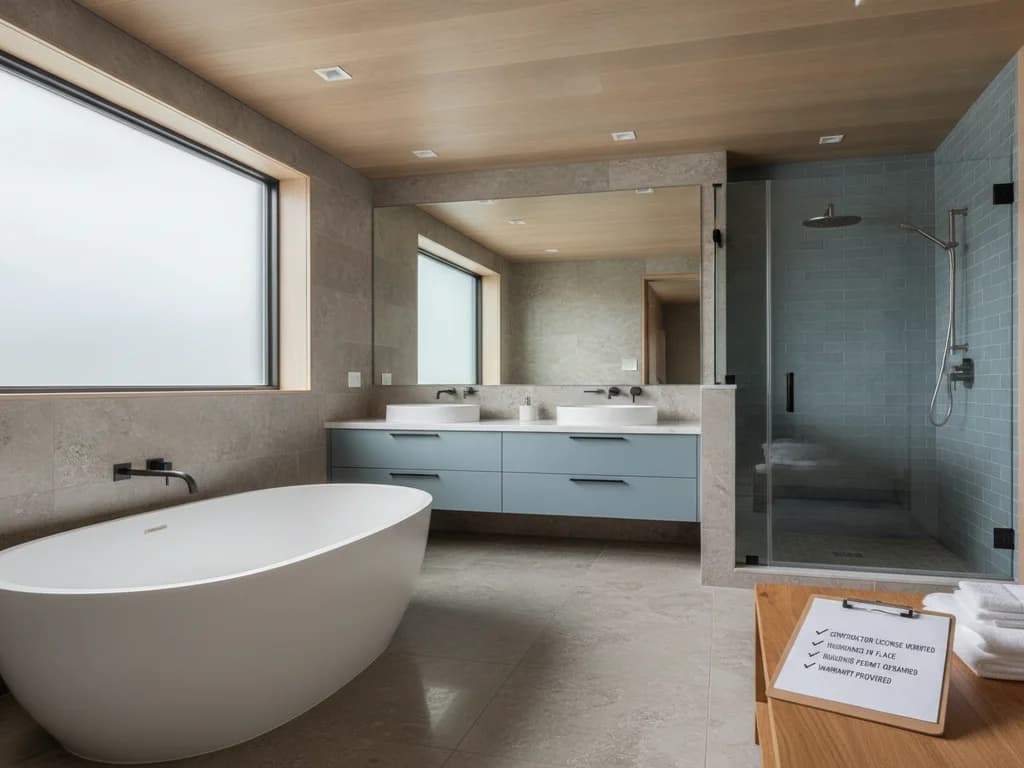
This bathroom remodel checklist walks through every stage in order: define your scope, set a budget with a contingency, lock design and layout decisions, order long-lead materials early, build a realistic schedule, then work a final punch list before you call the job done. Tick each line item off as you go.
Key takeaways
- This is the printable checklist artifact — the actual line items to tick off — not the narrative walkthrough of why each stage happens when.
- Scope and budget get locked before a single tile is chosen, so every later selection is measured against a real number and a real plan.
- Long-lead items — custom tile, vanities, shower glass, tubs — get ordered early because their delivery windows, not the labor, often set your finish date.
- A written punch list turns the final walkthrough from a vague "looks good" into a verified list of caulk lines, alignment, grout, and function you actually checked.
- Comparable bids only happen when every contractor is quoting the same defined scope — which is what a completed scope and design checklist gives you.
How to use this checklist
This is the printable artifact — the actual line items to tick off — not the story of why each stage comes when it does. If you want the reasoning behind the order (why goals come before budget, why measuring comes before design), read how to plan a bathroom remodel; that guide is the narrative sequence. This page is the companion you print out and check off as you work through those same stages.
Work the sections top to bottom. Each stage assumes the one before it is done: you can’t meaningfully price a scope you haven’t defined, and you can’t choose a layout you haven’t measured for. The final section — the punch list — is different in kind. It’s not a planning stage; it’s the verification you run at the very end to confirm the construction was done right. That construction phase has its own order, which we cover in bathroom remodel order of operations; your punch list is how you check that order was followed and finished cleanly.
Two lists, one project
The narrative guide explains the sequence; this checklist is the line-item version of it. Keep both open — read the reasoning once, then use this list as your running to-do.
1. Scope checklist — decide exactly what you’re remodeling
Everything downstream is measured against your scope, so define it before you touch a budget number or a tile sample. This Old House’s remodel reporting found that nearly one in four homeowners (24%) wished they had spent more time planning upfront — and a vague scope is where that regret usually starts. Get specific about what the finished bathroom needs to do and who it’s for before anyone quotes it.
- Write down what isn’t working today — layout, storage, ventilation, lighting, or a failing fixture.
- Name the primary users and how they use the space (kids’ bath, guest bath, aging-in-place, resale-focused refresh).
- Separate must-haves from nice-to-haves in two explicit columns — this list becomes the filter for every later trade-off.
- Decide whether you’re keeping the existing footprint or reworking the layout within the same walls.
- Note any known constraints early: a single bathroom in the house, an older home likely to hide surprises, or a hard finish date.
- Confirm the scope in writing before requesting bids, so every contractor quotes the same job.
2. Budget checklist — set the ceiling and a contingency
Budget comes second, before layout or materials, because it defines what’s realistic to even consider. Set your ceiling, then reserve a contingency on top of it — This Old House recommends holding back a share of the total for the unexpected, since older homes especially tend to reveal surprises once demo starts. This stage is about locking the number; the tactics for stretching it live in our bathroom remodel budget tips.
- Set a realistic overall ceiling for the project — the most you’re willing to spend.
- Reserve a contingency for the unexpected on top of that ceiling; This Old House suggests setting aside 5–15% of the total for surprises.
- Confirm how you’re financing the work before design gets expensive — NARI advises making your financing plan as solid as your design.
- Break the budget into buckets: labor, fixtures, tile and materials, permits, and that contingency.
- Decide upfront where you’ll splurge and where you’ll save, so selections later don’t quietly blow the ceiling.
- Plan to gather more than one bid — This Old House found 16% of homeowners regretted not getting multiple quotes.
3. Design decisions checklist — lock layout and selections
With scope and budget set, lock the design — and lock it before you order anything, because a chosen vanity or tub can constrain a layout you haven’t finalized. Measure first: a layout that looks great on paper can be impossible or far more expensive if it fights the existing rough-in. If you haven’t measured yet, our guide on how to measure your bathroom covers it, and choosing a bathroom layout walks through the options.
- Measure the room and note rough-in locations — toilet flange, shower drain, sink supply lines — before drawing anything.
- Lock the layout on paper, respecting clearances: This Old House cites at least 36 inches between dual sinks (drain to drain) and 36–42-inch traffic lanes.
- Confirm the shower or tub choice and its footprint before it drives the rest of the room.
- Finalize tile selections — floor, wall, and any accent — including a slip-resistant floor rating for wet areas.
- Choose fixtures and finishes as a set (faucets, showerhead, hardware, lighting) so they coordinate.
- Confirm vanity size, sink type, and countertop material against the locked layout.
- Check that water-heater capacity suits the new fixtures if you’re adding a soaking tub or a high-flow shower.
4. Materials orders checklist — order long-lead items early
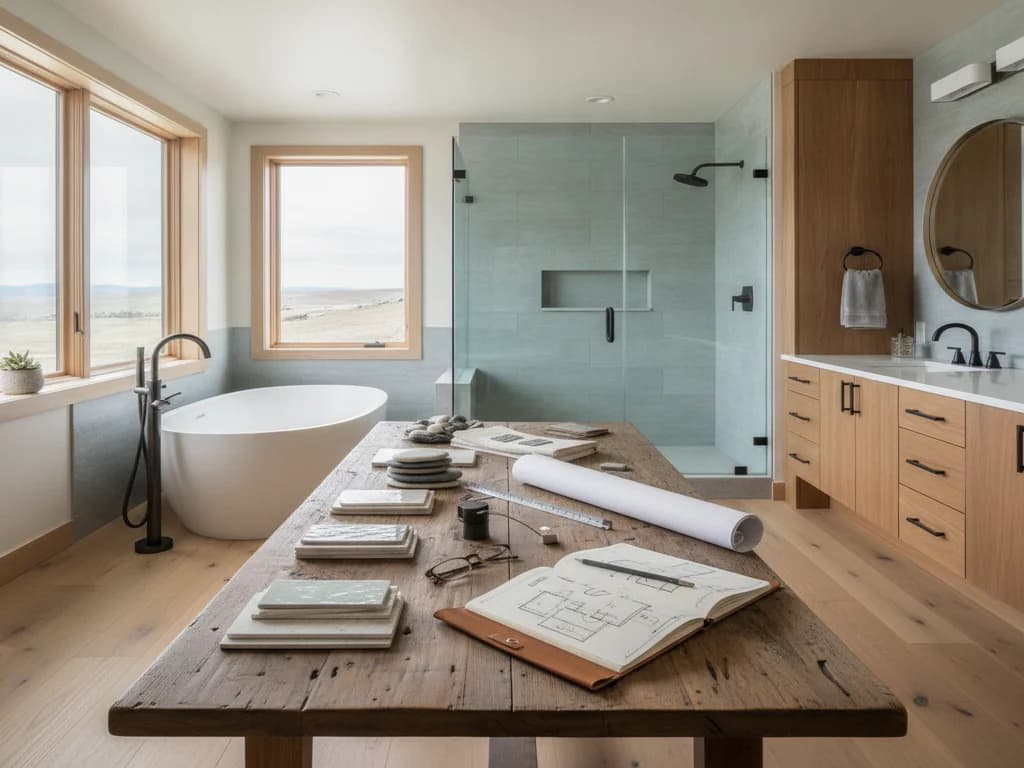
Once selections are locked, place orders — and place the long-lead ones first. Custom tile, vanities, shower glass, and specialty tubs often carry delivery windows measured in weeks, and it’s those windows, not the labor, that quietly set your finish date. This Old House explicitly advises accounting for fixture delivery times and contractor availability when you build the plan. Order early, track everything, and don’t let demo start before the critical pieces are confirmed.
- Flag every long-lead item now: custom or imported tile, semi-custom or custom vanities, glass shower enclosures, and specialty or freestanding tubs.
- Place long-lead orders as soon as selections are final — before demo day, not after.
- Order tile with overage (typically extra for cuts, waste, and future repairs) so you don’t stall waiting on a reorder.
- Get written lead times and delivery dates for each item and record them in one place.
- Confirm the shower glass measuring approach — many enclosures are templated after the walls are tiled, which adds time.
- Verify each delivery on arrival for damage and correct finish before it’s needed on site.
- Store materials safely and acclimated where the manufacturer requires it (some tile and flooring need to sit in the space first).
5. Schedule checklist — turn the plan into dates
The last planning stage is turning the locked scope, design, and orders into a real calendar. A bathroom remodel can run from a couple of weeks to several — Today’s Homeowner notes larger baths can take six weeks or more, and some projects three months. Build the schedule around long-lead deliveries, permit timing, and the construction sequence, and add buffer, because drying times and inspections aren’t optional.
- Confirm the contractor’s start date and rough end date in writing.
- Align permit timing with the start — plumbing or electrical work needs one; our Boise-area permit guide covers the process.
- Back the schedule up from long-lead delivery dates so demo doesn’t begin before materials land.
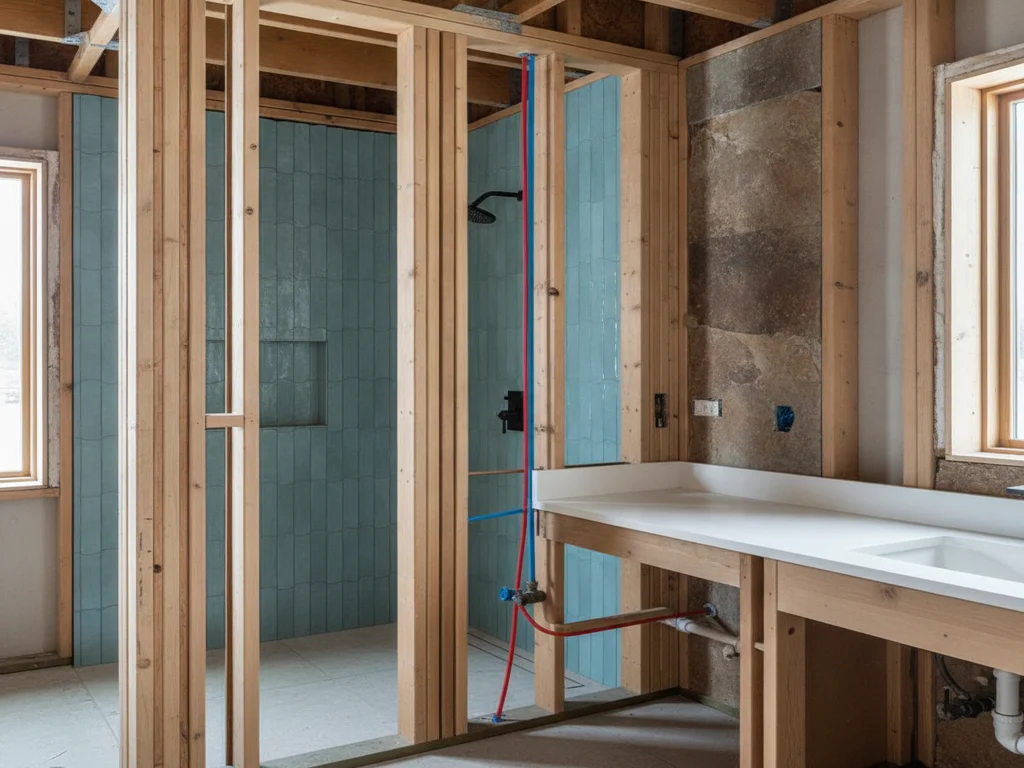
- Map the rough milestones: demo, then plumbing and electrical rough-in, inspection, waterproofing and tile, then fixtures and finishes.
- Build in buffer for drying and curing — concrete, waterproofing membrane, grout, and paint all need time.
- Schedule required inspections into the timeline rather than treating them as interruptions.
- If it’s your only bathroom, plan the no-bathroom stretch in advance — see remodeling your only bathroom.
6. Punch list checklist — verify it’s done right before you sign off
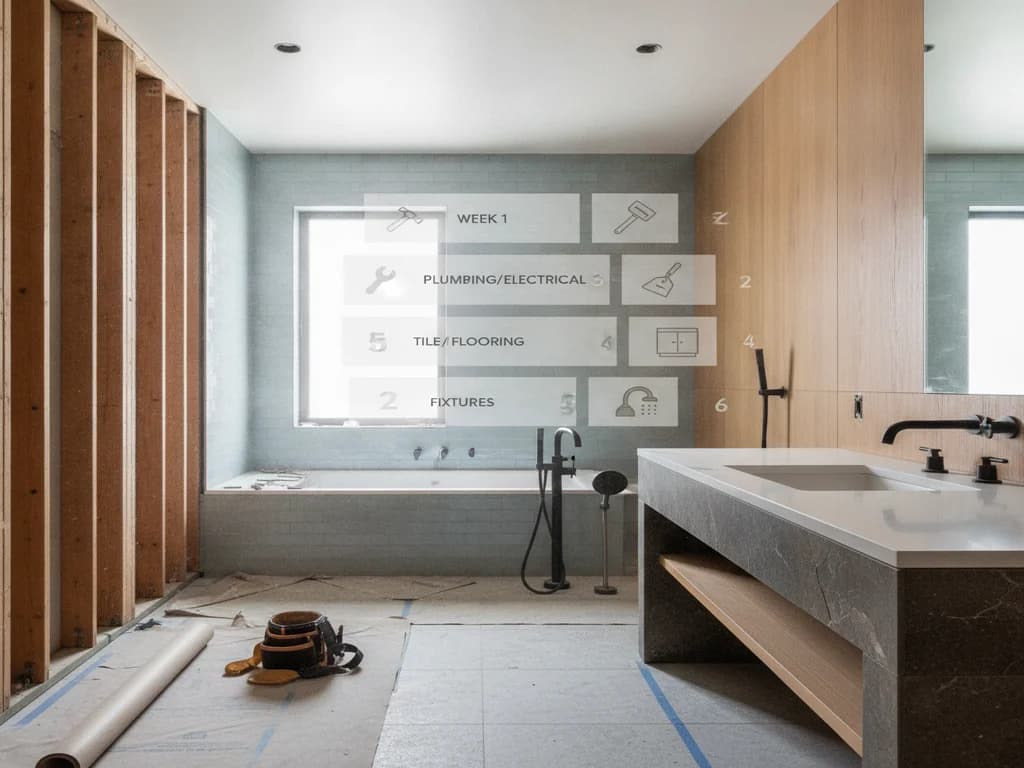
The punch list is the final walkthrough — the point where you confirm the construction sequence was actually finished cleanly, not just that the room looks new. Walk it with your contractor before you sign a certificate of completion, because it’s your clearest chance to have the crew fix small items while they’re still on site. Go slowly and check function, not just appearance.
- Caulk lines are clean, continuous, and consistent at tub, shower, countertop, and baseboards.
- Grout is uniform in color and fully filled, with no gaps, haze, or cracked joints.
- Tile is flat and lippage-free, with cuts around fixtures and outlets clean and even.
- Every cabinet door and drawer opens, closes, and aligns — no rubbing, no uneven gaps.
- No nail pops, drywall ridges, or missed paint spots on walls and ceiling.
- All fixtures function: faucets, showerhead, and any body sprays run hot and cold with good pressure and no leaks.
- Toilet is secure and doesn’t rock; it flushes and refills cleanly.
- Every drain runs freely — sink, tub, and shower — and the shower pan holds and sheds water correctly.
- Exhaust fan, lights, outlets, and any GFCI protection all work and are properly covered.
- Doors and hardware are hung level and latch properly.
- Required inspections passed and the permit is signed off and closed out.
- Get the punch-list items agreed in writing, with a date for any remaining fixes, before final payment.
Ready to work the list with a pro?
A complete checklist — scope, budget, design, orders, schedule, and a punch list — is what keeps a remodel from unraveling into rework and change orders. It also puts you in the strongest position when you sit down with a contractor, because the scope is already defined and NARI’s advice to compare bids on the same scope and quality of work actually becomes possible.
When your checklist is ready to become a real project, request a free estimate or see how our step-by-step process turns a plan into a finished bathroom.
Ready to plan your Boise bathroom?
Licensed & insured · 3-year workmanship warranty
Frequently asked questions
- Is this the same as a step-by-step planning guide?
- No — this is the printable checklist artifact, the actual line items to tick off within each stage. The narrative version, which explains why each stage happens when it does, is our separate how-to-plan-a-bathroom-remodel guide. Many people use both: read the reasoning once, then work this list.
- What should be on a bathroom remodel punch list?
- The final-walkthrough items you verify before signing off: clean and continuous caulk, uniform grout, flat lippage-free tile, aligned doors and drawers, no nail pops, working fixtures with no leaks, free-running drains, a functioning exhaust fan and GFCI outlets, and a signed-off permit. Confirm any remaining fixes in writing before final payment.
- When should I order materials for a bathroom remodel?
- Order long-lead items — custom tile, vanities, shower glass, and specialty tubs — as soon as your selections are final, before demo starts. Their delivery windows, not the labor, often set your finish date, so getting written lead times and ordering early keeps the schedule from stalling.
Sources
- This Old House — bathroom renovation checklists
- Today’s Homeowner — bathroom remodel guides
- NARI (Remodeling Done Right) — choosing the right contractor
- City of Boise — Building Permits
- Natural Stone Institute — Relevant ASTM Standards (slip resistance, ANSI A326.3)
Claims and figures are drawn from the sources above and provided for general guidance; your project may vary. Photography is illustrative of design concepts. For a fixed price on your specific bathroom, request a free estimate.