Updated July 5, 2026 · 9 min read
By Boise Bath — bathroom & shower remodeling in Boise & the Treasure Valley
The short answer
Plan a bathroom remodel in this order: define your goals, set a budget with a contingency, measure the space and locate rough-in plumbing, choose a layout, select materials and fixtures, then hire a licensed contractor and pull permits. Planning materials before budget and layout are locked is the most common — and costliest — planning mistake.
Key takeaways
- Planning out of order is what causes rework — goals and budget come before any material is chosen.
- Nearly one in four homeowners say they wish they’d spent more time planning before starting.
- Measuring your space and rough-in locations before designing prevents layout decisions you can’t actually build.
- This is the plan-stage sequence — what happens after demo day is a different, construction-side sequence.
- A locked plan going into your first contractor conversation gets you comparable bids and a realistic schedule.
Why the order you plan in matters
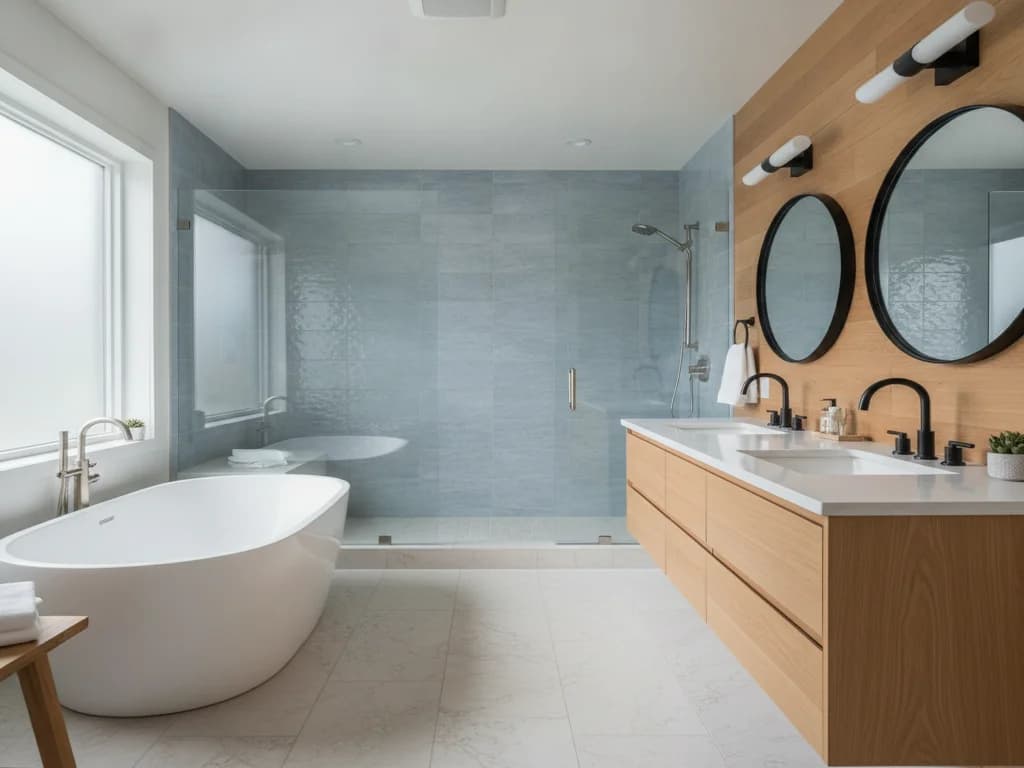
Most bathroom remodel frustration doesn’t come from bad decisions — it comes from good decisions made in the wrong order. Choosing a gorgeous tile before the budget is set, or falling in love with a layout before you’ve measured the rough-in plumbing, leads to the same place: reworking a decision you’d already committed to. This Old House’s reporting on remodel planning found that nearly one in four homeowners said, in hindsight, they would have spent more time planning upfront — a signal that the planning phase, not just the construction phase, is where projects go sideways.
The sequence below moves from idea to demo day: define goals, set budget, measure the space, choose a layout, select materials, then hire and permit. Once demo starts, a different sequence takes over — what happens in what order during construction, and why, is its own topic we cover in bathroom remodel order of operations. This guide stops where that one picks up.
Plan-stage vs. build-stage
This guide covers the sequence of decisions before a single wall comes down. The sequence of construction — demo, rough-in, inspection, tile, fixtures — is a separate, later conversation with its own logic.
Step 1: Define your goals before anything else
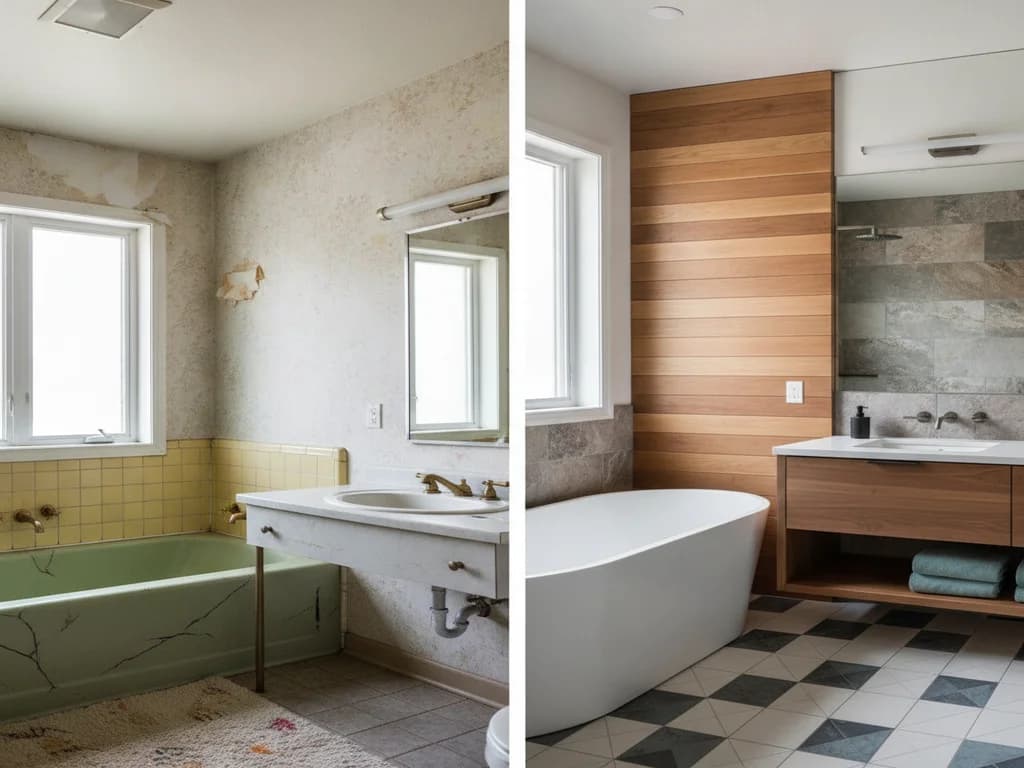
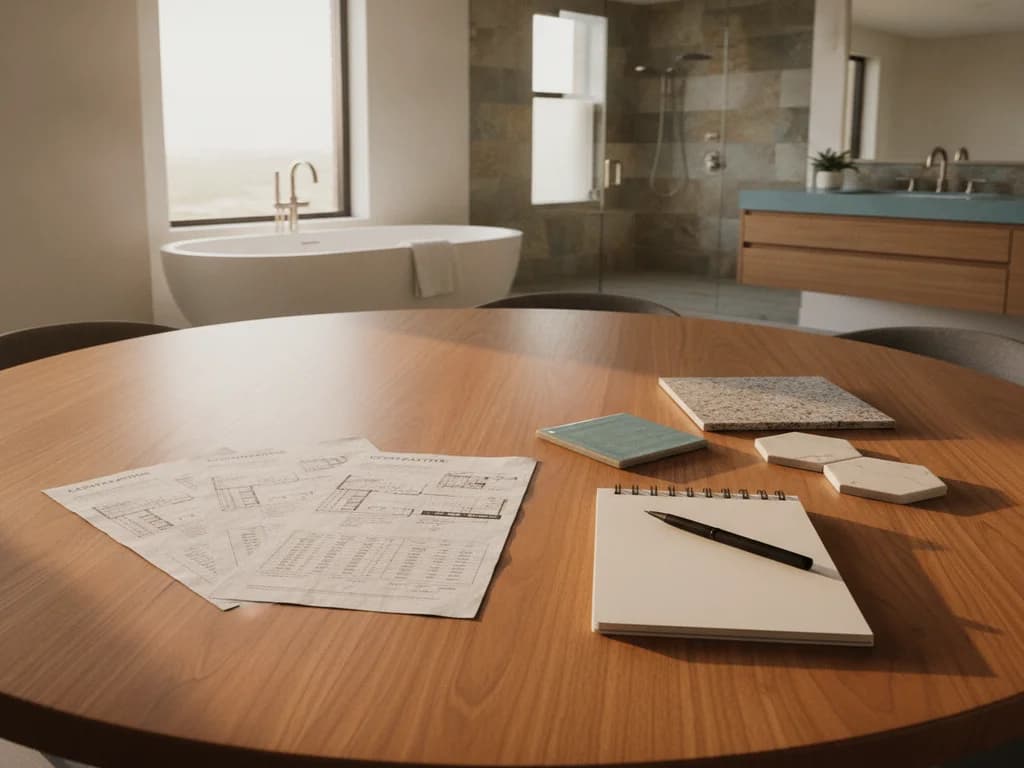
Before any budget number or tile sample, get specific about why you’re remodeling. Is the current layout not working? Is a fixture failing? Are you preparing to age in place, or preparing the home for resale? The answer changes almost every decision downstream — a resale-focused refresh and an aging-in-place remodel can use the same square footage and land on very different plans. Write down what’s not working today and what "done well" looks like; that short list becomes the filter every later decision gets measured against.
Step 2: Set a budget with a contingency — before you shop
Budget comes second, before layout or materials, because it defines what’s realistic to consider. Set a number and add a contingency for the unexpected — older homes especially tend to reveal surprises once demo starts. This step is about locking the ceiling, not the tactics for stretching it; the actual money-saving moves — where to splurge, where to save, how sourcing and layout choices affect cost — are their own deep topic, covered fully in our bathroom remodel budget tips. That guide is tactics for a budget already set; this step is about setting it.
Step 3: Measure your space and locate the rough-in
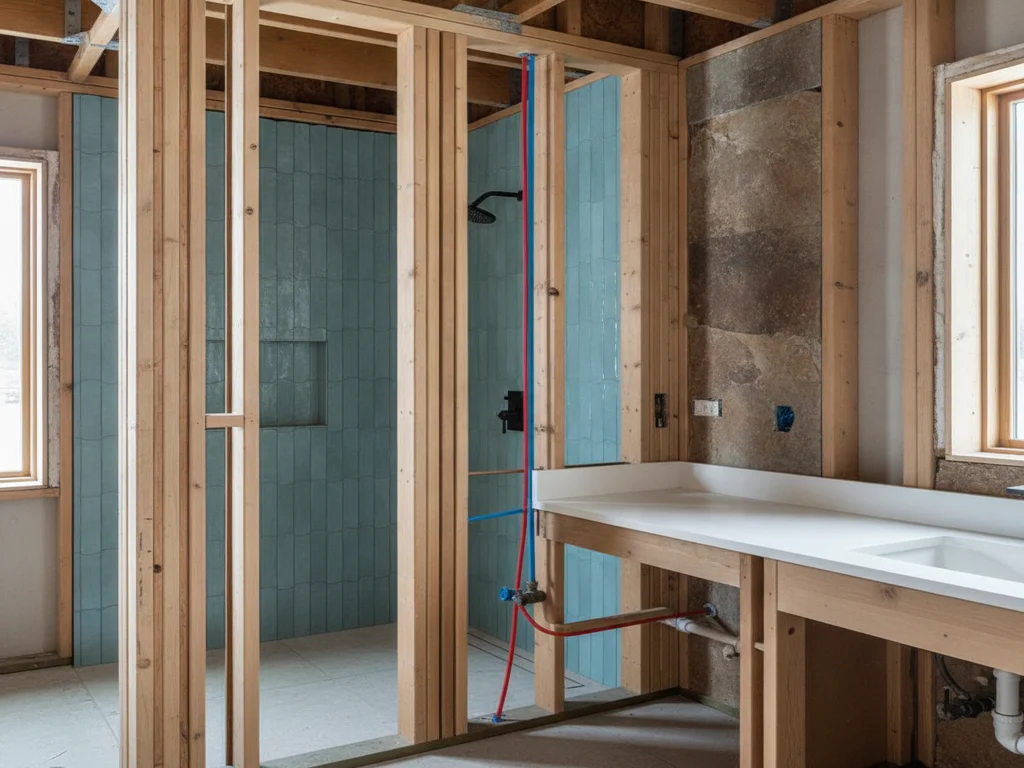
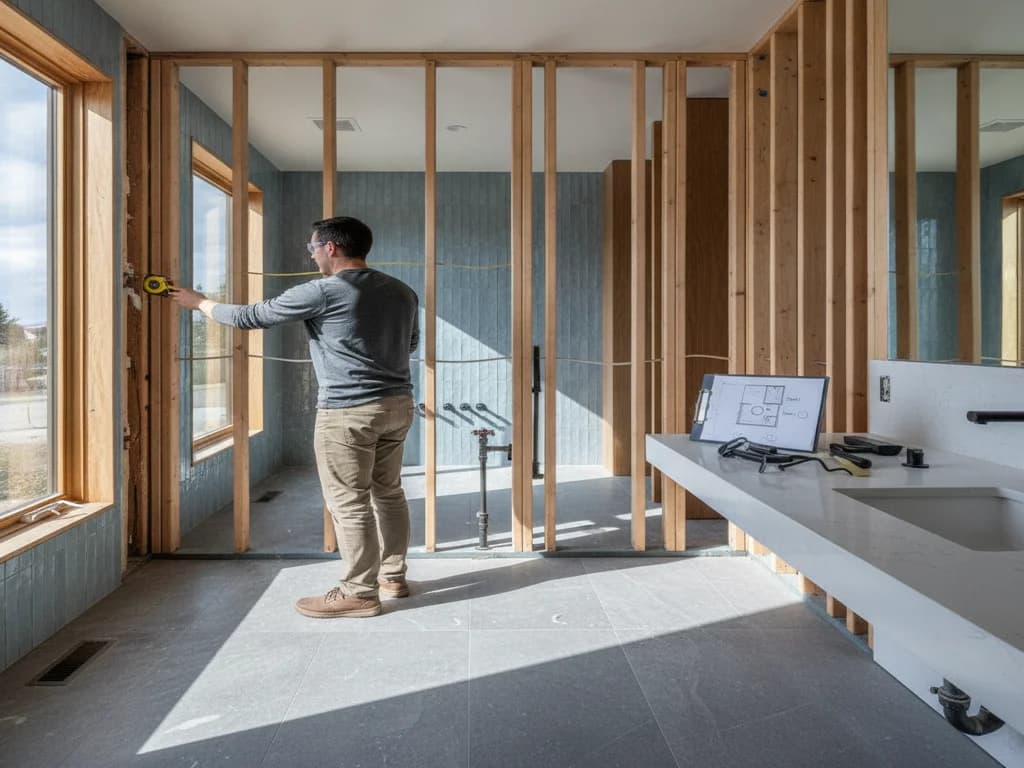
With goals and budget set, measure the existing room and note where the plumbing rough-in — the toilet flange, shower drain, sink supply lines — actually sits. This is the step people skip in favor of jumping straight to design, and it’s a mistake: a layout idea that looks great on paper can be impossible, or dramatically more expensive, if it requires relocating a drain line. Locating your home’s water shutoffs at this stage is worth doing too, since you’ll want that information regardless of how the rest of the plan unfolds.
Step 4: Choose your layout
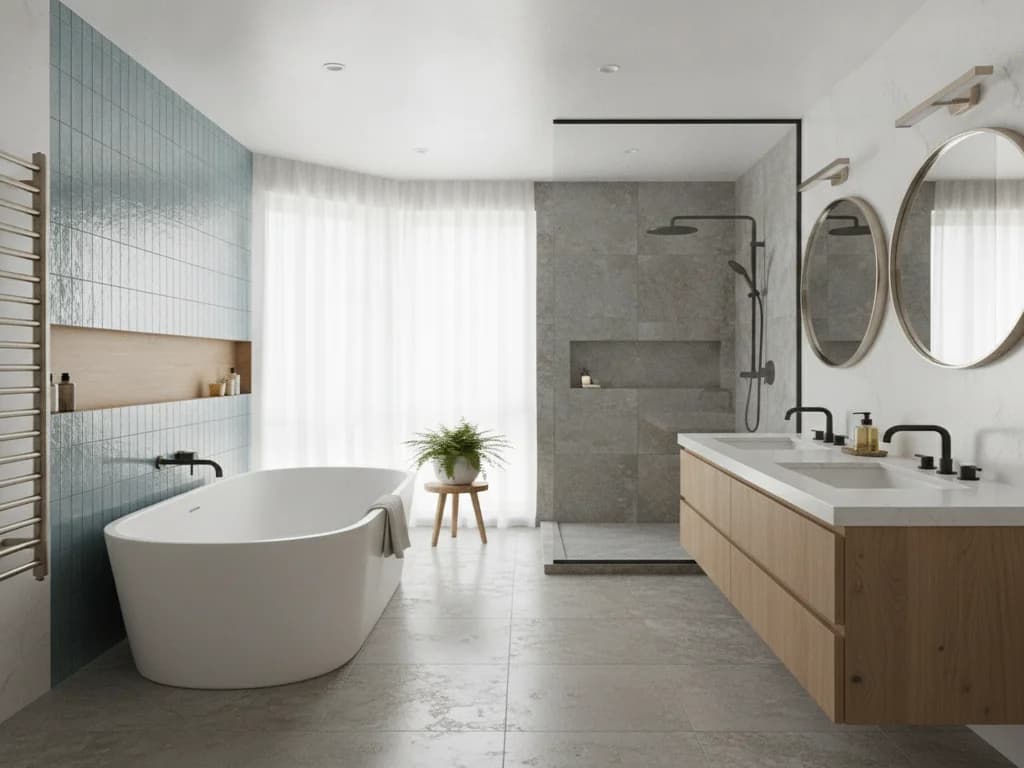
Layout comes after measuring, not before, because it has to respond to what the space and the rough-in will actually allow. This is also where clearance and accessibility standards matter — the National Kitchen & Bath Association’s planning guidelines cover clearances, fixture placement, and accessible-design recommendations specifically so a layout that looks right on a sketch also functions in daily use. Whether you’re keeping the existing footprint or reworking it within the same four walls, lock the layout before selecting materials — a chosen vanity or tub can constrain a layout that hasn’t been decided yet.
Step 5: Select materials and fixtures
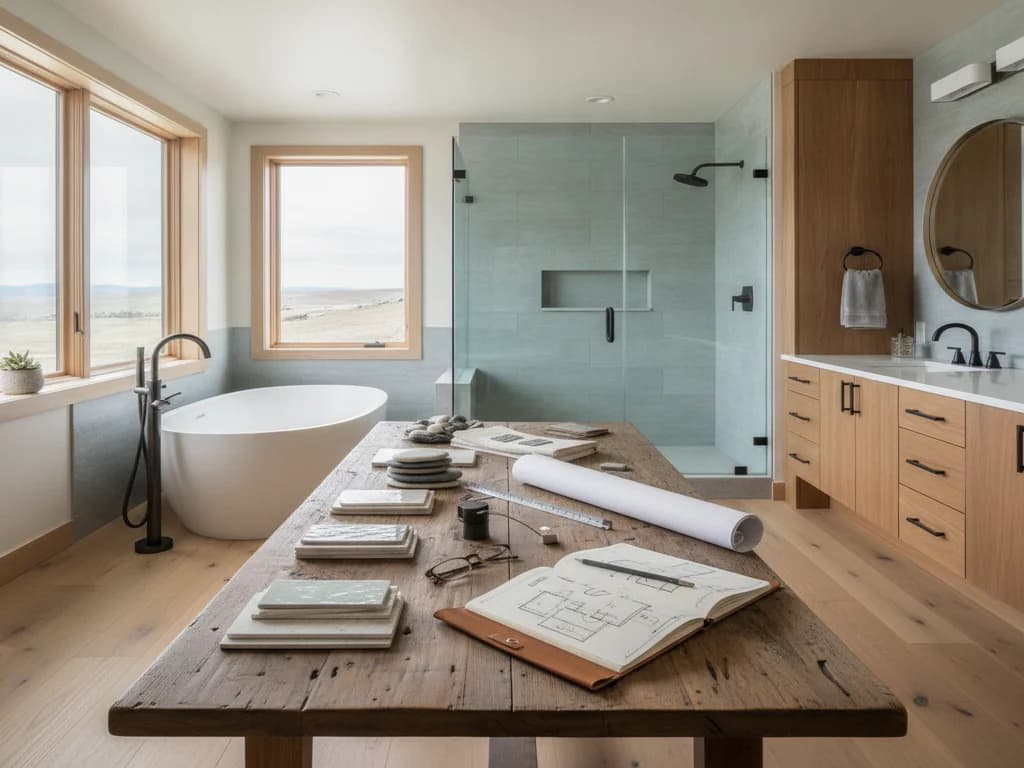
Only once goals, budget, measurements, and layout are settled should tile, fixtures, and finishes enter the picture. Selecting materials this late in the sequence — rather than first, which is the common instinct — means every choice is being made against a real budget and a real layout instead of an aspirational one. This is also the point to flag any special-order item, since custom tile, vanities, and shower glass carry lead times worth knowing about before you’re racing a demo date.
Step 6: Hire a contractor and pull permits
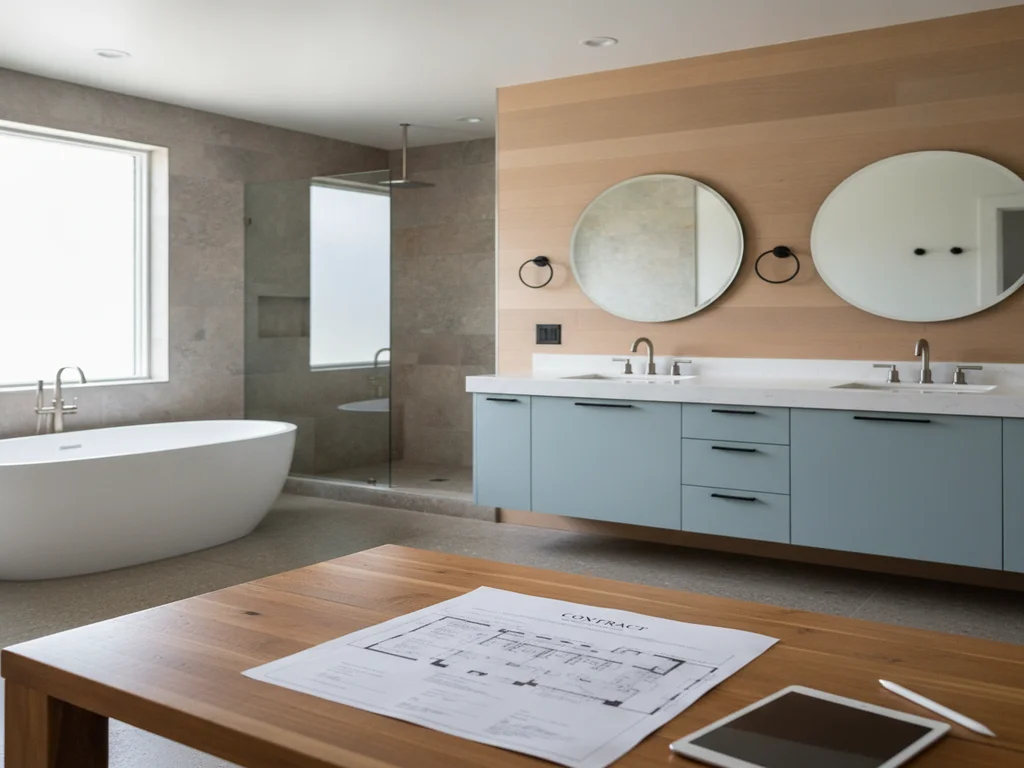
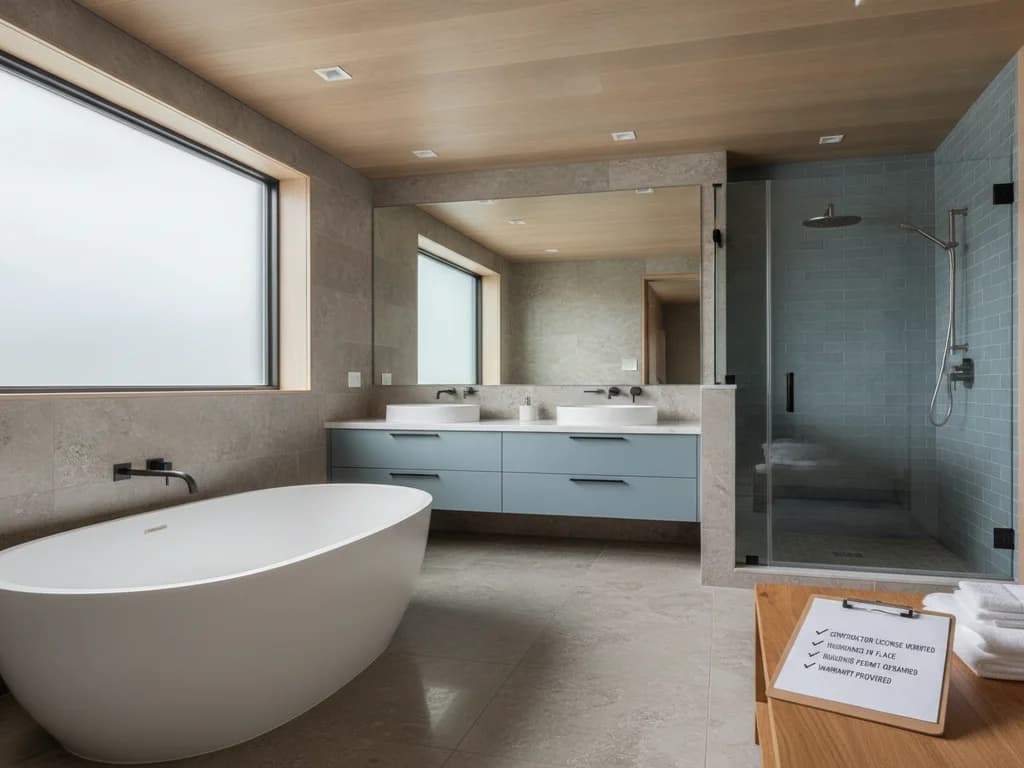
With the plan locked, you’re in a position to get comparable, apples-to-apples bids, because every contractor is quoting the same defined scope rather than guessing at one. Our guide to questions to ask a bathroom remodeling contractor covers what to ask before you sign. Any project touching plumbing or electrical will also need a permit — see our guide to Boise-area bathroom remodel permits for what that process involves and how the City of Boise and Ada County handle inspections.
Step 7: Build the schedule — then it’s demo day
The last plan-stage step is turning the locked scope into a schedule: when long-lead materials need to be ordered, when the contractor can start, and what the realistic finish date looks like given all of the above. Once that schedule is set and demo day arrives, a new sequence takes over — the construction order of operations, where what happens in what order (and why skipping steps causes real damage) is the whole subject of our next guide.
| Step | What it locks in | Learn more |
|---|---|---|
| 1. Goals | Why you’re remodeling and what "done" looks like | — |
| 2. Budget | A realistic ceiling with a contingency | Budget tips guide |
| 3. Measure & rough-in | What the space and plumbing will allow | — |
| 4. Layout | Clearances, flow, and accessibility | NKBA guidelines |
| 5. Materials & fixtures | Tile, fixtures, and finishes against a real budget | — |
| 6. Contractor & permits | Comparable bids and code compliance | Contractor questions guide |
| 7. Schedule → demo day | A realistic finish date | Order of operations guide |
Start your plan with us
Planning in this order — goals, budget, measurements, layout, materials, then hiring — is what keeps a remodel from unraveling into rework and change orders once it starts. It also puts you in the strongest position when you sit down with a contractor, because the scope is already defined.
When your plan is ready to become a schedule, request a free estimate or see how our step-by-step process turns a plan into a finished bathroom.
Ready to plan your Boise bathroom?
Licensed & insured · 3-year workmanship warranty
Frequently asked questions
- What’s the first step in planning a bathroom remodel?
- Define your goals before anything else — what isn’t working in the current bathroom and what "done well" looks like. This filter shapes every later decision, from budget to layout to materials, and is the step people most often skip in favor of jumping straight to tile and fixtures.
- Should I set my budget before or after choosing materials?
- Before. Setting a budget with a contingency early defines what’s realistic to consider once you start selecting tile and fixtures. Choosing materials first tends to produce a wish list that later has to be cut down, which causes the frustration and rework that good planning order prevents.
- When should I hire a contractor?
- After your goals, budget, measurements, and layout are locked. A defined scope lets you get comparable bids instead of estimates based on guesswork, and it’s also the point where pulling any required plumbing or electrical permits enters the timeline.
Sources
- This Old House — bathroom renovation checklists
- National Kitchen & Bath Association — planning guidelines
- City of Boise — building permits & inspections
- U.S. Access Board — ADA Ch. 6: Bathing Rooms
Claims and figures are drawn from the sources above and provided for general guidance; your project may vary. Photography is illustrative of design concepts. For a fixed price on your specific bathroom, request a free estimate.