Updated July 6, 2026 · 9 min read
By Boise Bath — bathroom & shower remodeling in Boise & the Treasure Valley
The short answer
A workable bathroom layout starts with the wet wall — keeping fixtures near the existing plumbing wall keeps cost down — then accounts for door swing and code clearances. NKBA guidelines call for at least 21–24 inches of clear floor space in front of fixtures and an 80-inch ceiling over the shower. A layout ignoring these often can’t be built.
Key takeaways
- Fixtures placed on or near the existing plumbing wall cost less to install than fixtures relocated across the room — see our plumbing relocation cost guide for why.
- A minimum clear floor space of 21 inches is required in front of the lavatory, toilet, and tub, and 24 inches in front of a shower entry, per IRC code referenced in NKBA’s planning guidelines.
- Bathrooms need a minimum 80-inch floor-to-ceiling height over fixtures, and specifically over a 30x30-inch area at the showerhead.
- Bob Vila’s layout data recommends keeping toilets at least 18 inches from the centerline of the nearest wall or fixture — a rule echoed in NKBA’s own guidance.
- Full bathrooms, 3/4 bathrooms, and primary bathrooms each have their own common layout archetypes — matching the archetype to your room’s actual size prevents a plan that looks good on paper but doesn’t fit.
The three things that actually decide a layout
Bathroom layout inspiration is everywhere, and almost none of it tells you whether a given layout will actually work in your room. Three things determine that: where your plumbing wall sits and how far fixtures are moving from it, how the door swings relative to everything else, and whether the clearances in front of each fixture meet code and are comfortable to use. Get these three right and nearly any aesthetic can sit on top of them. Get them wrong and no amount of tile or fixture upgrade fixes a layout that doesn’t function.
This guide walks through all three, with real numbers from NKBA’s planning guidelines and Bob Vila’s layout data, so a layout idea can be evaluated before it becomes a design commitment.
Inspiration vs. feasibility
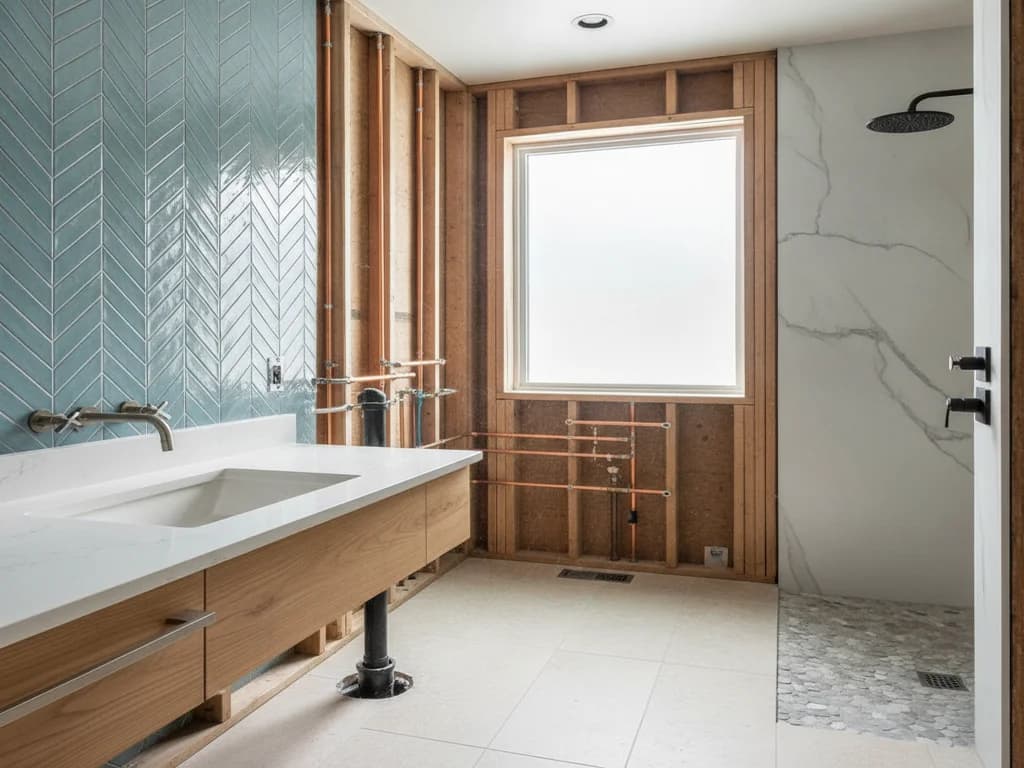
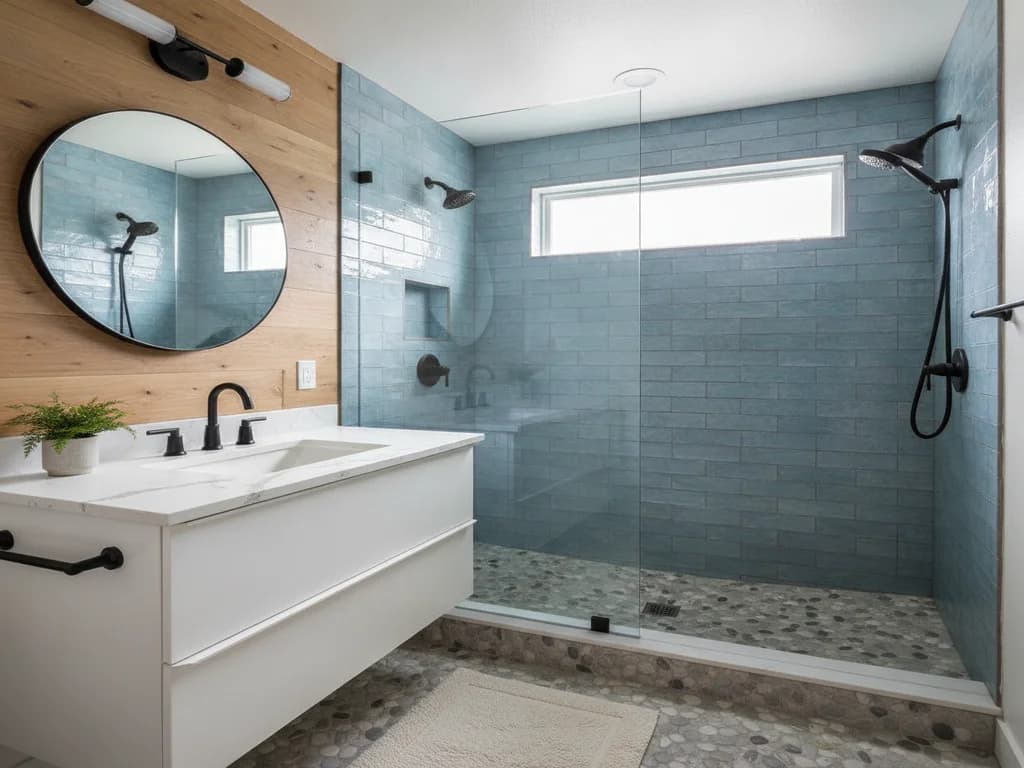
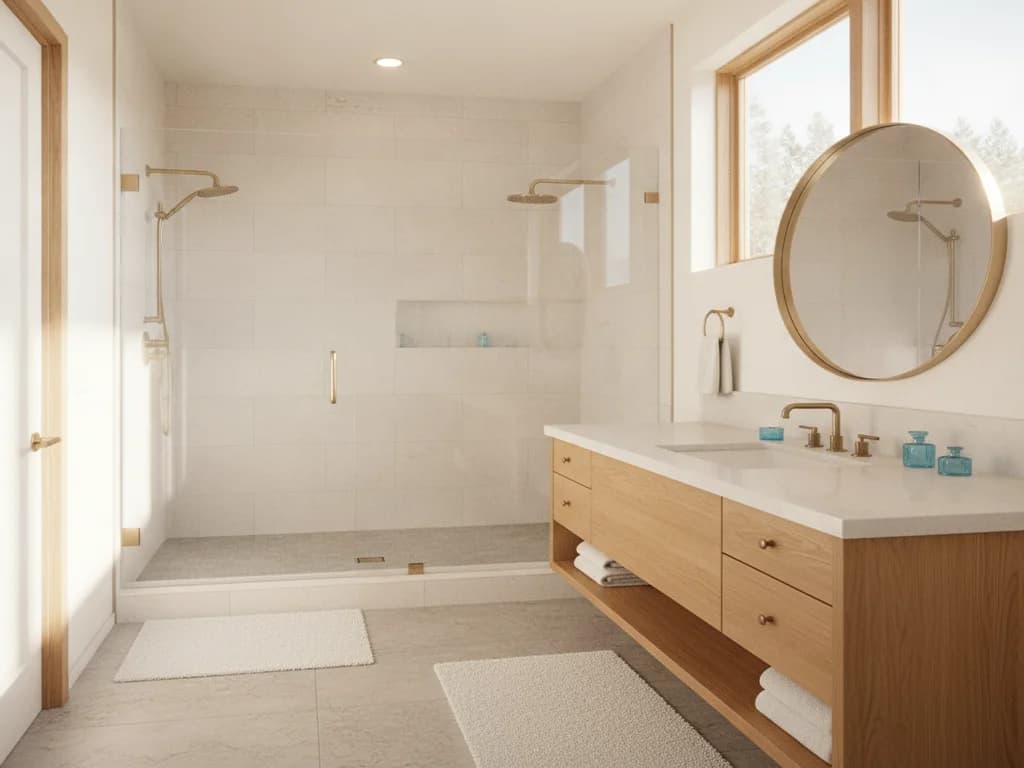
A layout photo shows you the result, not the plumbing wall behind it. Before adopting a layout you’ve seen elsewhere, check it against the wet wall, door swing, and clearance guidance below.
1. Wet wall economics: the cheapest layout is the one that respects the plumbing wall
The single biggest cost lever in a layout decision is how far fixtures sit from the existing plumbing wall — the wall carrying the supply and drain lines that already serve your toilet, sink, and shower. A layout that keeps every fixture on or near that same wall is, almost without exception, the least expensive to build, because it reuses existing rough-in plumbing instead of extending new supply and drain runs — and, depending on the fixture, adding new venting.
We cover exactly how much a fixture move can add to your budget, fixture by fixture, in our guide to bathroom plumbing relocation cost. The layout takeaway here is simpler: before you fall for a floor plan that puts the vanity on the opposite wall from where it sits today, know that the "opposite wall" part of that plan is doing a lot of the cost, not the vanity itself.
2. Door swing and entry clearance
A door’s swing path is one of the most common ways a layout that looks fine on paper turns out to be unworkable in the room. Guidance referenced in NKBA’s bathroom planning standards recommends a clear doorway opening of at least 32 inches — requiring roughly a 2-foot-10-inch door — and is explicit that no entry or fixture door should interfere with another door or with the safe use of a fixture or cabinet. In practice, that means checking whether the door, fully open, clips the vanity, blocks the toilet, or collides with a shower door before committing to a layout, not after the door is hung.
This is also where a pocket door or a door that swings out into a hallway instead of into the room can rescue a tight layout — trading a swing path for wall space is a legitimate layout move in a small bathroom, not just an accessibility feature.
3. Clearances in front of every fixture
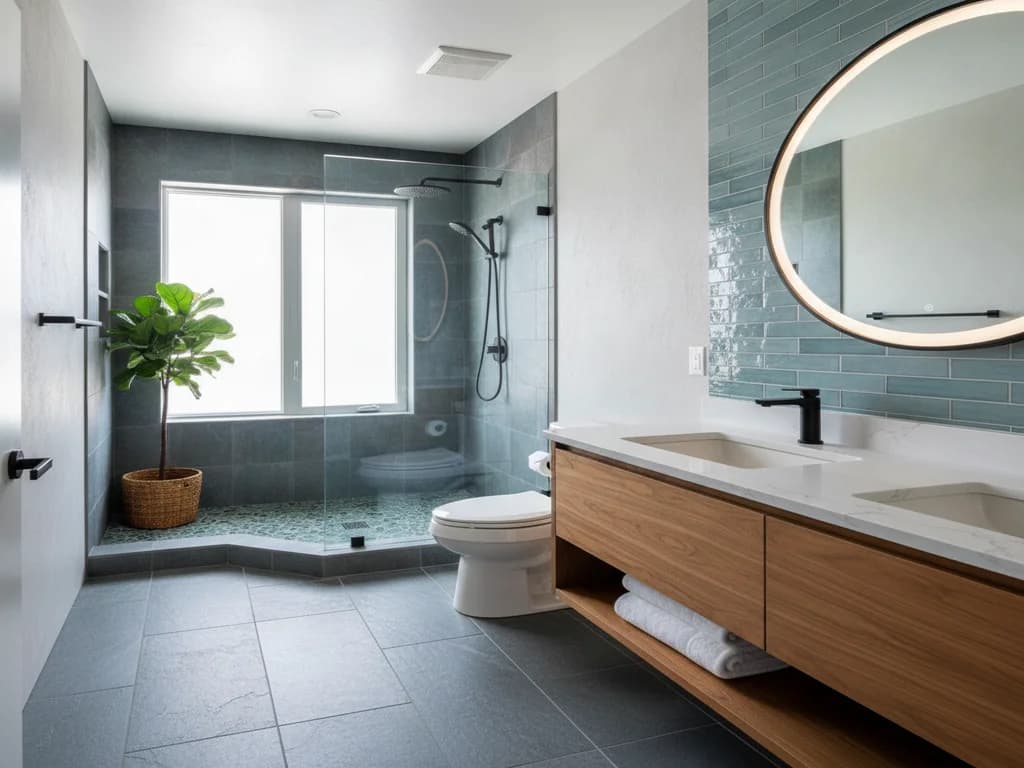
Clearance is the dimension a floor-plan sketch is most likely to gloss over, and it’s the one that determines whether the finished room actually feels usable. Code minimums referenced in NKBA’s planning guidelines call for at least 21 inches of clear floor space in front of the lavatory, toilet, and tub, and at least 24 inches in front of a shower entry — with 30 inches recommended, not just the minimum, from the front edge of any fixture to the nearest opposite fixture, wall, or obstacle. Ceiling height matters too: bathrooms need a minimum 80-inch floor-to-ceiling height over each fixture and its front clearance area, and specifically over a 30-by-30-inch area at the showerhead if there’s a shower or tub in use.
Toilet placement has its own specific rule, and it shows up consistently across sources: Bob Vila’s layout guidance recommends keeping at least 18 inches from the center of the toilet seat to the face of the neighboring wall on either side — the same centerline distance referenced in NKBA’s own fixture-placement guidance. It’s a small number that’s easy to shortchange when a layout is tight, and one of the first things worth checking on any plan you’re considering.
| Element | Minimum | Recommended |
|---|---|---|
| Clear floor space in front of lavatory, toilet, tub | 21" | 30" from fixture to opposite fixture/wall |
| Clear floor space in front of shower entry | 24" | 30"+ |
| Doorway clear opening | 2'-0" door (existing structure only) | 32" clear opening (2'-10" door) |
| Toilet centerline to side wall / next fixture | 18" | 18"+ |
| Ceiling height over fixture / 30"x30" at showerhead | 80" | 80"+ |
Source: NKBA — Bath Planning Guidelines With Access Standards, referencing IRC and ANSI code minimums. Recommended figures exceed code and are worth targeting where the room allows.
Matching the archetype to your room
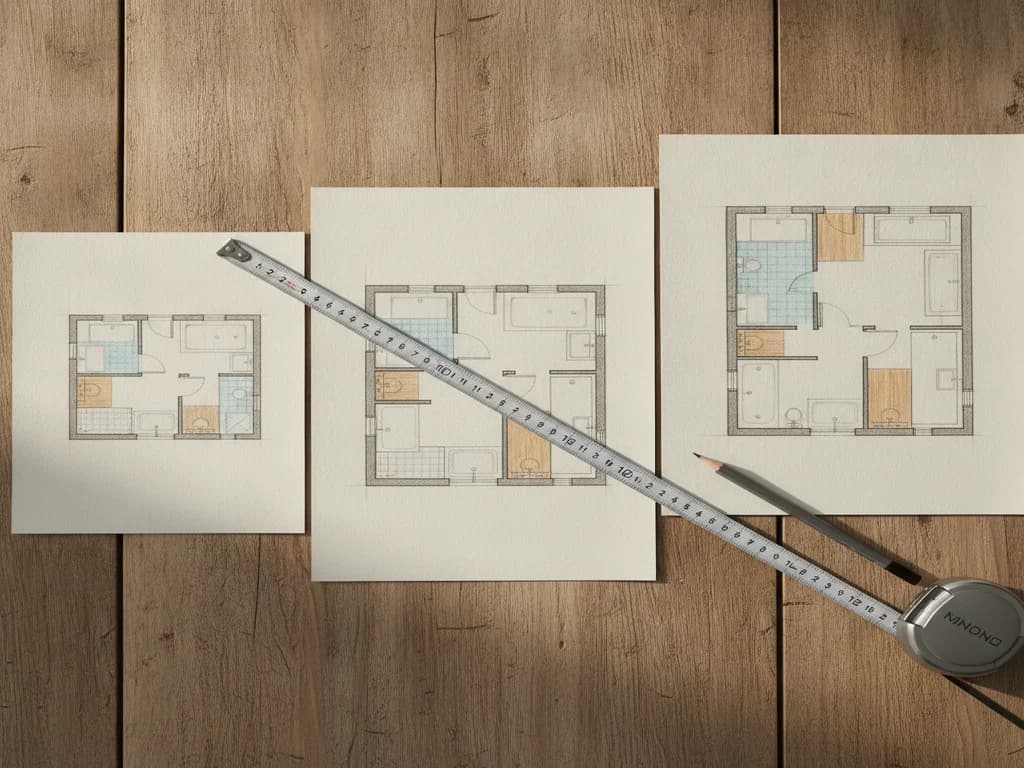
Once wet wall, door swing, and clearances are accounted for, the layout question becomes which arrangement fits your specific footprint. Bob Vila’s layout guidance groups common approaches by bathroom type: a full bathroom often works best as a straight-line layout — vanity near the door, toilet in the middle, tub-shower combo at the far end — or as a compact square, with vanity and toilet on one wall and the tub-shower on the adjacent one. A 3/4 bathroom (shower, no tub) has room for a corner shower unit at the far end with toilet and vanity on opposite walls, or a wet-room-style layout with the shower open beside the toilet behind a single glass panel.
Primary bathrooms have more room to work with, and correspondingly more layout options: a split plan puts double vanities on one wall with a separate toilet room and a walk-in shower and freestanding tub at the far end; a galley layout runs vanities on opposite walls with a central walkway, tucking the shower and toilet behind a partition; an L-shaped layout runs double vanities along the long wall with the toilet and shower around a corner for natural privacy. None of these is universally "best" — the right one is whichever respects your wet wall and clearances while matching how you actually want to move through the room.
Get your layout priced against your actual room
A layout idea is only as good as its fit with your specific plumbing, doorway, and square footage — which is exactly what a professional design and quote process is for. For the full construction sequence once a layout is chosen, see our guide to bathroom remodel order of operations; if your layout involves moving fixtures, revisit our plumbing relocation cost guide so the number in your head matches the layout on paper.
When you’re ready to see what your room can actually support, explore full bathroom remodeling or request a free estimate — we’ll evaluate your wet wall, doorway, and clearances against the layout you have in mind before anything is finalized.
Ready to plan your Boise bathroom?
Licensed & insured · 3-year workmanship warranty
Frequently asked questions
- What is a wet wall and why does it matter for layout?
- A wet wall is the wall carrying your bathroom’s existing supply and drain plumbing. Keeping fixtures on or near it keeps a remodel’s cost down, since moving a fixture away from it means extending supply and drain lines — sometimes venting too. It’s the single biggest cost factor in a layout decision.
- How much clearance does a bathroom layout need in front of fixtures?
- Code minimums referenced in NKBA’s planning guidelines call for at least 21 inches of clear floor space in front of the lavatory, toilet, and tub, and 24 inches in front of a shower entry, with 30 inches recommended where the room allows. These aren’t suggestions — a layout that ignores them often isn’t buildable to code.
- How far should a toilet be from the wall in a layout?
- At least 18 inches from the center of the toilet seat to the face of the neighboring wall or the centerline of the next fixture, according to both Bob Vila’s layout guidance and NKBA’s fixture-placement standards. It’s one of the first things to check on any layout sketch.
Sources
- NKBA — Bath Planning Guidelines With Access Standards
- Bob Vila — The Best Bathroom Layout Ideas to Consider for Your Next Remodel
- U.S. Access Board — ADA Ch. 6: Bathing Rooms
Claims and figures are drawn from the sources above and provided for general guidance; your project may vary. Photography is illustrative of design concepts. For a fixed price on your specific bathroom, request a free estimate.