Updated July 6, 2026 · 9 min read
By Boise Bath — bathroom & shower remodeling in Boise & the Treasure Valley
The short answer
Choose bathroom tile in this order: decide the tile’s role (dry wall, shower wall, or wet floor), then its durability class (porcelain absorbs under 0.5% water versus ceramic’s 0.5%+), then size and format, then finish — floors need a DCOF of 0.42 or higher per ANSI A137.1 — then grout, once tile and joint width are set.
Key takeaways
- Room role comes first: a dry accent wall, a shower wall, and a wet floor each have different real requirements.
- Porcelain absorbs less than 0.5% of its weight in water versus 0.5%+ for ceramic, per This Old House — the reason it’s recommended for wet floors and shower zones.
- ANSI A137.1 requires a DCOF of 0.42 or greater for tile used on a level interior floor meant to be walked on wet, per Daltile’s own testing guidance.
- Daltile explicitly advises against polished or semi-polished tile in any area exposed to water — finish is a slip-safety decision, not just a look.
- Grout is the last decision, not the first — it depends on the tile you’ve already chosen and the joint width your format requires.
Why tile selection goes wrong in the wrong order
Most people choose bathroom tile the way they’d choose a rug: by color and pattern first. That’s backwards for a material that has to survive standing water, temperature swings, and bare feet — and it’s exactly how a homeowner ends up with a gorgeous polished floor tile that turns into a hazard the first time someone steps out of the shower. The decisions that actually determine whether a tile choice holds up — durability class, slip resistance, format — aren’t visible in a showroom sample, which is why they need to come before the aesthetic ones, not after.
This guide is a five-step framework: room role, durability class, size and format, finish, then grout. Each step narrows the field before you get to the fun part — color and pattern — so that by the time you’re choosing on looks, everything you’re looking at is already correct for where it’s going.
The framework in one line
Role → Durability → Format → Finish → Grout. Skipping ahead to finish or pattern before the first two steps are locked is the single most common way a beautiful tile ends up being the wrong tile.
Step 1: Decide the tile’s role
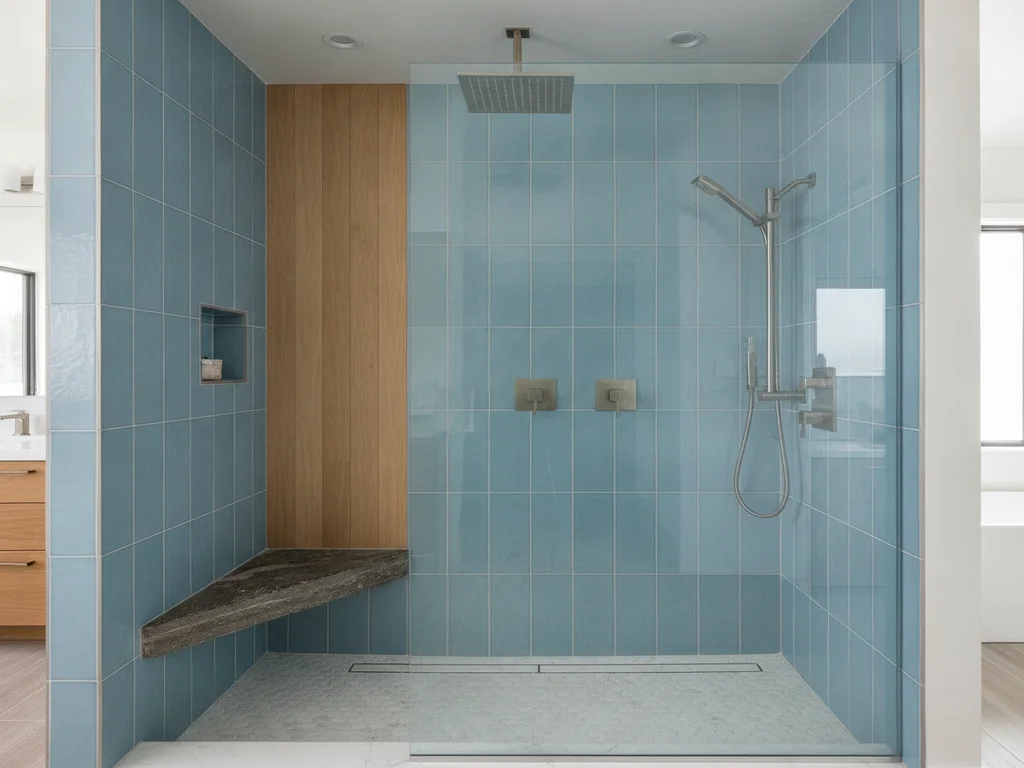
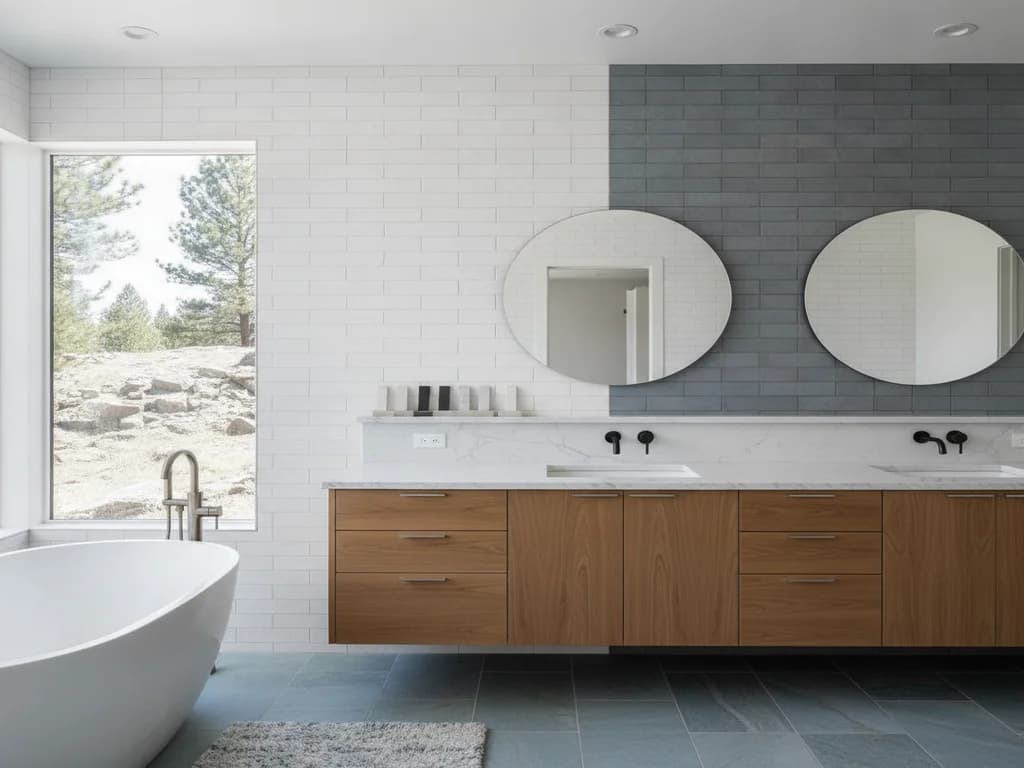
Not every tile in a bathroom does the same job, and that’s the first fork in the decision. A dry accent wall — say, behind a vanity mirror — never touches water directly and can prioritize look over performance. A shower wall is a different job: it’s not standing water, but it is constant moisture and splash, and it sits directly over a waterproofing membrane, which is its own topic covered in our bathroom waterproofing mistakes guide. A wet floor — the shower pan or the bathroom floor itself — is the highest-stakes role, because it’s the one place bare, wet feet meet the surface directly.
Naming the role before you look at a single sample sets the requirements for every step that follows. A tile being considered for a wet floor has to clear a slip-resistance bar that a dry accent wall never has to meet — which is exactly why buying the same tile for both, just because you liked the look, is where step 2 and step 4 below start to matter.
Step 2: Choose the durability class — porcelain vs. ceramic
Once you know the role, the next decision is material class. This Old House’s comparison is direct: porcelain tile absorbs less than 0.5% of its weight in water, while ceramic tile typically absorbs 0.5% or more — a real difference in water resistance, not a marketing distinction. This Old House recommends porcelain specifically for bathroom floors and walls because of that resistance, and for shower floors and walls in particular, citing porcelain’s ability to handle constant moisture exposure without deteriorating or promoting mold growth.
Ceramic isn’t disqualified — This Old House notes it still works on bathroom walls when properly sealed and grouted — but that "properly sealed" qualifier is doing real work. For a dry accent wall (step 1’s lowest-stakes role), ceramic’s lower cost can be the right trade. For a shower wall or any wet floor, porcelain’s lower absorption is the safer default, and it’s also the denser, harder material — a meaningful factor once you get to step 3, where format and long spans matter.
| Property | Porcelain | Ceramic |
|---|---|---|
| Water absorption | Less than 0.5% | 0.5% or more |
| Best bathroom use | Floors, shower walls, wet zones | Dry walls (if properly sealed and grouted) |
| Durability | Denser, more stain-resistant | Softer, may need earlier replacement in wet areas |
Source: This Old House — Ceramic vs. Porcelain Tile (2026). Use this to set your durability class before shopping by look.
Step 3: Pick size and format
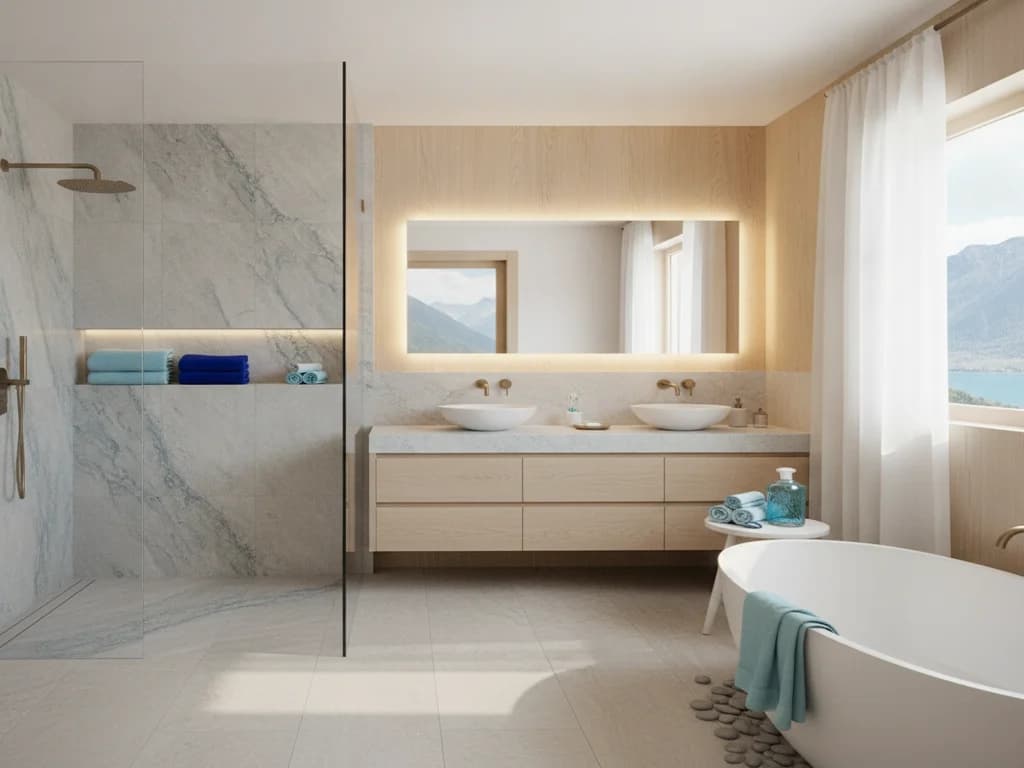
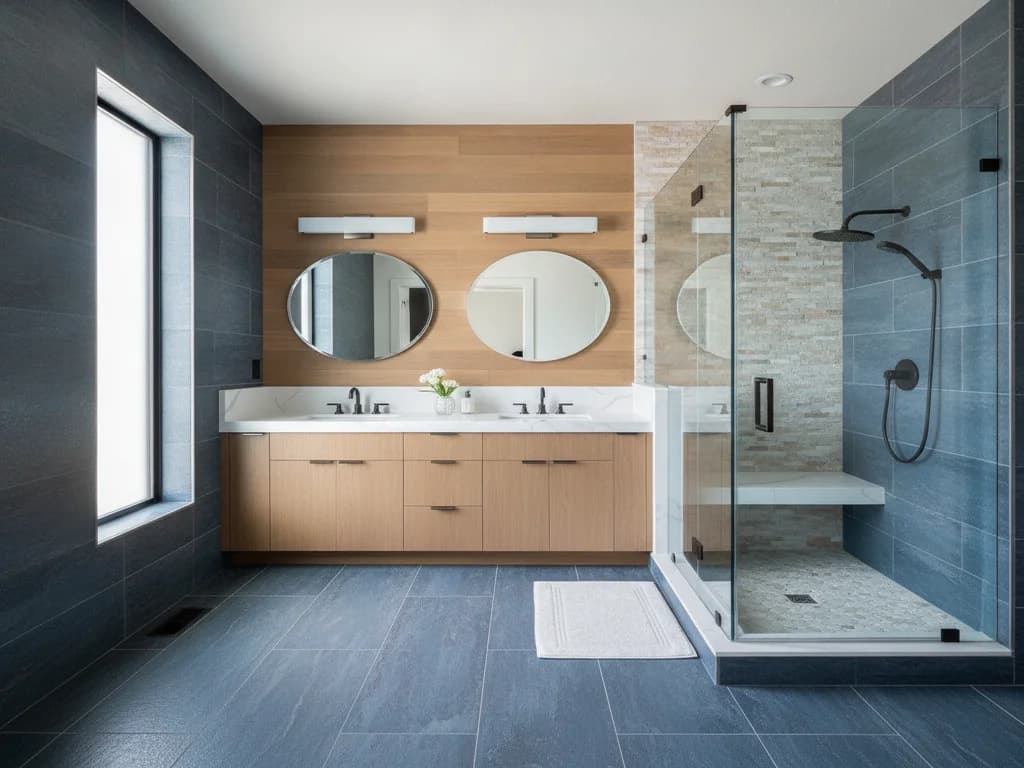
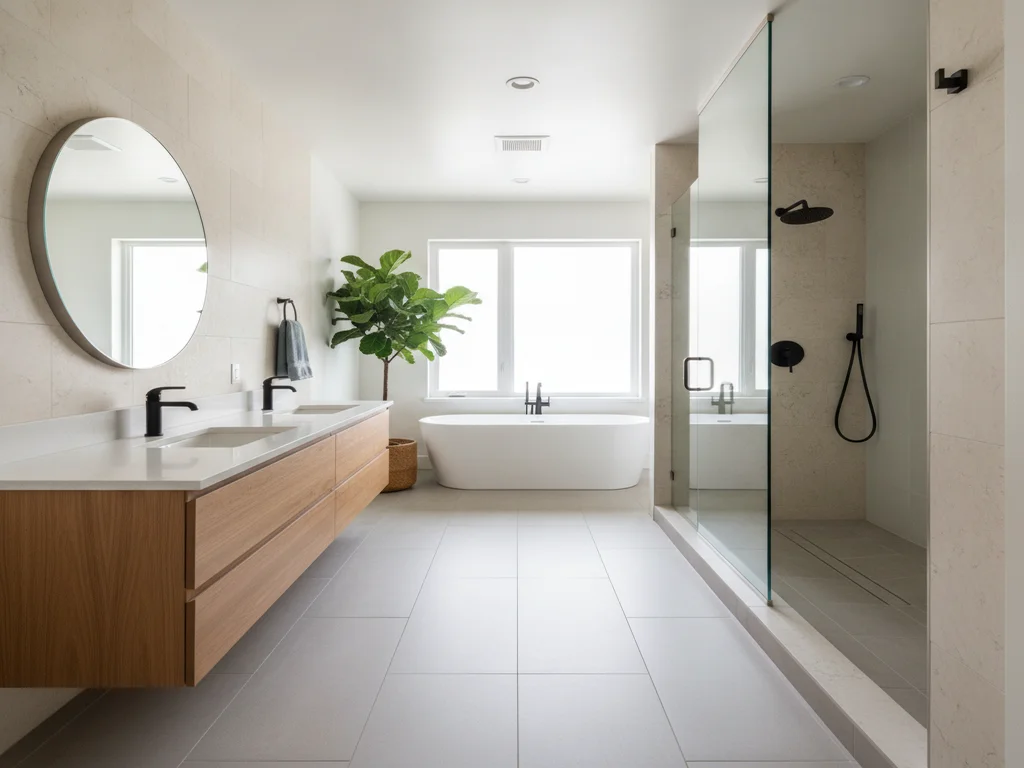
With role and durability class set, format is next — and it’s a practical decision, not just a style one. Larger-format tile means fewer grout lines, which means less grout to clean, reseal, and eventually regrout; it also tends to make a small bathroom read as more spacious, since fewer lines break up the visual field. The trade-off is that large-format tile is less forgiving of an out-of-square wall or floor, and it typically costs more per square foot to install because it requires a flatter substrate and more careful setting.
Smaller formats — mosaics, penny rounds, small hexagons — earn their keep specifically on shower floors, where more grout lines mean more traction underfoot and better ability to follow the slope toward a drain. This is the format decision where role (step 1) directly overrides a pure size preference: a wet shower floor is one of the few places a smaller tile is functionally better, not just a design choice.
Step 4: Choose the finish — and treat slip resistance as non-negotiable
Finish is where a tile choice can quietly become a safety issue, and it’s the step most often skipped in favor of jumping straight to color. For any tile going on a floor that gets walked on wet — a shower pan or a bathroom floor — the industry standard is a DCOF (dynamic coefficient of friction) of 0.42 or greater, which ANSI A137.1 requires for tile recommended for that use, according to Daltile’s own testing guidance. That number isn’t a suggestion on a spec sheet; it’s the baseline a manufacturer has to clear before recommending a tile for a wet, level floor at all.
Daltile is equally direct about finish: it does not recommend polished or semi-polished surfaces in any area that may be subjected to water exposure, because the smooth surface created by polishing substantially reduces slip resistance when wet. That’s the reason a glossy, glass-smooth floor tile that looks stunning in a showroom is often the wrong choice for an actual shower floor — the same shine that makes it attractive is what makes it slick. Save gloss and polish for dry vertical surfaces; keep floors matte, textured, or specifically rated for wet use.
A quick way to ask the right question
When shopping floor tile, ask specifically for its DCOF rating or whether it’s rated for wet, level interior floors — not just whether it’s "for bathrooms." Many tiles marketed generically for bathrooms are intended for walls, not the floor of a shower.
Step 5: Grout — the last decision, not the first
Grout comes last because it depends on everything decided above: the tile’s joint width (a function of format from step 3), and the tile’s porosity and use (a function of steps 1 and 2). This Old House’s grout guidance covers the basic split — cement-based grout is more common and less expensive, while epoxy grout resists staining and moisture better at a higher cost, which matters more in a constantly wet shower pan than on a dry accent wall. We go deeper on that specific trade-off, including where each type is worth the cost difference, in our epoxy vs. cement grout comparison.
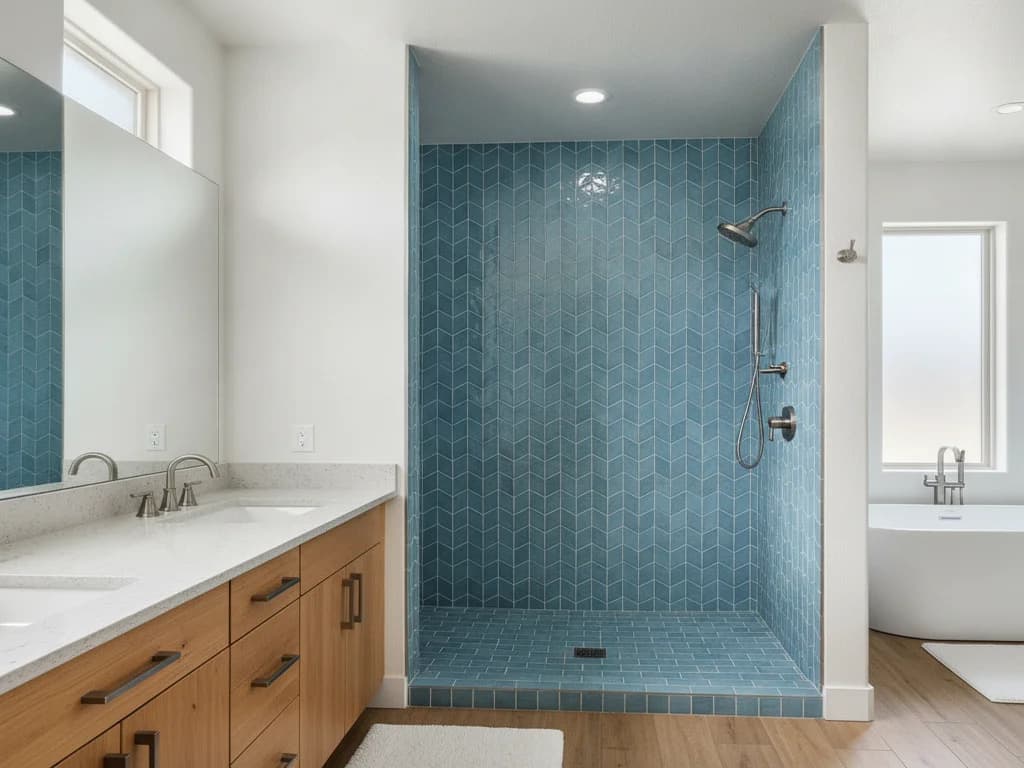
The practical point for this framework: don’t let a grout color you love talk you into a tile or joint width that doesn’t fit the room’s actual role. Grout is the smallest-dollar decision in the stack and the easiest to get right once the four steps before it are locked.
Put the framework to work
Role, durability, format, finish, grout — in that order, choosing bathroom tile stops being a guessing game and becomes a short checklist. If you skip straight to color and pattern, you can still end up with a tile that looks right and performs wrong; working through the steps above first means every option you’re browsing by the time you get to aesthetics is already correct for where it’s going.
For the execution mistakes that show up even after the right tile is chosen — layout, movement joints, lippage — see our 16 tile mistakes to avoid, and for pattern inspiration once your framework is locked, our bathroom tile pattern ideas guide. When you’re ready to put real tile and stonework into your bathroom, explore our custom tile & stonework service to see the range of what we install.
Ready to plan your Boise bathroom?
Licensed & insured · 3-year workmanship warranty
Frequently asked questions
- How do I choose the right tile for a bathroom floor?
- Start with role (it’s a wet floor), then durability class — porcelain is recommended over ceramic for wet floors because it absorbs less than 0.5% of its weight in water versus ceramic’s 0.5%+. Then check its DCOF slip-resistance rating: ANSI A137.1 requires 0.42 or greater for tile used on a level floor meant to be walked on wet, and avoid polished or semi-polished finishes on any wet floor.
- Is porcelain or ceramic tile better for a bathroom?
- Porcelain is the better default for bathroom floors and shower zones because it absorbs less water (under 0.5% versus ceramic’s 0.5%+) and holds up better to constant moisture, per This Old House. Ceramic remains a reasonable, lower-cost choice for dry walls that are properly sealed and grouted, where its higher absorption matters less.
- What tile finish is safest for a shower floor?
- Choose a matte or textured finish with a DCOF rating of 0.42 or higher, the ANSI A137.1 threshold for tile recommended on a wet, level floor. Daltile specifically advises against polished or semi-polished tile in any area exposed to water, since polishing reduces slip resistance exactly where you need it most.
Sources
- This Old House — Ceramic vs. Porcelain Tile: Which Is Better?
- Daltile — DCOF AcuTest: Testing Slip Resistance
- This Old House — A Comprehensive Guide to Grout
- Tile Council of North America — Handbook & Installation Standards
- Natural Stone Institute — Relevant ASTM Standards (slip resistance ANSI A326.3)
Claims and figures are drawn from the sources above and provided for general guidance; your project may vary. Photography is illustrative of design concepts. For a fixed price on your specific bathroom, request a free estimate.