Updated July 16, 2026 · 7 min read
By Boise Bath — bathroom & shower remodeling in Boise & the Treasure Valley
The short answer
Replacing a bathroom light fixture means matching the location rating first: damp-rated for the general ceiling, wet-rated inside a shower zone, and IC-rated housings for recessed cans touching insulation. The swap itself is licensed electrical work — an electrician verifies the box, wiring, and rating, then mounts and tests the new fixture, typically in under an hour per fixture.
Key takeaways
- Bathroom ceiling fixtures should carry at least a damp-location rating; anything inside a shower or tub zone needs a wet-location rating, per NEC guidance published by the NFPA.
- Recessed cans that contact attic insulation must be IC-rated — a non-IC housing buried in insulation is a heat and fire problem, not a style problem.
- A fixture swap is quick when the box and wiring are sound; a crumbling box, missing ground, or brittle old wiring turns it into an electrician-scoped repair.
- Flickering, buzzing, discolored trim, or bulbs that burn out fast are signals to replace the fixture — and sometimes to look at the circuit behind it.
- Installing a standard light fixture typically runs roughly $150 to $950 including labor, per HomeAdvisor, with recessed conversions at the higher end.
- A remodel is the cheapest time to relocate or add fixtures, because the ceiling and walls are already open.
When a bathroom light fixture is worth replacing
Some fixture problems are maintenance: a dead bulb, a loose wire nut behind the canopy, a yellowed diffuser that just needs cleaning. Replacement earns its place when the fixture itself is the problem — rust or corrosion on the housing, sockets that have browned or cracked from heat, integrated LED panels that flicker or have dimmed unevenly, or trim that pits and spots no matter how often it is wiped.
Bathrooms are hard on light fixtures. Humidity swings from every shower work on cheap finishes and unsealed sockets, and Treasure Valley hard water leaves mineral film on anything in the splash path. A builder-grade fixture from the 2000s that looks tired usually is tired.
The other honest reason to replace is that the light itself is wrong — a single dim ceiling dome making the whole room feel like a closet. If that is the real complaint, the fix is a lighting plan rather than a one-for-one swap; our guide to bathroom lighting layers covers how ambient, task, and accent light divide the work.
Damp-rated vs. wet-rated: the rating that actually matters
Every listed light fixture carries a location rating — dry, damp, or wet — and in a bathroom that rating is the first spec to check, before finish or style. Guidance in the National Electrical Code, published by the NFPA, treats bathroom zones differently: the general ceiling and vanity area are damp locations, while anything inside a shower enclosure or directly over a tub, within the spray and steam zone, needs a wet-location fixture.
The difference is real construction, not labeling. Damp-rated fixtures tolerate condensation and humidity; wet-rated fixtures are gasketed and sealed against direct water contact. A dry-rated fixture — most bedroom and hallway fixtures — corrodes and fails early in a bathroom, and a damp-rated fixture inside a shower is a code and safety miss.
This is one of the most common findings when we open up older bathrooms: a standard dry-location fixture someone swapped in years ago, with rust blooming inside the canopy. It works until it does not.
| Zone | Minimum rating | Typical fixtures |
|---|---|---|
| General ceiling | Damp | Flush mounts, damp-rated recessed trims |
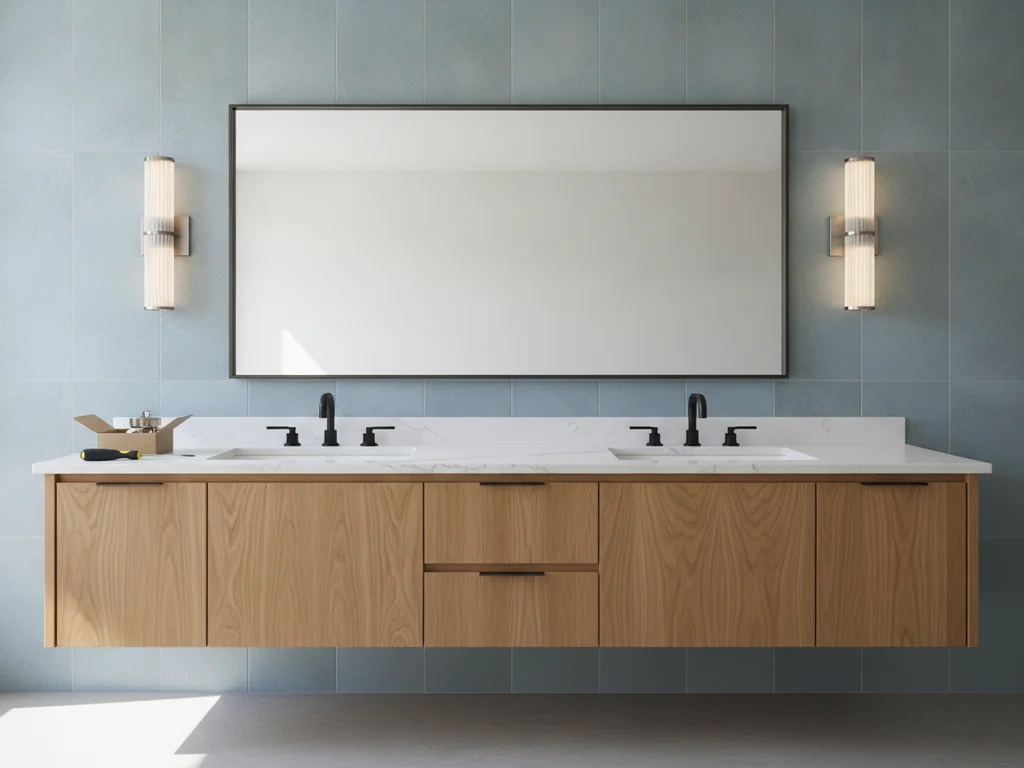
| Over the vanity | Damp | Sconces, bath bars — see the vanity lighting guide |
| Inside shower / over tub | Wet (shower-rated) | Sealed recessed trims, gasketed shower lights |
| Exhaust fan/light combos | Per listing | Damp-rated units; check the specific listing |
What does IC-rated mean for recessed bathroom lights?
Recessed cans in a bathroom ceiling usually sit directly under attic insulation, and that is where the IC rating comes in. IC stands for insulation contact: an IC-rated housing is built and tested to run safely with insulation packed against it. A non-IC housing needs clearance from insulation — and when someone blows in attic insulation over old non-IC cans, the housing traps heat it was never designed to hold.
Older recessed housings compound the problem by leaking air. An unsealed can is a straw between your heated bathroom and the attic, pulling humid air into the insulation above — in a dry-winter climate like Boise’s, that is both an energy leak and a condensation risk. Modern airtight IC-rated housings, and canless wafer LEDs with sealed junction boxes, close that path; the International Code Council’s energy provisions push new construction in exactly this direction.
If a bathroom remodel touches the ceiling at all, replacing old non-IC or leaky cans with airtight IC-rated fixtures is one of the highest-value invisible upgrades on the list.
Insulation on a non-IC can is a fire issue
A non-IC recessed housing buried in attic insulation can overheat — thermal cutoffs cycling the light off and on is the classic symptom. If your recessed lights blink off after running a while, stop treating it as a bulb problem and have an electrician look at the housings.
When a fixture swap becomes electrician work
Every bathroom fixture replacement is electrical work, and the honest framing is that a licensed electrician or contractor should be the one opening the canopy. What looks like a ten-minute swap depends entirely on what is behind it: a properly mounted box rated for the fixture’s weight, intact insulation on the conductors, a ground where the new fixture expects one.
Older Treasure Valley homes are where the surprises live. Pre-1970s wiring may have brittle cloth insulation that crumbles when disturbed. Some boxes are undersized, loose in the ceiling, or missing entirely — fixtures mounted straight to drywall. Two-wire circuits without a ground are common in older housing stock, and some fixture and dimmer combinations need that ground or a neutral at the switch.
None of this makes replacement a big job — it makes it a professional one. An electrician resolves each of these in minutes with the right parts, where an improvised fix becomes the loose, flickering, warm-to-the-touch fixture the next owner inherits. For what this class of work costs, see bathroom electrical upgrade costs; a standard fixture installation typically lands around $150 to $950 including labor, per HomeAdvisor, with wiring repairs or new boxes adding to that.
Choosing the replacement without redesigning the room
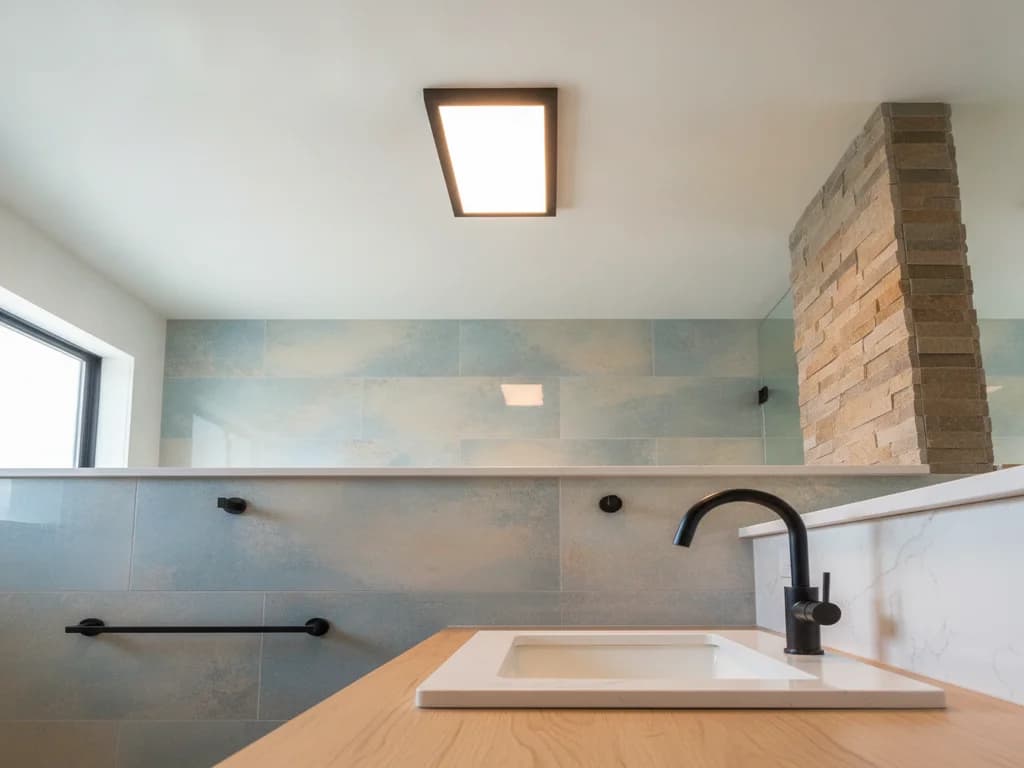
For a one-for-one ceiling swap, three specs matter more than style: the location rating covered above, color temperature, and brightness. Somewhere around 2700K–3000K reads warm and flattering; 3500K–4000K reads cleaner and more clinical. Mixing temperatures in one small room is the mistake to avoid — the ceiling fixture should agree with the vanity lights.
Integrated-LED fixtures dominate the category now. The trade-off is honest: better light and efficiency, but when the LED array eventually fails, the fixture is replaced rather than re-lamped. For a hardworking bathroom ceiling that is usually fine; just buy from a line with a real warranty.
Vanity lighting is its own decision with its own rules — mounting height, sconce vs. bar, cross-lighting the face — and we keep that separate in replacing vanity lighting. And if you are choosing looks rather than just replacing hardware, browse bathroom lighting ideas before you buy anything.
Why a remodel is the cheap moment to fix lighting for good
A fixture swap reuses the wiring exactly where it is. The layout problems — one centered dome where the room needs three points of light, no light in the shower, a switch on the wrong wall — all require opening ceilings and walls, and that is precisely what a remodel already does.
During a full bathroom remodel, adding a shower light, moving the switch, wiring a separate circuit for a heated mirror, or converting one ceiling box into multiple recessed points is incremental cost instead of standalone drywall surgery. It is the same logic as plumbing: the walls are open once. Plan the lighting you actually want, not the lighting the builder left.
What the process looks like
- 1
Confirm the rating and fixture selection
The location is classified — general ceiling, vanity zone, or shower zone — and the replacement fixture is verified damp- or wet-rated to match, with IC-rated housings specified for any recessed location under insulation.
- 2
Kill and verify the circuit
Power is shut off at the breaker and verified dead at the fixture with a tester — never trusted to the wall switch alone, since some bathroom fixtures stay hot through the switch leg.
- 3
Pull the old fixture and inspect the box
The old fixture comes down and the electrical box is checked: secure mounting, adequate size, conductor insulation intact, ground present. This inspection is where a swap either stays simple or reveals the real job.
- 4
Correct the box or wiring if needed
A loose, undersized, or missing box is replaced with one rated for the fixture; brittle conductor ends are trimmed back to sound insulation; a missing ground is resolved the code-compliant way rather than ignored.
- 5
Mount and connect the new fixture
The crossbar or housing is mounted, conductors are joined securely, the canopy is sealed to the ceiling, and any gasket on a wet-rated fixture is seated correctly.
- 6
Test under load and check the controls
The circuit is re-energized and the fixture tested through its full range — including verifying that dimmers are compatible with the new LED load, since flicker at low dim is the most common callback on fixture swaps.
Ready to plan your Boise bathroom?
Licensed & insured · 3-year workmanship warranty
Frequently asked questions
- Do bathroom light fixtures have to be damp-rated?
- For the general bathroom ceiling and vanity area, damp-rated is the correct minimum — the room lives in condensation and humidity. Inside a shower enclosure or directly over a tub, the fixture must be wet-location rated, per NEC guidance published by the NFPA. Dry-rated fixtures from other rooms corrode early and were never listed for the space.
- Can I put a regular recessed light in a shower?
- No — the trim and housing over a shower must be listed for wet locations, which means a sealed, gasketed lens assembly. Many recessed families offer a shower-rated trim that fits the same housing, so the fix is often a trim change plus verification that the housing itself is listed for the location.
- How much does it cost to replace a bathroom light fixture?
- Installing a standard light fixture typically runs roughly $150 to $950 including labor, per HomeAdvisor — the spread reflects the fixture price and what the electrician finds behind it. A sound box and modern wiring keep it at the low end; box replacement, wiring repair, or converting one box to multiple recessed points push it up.
- Why do my new LED bathroom lights flicker on the dimmer?
- Usually a compatibility mismatch: older dimmers were designed for incandescent loads and control low-wattage LEDs poorly, especially near the bottom of the range. The fix is a dimmer listed for LED loads, matched to the fixture manufacturer’s compatibility list. Persistent flicker at full brightness is a different signal — that points at connections or the circuit, and warrants an electrician.
- Are recessed lights or a flush mount better for a bathroom ceiling?
- Recessed gives cleaner ceilings and easier zoning — a shower light on its own switch, for example — while a quality flush mount delivers more light from a single existing box with no attic work. In a remodel, recessed usually wins because the ceiling is open anyway. For a standalone swap, a good damp-rated flush mount is the efficient move.
- Do I need a permit to replace a light fixture in Boise?
- A like-for-like fixture swap on an existing box generally does not require one, but new circuits, new fixture locations, or switch relocations fall under an electrical permit through City of Boise Planning & Development Services or your city’s equivalent. Work inside a remodel is typically folded into the project’s permits — your contractor makes that call before work starts.
Sources
- National Fire Protection Association (NEC)
- International Code Council (IRC/IBC)
- HomeAdvisor — True Cost Guide
- City of Boise — Planning & Development Services
Claims and figures are drawn from the sources above and provided for general guidance; your project may vary. Photography is illustrative of design concepts. For a fixed price on your specific bathroom, request a free estimate.