Updated July 6, 2026 · 8 min read
By Boise Bath — bathroom & shower remodeling in Boise & the Treasure Valley
The short answer
Plan bathroom lighting as three functional layers before choosing fixtures: task light flanking the mirror at eye level to light your face without shadows, ambient light spread across the ceiling for even fill, and accent light for niches and coves. Put each layer on its own dimmer, and choose a warm-to-neutral color temperature.
Key takeaways
- Plan the lighting by function first — task, ambient, accent — and pick actual fixtures only after the layout is set.
- Task light belongs beside the mirror at roughly eye level, not on the ceiling, so your face is lit evenly instead of shadowed.
- Ambient light is ceiling-mounted fill spread for even coverage; accent light is for depth and mood, not function.
- Every layer should be on its own dimmer or zone so the room shifts from bright grooming light to a relaxed soak.
- Warm-to-neutral color temperature flatters skin in the mirror; stark blue-white light does not.
This is a plan, not a shopping list
There are two different lighting questions in a bathroom remodel, and mixing them up is what leaves people with a beautiful fixture in the wrong place. The first question is *what layout* — where light needs to come from and what job each source does. The second is *which fixtures* — the styles, finishes, and looks you actually buy. This guide is only about the first. It is the placement plan a designer sketches before a single fixture is chosen, so that every fixture you do pick later has a defined job and a defined spot to do it.
That makes this post different from our bathroom lighting ideas roundup, which is a browse-able collection of fixture styles and looks. Think of the two as sequential: build the layout here first, then, once you have the plan down, browse fixture styles and ideas for each layer. Plan first, shop second — doing it the other way around is how a gorgeous sconce ends up over the mirror casting shadows instead of beside it lighting your face.
Layout first, fixtures second
Decide what each layer of light must do and where it goes before you fall in love with any specific fixture. A defined plan turns fixture shopping into filling in blanks instead of guessing.
The three-layer model, defined by function
A good lighting plan is built from three layers, and the key is to define them by the *job* each one does rather than by the fixture that happens to deliver it. Task lighting does the work: it lights a specific activity, above all grooming at the mirror. Ambient lighting is the general fill that lets you see and move through the whole room safely. Accent lighting is for depth and mood — it highlights a feature and sets the atmosphere, but you could remove it and still use the room.
Defining layers by function instead of fixture is what keeps the plan honest. The same recessed can might read as ambient light in the middle of the ceiling or as accent light aimed at a stone wall; a sconce is task light beside a mirror but decorative accent almost anywhere else. Both This Old House and Bob Vila frame good bathroom lighting as a layered design that combines all three functional areas rather than leaning on one fixture to do everything. Once you know what each layer is *for*, deciding where it goes becomes straightforward.
Where the task layer goes
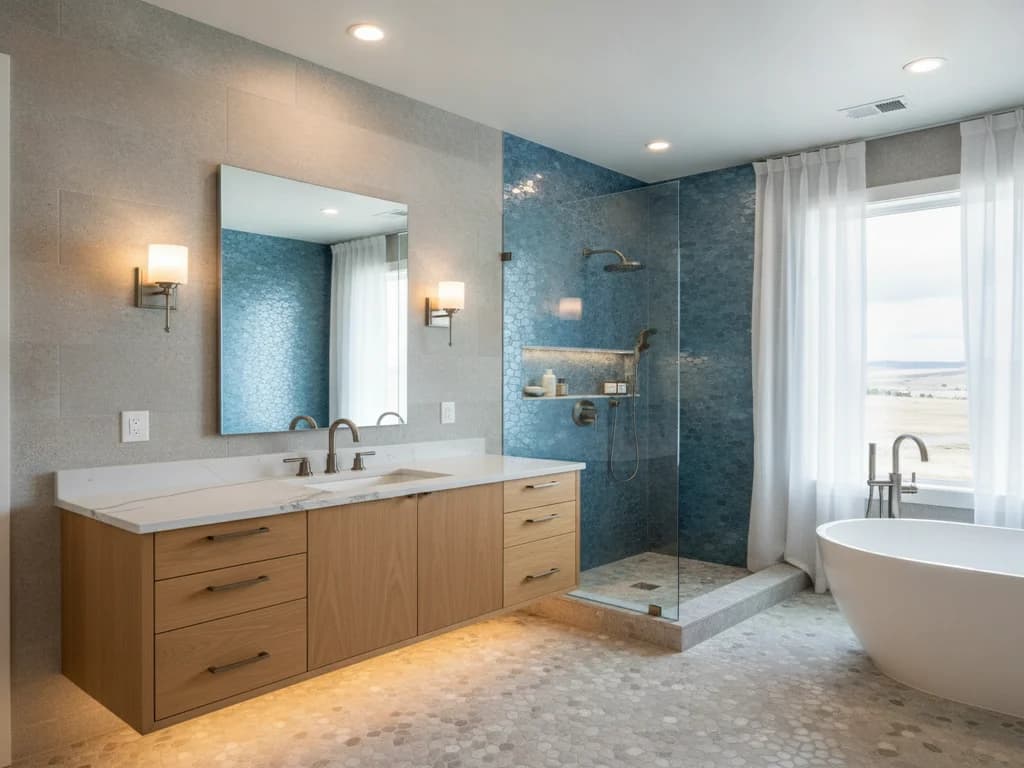
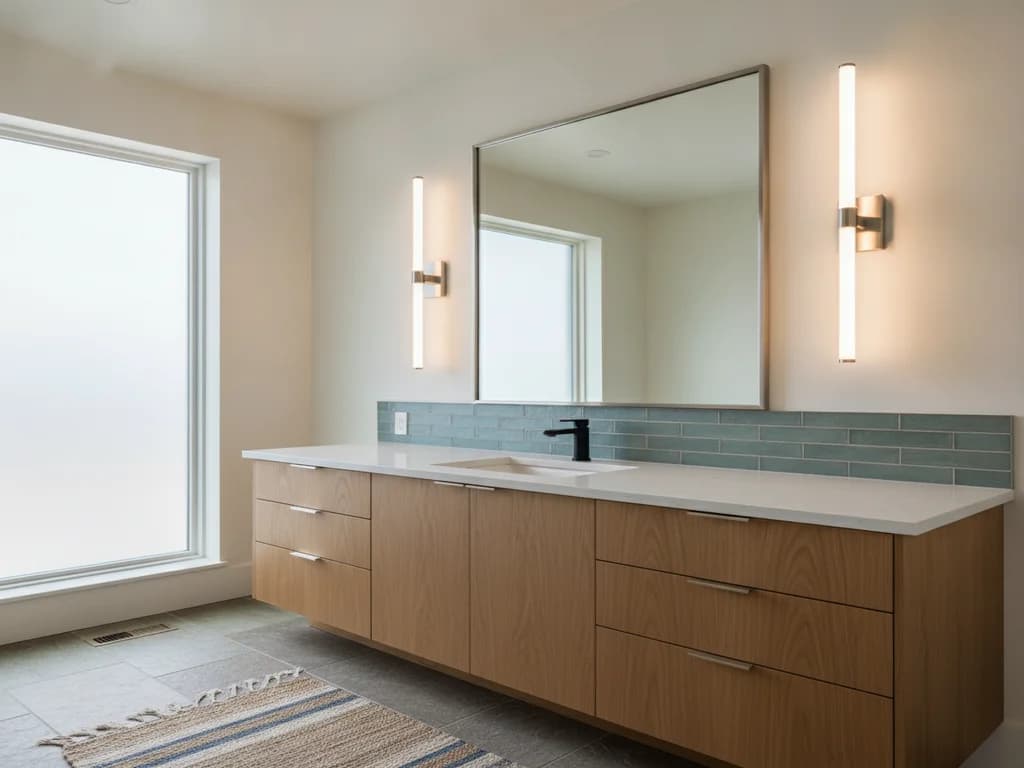
Task lighting is the most important placement decision in the room, and the plan for it is specific: light the face from the sides, not from overhead. A single ceiling light drops everything downward and throws hard shadows under the eyes, nose, and chin — exactly where you need to see clearly to shave or apply makeup. Light coming from beside the mirror, at roughly the height of your face, fills those shadows instead of casting them. This Old House puts the rule bluntly: "Never shine a light on the mirror. Light your face, neck, and hair brightly and evenly."
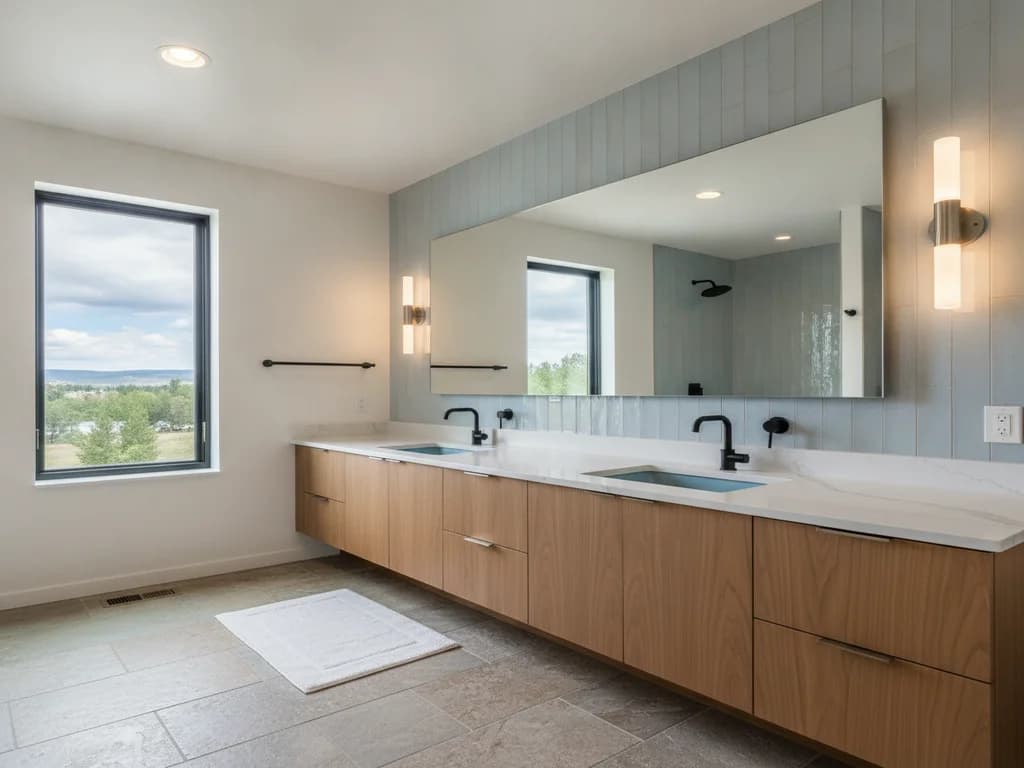
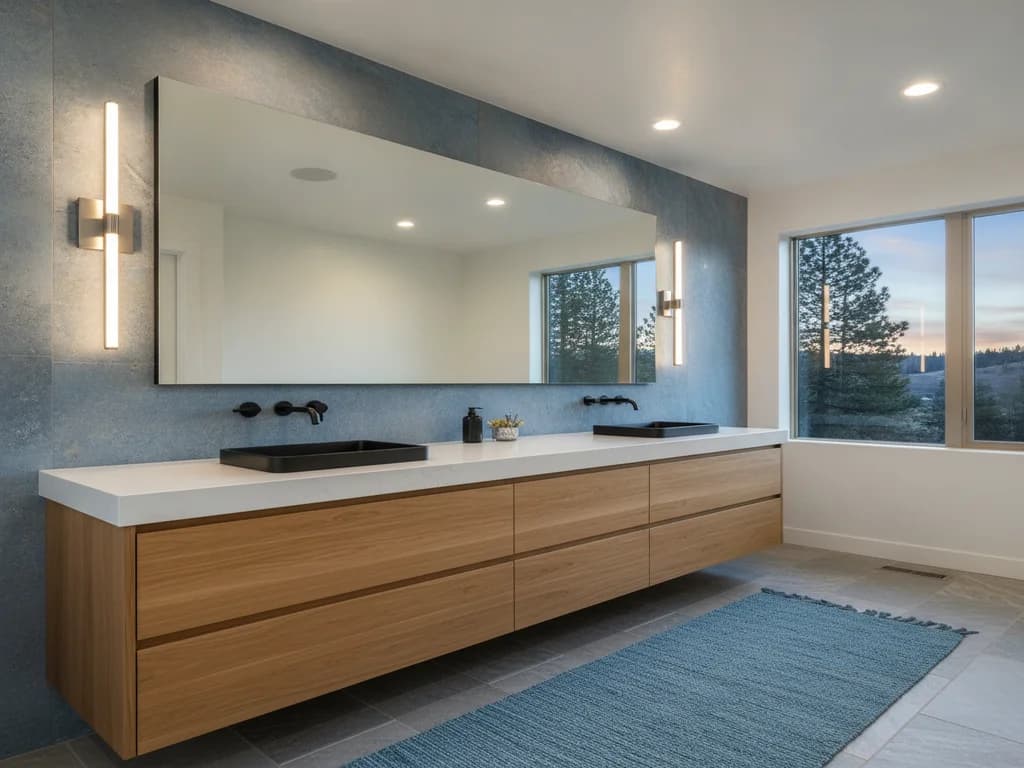
In practice that means planning a spot for a vertical fixture or sconce on *each* side of the mirror. Bob Vila recommends mounting side sconces at roughly eye level — about 60 inches above the floor for an average adult — on either side of the mirror. This Old House suggests spacing a flanking pair around 36 to 40 inches apart with the center of each fixture near eye level. When a full-width mirror rules out side mounting, both sources note the fallback is a fixture above the mirror, ideally mounted higher — around 75 to 80 inches off the floor — and paired with another source to soften shadows.
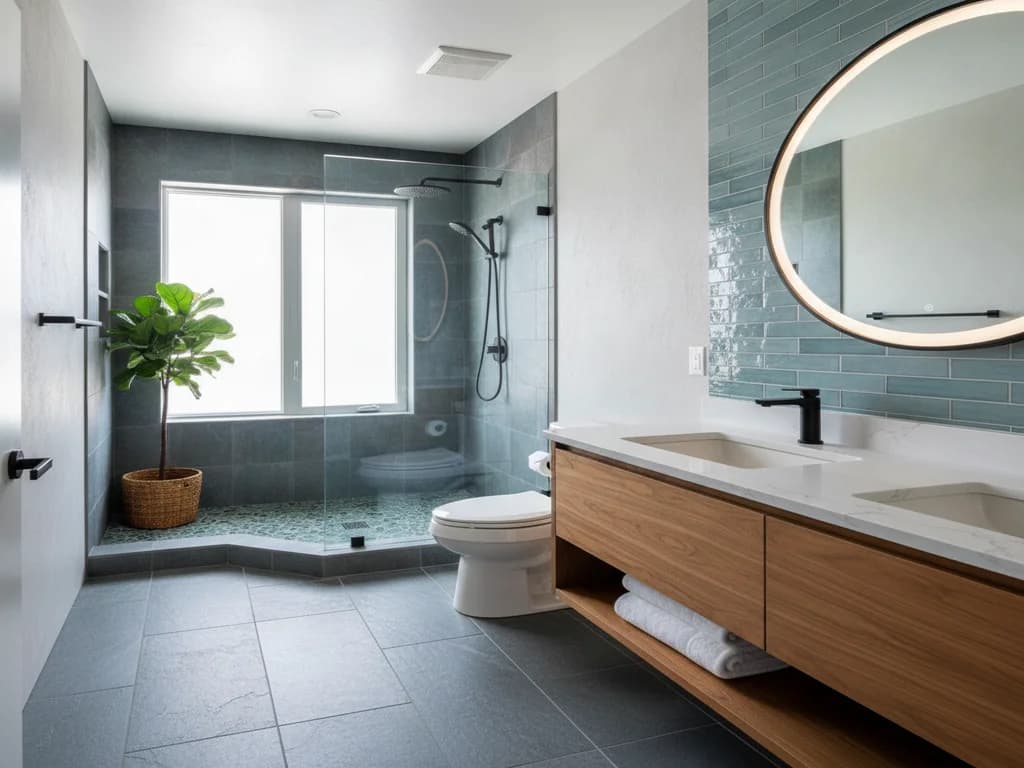
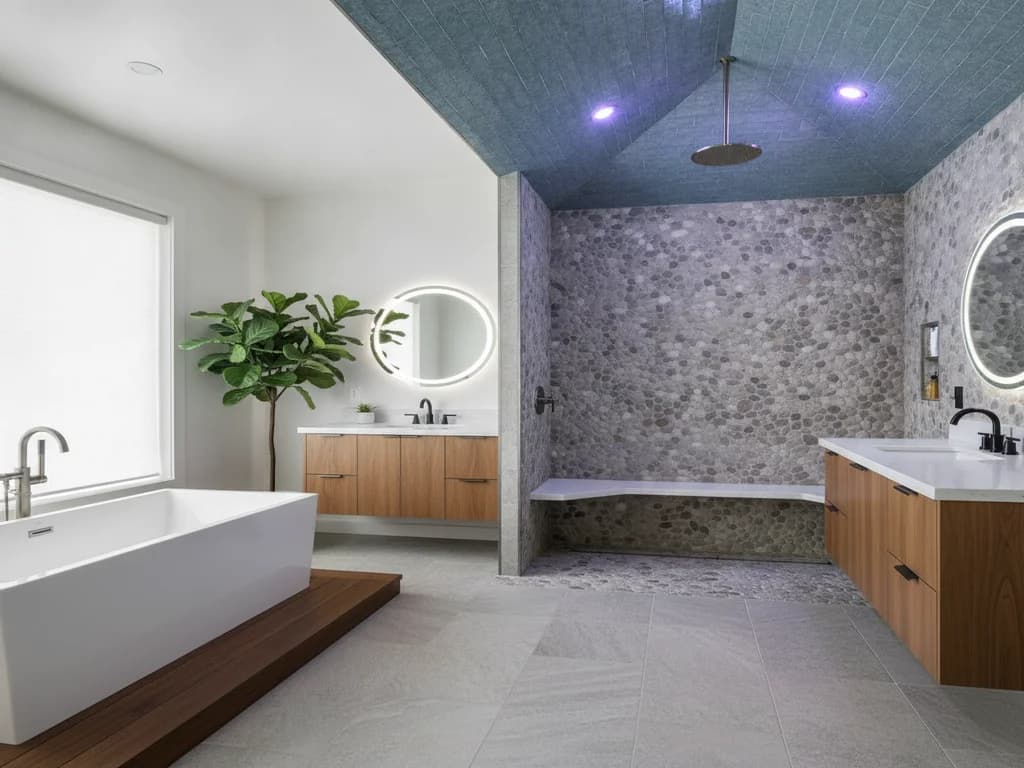
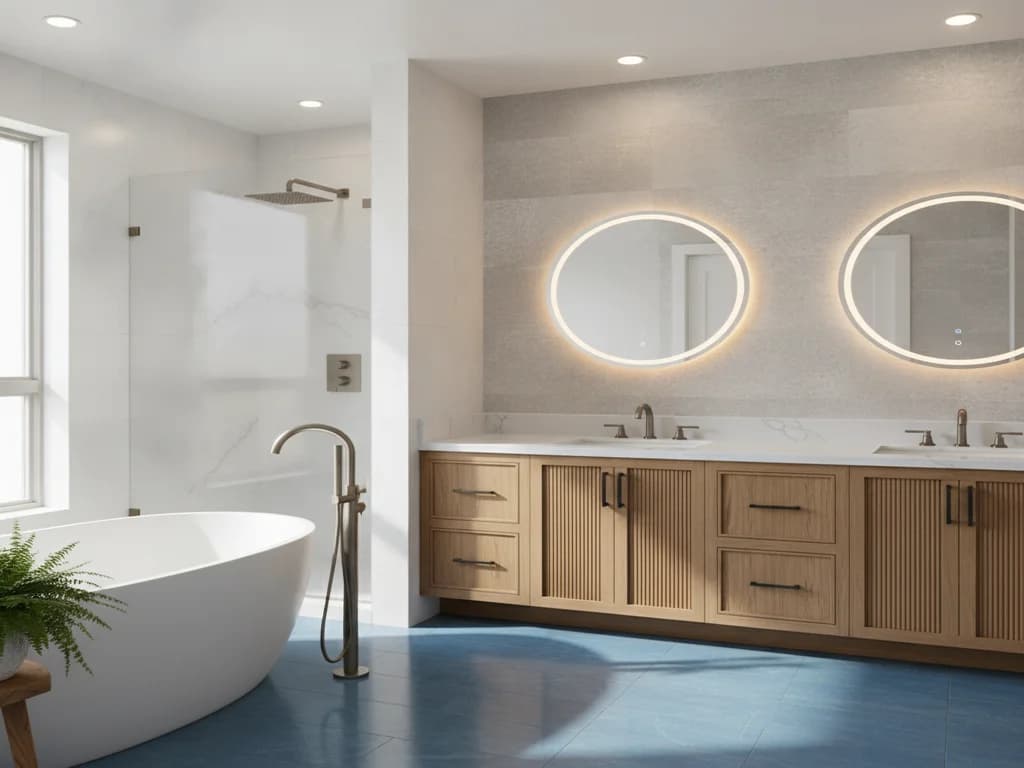
Your mirror choice and your task-lighting plan are tied together, so decide them as a pair. A backlit mirror can supply its own warm halo of face light, while a framed mirror leaves room for flanking sconces to do the job — a tradeoff worth weighing alongside our bathroom mirror ideas before you lock the vanity wall.
Where the ambient layer goes
Ambient light is the general fill, and it almost always lives on the ceiling — recessed cans spread across the room or a central flush mount in a smaller bath. The planning goal for this layer is even coverage: no hot spot glaring in the middle and no dark corners. That usually argues for distributing several smaller sources across the ceiling rather than concentrating all the light in one central fixture, especially in a larger room where one fixture leaves the perimeter dim.
Size and spacing follow the room. Bob Vila cites the industry lighting standard of roughly 20 lumens per square foot for the ambient layer and 40 to 50 lumens per square foot in the task area at the vanity — a useful way to sanity-check whether your plan spreads enough light for the size of the space before you count fixtures. The takeaway for the plan: map the ceiling for even fill first, then let fixture count follow the room’s square footage.
Where the accent layer goes
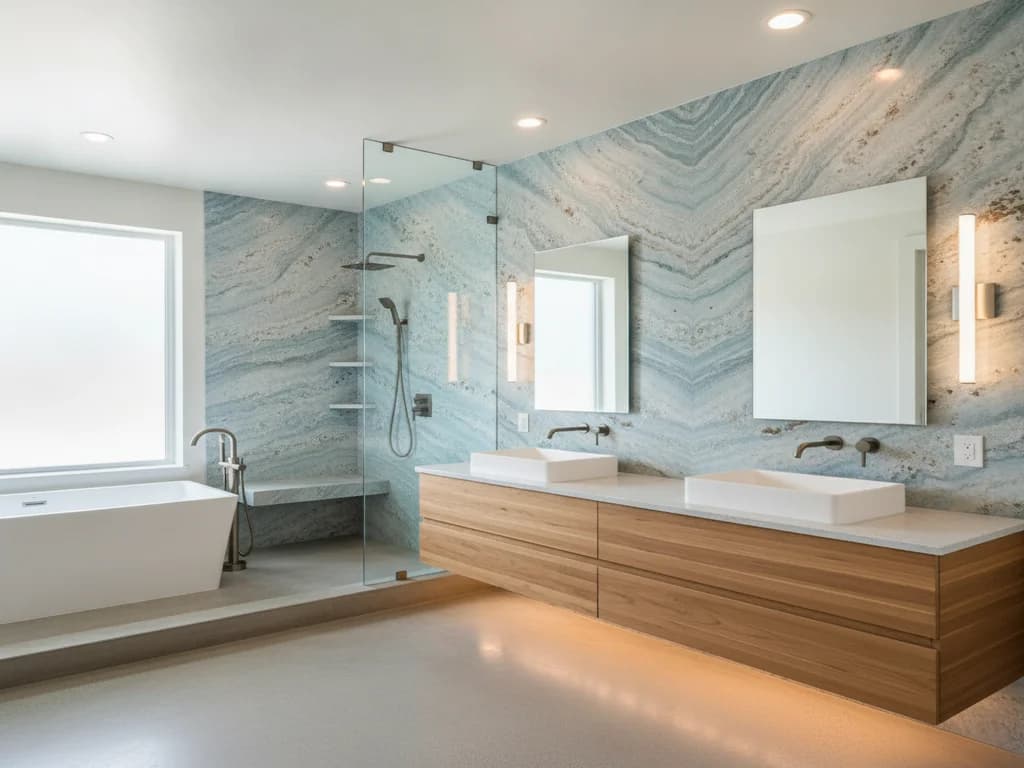
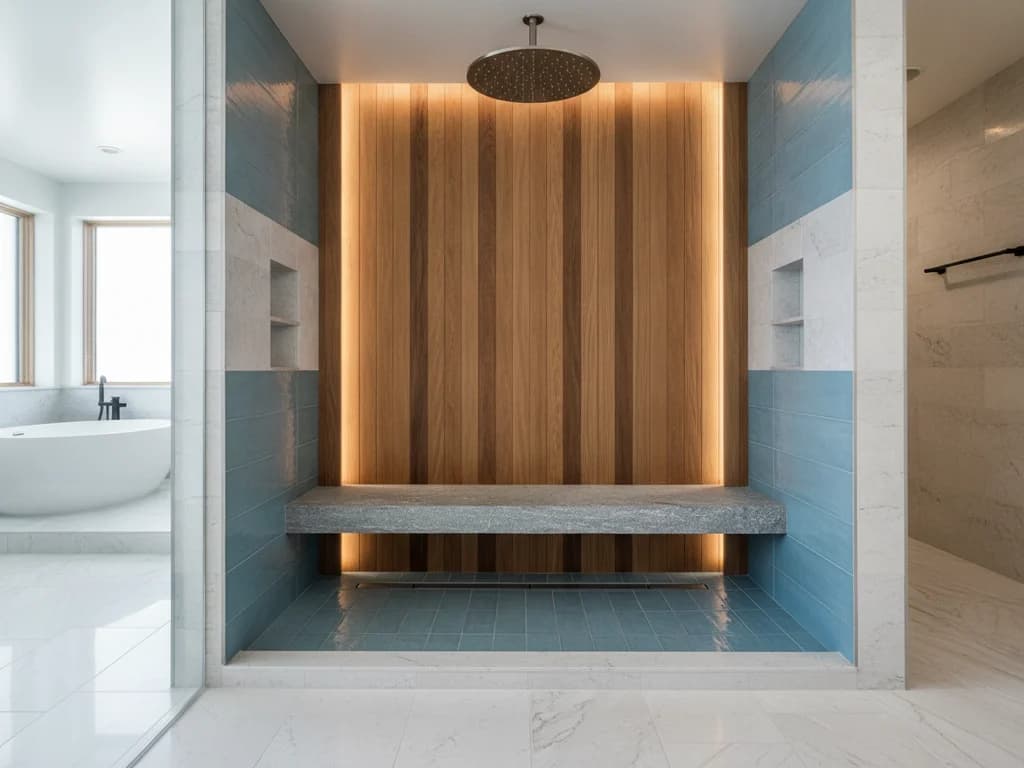
Accent lighting is the layer that turns a functional bathroom into a designed one, and on the plan it goes wherever you want to create depth or mood rather than do a job. The usual candidates are a lit shower or wall niche, cove lighting tucked above the vanity or along a soffit, a toe-kick glow under the vanity, and LED strips under a floating vanity. None of these light a task — they wash a surface, add a shadow line, or give the room a soft nighttime glow you can navigate by without flipping on full overhead light.
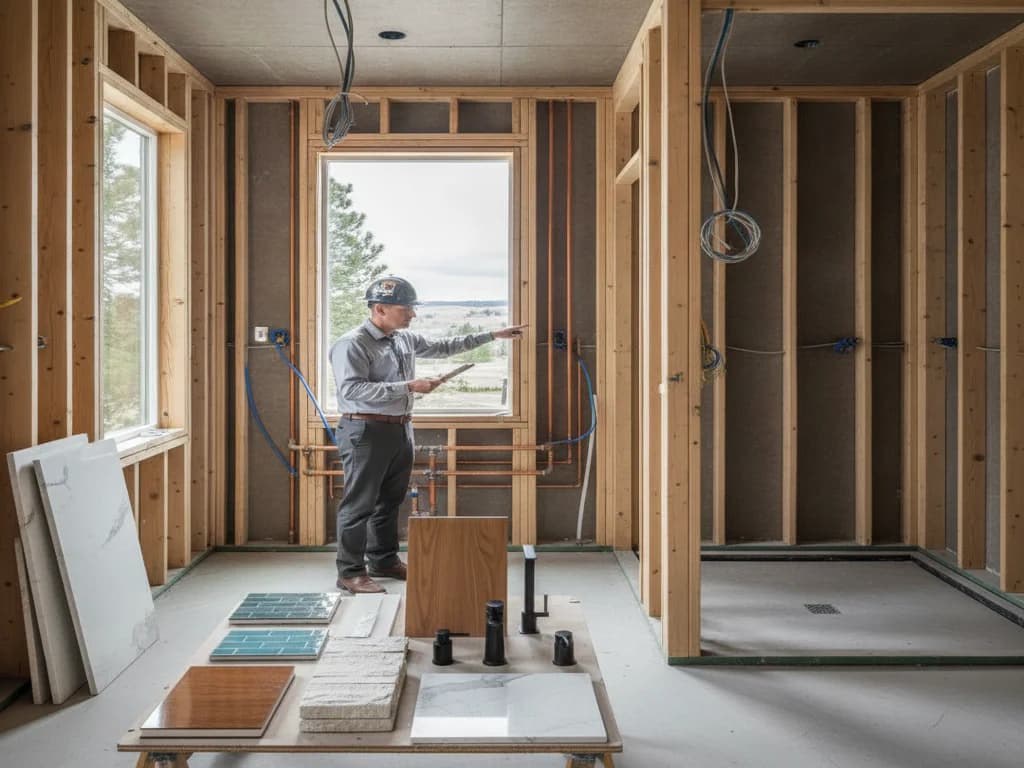
Because accent light is about mood, restraint is the plan. One or two well-placed focal points read as luxurious; a dozen compete with each other and start to look like a showroom. Mark the one or two features genuinely worth highlighting — the stone wall, the niche, the floating vanity — and stop there. This is also the layer where placement matters more than brightness, so it belongs in the plan early, since a lit niche or a cove usually has to be framed and wired before tile goes up.
Put every layer on its own dimmer
A lighting plan is not finished until you have decided how the layers are controlled, and the rule is simple: every layer gets its own dimmable zone. A bathroom has to serve two opposite moods — bright, full output for grooming and cleaning, and a low, warm glow for a long soak — and the only way one room does both is if the task, ambient, and accent layers can be dialed independently. Wired all onto one switch, even a perfectly layered plan collapses back into a single brightness setting.
Zoning also earns its keep in the wall. Put the vanity task lights, the ceiling ambient cans, and any accent lighting on separate controls so you can build scenes — task light only for a quick trip, accent-only for a bath. This Old House notes dimming has a practical bonus too: a bulb dimmed even slightly runs cooler and lasts longer. Plan the zones now, because separating circuits is a wiring decision made during rough-in, not something to retrofit later.
Choosing the color temperature
The last planning decision is the color of the light, measured on the Kelvin scale. In plain terms, lower Kelvin numbers look warm and golden, like candlelight or an old incandescent bulb; higher numbers look cool and blue-white, like an office or a hospital. A bathroom is a room where people study their own skin in a mirror, which is exactly why stark blue-white light is the wrong call — it drains color and reads clinical.
For that reason the guidance lands on the warm-to-neutral end of the scale. This Old House recommends bulbs in the roughly 2000K to 3000K range for a warm, flattering glow at the vanity. The other half of the plan is consistency: pick one color temperature and use it across every layer, because mixing a warm flush mount with cool vanity bulbs makes a room look mismatched no matter how good the layout is. Choose the warm-to-neutral number once, spec it for task, ambient, and accent alike, and the whole plan reads as one coherent scheme.
From plan to finished bathroom
Lay the lighting out this way — three layers defined by function, task beside the mirror, ambient spread across the ceiling, accent for the one or two features worth it, each zone dimmable, all in one warm-to-neutral color — and you walk into fixture shopping with every blank already labeled. That is the whole point of planning before buying: the fixtures become the fun part instead of the guesswork.
When your plan is ready to become wiring and fixtures, a full bathroom remodel is where the layout gets built to code, or you can request a free estimate to talk through it. Fixture ratings and circuit work are safety items for a licensed electrician — you own the plan, and the crew makes it real.
Ready to plan your Boise bathroom?
Licensed & insured · 3-year workmanship warranty
Frequently asked questions
- What are the three layers of bathroom lighting?
- Task, ambient, and accent — defined by the job each does. Task light handles grooming at the mirror, ambient light is the general fill that lets you see the whole room, and accent light adds depth and mood by highlighting niches, coves, or a feature wall. A complete plan includes all three, not one ceiling fixture doing everything.
- Where should vanity task lighting go in the plan?
- Beside the mirror, at roughly eye level, on both sides — not overhead. Side light fills the shadows a single ceiling fixture casts under the eyes and chin. This Old House and Bob Vila both recommend flanking sconces around eye level; an above-mirror fixture mounted higher is the fallback only when side mounting is not possible.
- Why should each lighting layer be on its own dimmer?
- So one bathroom can shift between opposite moods. Separate dimmable zones for the task, ambient, and accent layers let you run bright, full light for grooming and a low, warm glow for a soak — and build scenes in between. Wiring every layer to one switch collapses the whole plan back to a single brightness.
Sources
Claims and figures are drawn from the sources above and provided for general guidance; your project may vary. Photography is illustrative of design concepts. For a fixed price on your specific bathroom, request a free estimate.