Updated July 16, 2026 · 7 min read
By Boise Bath — bathroom & shower remodeling in Boise & the Treasure Valley
The short answer
A shower niche sits inside the waterproofed wall, so adding, moving, or resizing one means opening the tile and the membrane behind it — not a surface swap. The right window is a retile or shower remodel, when the wall is already open: done then, a niche adds little cost; done alone, you pay for demolition and waterproofing repair.
Key takeaways
- A niche is a hole in the waterproofing by design — changing one means cutting tile and rebuilding the membrane around the new opening.
- The cheapest moment to add, move, or resize a niche is during a retile or shower replacement, when the wall is open anyway.
- Niches go in interior stud bays; exterior walls (insulation) and the main plumbing wall (pipes) are usually off the table.
- Prefabricated foam niches integrate directly with modern membrane systems and have largely replaced site-framed, mud-and-liner niches.
- A niche cut into an existing tiled wall without addressing the waterproofing behind it is a leak waiting to happen.
Why can’t you just cut a niche into a tiled shower wall?
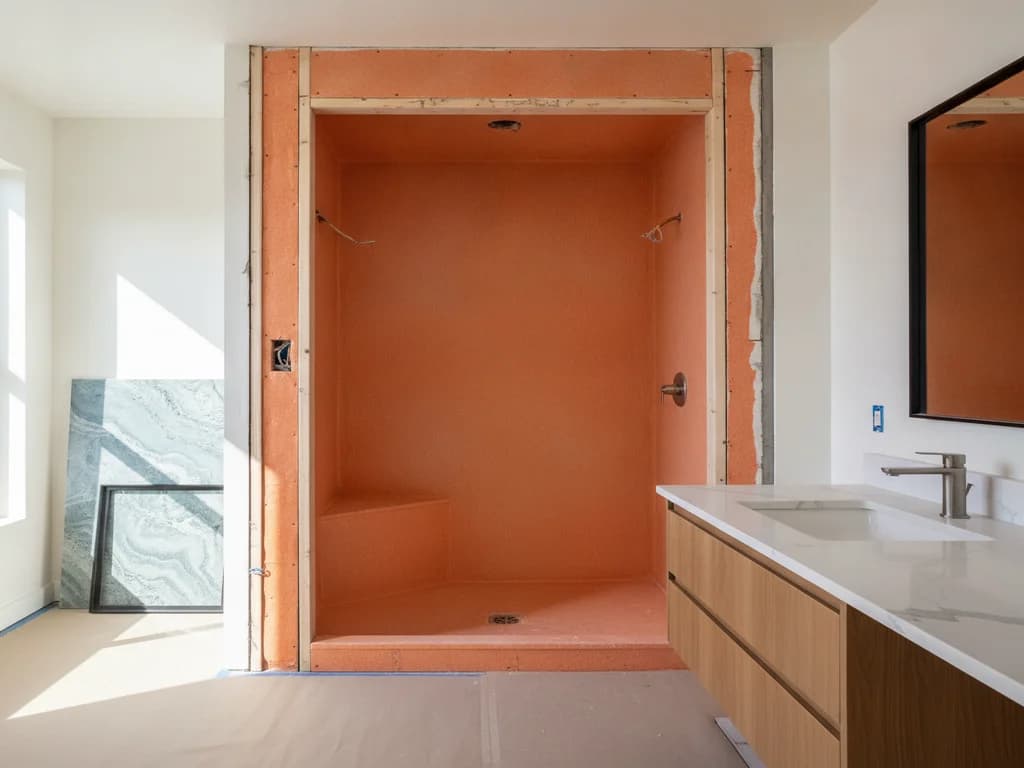
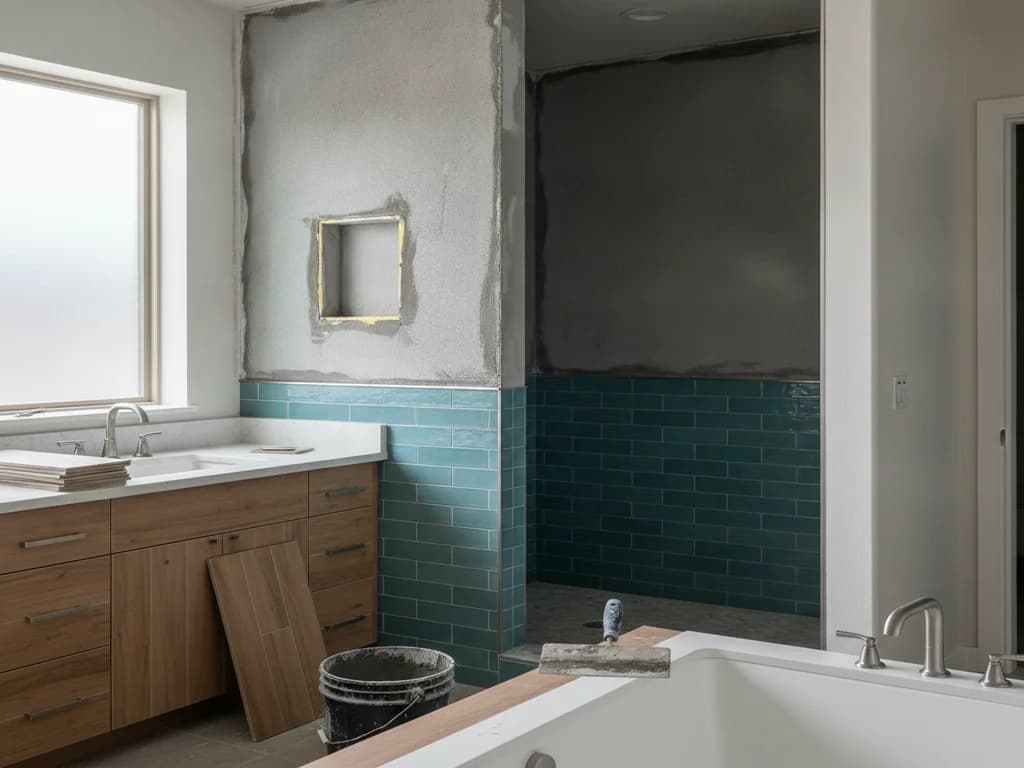
Because the tile is not what keeps water out of your wall — the membrane behind it is. A shower niche is a deliberate hole through that membrane, and the only reason it does not leak is that the waterproofing is rebuilt continuously around the opening: across the back, up the sides, out onto the face of the wall, all sealed as one system.
Cut a hole in a finished tiled wall and you have severed the membrane with no clean way to tie a new one into it. Systems manufacturers like Schluter and the Tile Council of North America (TCNA) treat the niche as part of the waterproofing assembly, not an accessory added afterward — which is why a proper niche change starts with opening the wall.
That is also why the classic aftermarket shortcuts disappoint. Surface-mounted caddies and glue-on shelves work fine, but a true recessed niche in an existing shower is a small demolition project, not a weekend accessory install.
When does replacing or adding a niche make sense?
The honest answer: almost always as part of a bigger job. If you are already replacing the shower tile or doing a full shower replacement, the wall is open, the membrane is being rebuilt anyway, and a niche adds modest material cost and a few hours of labor. This is the moment to add one, add a second, move the awkward one, or resize a cramped one.
As a standalone project, a niche change means demolishing a section of sound tile, framing and waterproofing the new opening, then tiling a patch — and unless you have leftover tile from the original job, the patch rarely matches. Discontinued tile is the single most common reason a "small niche job" grows into a full wall or full retile.
There is one more trigger worth naming: a failing niche. If grout lines inside an existing niche stay dark, the shelf ponds water, or tile around it is loosening, the waterproofing behind it may already be compromised — and that is a reason to open the wall regardless. Our shower waterproofing guide covers what a correct assembly looks like.
Where can a niche actually go?
A niche needs a stud bay with empty depth behind it — roughly 3.5 inches in a standard 2x4 wall. That rules out two common candidates. Exterior walls hold insulation, and carving a niche into them creates a cold spot and a condensation risk that most contractors simply decline. The plumbing wall — the one with your valve and riser — is usually crowded with pipe exactly where you would want the box.
That typically leaves the back wall or the non-plumbing side wall, which is fine: those are also the walls where a niche looks intentional. Horizontal placement follows the studs (a standard niche fits between studs 16 inches on center; wider niches need a header), and vertical placement is set for the people using it — a topic with real design range, which our shower niche ideas roundup covers in full.
Resizing follows the same logic. Going taller within one stud bay is straightforward during a retile; going wider means reframing, which is still routine with the wall open but is real carpentry, not a trim job.
Skip the exterior wall
A niche recessed into an exterior wall displaces insulation and puts a cold, condensation-prone box inside your warmest, wettest room. In the Treasure Valley’s cold winters that is a mold risk, not a style choice. If the only candidate wall is exterior, a shallower niche, a corner shelf, or a bench with storage is the better answer.
Prefab foam niches vs. site-built: what goes in the wall now?
Most niches installed today start as a prefabricated foam unit — a rigid, already-waterproof box from systems like Schluter KERDI-BOARD or wedi that gets set into the framed opening and sealed to the wall membrane with matching banding. The appeal is integration: one manufacturer’s components, one warranty, no seams improvised on site.
The older approach — framing a box from lumber, wrapping it in backer board, and waterproofing it with a liquid membrane such as RedGard — still works when done carefully, and it is how odd custom sizes get built. It simply depends more on the installer’s technique at the corners, which is where site-built niches historically failed.
Either way, two details separate a niche that lasts from one that leaks: the shelf must slope slightly toward the shower so water drains off it, and the corners must be continuously waterproofed, not just caulked.
| Factor | Prefab foam niche | Site-framed + liquid membrane |
|---|---|---|
| Waterproofing | Factory-formed, sealed to wall membrane | Built up on site; corner technique is critical |
| Sizes | Fixed standard sizes (some trimmable) | Any custom dimension |
| Install speed | Fast — set, seal, tile | Slower — frame, board, membrane, cure |
| Best for | Standard bays, system-matched showers | Custom sizes, unusual framing |
What does a niche change cost?
Folded into a retile or shower replacement, a niche is one of the cheaper upgrades on the menu — cost guides from Angi put a professionally installed niche roughly in the $200 to $500 range as an add-on to tile work already underway, with large or double niches and stone shelves pushing higher.
As a standalone project in a finished shower, the math changes: demolition, membrane repair, framing, and a tile patch put the work well above the add-on price, and tile matching often forces the scope wider. That gap is exactly why contractors push niche decisions to the front of a remodel conversation rather than the end.
If the niche is one item on a longer wish list, it is worth pricing the full project — our walk-in shower cost guide for Boise breaks down where the money actually goes.
What about the tile inside the niche?
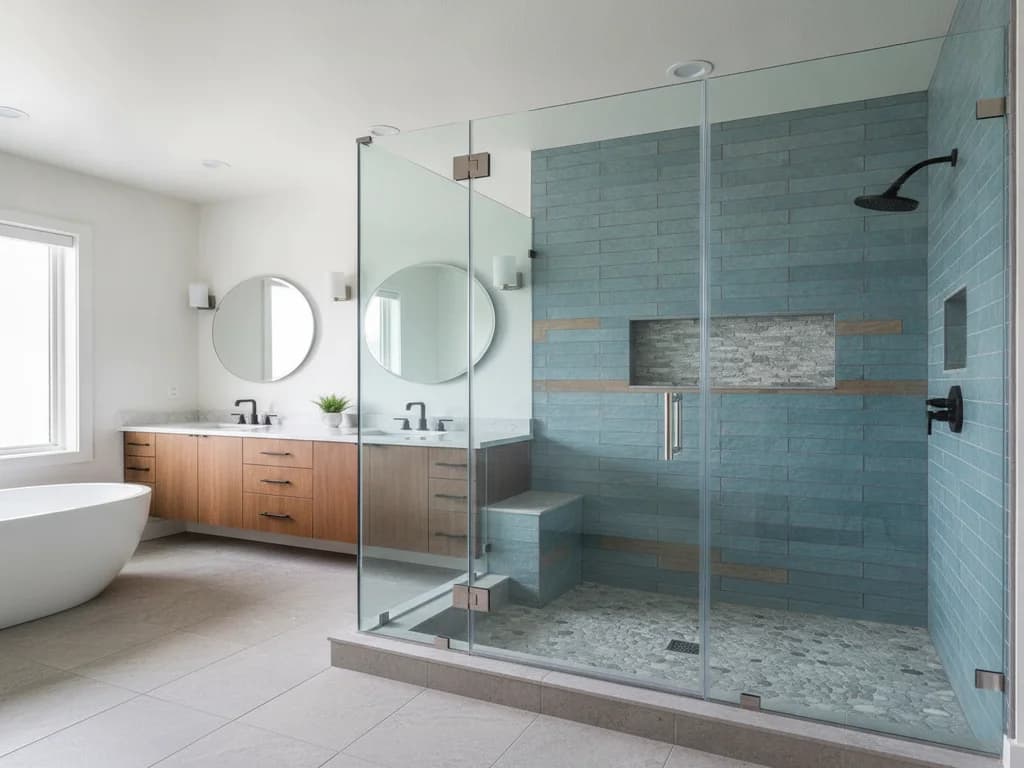
The niche is a natural place for a small amount of accent tile — a mosaic back panel or a contrasting field — because the quantity is tiny and the visual payoff is large. It is also where tile edges show, so the finish plan matters: metal edge profiles or mitered edges read clean, while bare-cut tile edges read unfinished.
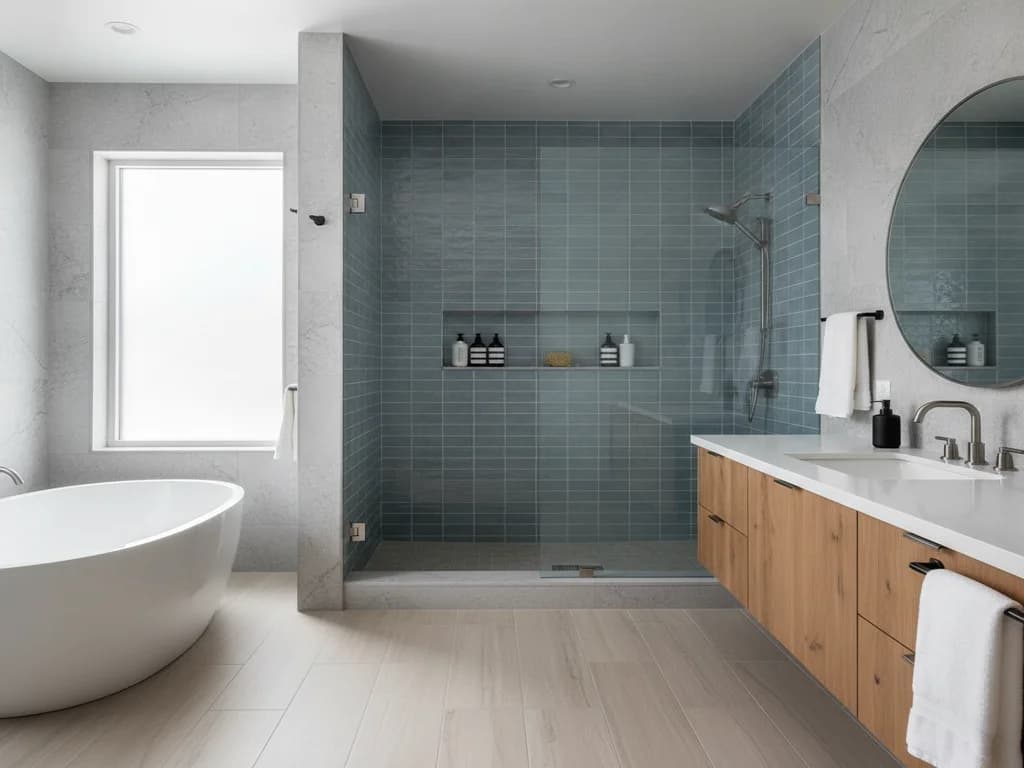
Whether to make the niche disappear into the field tile or stand out as a feature is a design call, and it interacts with lighting, shelf material, and placement. We keep the full design conversation in shower niche ideas — the short version is that one confident choice beats three competing ones.
What the process looks like
- 1
Plan the niche with the tile layout
The contractor locates the niche on a wall with open stud depth — never exterior, rarely the plumbing wall — and sizes it so its edges land on grout lines. A niche planned with the tile layout looks built-in; one placed without it looks patched-in.
- 2
Open the wall and confirm the bay
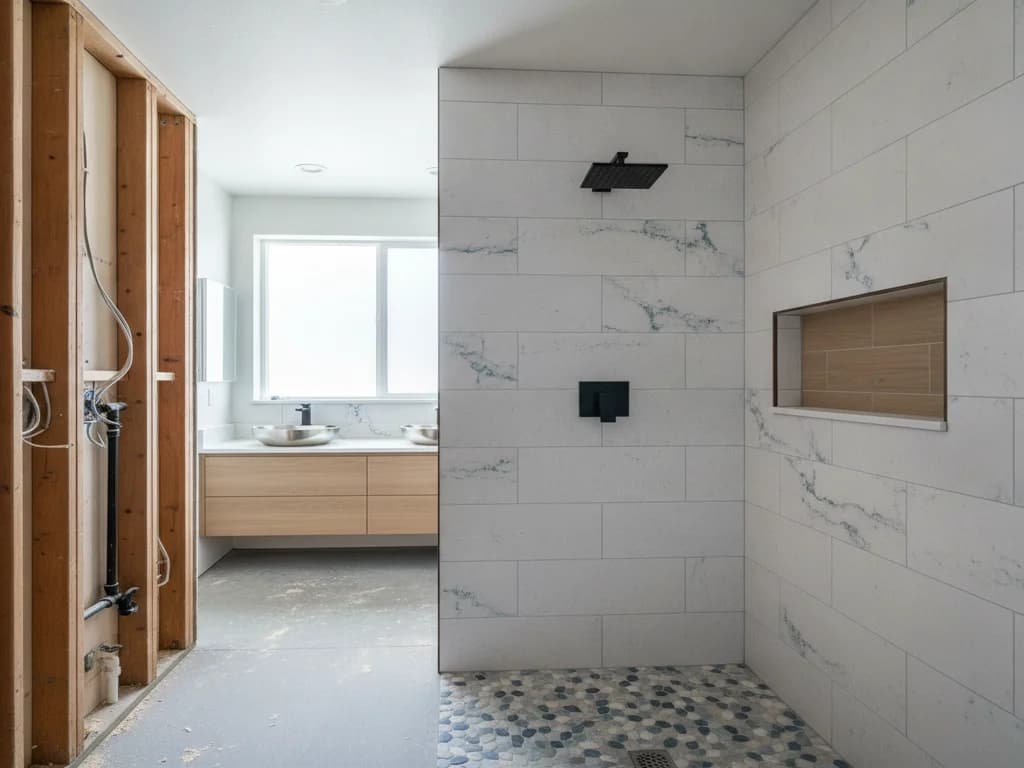
During the retile or remodel demo, the wall comes down to the framing. The crew confirms the stud bay is clear of wiring, pipes, and blocking, and reframes with a header and sill if the niche spans wider than one bay.
- 3
Set the niche box
A prefab foam niche is cut in flush with the wall substrate and fastened per the system instructions — or a custom box is framed, sheathed in backer board, and prepped for membrane. The shelf is set with a slight pitch toward the shower.
- 4
Integrate the waterproofing
The wall membrane and the niche are sealed into one continuous assembly — banding and sealant at every seam for sheet systems, full coverage with reinforced corners for liquid membranes. This step is the entire reason the job is done from the studs out.
- 5
Tile the niche and the field
Field tile and niche tile go up together so the courses align. Edges get metal profiles or mitered returns, and the sloped shelf is tiled so water sheds instead of ponding.
- 6
Grout, seal, and water-test
Grout cures, changes of plane get flexible sealant rather than grout, and the shower is water-tested before the final walkthrough.
Ready to plan your Boise bathroom?
Licensed & insured · 3-year workmanship warranty
Frequently asked questions
- Can you add a niche to an existing tiled shower without retiling?
- It is possible but rarely smart. The tile over the chosen bay has to come off, the membrane must be cut and rebuilt around the new box, and the patch has to be tiled — and matching discontinued tile is the usual dealbreaker. Most homeowners either wait for a retile or accept a full-wall redo so the finish is seamless.
- How much does it cost to add a shower niche?
- As part of tile work already underway, Angi’s cost data puts a professionally installed niche roughly between $200 and $500, with oversized or double niches and stone shelves costing more. As a standalone job in a finished shower, demolition, waterproofing repair, and tile matching push the total well beyond that.
- Can a shower niche go on an exterior wall?
- Contractors generally advise against it. The niche displaces wall insulation, creating a cold pocket in the room’s wettest zone — a condensation and mold risk, especially through cold Idaho winters. If the exterior wall is the only option, a shallow-profile niche, corner shelves, or a storage bench are safer alternatives.
- Are prefab foam niches better than framed niches?
- For most projects, yes. Prefabricated units from systems like Schluter and wedi arrive already waterproof and seal directly into the wall membrane with matched components, removing the corner-sealing improvisation where site-built niches historically failed. Site-framing still earns its place for custom dimensions a standard box cannot hit.
- Why does my existing shower niche leak?
- The usual culprits are a flat shelf that ponds water, grouted (rather than flexibly sealed) inside corners, or a membrane that was never carried continuously around the opening. Dark grout that will not dry and loosening tile near the niche suggest water is getting behind the wall — worth a professional look before it spreads.
- Can a niche be made bigger during a retile?
- Yes — that is the ideal moment. Growing taller within one stud bay is simple; growing wider means cutting studs and adding a header and sill, which is routine carpentry with the wall already open. The new opening is then waterproofed as part of the fresh membrane, exactly like a new niche.
Sources
Claims and figures are drawn from the sources above and provided for general guidance; your project may vary. Photography is illustrative of design concepts. For a fixed price on your specific bathroom, request a free estimate.