Updated July 16, 2026 · 6 min read
By Boise Bath — bathroom & shower remodeling in Boise & the Treasure Valley
The short answer
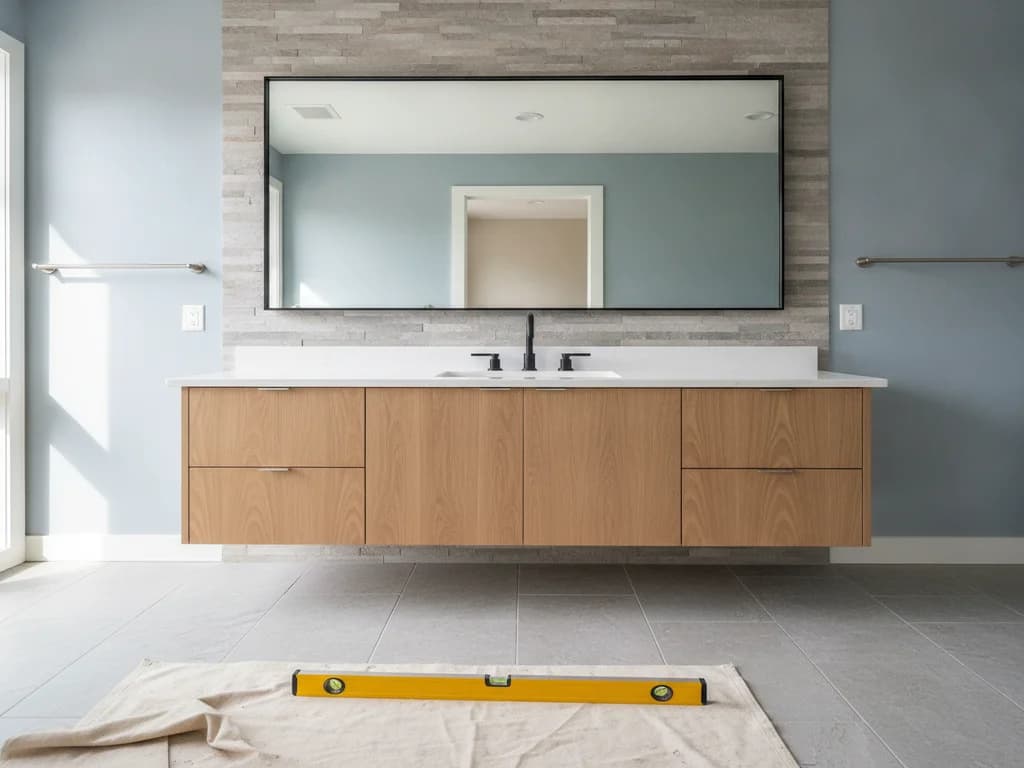
Replacing a standard vanity with a floating vanity is a wall project as much as a cabinet swap. The old cabinet comes out, the wall is opened to add solid blocking, the drain and supply lines are re-routed higher into the wall, and the flooring footprint is patched — because everything under a floating vanity stays visible.
Key takeaways
- A floating vanity carries its entire load — cabinet, stone top, water, and whoever leans on it — through the wall, so solid blocking between studs is non-negotiable.
- Standard vanity plumbing exits low and hides behind a cabinet base; a floating vanity exposes that zone, so the trap and supplies typically move up and into the wall.
- The floor under the old cabinet was almost never finished — a floating vanity puts that footprint on permanent display, making the floor patch part of the project.
- Mounting height is a design choice: floating vanities are commonly hung so the counter lands around the familiar 34–36 inches, but can go lower or higher deliberately.
- Because the wall opens anyway, this conversion pairs naturally with lighting, mirror, and outlet updates on the same wall.
Why a floating vanity is a different kind of install
A standard vanity is furniture: it stands on the floor, the wall just keeps it from tipping, and the cabinet base hides a multitude of sins — rough flooring, low plumbing, uneven walls. A floating vanity reverses all of that. The wall becomes the structure, and the space underneath becomes visible finish.
That is why "swap the cabinet" undersells the project. Done properly, the conversion touches framing, plumbing, drywall, and flooring before the new cabinet ever comes out of its box. Done as a simple swap, it ends with a sagging cabinet and a chrome trap dangling over a patch of bare subfloor.
Can your wall hold it? The blocking question
Drywall anchors do not carry a floating vanity. Between the cabinet, a stone top, a filled sink, and a person leaning on the edge, the load is real — and manufacturers like Kohler publish wall-mount instructions that assume solid wood blocking or metal backing installed between the studs at the mounting height.
Existing walls almost never have blocking where a floating vanity needs it, so the drywall opens: the installer cuts back to the studs, lets in solid lumber across the mounting zone, and closes the wall again. In a remodel where the vanity wall is already open for other work, this costs almost nothing; as a standalone job, the drywall repair and paint are a core part of the bid, not an extra.
The sag you cannot fix later
A floating vanity anchored to drywall or a single stud may hold for a while — then creep, crack the caulk line, and stress the drain connection. Blocking has to go in before the cabinet, because retrofitting it afterward means taking the finished wall apart.
Why the plumbing has to move
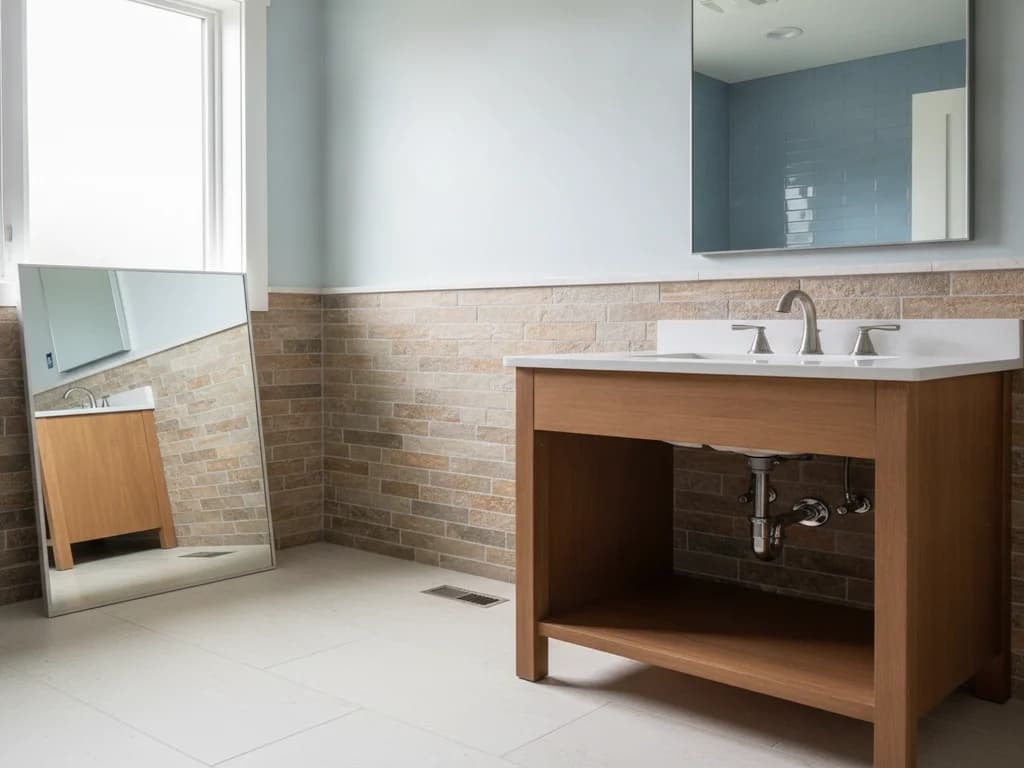
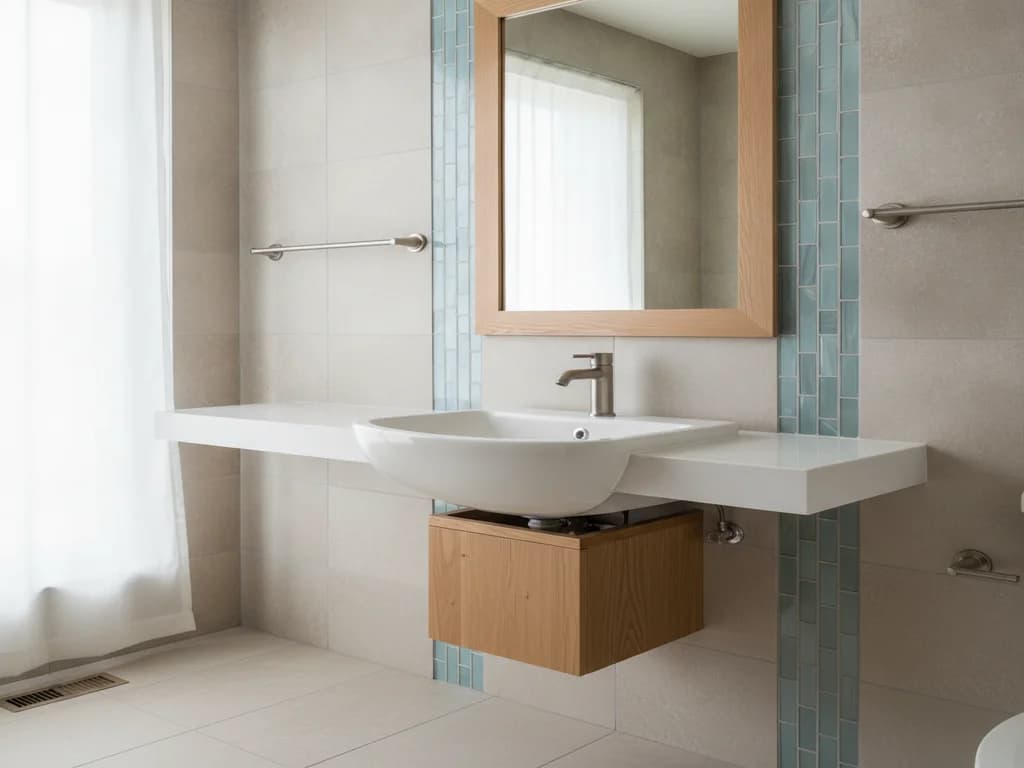
Under a standard vanity, the trap and supply stops sit low and out of sight behind the cabinet base. Float the cabinet and that hardware is suddenly in the open air beneath it — functional, but rarely the look anyone was after.
The clean solution is re-routing: the plumber raises the drain stub-out and supply stops so they enter the cabinet through its back, and where the aesthetic calls for a fully open underside, the trap itself moves inside the wall or the cabinet box. Raising a drain and relocating a trap is permitted plumbing work in Boise through Planning & Development Services, with equivalents across the Treasure Valley — routine for a licensed plumber, and one more reason this conversion is not a Saturday project.
While everything is open, this is the natural moment to replace tired shutoff valves and check the drain line — the same once-in-decades inspection window we describe in replacing a bathroom vanity.
The floor underneath goes on display
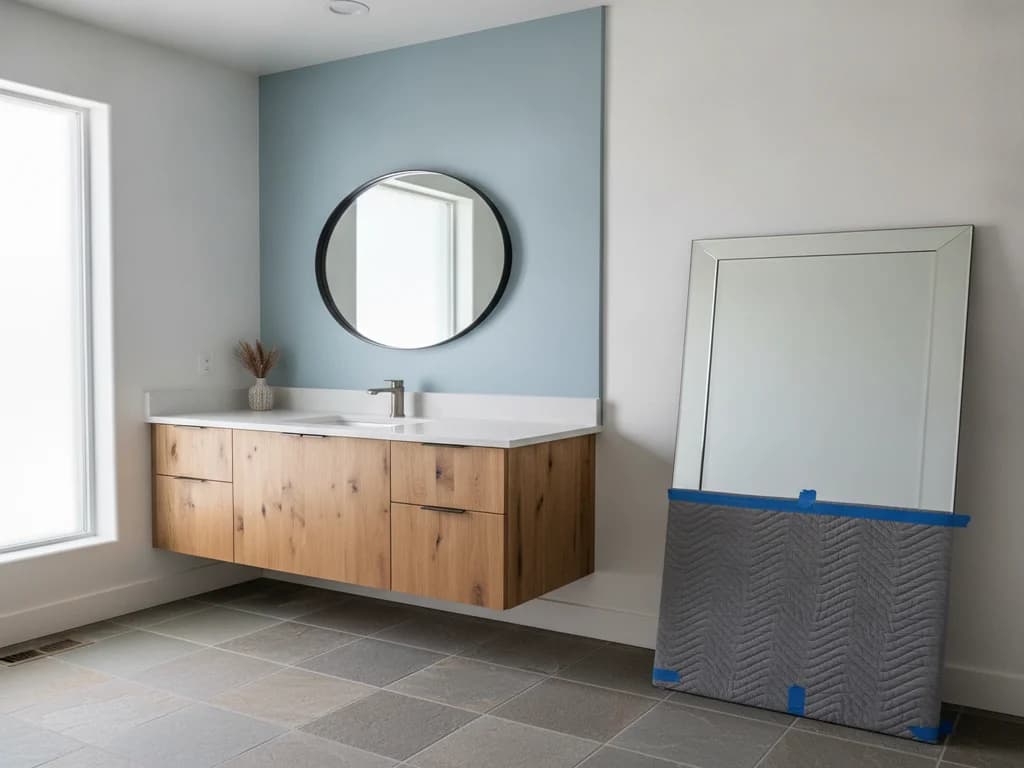
Here is the honest part of the conversion: flooring is usually installed around a vanity cabinet, not under it. Remove a floor-standing vanity and you find bare subfloor or old flooring in the cabinet’s footprint — which a new floor-standing cabinet would hide, but a floating vanity showcases forever.
The options are the same ones every footprint problem has: patch the area with matching material if it still exists, patch with an intentional contrast if it does not, or use the conversion as the trigger for the flooring replacement you were considering anyway. What does not work is ignoring it — under a floating vanity, the floor runs wall to wall in plain view.
Getting the height and the wall right
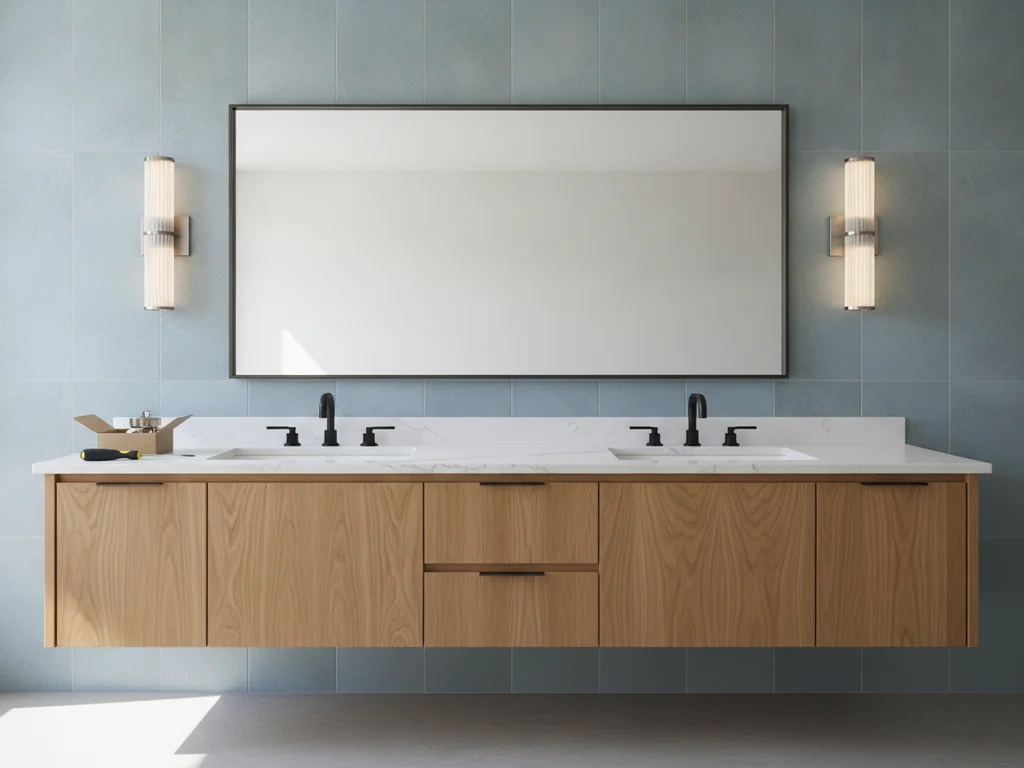
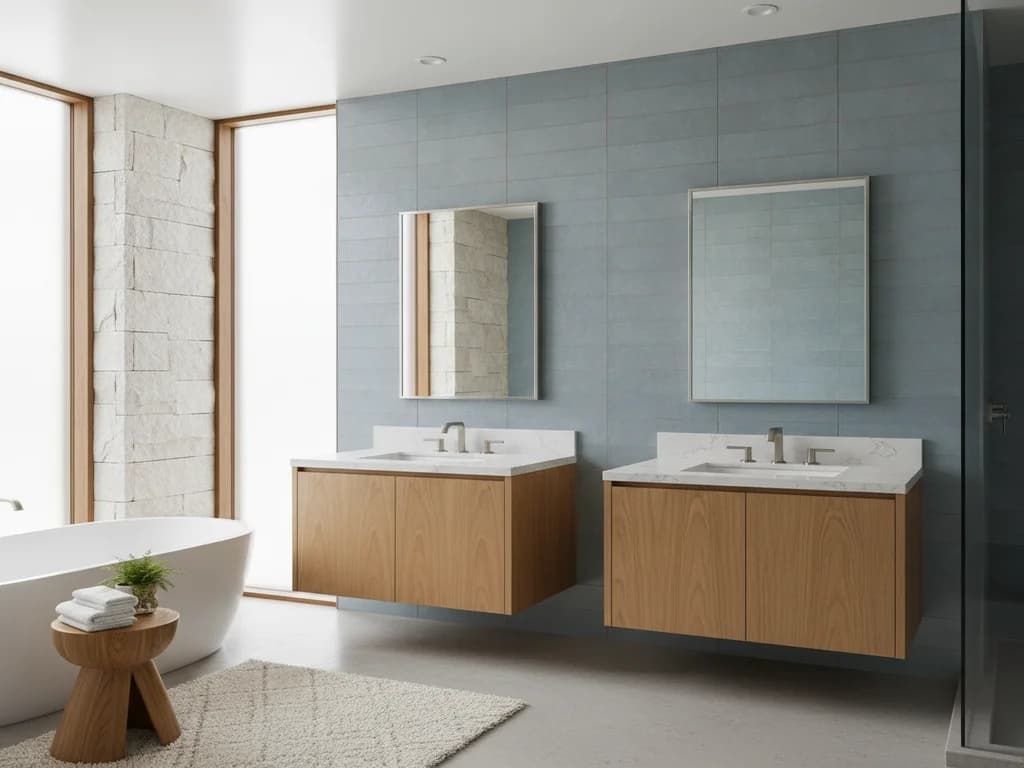
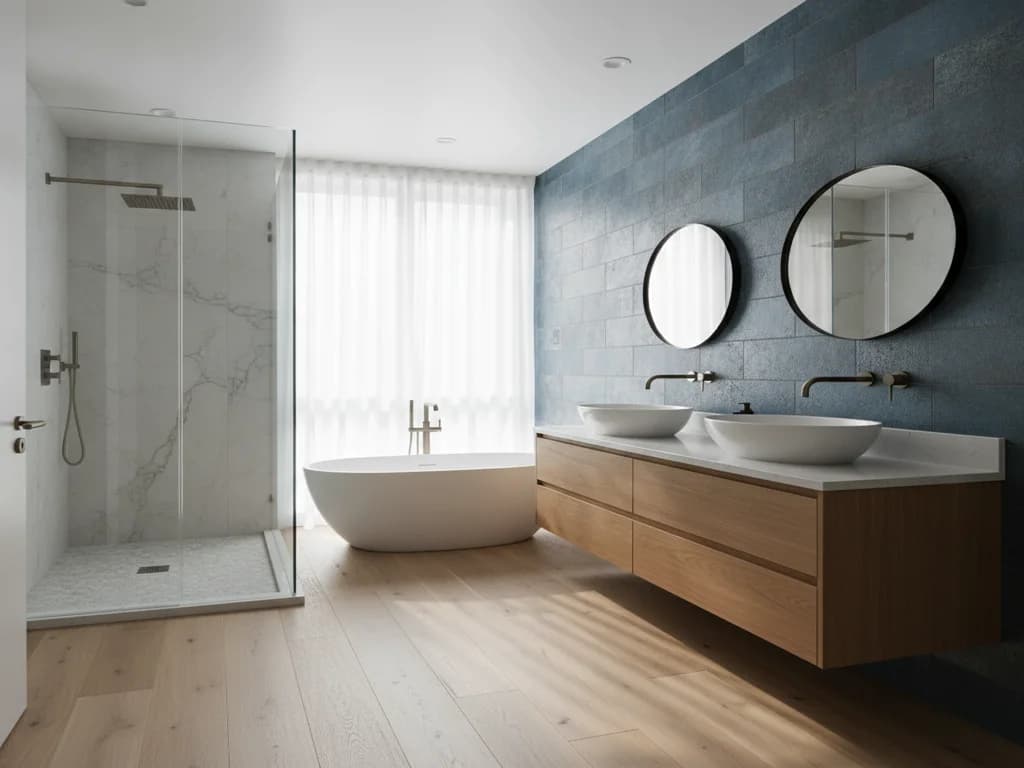
Height is a genuine design decision. Hanging the cabinet so the counter lands at the familiar 34–36 inches keeps daily use unchanged, while a lower reveal with a vessel sink or a higher counter for tall households are both easy at install time and impossible to change after. The mounting height also sets where the mirror and lights land, so the whole wall gets planned together — placement details are in our article on replacing vanity lighting.
Whether a floating vanity is the right style call in the first place — versus a traditional floor-standing cabinet, with the storage and cleaning trade-offs between them — is a decision we will take up properly in a dedicated comparison article. This one assumes you have decided and covers what the conversion takes.
Cost, timeline, and when to fold it into a remodel
A floating-vanity conversion costs more than a like-for-like cabinet swap because of what surrounds it: blocking and drywall repair, the plumbing re-route, the floor patch, and paint. National cost guides from HomeAdvisor and Angi put standard vanity installation labor roughly in the $200–$1,000 range, and wall-mounted installs sit at the top of that band and beyond once the wall and plumbing work are counted — with the cabinet itself, often European-style and stone-topped, adding anywhere from several hundred dollars to several thousand.
Sequenced as a standalone project it runs a few days across trades: demo, framing and rough plumbing, inspection, drywall and paint, floor patch, then the hang and hookup. Folded into a full bathroom remodel, most of those steps merge into work already happening — which is why floating vanities show up so often in full renovations and so rarely as one-off swaps. For style directions before you commit, browse our bathroom vanity ideas.
What the process looks like
- 1
Confirm the design height and layout
The contractor sets the counter height, cabinet position, and how exposed the underside will be — decisions that fix where the blocking, plumbing stub-outs, mirror, and lighting all land.
- 2
Remove the old vanity and assess
Water is shut off, the old cabinet and top come out, and the crew evaluates the wall framing, the existing plumbing heights, and the flooring footprint the cabinet was hiding.
- 3
Open the wall and install blocking
Drywall is cut back to the studs across the mounting zone and solid lumber is let in flush between them, sized to the manufacturer’s mounting specification for the cabinet and its loaded weight.
- 4
Re-route the plumbing
The plumber raises the drain stub-out and supply stops to enter the cabinet back — moving the trap into the wall or cabinet where the design calls for an open underside — and the rough-in is inspected under the permit.
- 5
Close, paint, and patch the floor
Drywall is repaired and the wall painted full-height, and the flooring footprint is patched or replaced — everything under the future cabinet gets finished now, because all of it stays visible.
- 6
Hang the cabinet and connect
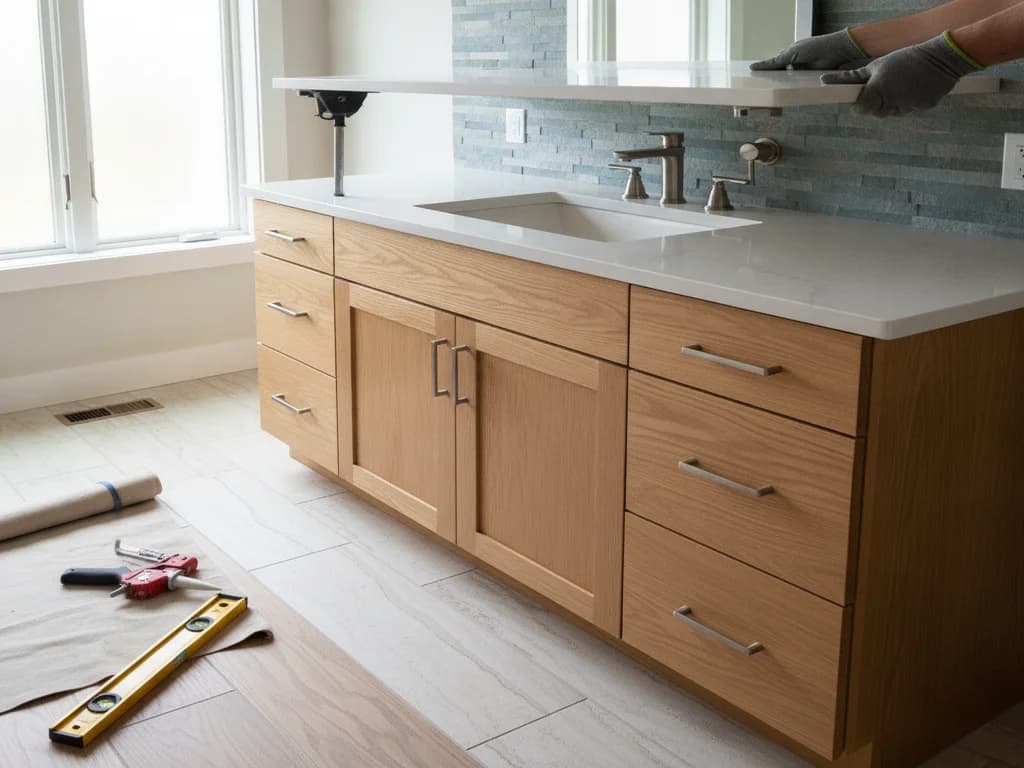
The vanity is mounted level through the blocking with the manufacturer’s hardware, the top and sink are set, connections are made through the cabinet back, and the installation is load- and leak-tested.
Ready to plan your Boise bathroom?
Licensed & insured · 3-year workmanship warranty
Frequently asked questions
- Can any wall support a floating vanity?
- Any standard framed wall can — after blocking is added. The cabinet, stone top, filled sink, and a leaning adult put a serious cantilevered load on the fasteners, so manufacturers specify solid backing between the studs at the mounting height. Existing walls almost never have it, which is why the drywall opens as part of a proper conversion.
- Does the plumbing have to move for a floating vanity?
- Usually, yes. Standard vanity plumbing exits the wall low, where a cabinet base used to hide it — under a floating vanity that zone is exposed. The drain and supply stops typically move up to enter through the cabinet back, and fully open designs relocate the trap into the wall. That is permitted plumbing work handled by a licensed plumber.
- What height should a floating vanity be mounted?
- Most are hung so the finished counter lands around 34 to 36 inches — the same comfort range as standard vanities — but wall-mounting makes the height a free choice. Vessel sinks argue for a lower cabinet, taller households sometimes go higher. It is worth deciding deliberately, because the mirror and lighting positions follow from it.
- What happens to the floor where the old vanity sat?
- It shows. Flooring is typically installed around a floor-standing cabinet, so its footprint is bare subfloor or unfinished material — and a floating vanity leaves that area in plain view permanently. The realistic options are patching with matching material, an intentional contrast patch, or folding the swap into a flooring replacement.
- Is a floating vanity more expensive to install than a regular vanity?
- Meaningfully, as a conversion. National guides from HomeAdvisor and Angi put standard vanity install labor roughly between $200 and $1,000, and a wall-mount conversion sits above that once blocking, drywall repair, the plumbing re-route, floor patching, and paint are counted. Inside a larger remodel, most of that overlaps work already being done — which is when the upgrade is cheapest.
Sources
- Kohler
- HomeAdvisor — True Cost Guide
- Angi — Cost Guides
- City of Boise — Planning & Development Services
Claims and figures are drawn from the sources above and provided for general guidance; your project may vary. Photography is illustrative of design concepts. For a fixed price on your specific bathroom, request a free estimate.