Updated July 16, 2026 · 6 min read
By Boise Bath — bathroom & shower remodeling in Boise & the Treasure Valley
The short answer
Replacing a bathroom mirror means safely freeing the old one — builder slabs are usually glued to the drywall with mastic and rarely come off without tearing the wall face — repairing and repainting the damaged drywall, then hanging a framed or LED mirror on proper anchors. LED mirrors add an electrical rough-in behind the glass.
Key takeaways
- Most builder mirrors are bonded to the drywall with mastic adhesive, not just clipped — plan on wall damage behind them, because the paper face of the drywall usually comes off with the glue.
- Safe removal means taping the glass, protecting the counter, and cutting the mastic with wire or shims — never prying a large unframed slab from one edge.
- Budget for drywall patching, skim coating, and paint as part of the project; the new, smaller mirror rarely covers the full footprint of the old slab.
- An LED or backlit mirror needs a junction box behind it — an electrician’s task, and far cheaper to rough in during this project than after the wall is repainted.
- Black-edged "desilvering" on an old mirror cannot be repaired — it is corrosion of the reflective backing and only gets worse.
Why the builder mirror is the last thing to survive a bathroom
Production builders from the 80s through the 2000s finished vanity walls the same way across the Treasure Valley: one huge sheet of unframed quarter-inch plate glass, wall to wall over the vanity, held by a few plastic clips and — this is the important part — a generous bed of mirror mastic gluing it to the drywall.
It was cheap per square foot and it has probably worked fine for decades. But the frameless slab dates the room instantly, and by year 20 many develop black, cloudy edges — desilvering, where moisture has corroded the reflective backing. That damage is permanent and spreads; no resurfacing brings it back.
Swapping the slab for a framed or lit mirror is one of the highest-impact single upgrades in a dated bathroom — which is why it shows up in nearly every builder-grade upgrade list.
The part nobody warns you about: it’s glued on
A big frameless mirror looks like it should lift out of its clips. It will not. The mastic behind it has had decades to cure into the drywall, and the bond is usually stronger than the drywall’s own paper face.
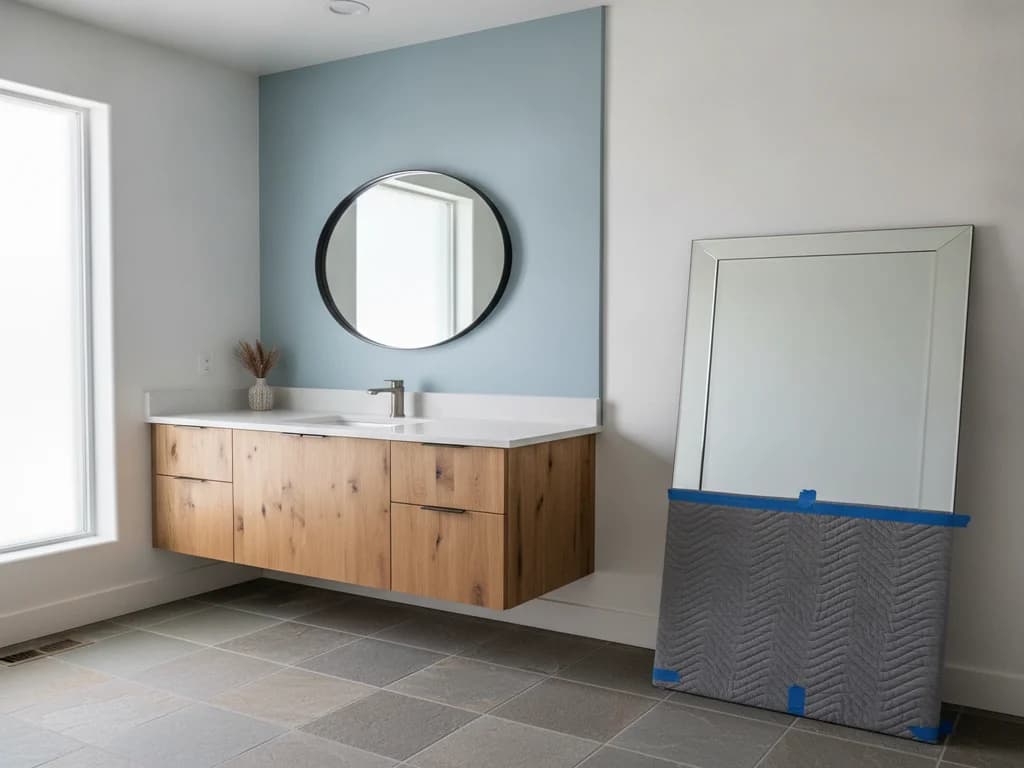
Removal done properly is a controlled operation: the entire glass face gets covered in tape (so a crack cannot shed shards), the countertop and floor are padded, and the mirror is worked free by cutting the mastic — piano wire sawed behind the glass, or shims and wedges advanced gradually — while someone supports the slab. Large mirrors are removed by two people, sometimes in sections.
Prying a glued slab from one edge is how emergency-room visits happen. A quarter-inch mirror the width of a double vanity is heavy, under tension, and breaks into large, guillotine-grade pieces.
Expect wall damage — it’s normal
When the mastic lets go, it almost always takes the drywall’s paper face — and occasionally chunks of gypsum — with it. This is not a botched job; it is the standard outcome. A proper quote includes patching, skim coating, and repainting the vanity wall, because the new mirror will almost never hide the old slab’s full footprint.
What replaces it: framed, LED, or a cabinet?
The style question — shapes, frames, finishes, what suits your vanity — is its own topic, and our bathroom mirror ideas guide covers it properly. From a replacement-scope standpoint, what matters is which category you land in, because they carry different work:
| Replacement | Extra work involved | Scope |
|---|---|---|
| Framed mirror (hung) | Wall repair + anchors rated for the weight | Lightest |
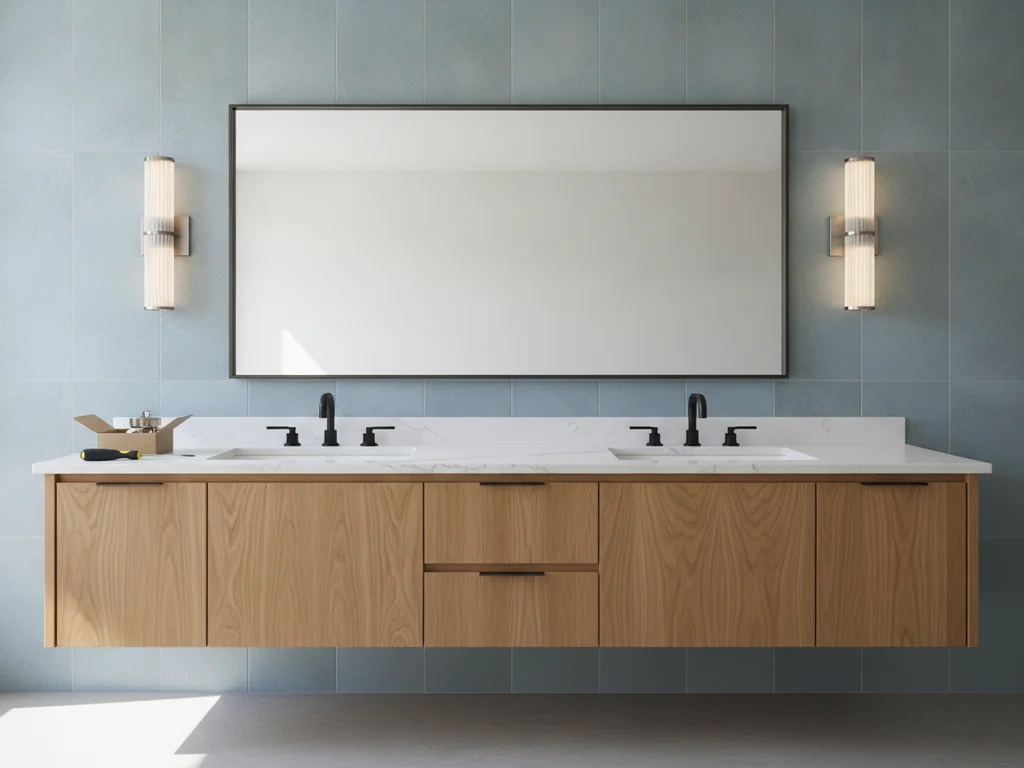
| Framed mirror pair (double vanity) | Layout centered on each sink, two sets of anchors | Light |
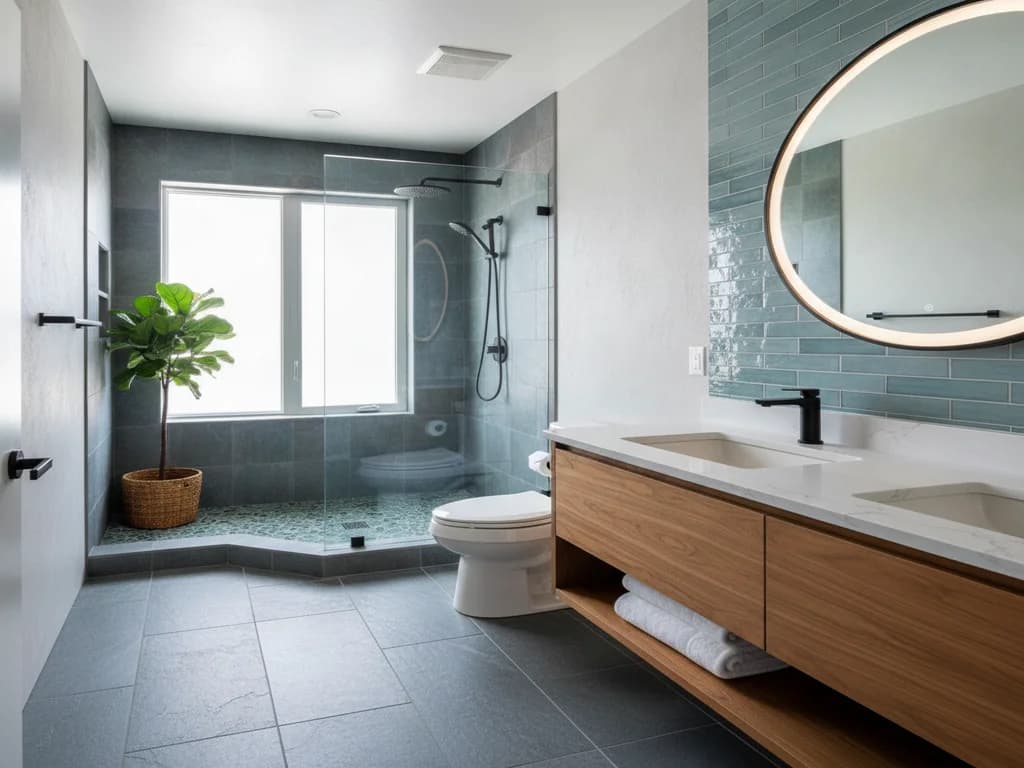
| LED / backlit mirror | Junction box + switching behind the glass — electrician | Moderate |
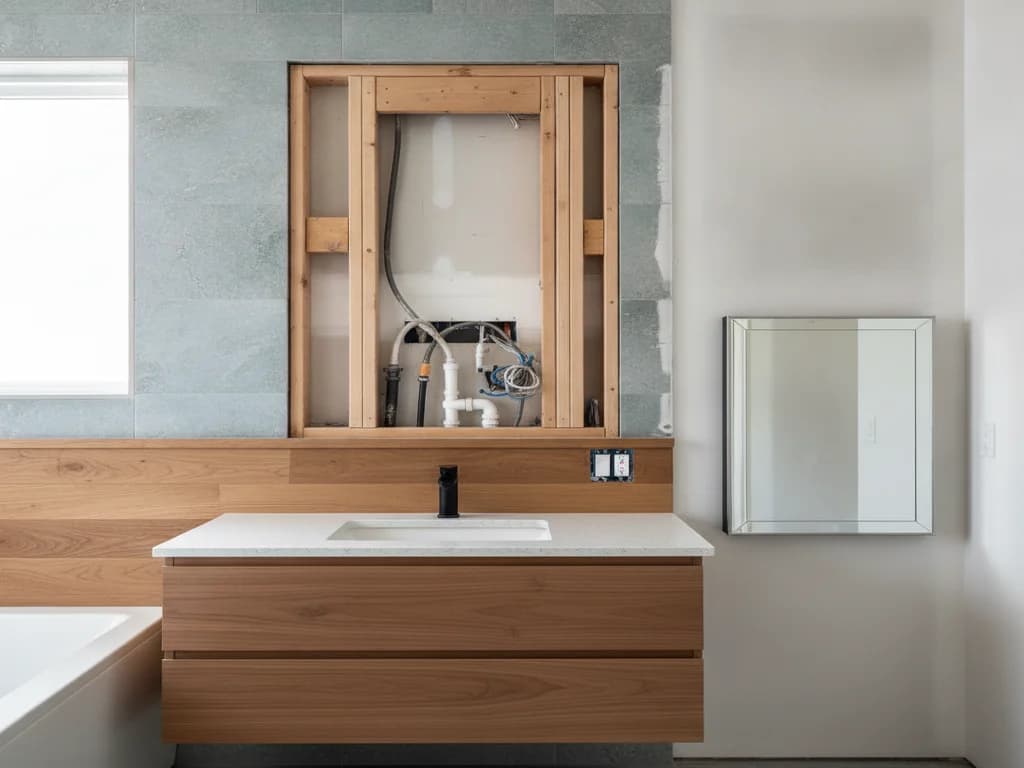
| Medicine cabinet (surface or recessed) | Storage gain; recessed opens the wall — see below | Moderate to heavy |
| Frame kit over existing slab | None — but keeps a desilvering mirror | Minimal |
Frame kits only make sense when the glass itself is still in good condition.
LED mirrors: the wiring reality
Backlit and LED-framed mirrors are the most requested upgrade in this category, and they come with one non-negotiable: power behind the glass. That means a junction box roughed into the wall at the mirror location, wired to a switch — work that falls under the electrical code and belongs to a licensed electrician, not a mounting bracket and an extension cord.
The good news is that the timing is perfect. The wall is already damaged from the slab removal and already scheduled for patching and paint, so fishing a cable and setting a box adds little disruption now versus a lot later. If you are also rethinking the light fixtures above the vanity, fold it together — that project is covered in replacing vanity lighting.
Some LED mirrors add heated anti-fog pads and dimming; these ride on the same supply, but confirm the switching scheme (separate switch, touch control, or both) before the wall closes.
Getting the size and placement right
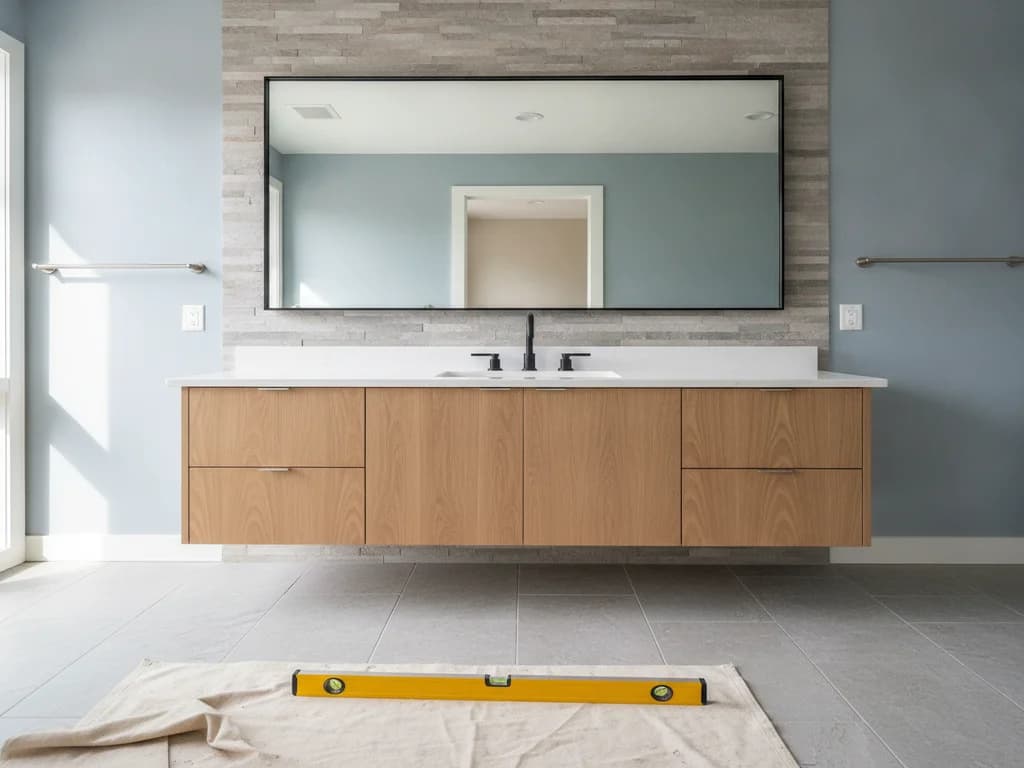
The old slab hid a multitude of sins: it was oversized, so nothing had to be centered or measured. A new mirror has to actually relate to the vanity. The working conventions are simple — a mirror roughly as wide as the vanity or a few inches narrower reads balanced; over a double vanity, one large mirror or a centered pair over each bowl both work.
Height is set by the people using it, not a formula, but the fixture above constrains the top edge. Think about mirrors and lighting as one composition — our bathroom lighting ideas guide shows how sconces beside a mirror flatter faces where a single overhead bar shadows them.
And if what you actually miss is storage, not glass, the answer may be a medicine cabinet instead — replacing a medicine cabinet covers that swap, and the recessed-versus-surface decision has its own guide.
What does mirror replacement cost?
The mirror itself spans a huge range — from under $100 for a basic framed piece to several hundred or more for large LED units. On labor, national guides such as HomeAdvisor and Angi put professional removal and installation broadly in the $100–$500 range, with glued-slab removal, wall repair, and painting pushing toward and past the top of it. Add an electrician’s rough-in for lit mirrors.
In practice, the smart budgeting question is not "what does a mirror cost" but "what else is this wall getting." If the vanity, top, or faucet are also on the list, one mobilization covers the wall repair, paint, and electrical for all of it — see replacing a bathroom vanity for how the full refresh sequences.
What the process looks like
- 1
Assess the mounting before quoting the wall
The contractor checks whether the slab is clipped, glued, or both — a gentle flex test and a look at the edges usually tell — and sizes the wall repair into the plan rather than discovering it mid-removal.
- 2
Protect the room and tape the glass
The countertop, sink, and floor get padded, and the mirror face is covered with tape or adhesive film so that if the glass cracks during removal, it stays in one manageable sheet instead of raining shards.
- 3
Cut the mirror free
Clips come off first, then the mastic bond is cut — wire sawed behind the glass or shims advanced from the edges — while the slab is supported. Large mirrors come down as a two-person lift, occasionally in deliberate sections.
- 4
Repair the wall
Torn drywall paper and gouges get sealed, patched, and skim coated flat, then the wall is primed and repainted — usually the full vanity wall, since touch-up paint rarely blends on a 20-year-old finish.
- 5
Rough in power for a lit mirror
If an LED or backlit mirror is going up, a licensed electrician sets a junction box at the manufacturer’s specified location and wires the switching now, while the wall is already open and unpainted.
- 6
Mount the new mirror
The new mirror is laid out level and centered on the vanity or each bowl, hung on anchors rated for its weight — heavy framed and LED units never hang on bare drywall anchors alone — and connected if lit.
Ready to plan your Boise bathroom?
Licensed & insured · 3-year workmanship warranty
Frequently asked questions
- How do you remove a bathroom mirror that is glued to the wall?
- By cutting the adhesive, not prying the glass. Pros tape the entire face, pad the counter, then saw through the mastic behind the mirror with wire or work shims in gradually while supporting the slab. Expect the drywall paper to come off with the glue — wall repair is a normal part of the job, not a sign it went wrong.
- Will removing a glued mirror damage the drywall?
- Almost always, yes. Mirror mastic bonds harder than the drywall’s paper face, so patches of paper and sometimes gypsum come away with the mirror. Plan on patching, skim coating, and repainting the vanity wall — the new mirror rarely covers the old slab’s full footprint, so the repair will show if it is skipped.
- Why does my mirror have black edges?
- That is desilvering: bathroom moisture has gotten past the edge sealing and corroded the reflective silver backing. It is permanent, it spreads inward over time, and no cleaning or resurfacing reverses it. A mirror with black or cloudy edges is a replacement candidate, not a repair candidate.
- Do LED mirrors need an electrician?
- Hardwired LED and backlit mirrors do — they need a junction box behind the glass wired to a switch, which is electrical work under code and belongs to a licensed electrician. Plug-in models exist but leave a visible cord. The cheapest moment to add the box is during mirror replacement, when the wall is already being repaired and painted.
- What size mirror should go over a vanity?
- As a working rule, the mirror reads balanced at the vanity’s width or a few inches narrower. Over a double vanity, either one wide mirror or a pair centered over each sink works. Height is set by the users and the light fixture above. For shapes, frames, and style direction, our bathroom mirror ideas guide goes deeper.
- Can I just frame my existing builder mirror instead?
- If the glass is still in good shape — no desilvering, no chips — a stick-on frame kit is a legitimate budget refresh, and it avoids the removal and wall repair entirely. But it locks in the old slab: if the edges are already blackening, you would be framing a mirror that is actively failing.
Sources
- HomeAdvisor — True Cost Guide
- Angi — Cost Guides
- National Fire Protection Association (NEC)
- This Old House — Bathrooms
Claims and figures are drawn from the sources above and provided for general guidance; your project may vary. Photography is illustrative of design concepts. For a fixed price on your specific bathroom, request a free estimate.