Updated July 16, 2026 · 7 min read
By Boise Bath — bathroom & shower remodeling in Boise & the Treasure Valley
The short answer
Replacing vinyl bathroom flooring means removing the old sheet or plank material, checking the subfloor underneath, and installing tile or new luxury vinyl. Budget roughly $800–$3,000 for a typical bathroom depending on material, per HomeAdvisor. One caution: sheet vinyl installed before 1980 can contain asbestos, so have it tested before it’s disturbed.
Key takeaways
- Sheet vinyl and its adhesive from before roughly 1980 can contain asbestos — have a sample lab-tested before anyone scrapes, sands, or tears it out.
- Old bathrooms often hide two or three flooring layers; the underlayment usually comes out with the vinyl, which is a feature, not a problem.
- Curling seams, yellowing, and soft spots mean water is already getting past the vinyl — the subfloor needs a look, not just the surface.
- Porcelain tile and modern luxury vinyl plank are the two replacement floors that make sense in a full bathroom.
- A typical bathroom floor replacement runs roughly $800–$3,000 installed depending on material, per HomeAdvisor cost guides.
Why replace vinyl bathroom flooring?
Vinyl was the default bathroom floor for decades because it was cheap, water-resistant, and quick to install. But it ages visibly: seams curl, the wear layer yellows near the tub, patterns fade into a permanent traffic path, and the surface tears at the toilet base. In Boise, this is the floor you inherit in a lot of 1960s–1980s Bench and North End bathrooms and in older Nampa and Caldwell homes.
The bigger issue is what worn vinyl lets through. Once seams lift or the material bubbles, every splash and toilet-seal weep goes straight to the underlayment. Soft or spongy spots underfoot mean moisture has been getting below the surface for a while — at that point replacement is overdue, and the floor structure needs inspection along with the finish.
Could your old vinyl contain asbestos?
Here is the one caution that matters more than anything else in this article. Sheet vinyl, vinyl tiles, the felt backing, and the black mastic adhesive used before roughly 1980 can all contain asbestos, per the EPA. The material is not dangerous sitting intact under your feet — the risk comes when it is sanded, scraped, torn, or broken up dry, which releases fibers into the air.
The fix is simple: before anyone disturbs a pre-1980s vinyl floor, have a small sample tested by an accredited lab. If it comes back positive, the options are professional abatement or — often simpler — leaving it encapsulated in place and installing the new floor system over it, where the assembly allows. A good contractor will insist on the test before quoting demolition.
Do not DIY-demo old sheet vinyl
If your home predates 1980, treat the vinyl and its adhesive as suspect until a lab test says otherwise, per EPA asbestos guidance. Never sand, dry-scrape, or rip it out to “see what’s under there” — testing first protects everyone in the house.
What kind of vinyl is on your floor?
Knowing what you have tells you what removal looks like. Sheet vinyl comes up in large glued sections and often takes its underlayment with it. Peel-and-stick or composition tiles pop individually but leave stubborn adhesive. Modern luxury vinyl plank usually floats unglued and is the easiest tear-out of the three.
If your floor is recent click-together LVP and you are switching to tile, that swap has its own considerations — see our guide to replacing LVP with tile for that specific path.
| Type | Common era | How to spot it | Removal |
|---|---|---|---|
| Sheet vinyl | 1950s–1990s | One continuous piece, few or no seams | Glued; often removed with the underlayment — test first if pre-1980 |
| Vinyl tile (VCT / peel-and-stick) | 1950s–1980s | 9" or 12" squares, visible grid of seams | Tiles pop individually; adhesive cleanup — test first if pre-1980 |
| Luxury vinyl plank (LVP) | 2010s–today | Wood-look planks with click seams | Usually floating; fastest tear-out |
What’s usually under old vinyl?
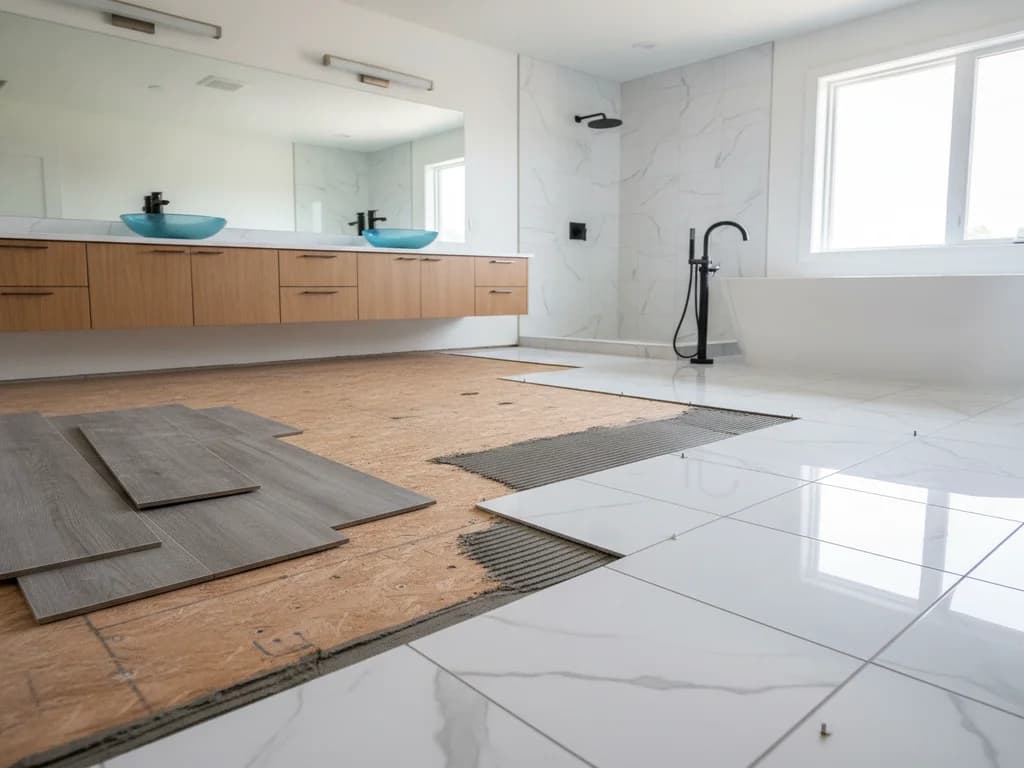
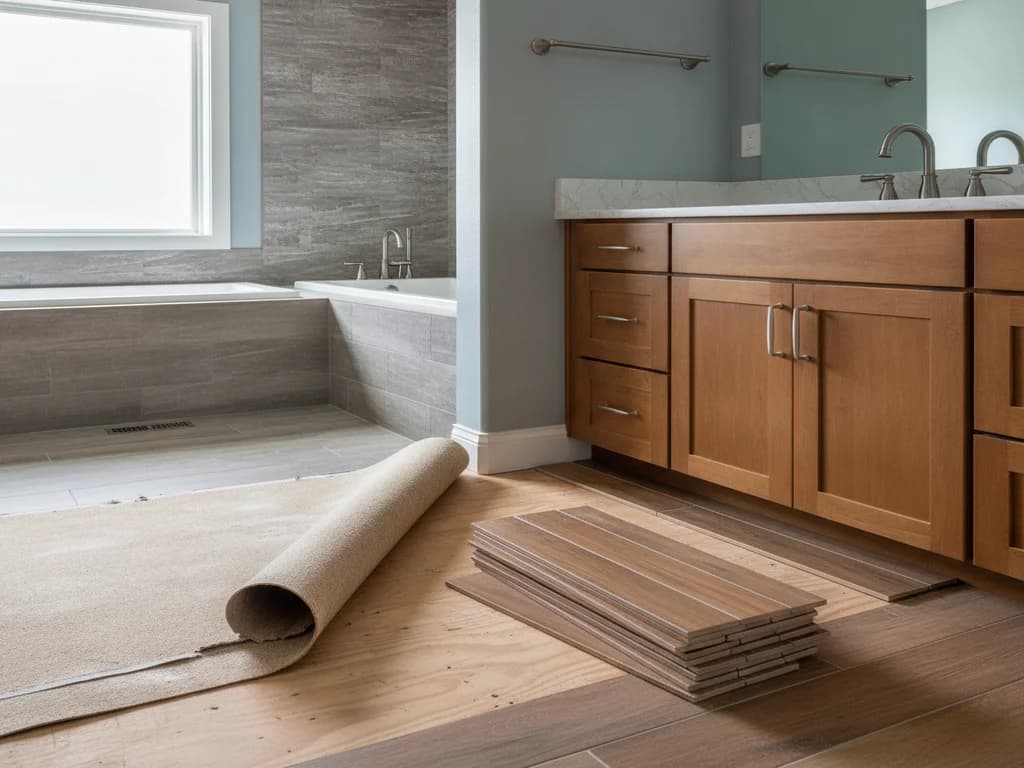
Almost never just one clean layer. A typical tear-out reveals the vinyl, a quarter-inch plywood or lauan underlayment it was glued to, and sometimes a second, older vinyl floor beneath that — evidence of a previous owner’s shortcut. Below it all sits the original subfloor.
The spots that tell the real story are around the toilet flange and along the tub. Dark staining, delaminated plies, or crumbly wood there mean the water damage extends past the flooring layers. That is not a reason to panic — it is exactly why professionals open the floor up before committing to a finish date.
What should you install instead?
Two floors dominate for good reason. Porcelain tile is the durability pick: fully waterproof as a surface, unbothered by our hard water, and available in wood and stone looks that read far above vinyl. Modern LVP is the value pick: warmer and softer underfoot, faster to install, and dramatically better than the sheet goods it descends from.
The honest comparison between the two — cost, feel, resale, longevity — is its own decision, and we cover it in tile vs LVP for bathroom floors. For the wider field of options, start with the best bathroom flooring choices.
What does replacing a vinyl bathroom floor cost?
For a typical bathroom, new flooring installed generally lands between roughly $800 and $3,000 depending on the material and the size of the room, per HomeAdvisor’s cost guides — LVP at the lower half of that range, porcelain tile toward the top.
Two things move the number: asbestos, and the subfloor. A lab test is a modest line item, but professional abatement, if required, is its own project. Subfloor repairs discovered during tear-out add material and labor — worth budgeting a contingency for in any pre-1990s bathroom.
Should you fold it into a larger remodel?
If the vinyl dates from the 1960s–80s, the tub, tile, and fan around it usually do too, and opening the floor is the cheapest moment you will ever have to address them. Replacing the floor alone in an otherwise-dated bathroom is fine — but replacing it twice, once now and once during an inevitable remodel, is the expensive path. Our guide to remodeling older Boise homes covers what these houses typically need, and a free estimate can price both scopes so you can compare honestly.
What the process looks like
- 1
Assess the floor and test if pre-1980
A pro identifies the vinyl type, checks for soft spots and moisture signs, and — in any home built before 1980 — sends a sample of the vinyl and adhesive to an accredited lab before disturbing anything.
- 2
Pull the toilet and remove trim
The toilet comes out so flooring runs under it rather than being cut around it, and baseboards or shoe molding come off so the new floor tucks cleanly beneath.
- 3
Remove the vinyl and underlayment
Sheet vinyl is typically cut into strips and removed along with the underlayment it is glued to — faster and cleaner than fighting the adhesive. Floating LVP simply unclicks.
- 4
Inspect and repair the subfloor
With the layers out, the crew checks the subfloor around the toilet flange and tub for rot or delamination, replaces compromised sections, and confirms the surface is flat and solid.
- 5
Install the new underlayment and finish floor
Tile gets cement backer board or an uncoupling membrane before setting; LVP gets a clean, flat substrate. Layout is planned so cuts land where you will not see them.
- 6
Reset the toilet and finish transitions
The toilet is reset with a new wax ring — and a flange extender if the floor height changed — then thresholds and trim go back on and the room is ready the same day for LVP, or after grout cures for tile.
Ready to plan your Boise bathroom?
Licensed & insured · 3-year workmanship warranty
Frequently asked questions
- Can you install new flooring over old vinyl instead of removing it?
- Sometimes. If the vinyl is a single flat, well-adhered layer, LVP and even tile (with proper preparation) can go over it — and encapsulating is actually the preferred approach when old vinyl tests positive for asbestos. It is not an option when the vinyl is loose, cushioned, or layered, or when added height would strand the toilet flange and door clearances.
- How do I know if my vinyl floor has asbestos?
- You cannot tell by looking — age is the flag. Vinyl flooring and adhesives installed before roughly 1980 may contain asbestos, per the EPA, and the only way to know is a lab test on a small sample. If your home is from that era, test before any removal work; if the floor is intact and undisturbed, it poses little risk in the meantime.
- How long does replacing a vinyl bathroom floor take?
- For a standard hall bathroom with a sound subfloor, plan on one to two days for LVP and two to four days for tile, since thinset and grout need cure time before the room goes back into service. Asbestos abatement or subfloor repairs add time up front, not at the end.
- What is the best replacement for vinyl in a bathroom?
- Porcelain tile if durability and resale presence matter most; modern luxury vinyl plank if budget, warmth underfoot, and speed matter most. Both handle bathroom moisture properly when installed well. Our tile vs LVP guide walks through the trade-offs so you can match the floor to how long you plan to stay.
- Will a new floor change the height at the doorway or toilet?
- It can. Tile over backer board typically sits higher than the old vinyl, which means the toilet flange may need an extender and the doorway needs a proper transition strip to meet hallway flooring. A good installer plans both before setting the first piece rather than improvising at the end.
Sources
- EPA — Asbestos
- HomeAdvisor — True Cost Guide
- Tile Council of North America (TCNA)
- This Old House — Bathrooms
Claims and figures are drawn from the sources above and provided for general guidance; your project may vary. Photography is illustrative of design concepts. For a fixed price on your specific bathroom, request a free estimate.