Updated July 16, 2026 · 7 min read
By Boise Bath — bathroom & shower remodeling in Boise & the Treasure Valley
The short answer
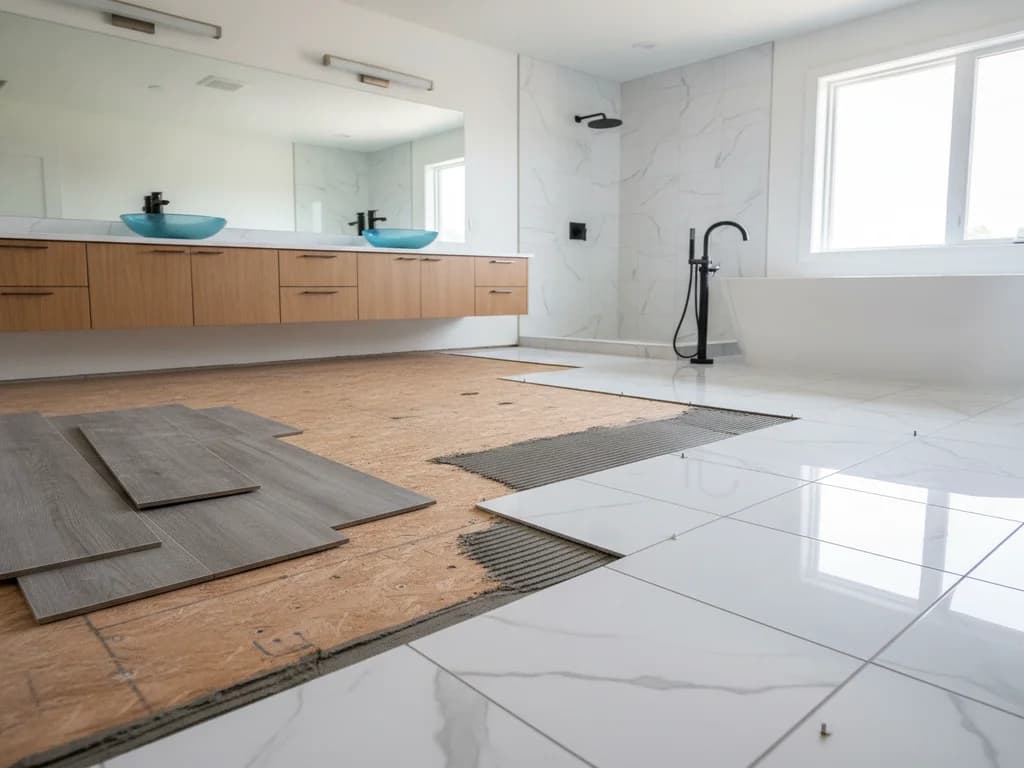
Replacing LVP with tile means removing the planks — usually the easy part — then upgrading the substrate, because tile needs a far stiffer, flatter base than vinyl. A professional adds cement board or an uncoupling membrane, manages the roughly half-inch height increase at doors and the toilet flange, then sets, grouts, and seals the new tile.
Key takeaways
- LVP removal is fast; the real work of an LVP-to-tile conversion is building a substrate stiff and flat enough for tile.
- Tile is unforgiving of floor movement — industry standards call for far less deflection than vinyl ever cared about.
- A tile assembly sits higher than LVP, so door clearance, transitions, and the toilet flange all need attention.
- Tile cannot be installed over LVP — the planks must come out, and whatever they were hiding gets addressed.
- The conversion is the natural moment to add electric floor heat, which pairs with tile far better than it ever did with vinyl.
Why do homeowners replace LVP with tile?
LVP earned its place in bathrooms honestly — waterproof planks, quick installation, a price that made whole-house flooring possible. But a few years in, a pattern shows up in the requests we hear. The printed wood grain that looked convincing in 2019 reads as builder-grade next to real tile. Seams near the tub have started to lift or collect grime. And in homes being prepped for sale, the primary bath is the room where vinyl underfoot quietly undercuts an otherwise high-end finish.
There are practical pulls toward tile too: it takes electric floor heat beautifully, it cannot be dented by a dropped bottle or curled by a space heater, and its lifespan is measured in decades rather than a warranty period. Porcelain is also fully indifferent to standing water — not just resistant at the plank level.
To be clear, this article is for homeowners who have already decided to switch, or are close. If you are still weighing the two materials on merits, that decision has its own dedicated breakdown in our tile vs. LVP bathroom flooring comparison — we will not re-argue it here.
Isn't LVP waterproof? Why does it fail in bathrooms?
The planks are waterproof. The floor is not. Water that gets past the perimeter caulk, a toilet seal, or a lifted seam does not hurt the vinyl — it passes through the joints and sits on the subfloor underneath, where it does its work invisibly. A waterproof surface over a wet subfloor is arguably worse than an honest failure, because nothing shows until the damage is advanced.
This is why the tear-out phase of an LVP-to-tile conversion doubles as an inspection. If the vinyl is coming out because of suspected moisture, our guide to the signs of bathroom water damage covers what the crew is looking for once the planks are up.
What makes tile structurally different from LVP?
LVP is flexible — it floats over minor imperfections and shrugs off floor movement. Tile is the opposite: a rigid finish bonded to the structure, which means any flex in the floor system becomes a crack in the tile or grout. Industry standards from the Tile Council of North America cap allowable floor deflection for ceramic tile at roughly half of what a vinyl floor tolerates, and natural stone is stricter still.
In practice, most Treasure Valley homes on standard joist framing handle tile fine. But it is the reason a professional evaluates the floor structure before quoting an LVP-to-tile conversion, and why bouncy floors in older Bench and North End homes sometimes need blocking or an extra underlayment layer before tile is responsible to install.
No, tile cannot go over LVP
Setting tile on top of vinyl plank is a bond failure waiting to happen — the planks flex, shift with temperature, and were never a bonding surface. Every legitimate conversion starts with the LVP out of the room.
What does the conversion actually involve?
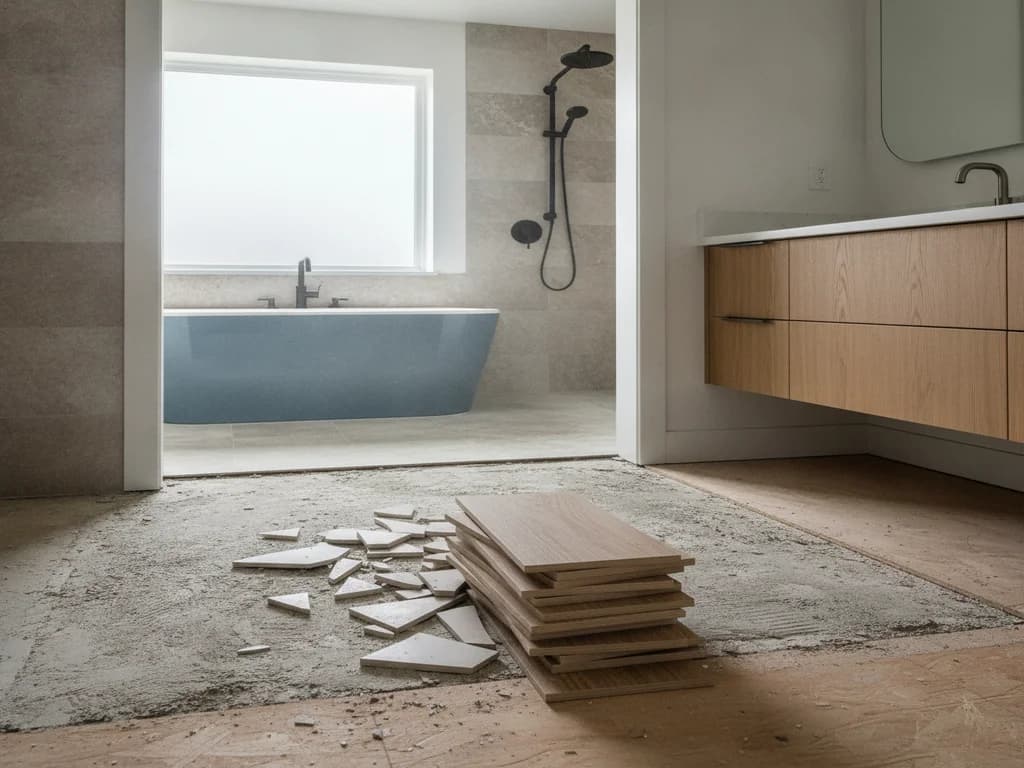
The removal is the easy half. Click-lock LVP unclicks and stacks in an hour or two for a typical bathroom; glued-down plank takes longer but still comes up faster than any tile demo. The toilet comes out first, since flooring should always run beneath it — the details live in replacing the bathroom floor under a toilet.
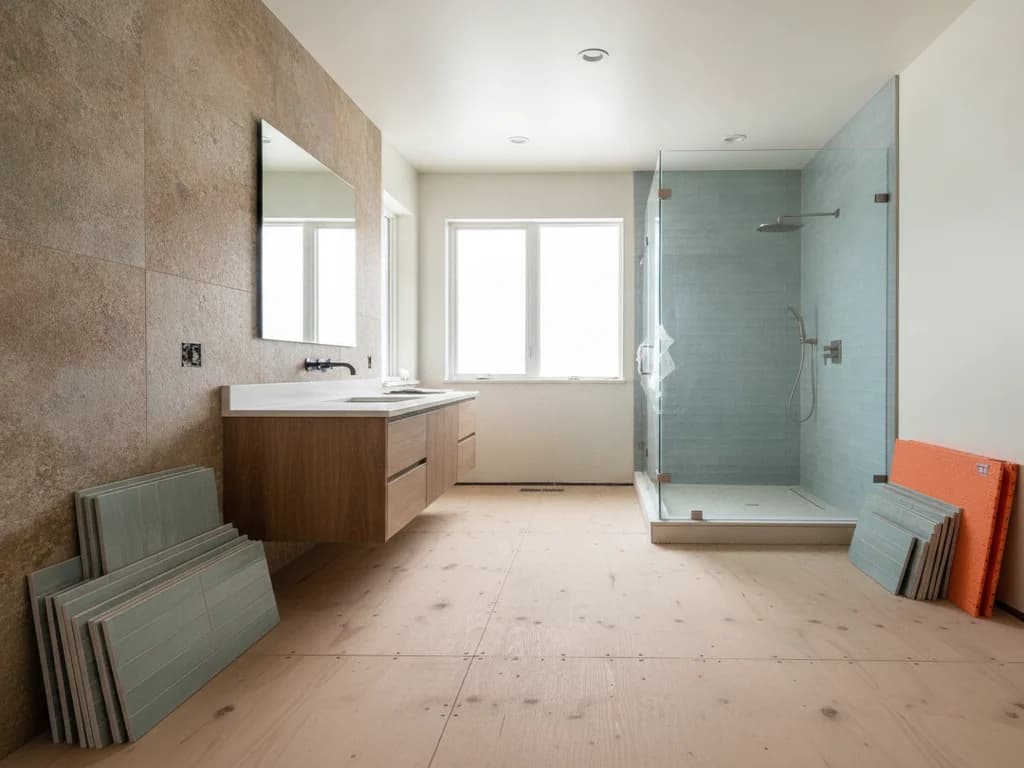
Then the substrate work begins. Tile needs a flat, stiff, bond-ready base, which LVP never required. Depending on the floor, that means cement backer board bedded in thinset and screwed off, or an uncoupling membrane like those made by Schluter, which isolates the tile from minor subfloor movement. Flatness is checked and corrected with leveling compound — LVP hid quarter-inch dips that tile will telegraph as lippage or cracks.
From there it is a standard quality tile installation: layout, setting, cure, grout, seal, and a new perimeter of trim and caulk.
How much does the floor height change?
LVP with its pad is thin — usually a quarter inch or less. A tile assembly (membrane or backer, thinset, and the tile itself) typically lands around half an inch to three quarters of an inch above the subfloor. That difference is small in the middle of the room and significant at the edges.
Three places absorb it. The bathroom door may need trimming at the bottom. The doorway needs a transition that steps down gracefully to the hallway floor — the options are covered in replacing a bathroom threshold or transition. And the toilet flange, which was set for the old floor height, often needs an extension ring so the new seal compresses correctly. None of these are problems; all of them are line items a good quote includes up front.
Should you add heated floors while converting?
If you are ever going to do it, this is the moment. Electric radiant mats install directly in the tile assembly, adding modest material cost when the floor is already open — versus a full tear-up to retrofit later. Tile also conducts and holds warmth in a way vinyl never did, which is exactly what you want in January in Boise.
The systems, running costs, and whether the upgrade is worth it for your bathroom are covered in our heated bathroom floor guide. If you already have an aging system under the old floor, see replacing a heated bathroom floor system.
What does the switch cost, and is it worth it?
Expect the conversion to cost meaningfully more than the original LVP install did — you are paying for demolition, substrate construction, and a set-and-grouted finish rather than a floated one. Cost guides such as HomeAdvisor put installed ceramic and porcelain floor tile in a wide range, roughly $10–$25+ per square foot depending on the tile and the prep, and bathroom-scale jobs carry minimum-job pricing besides. The full set of variables is broken down in what drives bathroom tile installation cost.
Whether it is worth it comes down to horizon. For a rental refresh, it usually is not. For a primary bathroom you will use for a decade — or a home where the finishes are otherwise a step above vinyl — tile is the floor you stop thinking about. Choosing the right one is its own decision; start with how to choose bathroom tile.
What the process looks like
- 1
Evaluate the floor structure
Before anything comes up, the installer checks joist spans, subfloor thickness, and stiffness against tile industry standards — the step that separates a durable tile floor from one that cracks in year two.
- 2
Pull the toilet and remove the LVP
The toilet comes out so the new floor runs beneath it, then the planks are unclicked or scraped up along with the pad. Baseboards or shoe molding come off for a clean perimeter.
- 3
Inspect and flatten the subfloor
The exposed subfloor is probed for moisture damage, refastened, and brought flat with leveling compound where needed. LVP tolerated dips that tile will not.
- 4
Install the tile underlayment
Cement backer board or an uncoupling membrane goes down in thinset per manufacturer specs, creating the stiff, bond-ready base tile requires.
- 5
Set, cure, and grout the tile
Tile is laid out to balance cuts at the walls, set in the correct mortar, cured, then grouted and sealed. Movement joints at the perimeter are honored rather than grouted rigid.
- 6
Reset the toilet and finish the edges
The flange is extended to match the new floor height, the toilet is reset on a fresh seal, transitions are fitted at the doorway, and trim and caulk close out the perimeter.
Ready to plan your Boise bathroom?
Licensed & insured · 3-year workmanship warranty
Frequently asked questions
- Can you lay tile directly over LVP?
- No. LVP flexes, expands with temperature, and offers no reliable bonding surface, so tile set over it will crack or debond. The planks must be removed and the floor rebuilt with backer board or an uncoupling membrane. Since click-lock LVP comes up quickly, removal is a minor part of the job anyway.
- How long does an LVP-to-tile bathroom conversion take?
- Typically three to five working days for one bathroom: under a day for removal and inspection, a day for substrate prep, then setting, curing, grouting, and finishing. Thinset and grout cure times set the floor of the schedule — vinyl went in faster precisely because it skipped those steps.
- Will my bathroom door still close over the new tile?
- Usually, after a small adjustment. Tile assemblies sit roughly a quarter to half an inch higher than LVP, so the door often needs trimming at the bottom and the doorway gets a transition piece to the hallway. A professional measures the finished height before installation so these are planned cuts, not surprises.
- Is tile colder than LVP underfoot?
- Yes — tile conducts heat away from your feet faster than vinyl, which reads as cold, especially on winter mornings. The upside is the same conductivity makes tile the ideal partner for electric radiant heat, which turns the coldest floor in the house into the warmest for a modest addition during the conversion.
- Does switching from LVP to tile add home value?
- In a primary bathroom, tile generally reads as the more permanent, higher-end finish, and appraisers and buyers treat it that way — remodeling-value research from groups like NAHB and NAR consistently shows bathrooms among the projects buyers reward. The effect is strongest when vinyl was the one budget note in an otherwise finished room.
Sources
- Tile Council of North America (TCNA)
- Schluter Systems
- HomeAdvisor — True Cost Guide
- National Association of Home Builders (NAHB)
Claims and figures are drawn from the sources above and provided for general guidance; your project may vary. Photography is illustrative of design concepts. For a fixed price on your specific bathroom, request a free estimate.