Updated July 16, 2026 · 7 min read
By Boise Bath — bathroom & shower remodeling in Boise & the Treasure Valley
The short answer
Replacing a bathroom tile floor means breaking out the old tile and its mortar bed or thinset, grinding the substrate clean, repairing the subfloor, then rebuilding with backer board or an uncoupling membrane before setting new tile. Demolition is the hard part — done professionally with dust control, the full job typically runs three to five days.
Key takeaways
- Old tile never comes up alone — the thinset or mortar bed beneath it comes too, which is why tile demo is the heaviest flooring tear-out.
- Dust control is the difference between a professional tile demo and a house full of silica dust.
- What sits under the old tile — mortar bed, backer board, or plywood — determines how much of the job is rebuilding.
- If the old floor cracked, the cause was almost always movement below the tile; fixing that is the point of the prep.
- An uncoupling membrane isolates new tile from minor subfloor movement, addressing the failure mode that kills most tile floors.
Repair or full replacement — which does your floor need?
Not every tired tile floor needs to come out. One or two cracked tiles from a dropped cast-iron pan is a repair — covered in replacing cracked bathroom tile. Grout that is stained or crumbling while the tile is sound is a grout job — see replacing bathroom grout.
Full replacement is the answer when cracks keep appearing in new places, tiles sound hollow underfoot across whole areas, the floor has visible movement or lippage, or the tile is simply done aesthetically and you want a different floor. Spreading cracks and hollow spots are the important ones: they mean the bond or the structure below has failed, and no surface repair fixes that.
Why is tile removal the hard part?
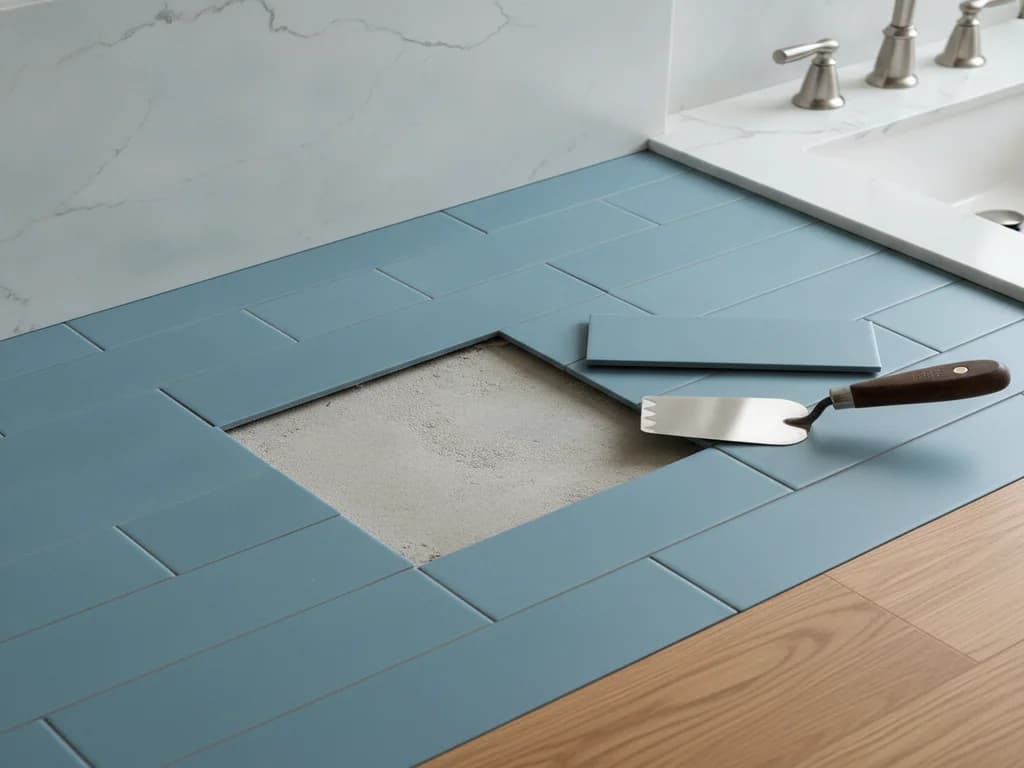
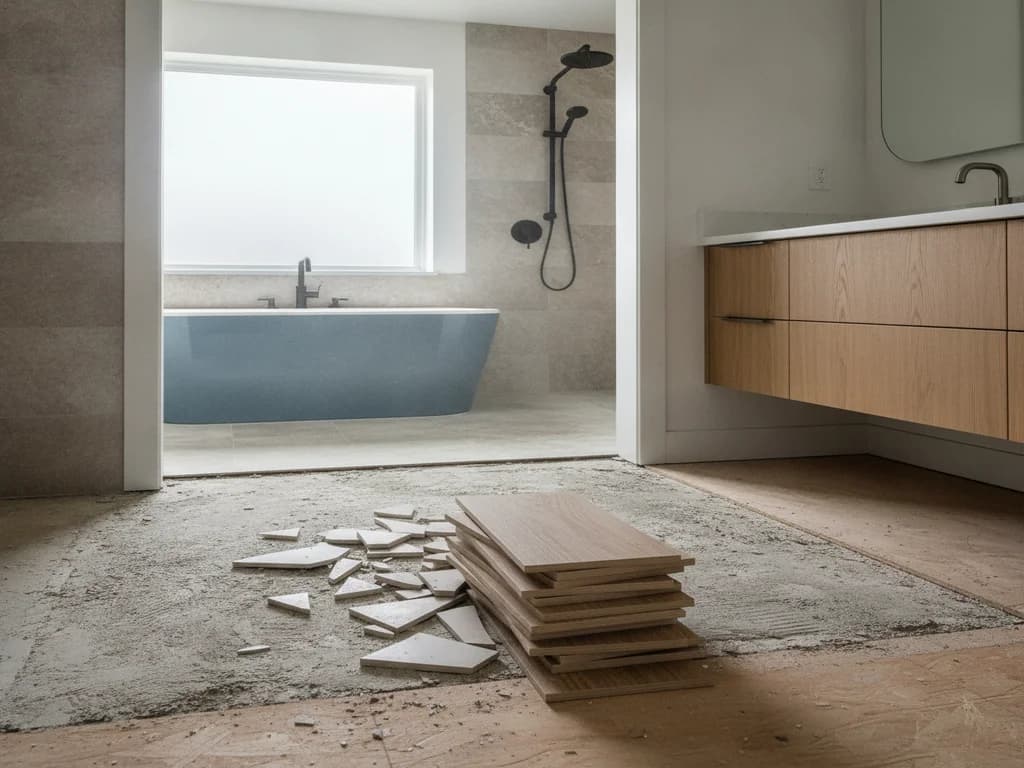
Unlike a floating floor, tile is mechanically bonded to the layer beneath it — and that layer comes up with it. Every tile floor removal is really the removal of an assembly: tile, plus the thinset or mortar it was set in, plus often the backer board it was bonded to. It comes out in broken pieces, by hammer and chisel or demolition hammer, and it is the loudest, heaviest day of any bathroom flooring project.
The professional difference shows in dust management. Dry tile demolition produces fine silica dust that migrates through a house and is a genuine respiratory hazard. A good crew seals the doorway, runs HEPA-filtered extraction at the point of work, and hauls debris in sealed containers — the bathroom is a construction zone for a day, but the rest of the house is not.
Budget note: demo is priced by what is under the tile
A tile floor over quarter-inch backer board is a routine tear-out. The same tile over a two-inch mortar bed is several times the labor and debris weight. A quote that does not specify what is being removed is a quote that will change.
What is under old tile in Treasure Valley homes?
It depends on the era. Mid-century Boise homes — the North End, the Bench — often have tile over a thick wire-reinforced mortar bed, the old-school method that lasts forever but is a bear to remove. Homes from the 80s and 90s frequently have tile set directly over plywood, a shortcut that explains a lot of cracked grout in that housing stock. The 2000s builder era brought cement backer board, and the last decade added uncoupling membranes.
Occasionally demolition reveals a second floor under the first — tile set over vinyl over the original floor, each layer a past owner’s shortcut. All of it comes out. The rebuild starts from sound structure, not from the most convenient layer.
What does the substrate rebuild involve?
With the old assembly out, the subfloor gets the inspection that decides the rest of the job: probing for rot near the toilet and tub, refastening any movement, and replacing damaged sections — the full scope of that lives in replacing a bathroom subfloor.
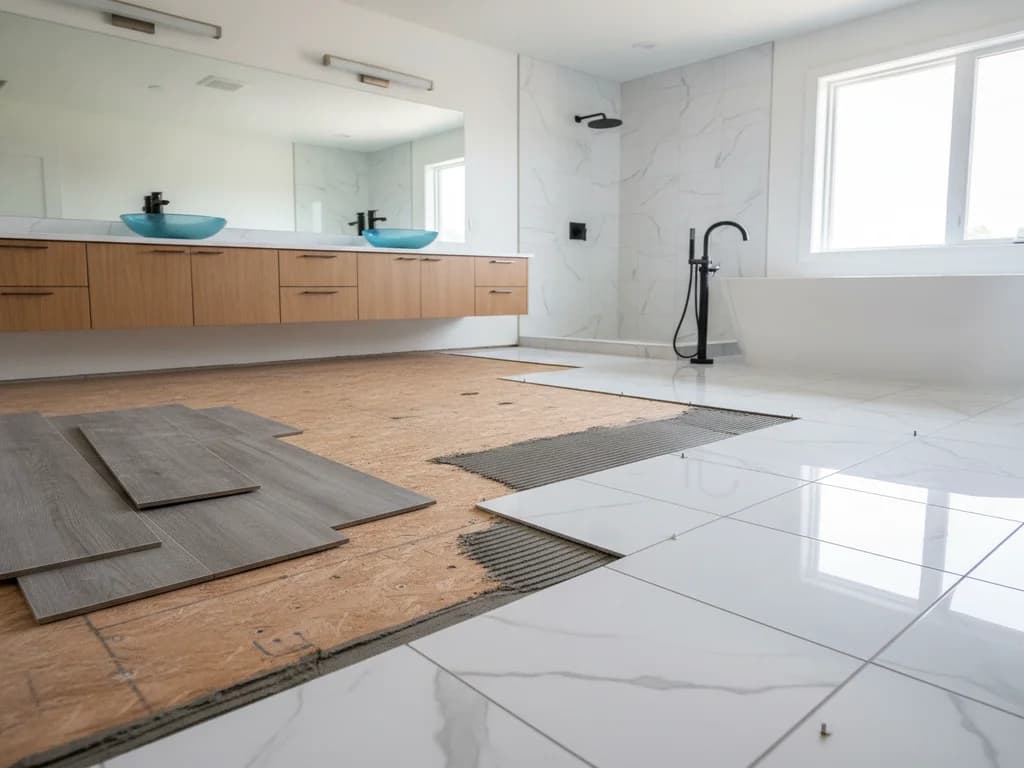
Then the new base is built to current standards. That means cement backer board bedded in thinset, or an uncoupling membrane, with flatness corrected to the tolerances large-format tile demands — industry specs from the Tile Council of North America call for tighter flatness on today’s big tiles than the old 12-inch squares ever needed. This unglamorous layer is where the floor’s lifespan is actually determined.
Why did the old tile crack — and how does the new floor avoid it?
Tile almost never fails on its own. It fails because something under it moved: a bouncy subfloor, a skipped underlayment, thinset applied too thin, or seasonal wood movement that a rigid tile layer could not absorb. Treasure Valley homes see real seasonal swings — dry winters, irrigation-season humidity — and wood framing moves with them.
The modern answer is uncoupling: a membrane layer, such as the systems made by Schluter, that lets the subfloor move fractionally without transferring that stress into the tile. Combined with correct deflection, honest mortar coverage, and perimeter movement joints left flexible rather than grouted rigid, the new floor is protected from exactly what killed the old one. Skipping these steps to save a day is how the same crack comes back in the same place.
How do you choose the new tile?
The short version: porcelain over ceramic for floors in most cases, a texture with real slip resistance when wet, and a size and pattern that fit the room’s proportions. Hard water across the valley also rewards darker grout and denser tile that does not hold mineral haze.
But tile selection is a decision with enough trade-offs to deserve its own guide — it is covered properly in how to choose bathroom tile, with the material question handled in porcelain vs. ceramic tile. Worth reading before you fall in love with a look: several of the most common regrets are chosen in the showroom, as our roundup of bathroom tile mistakes shows.
What is the timeline from demo to walkable floor?
A typical bathroom runs three to five working days. Day one is demolition and subfloor work. Day two builds the substrate and often starts the layout. Setting the tile takes a day, followed by cure time before grouting — walking on uncured tile is how brand-new floors get hollow spots. Grout, sealing, resetting the toilet, and trim close it out.
Add time for subfloor surprises or heated-floor installation, which slots in during the substrate phase. The costs move with the same variables — tile choice, what is under the old floor, and prep scope — broken down in what drives bathroom tile installation cost.
What the process looks like
- 1
Contain the work zone
The doorway is sealed with plastic, fixtures are protected, and the toilet and baseboards are removed. Dust containment goes up before the first hammer swing, not after.
- 2
Break out the tile and setting bed
Tile, thinset, and any backer board or mortar bed come out together using demolition hammers with HEPA-filtered dust extraction. Debris leaves in sealed containers.
- 3
Grind the substrate clean and inspect
Remaining thinset ridges are ground flush, then the subfloor is probed for rot and refastened. Damaged sections around the toilet and tub are cut out and replaced.
- 4
Rebuild the setting base
Cement backer board or an uncoupling membrane is installed per manufacturer specs, and the floor is flattened to the tolerance the new tile size requires.
- 5
Lay out and set the new tile
The layout is dry-fit to center the field and push cut tiles to the least visible walls, then the tile is set with full mortar coverage and left to cure undisturbed.
- 6
Grout, seal, and detail the joints
Joints are grouted, perimeter and change-of-plane joints get flexible sealant instead of rigid grout, and the grout is sealed once cured.
- 7
Reset fixtures and finish trim
The toilet flange is brought to the new floor height and the toilet reset on a fresh seal; thresholds, baseboards, and caulk complete the room.
Ready to plan your Boise bathroom?
Licensed & insured · 3-year workmanship warranty
Frequently asked questions
- Can you tile over an existing tile floor?
- It is technically possible on a sound, well-bonded floor, but rarely the right call in a bathroom. Doubling the tile raises the floor height at the door and toilet flange, adds weight, and bonds your new floor to the old one’s hidden problems. Full removal costs a day of demolition and buys you an inspected, rebuilt base.
- How messy is bathroom tile removal?
- Unmanaged, extremely — dry tile demo generates fine silica dust that travels through the whole house and lingers for weeks. Professionally managed, the mess stays in the bathroom: sealed doorways, HEPA-filtered extraction at the tool, and debris carried out in closed containers. Ask any bidder specifically how they control demolition dust.
- How long before you can walk on a new tile floor?
- Light foot traffic is typically fine about 24 hours after the tile is set, with grouting done after the mortar cures and normal use a day or so after grouting. Rushing this is a false economy — walking on uncured tile disturbs the mortar bond and creates the hollow spots that turn into cracks later.
- Why does tile keep cracking in the same spot?
- A crack that returns in the same line is telegraphing movement from below — a flexing subfloor seam, a joist issue, or a missing underlayment. Replacing the tile without addressing the movement guarantees a repeat. The fix is structural prep plus an uncoupling membrane that absorbs minor movement instead of passing it into the tile.
- What does it cost to replace a bathroom tile floor?
- The honest answer is a wide range, because demolition scope and tile choice swing it heavily — cost guides like HomeAdvisor put installed floor tile at roughly $10–$25+ per square foot, with old mortar-bed removal and subfloor repairs added on top. Our guide to bathroom tile installation cost factors breaks down where the money actually goes.
Sources
- Tile Council of North America (TCNA)
- National Tile Contractors Association
- Schluter Systems
- HomeAdvisor — True Cost Guide
Claims and figures are drawn from the sources above and provided for general guidance; your project may vary. Photography is illustrative of design concepts. For a fixed price on your specific bathroom, request a free estimate.