Updated July 16, 2026 · 8 min read
By Boise Bath — bathroom & shower remodeling in Boise & the Treasure Valley
The short answer
Replacing a bathroom subfloor means removing the finish floor, cutting the damaged panel back to the centerline of sound joists, checking and repairing the framing beneath, then fastening new tongue-and-groove plywood or OSB glued and screwed to the joists. Typical repairs run roughly $500–$3,000 depending on area and framing damage, per Angi and HomeAdvisor cost guides.
Key takeaways
- Water-damaged subfloor is almost always larger than the visible soft spot — rot follows the panel and the joist tops, not the stain.
- Cuts must land on joist centerlines so every new panel edge is fully supported; patches that float between joists fail.
- Plywood tolerates wetting and re-drying better than standard OSB, which swells at the edges; either works when properly protected.
- A proper repair includes the framing check — joist tops under a rotted panel are often the next casualty.
- Bathroom subfloor repairs typically run roughly $500–$3,000 depending on scope, per Angi and HomeAdvisor cost guides.
What is the subfloor, and how do you know yours is failing?
The subfloor is the structural deck — usually 23/32" plywood or OSB — screwed or nailed across the floor joists. Everything you see and walk on sits on top of it: underlayment, tile or vinyl, the tub, the toilet. When it gets wet repeatedly, the panel delaminates, swells, and loses the strength that holds fasteners and supports tile.
The classic symptom is a floor that flexes or feels spongy in one spot, often near the tub or toilet. Diagnosing *why* a floor has gone soft — leak, humidity, or framing — is its own subject and we cover it separately; this article picks up at the point where the subfloor is confirmed bad and needs to come out. If you are still at the "something feels wrong" stage, start with the signs of bathroom water damage.
How do pros scope how much subfloor to replace?
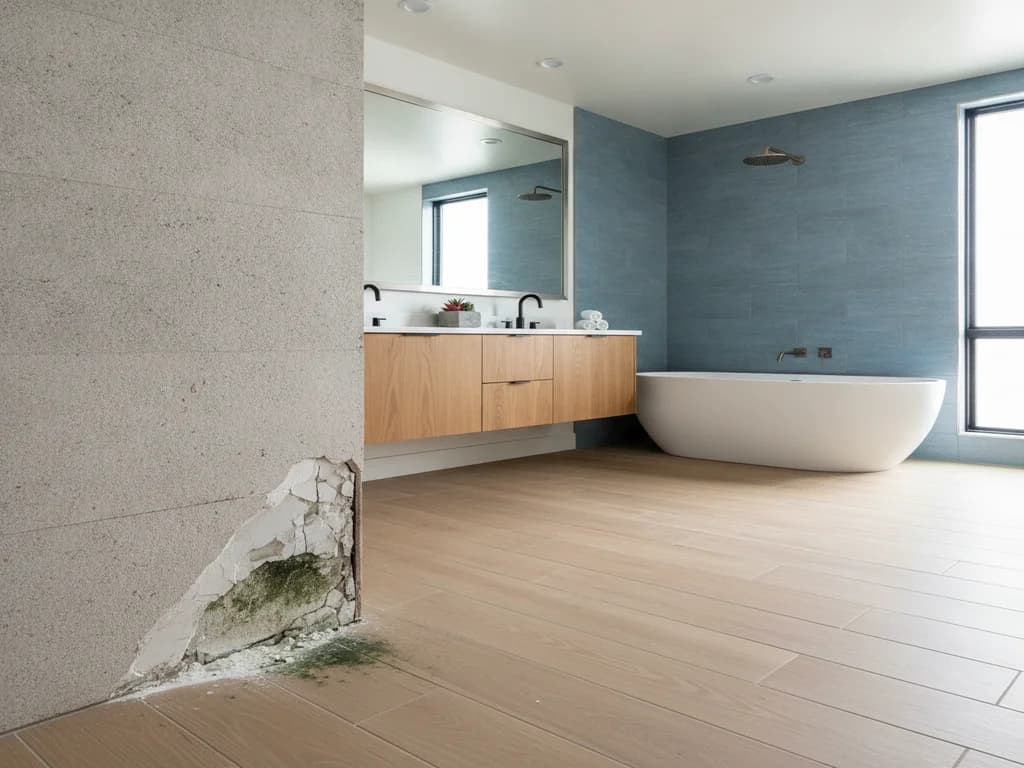
The single biggest mistake in subfloor work is cutting out only what looks bad. Moisture travels along the panel between plies, wicks down the tongue-and-groove joints, and soaks into the tops of the joists — so the rot boundary is usually well beyond the visible stain or soft spot.
A professional scopes the damage from both sides where possible: probing the panel with an awl, running a moisture meter outward from the wet zone until readings return to normal, and checking from the crawl space or basement below, where staining on the underside of the panel and the joist faces tells the real story. Most Treasure Valley single-story homes have crawl-space access, which makes this inspection straightforward.
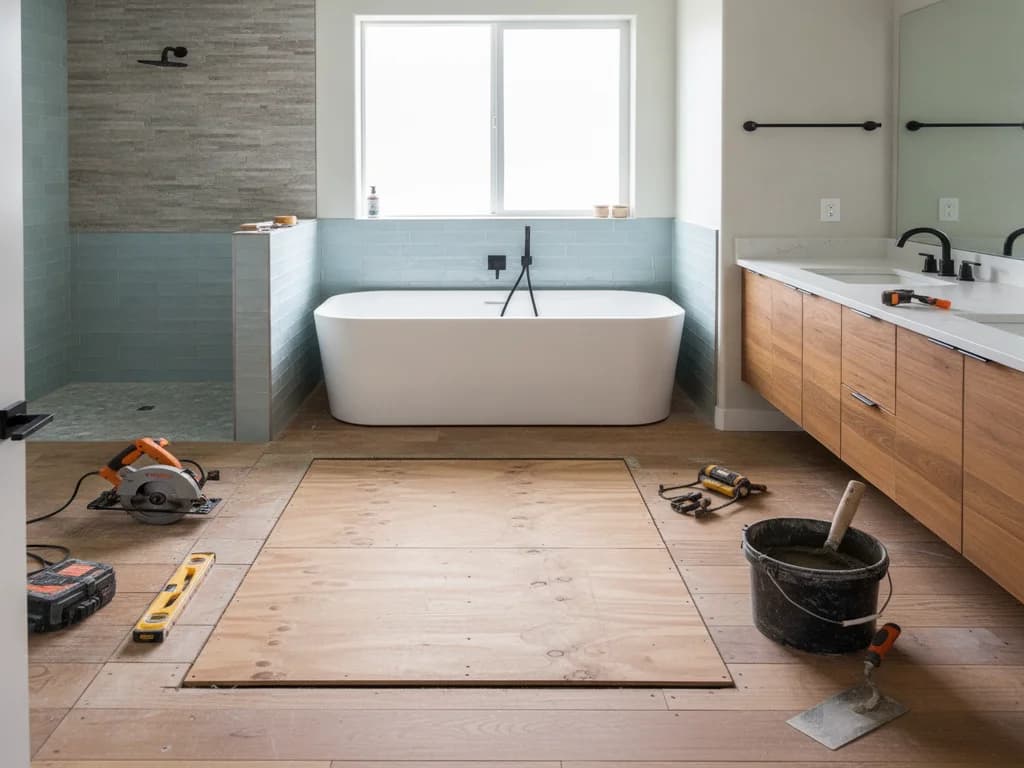
The replacement area is then drawn to the nearest joist centerlines *past* the last wet reading — not at the edge of the stain. That is why a "small soft spot" often becomes a 4×4-foot cutout: the geometry of the framing dictates the patch, not the stain.
The stain is not the boundary
Moisture readings, not visible damage, define the cut lines. Replacing only the discolored area routinely leaves wet, weakened panel in place — and the repair fails at its own seams within a couple of years.
OSB vs plywood: which subfloor material should go back in?
Both plywood and OSB are code-accepted subfloor materials, and both are used successfully in bathrooms. The difference shows up in how they handle the thing that killed the original floor: water.
| Factor | Plywood (CDX / underlayment grade) | OSB (standard / enhanced) |
|---|---|---|
| Wetting behavior | Absorbs slower, dries faster, returns closer to original thickness | Edges swell when soaked; standard OSB swelling is largely permanent |
| Fastener holding | Excellent, retains screws well after moisture cycles | Good when dry; weakens more after saturation |
| Stiffness under tile | Very good at 23/32" over 16" o.c. joists | Comparable when same thickness and span |
| Cost | Higher per sheet | Lower per sheet; enhanced moisture-resistant OSB narrows the gap |
| Best use | Wet rooms, tile floors, anywhere re-wetting is plausible | Budget-driven repairs paired with reliable waterproofing above |
Panel performance characteristics per Journal of Light Construction and Fine Homebuilding coverage of subfloor materials.
What does a proper subfloor replacement actually include?
The panel is the visible part of the repair, but it is rarely the whole repair. A complete job addresses everything the water touched, in order: framing, panel, seams, and the surface that goes back on top.
Joists come first. The top edge of a joist under a rotted panel has been wet as long as the panel has. Sound joists get cleaned and dried; joists with surface rot get treated and sistered — a new member fastened alongside to restore bearing; badly decayed framing gets replaced, which moves the project into structural territory. Skipping this check is how a subfloor repair ends up repeated five years later.
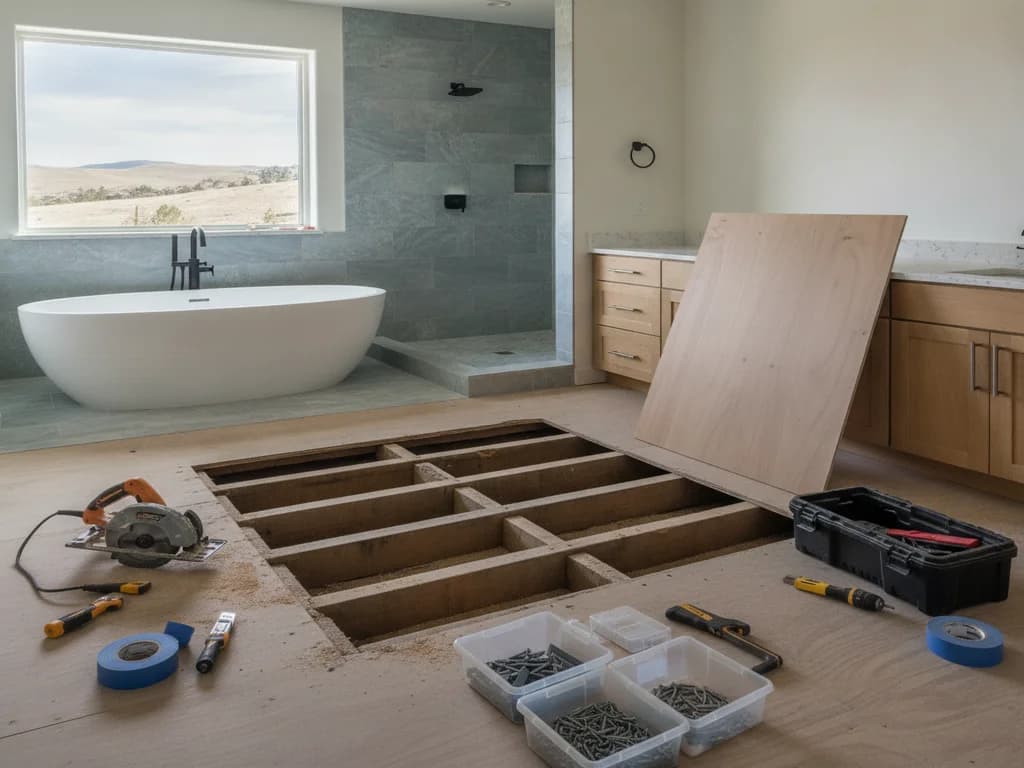
Then the new panel: tongue-and-groove sheathing matched to the existing thickness, glued to the joists with construction adhesive, and screwed on a proper fastening schedule. Blocking is added under any cut edge that does not land on a joist. Seams get flushed so the finished floor above telegraphs nothing.
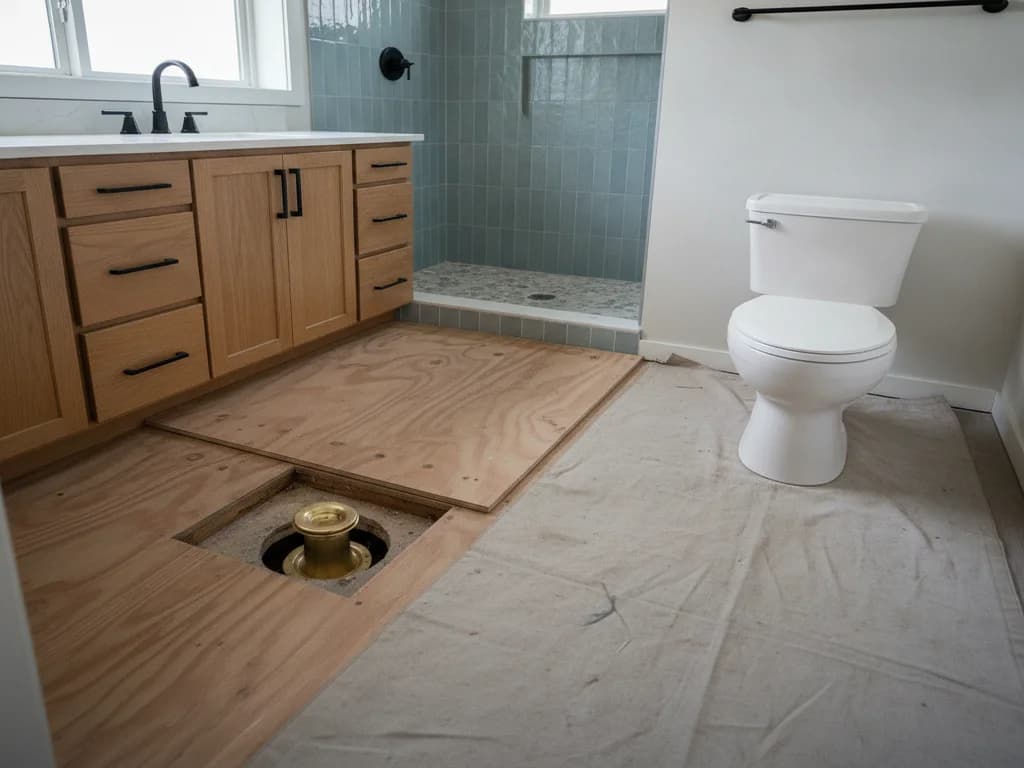
Finally, the assembly above: underlayment or tile substrate appropriate to the new finish floor, and correct toilet-flange height relative to the new surface. If the flange area itself is the damage zone, that repair has its own wrinkles — see replacing the floor under a toilet.
What does bathroom subfloor replacement cost?
Subfloor repair pricing is driven by area, access, and how much framing work rides along. Typical bathroom-scale repairs run roughly $500–$3,000, per Angi and HomeAdvisor cost guides — a single-panel patch with healthy joists sits at the low end, while a larger cutout with joist sistering and tricky access pushes toward the top.
Remember that subfloor work is never standalone: the finish floor above it has to come off and go back on. If the flooring is older vinyl or damaged tile, the honest math often favors replacing the bathroom flooring entirely rather than trying to salvage and re-lay material over the patch. Demolition itself carries cost too — our demolition cost breakdown covers what tear-out involves.
When does a subfloor repair make the case for a full remodel?
A rotted subfloor means water escaped containment for a long time — and whatever let it escape (a failed tub seal, a worn wax ring, unsealed grout) is usually part of a bathroom that is aging overall. If the bathroom is 20+ years old, the repair already requires tearing out the floor, and fixtures are coming up anyway, the incremental cost of doing the room right at the same time is often smaller than homeowners expect.
That is a judgment call, not a rule. A newer bathroom with one isolated leak deserves an honest patch, not an upsell. But when the floor, the finishes, and the fixture that caused the leak are all near end-of-life, folding the repair into a full bathroom remodel means paying for demolition and floor rebuild once instead of twice.
What the process looks like
- 1
Confirm the moisture source is dead
Before any cutting, the leak that caused the damage — supply line, drain, fixture seal, or grout failure — is identified and fixed. New subfloor over an active leak is wasted money.
- 2
Remove the finish floor and map the damage
Flooring and underlayment come off across the suspect zone. The crew probes and moisture-meters outward until readings return to normal, checking from the crawl space where access allows.
- 3
Cut back to sound panel on joist centerlines
The damaged section is cut out with cuts landing on the centerlines of joists beyond the last wet reading, so every new panel edge will bear on framing.
- 4
Inspect and repair the framing
Exposed joist tops are probed for rot. Sound joists are dried and treated; compromised joists are sistered with new lumber fastened alongside; blocking is added under any unsupported panel edge.
- 5
Install the new panel glued and screwed
Matching-thickness tongue-and-groove plywood or OSB is set in construction adhesive and screwed to joists and blocking on a tight fastening schedule, with seams flushed to the surrounding floor.
- 6
Rebuild the floor assembly above
Underlayment or tile substrate goes down as the new finish floor requires, the toilet flange is set to correct height, and the finish floor is installed and sealed.
Ready to plan your Boise bathroom?
Licensed & insured · 3-year workmanship warranty
Frequently asked questions
- Can you replace just part of a bathroom subfloor?
- Yes — partial replacement is standard practice, as long as the cutout extends past all moisture-affected panel and every cut edge lands on a joist centerline or new blocking. What does not work is a floating patch sized to the visible stain. If damage spans most of the room, replacing the full sheet layer is cleaner and often barely more expensive.
- How much does it cost to replace a bathroom subfloor?
- Typical bathroom subfloor repairs run roughly $500–$3,000 depending on the area replaced and whether joists need work, per Angi and HomeAdvisor cost guides. The finish flooring above adds its own cost, since it must be removed and reinstalled or replaced — which is why subfloor repairs are often bundled into flooring or remodel projects.
- Is plywood or OSB better for a bathroom subfloor?
- Plywood has the edge in a bathroom: it absorbs water more slowly, dries faster, and swells less permanently than standard OSB, per trade coverage in JLC and Fine Homebuilding. That said, either panel performs well when the waterproofing above it does its job — material choice is less important than fixing the leak and detailing the new floor correctly.
- How long does subfloor replacement take?
- A straightforward partial replacement — cut out, joist check, new panel, underlayment — is typically a one- to two-day job before finish flooring goes back down. Add time for joist sistering, drying out a wet crawl space zone, or tile work above. Multi-week timelines usually mean the project grew into a larger remodel, not that the subfloor itself is slow.
- Do I need a permit to replace a bathroom subfloor in Boise?
- Like-for-like panel replacement is generally treated as repair work, but the answer changes when joists are cut, sistered, or replaced — structural framing repairs can trigger permit requirements. Check with City of Boise Planning & Development Services for your specific scope; a licensed contractor will handle this determination as part of the bid.
Sources
- Angi — Cost Guides
- HomeAdvisor — True Cost Guide
- Journal of Light Construction
- Fine Homebuilding
- City of Boise — Planning & Development Services
Claims and figures are drawn from the sources above and provided for general guidance; your project may vary. Photography is illustrative of design concepts. For a fixed price on your specific bathroom, request a free estimate.