Updated July 16, 2026 · 6 min read
By Boise Bath — bathroom & shower remodeling in Boise & the Treasure Valley
The short answer
A bathroom floor transition strip bridges the height difference between the bathroom floor and the adjoining room. Loose, cracked, or tall transitions get replaced with a profile matched to the actual height gap — metal, stone, or a ramped reducer. For accessibility, thresholds should stay at or under half an inch.
Key takeaways
- Transitions fail when the profile does not match the real height difference — replacing like-for-like repeats the mistake.
- Tile floors sit taller than most flooring because of the backer and mortar stack-up; the transition exists to manage that honestly.
- Metal profiles, stone thresholds, and ramped reducers each suit different gaps — the gap size picks the product, not the other way around.
- ADA-informed practice keeps thresholds at half an inch or less, with anything over a quarter inch beveled.
- A transition that keeps coming loose, or dark staining at the doorway, can signal movement or moisture that is bigger than the strip.
Why do bathroom floor transitions fail?
The strip at the bathroom doorway lives a hard life: it bridges two different materials that expand and move differently, it sits exactly where every footstep lands, and it is often the last item installed and the least considered. When one cracks, lifts, or rattles underfoot, the cause is usually one of three things — the wrong profile for the height gap, fastening into a joint that needed to move, or plain wear at the busiest square foot in the house.
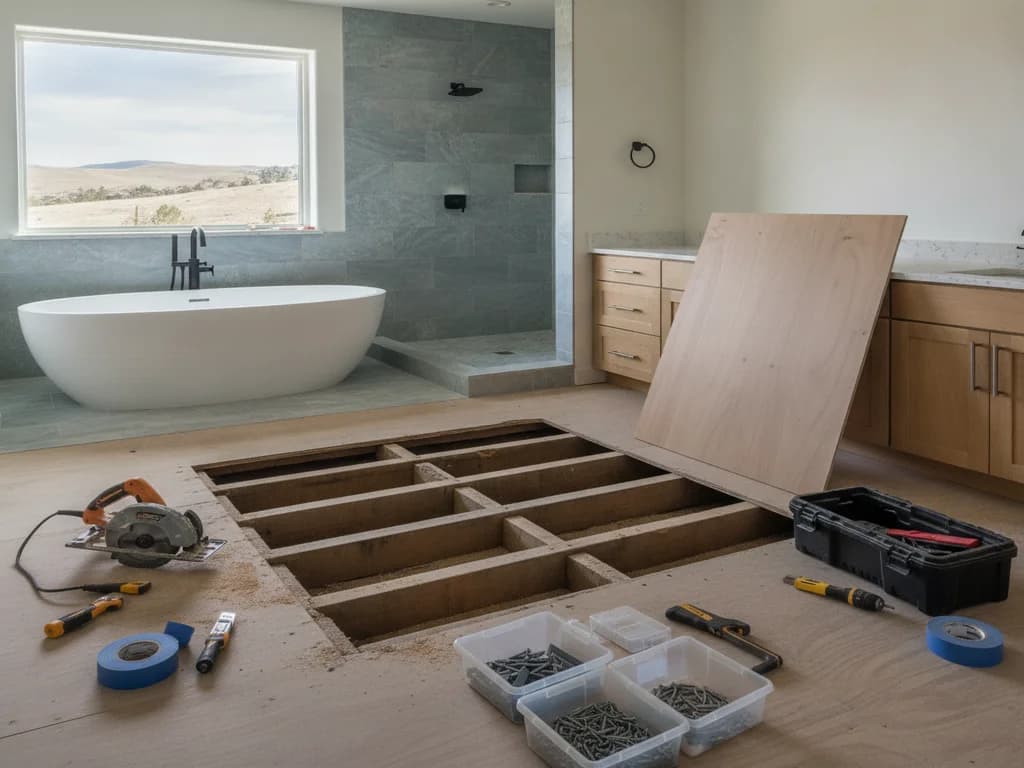
There is a fourth cause worth taking seriously: movement or moisture from below. A transition that will not stay put no matter how it is reattached may be telegraphing a shifting substrate, and dark staining or swelling in the wood flooring at the bathroom side of the doorway is a classic sign of water escaping the bathroom. Both are cases where the strip is the symptom — the checks in our subfloor article apply before any new trim goes down.
Why is the bathroom floor taller than the hallway?
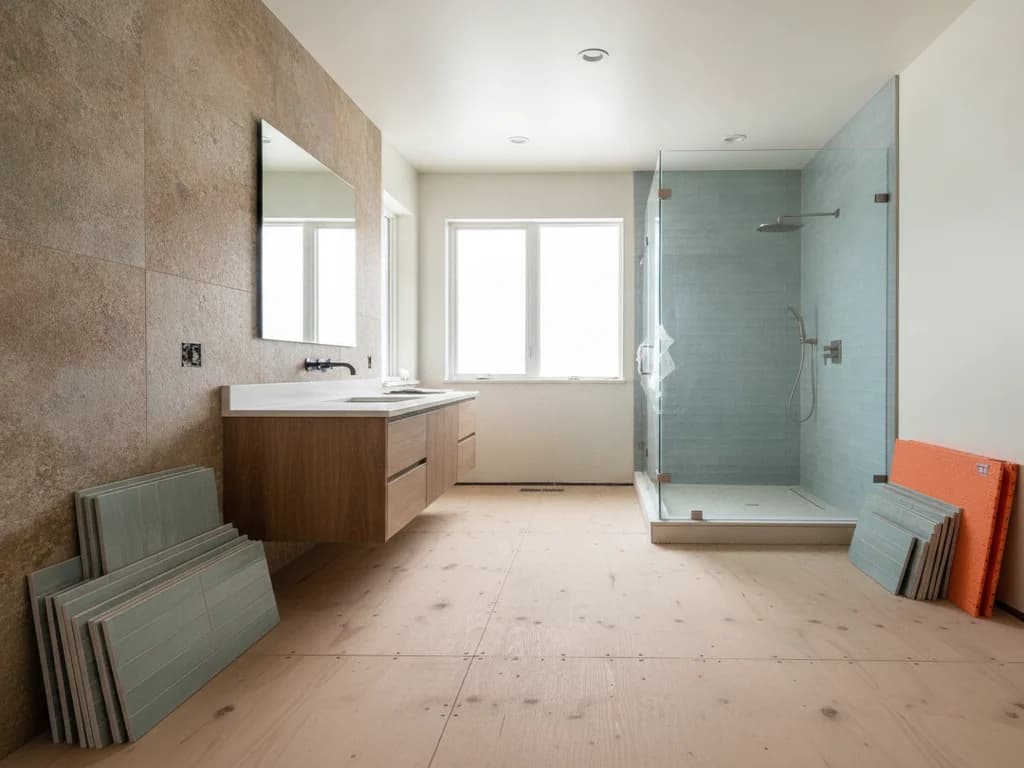
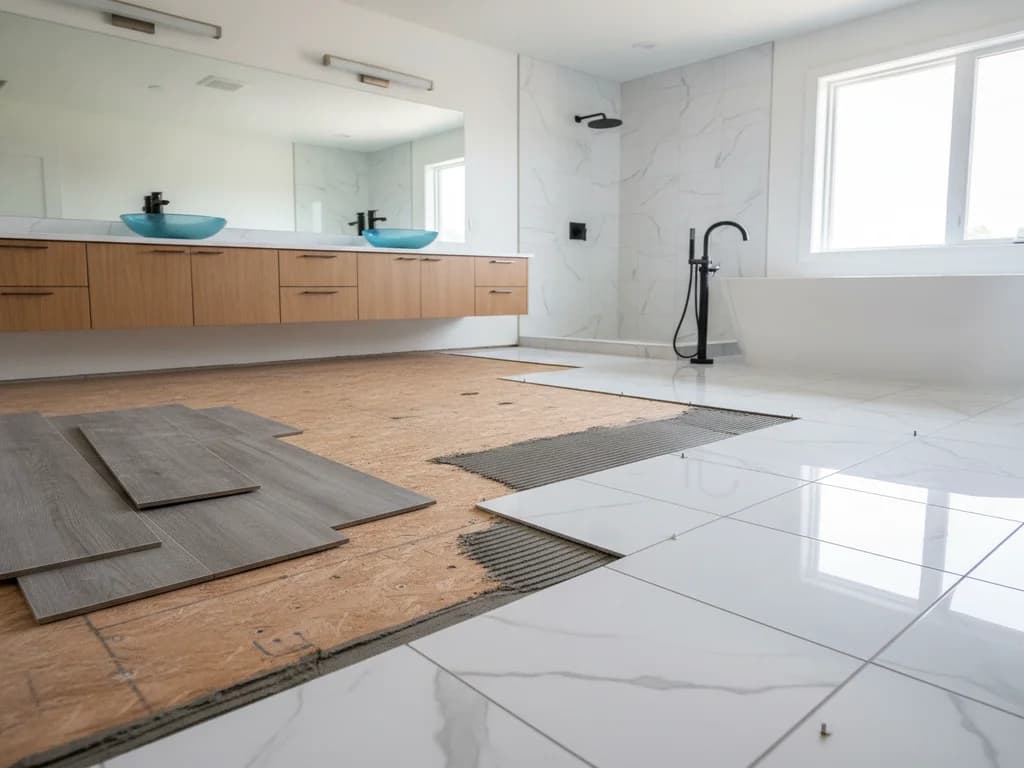
Because a tile floor is a stack, not a sheet. Cement board or an uncoupling membrane, thinset below and above, and the tile itself commonly add up to somewhere between half an inch and more than an inch of assembly height — while the hardwood or carpet on the other side of the door sits far lower. Older homes can be taller still: a vintage mud-set floor rides on 1–2 inches of mortar bed.
That height difference is the entire reason transitions exist, and it is why the right answer starts with measuring the actual gap rather than grabbing a strip off the shelf. It is also why a flooring change on either side of the door — say, swapping LVP for tile — almost always demands a new transition, because the gap it was shaped for no longer exists.
Which transition material should you use?
Match the product to the gap and the traffic. Metal profiles — the Schluter-style anodized aluminum shapes tile installers favor — protect the tile edge, come in finishes that disappear against the floor, and handle small height differences crisply. Solid stone thresholds (the classic marble saddle) suit traditional baths and larger steps, and shed water better than wood. Ramped reducers in wood or metal ease bigger differences at a walkable slope. Flexible vinyl strips are the budget path, honest for a rental but short-lived in a busy doorway.
| Type | Handles | Look | Durability | Best for |
|---|---|---|---|---|
| Metal profile (e.g. Schluter) | Small gaps; protects tile edge | Slim, modern, near-invisible | Excellent | Tile meeting most floors |
| Stone threshold (marble saddle) | Moderate steps; water at the sill | Classic, substantial | Excellent | Traditional baths, moisture line |
| Ramped reducer (wood/metal) | Larger height differences | Visible slope | Good | Tile down to lower hallway floors |
| Vinyl strip | Small gaps | Utilitarian | Fair | Budget fixes, rentals |
How do you fix a big height mismatch properly?
When the step between rooms is pronounced, a taller strip is the wrong instinct — it just moves the trip hazard higher. The better fixes work at the flooring level: a properly sloped reducer that spreads the change over a walkable ramp, or, during a remodel, adjusting the assembly itself — a lower-profile membrane instead of thick backer, self-leveler feathering the approach, or choosing tile thickness with the neighboring floor in mind.
This is one of the strongest arguments for deciding transitions during flooring design rather than after. An installer who plans the stack-up from the subfloor upward can often land the tile within a profile’s easy reach of the hallway floor; one handed a finished height mismatch can only trim over it. Our flooring replacement overview covers where this fits in the larger sequence.
When should you go low- or no-threshold instead?
If anyone in the household uses a walker or wheelchair, shuffles at night, or simply intends to stay in the home long-term, the doorway threshold deserves the same scrutiny as the shower curb. Accessibility standards from the U.S. Access Board cap thresholds at half an inch, with anything over a quarter inch beveled — numbers worth adopting at the bathroom door whether or not any code requires them in your home. For the full set of clearances and dimensions, see our ADA bathroom dimensions reference.
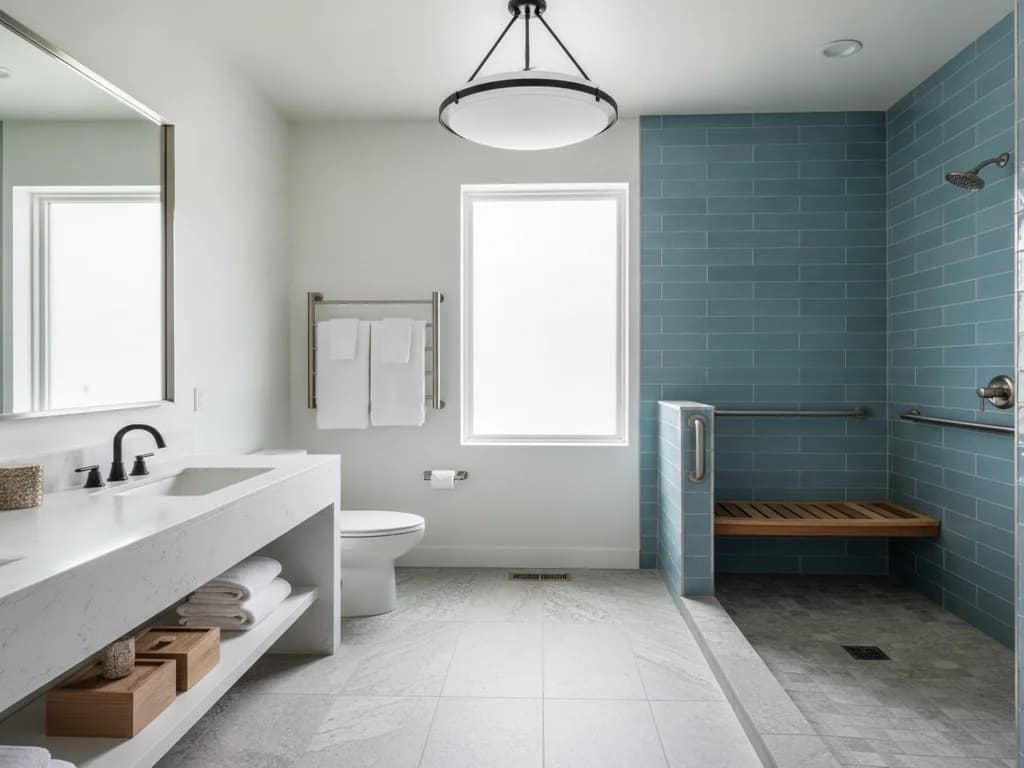
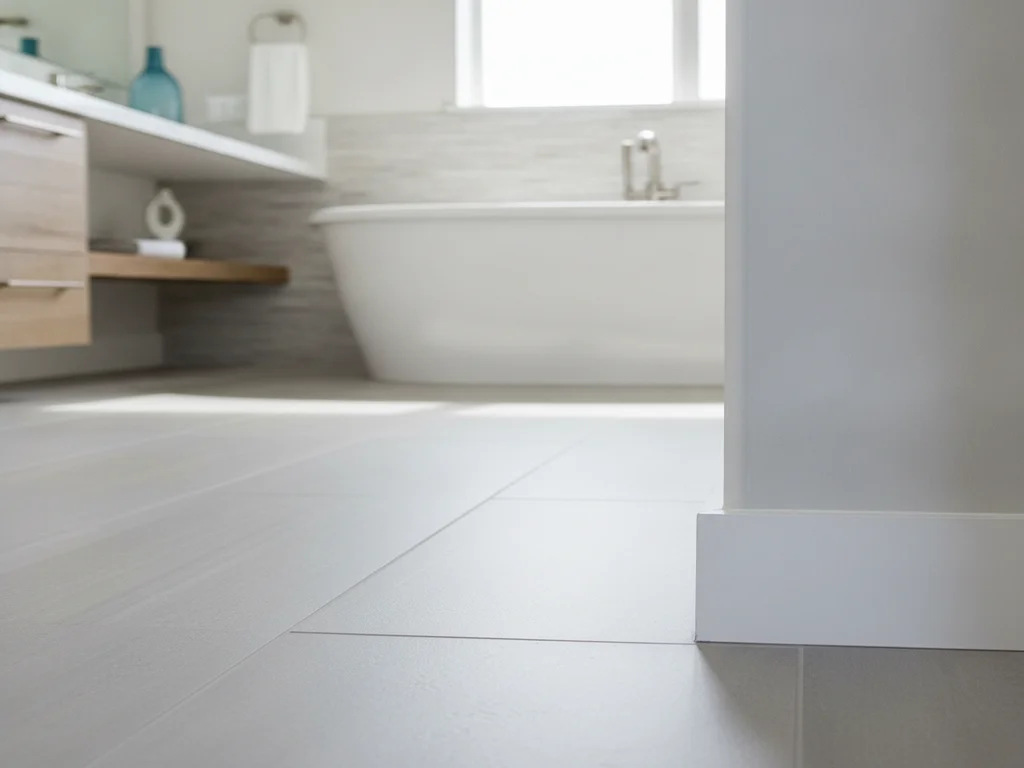
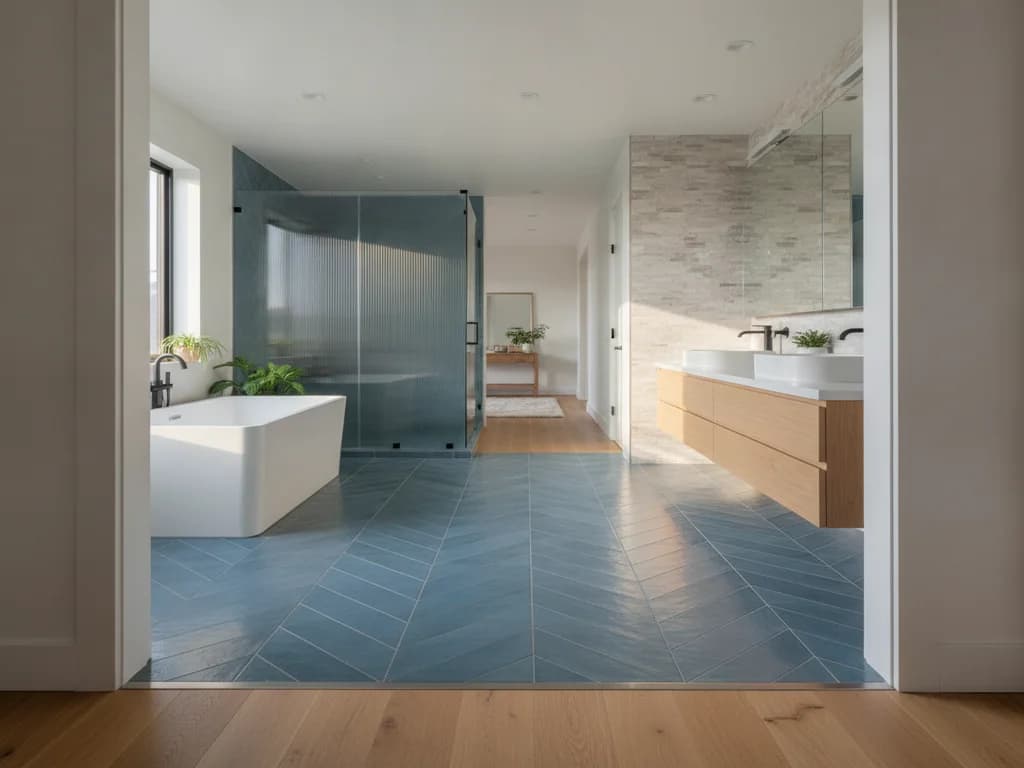
A genuinely flush, no-threshold doorway is achievable but is a flooring-level decision: the two floors must land at the same height, which usually happens during a remodel, not a strip swap. It pairs naturally with the broader moves in our aging-in-place bathroom ideas — and it is far easier to build in now than to retrofit after a fall makes it urgent.
The quarter-inch rule of thumb
Accessibility standards treat a quarter inch as the height a foot or wheel crosses without noticing, and half an inch (beveled) as the maximum. If your bathroom threshold is taller than that, it is a daily trip hazard by any standard — not just an aesthetic complaint.
What does replacing a transition cost?
On its own, this is one of the smallest jobs in a bathroom: the strip itself is typically a modest materials cost, and swapping a like-for-like transition is an hour or two of skilled labor. The price moves when the job stops being a swap — a height mismatch that needs a custom-ramped solution, a stone threshold cut to fit, or doorway substrate repair discovered under the old strip.
Because of that, transitions are most often replaced as a line item inside a flooring or remodel project rather than as a standalone call — the same visit that sets the new floor fits its transition correctly, and trim details like these are finished alongside baseboards. If a standalone fix is what you need, bundling it with other small punch-list items makes the service call worthwhile.
What the process looks like
- 1
Measure the real height difference
A pro measures both finished floor heights at the doorway and checks the subfloor line beneath — the gap dictates the profile. This is the step skipped by every transition that failed before its time.
- 2
Remove the old strip and inspect underneath
The old transition comes out along with its fasteners or adhesive, exposing the seam between the two floors. The doorway gets checked for substrate damage, moisture staining, and movement — the hidden causes a new strip would otherwise conceal.
- 3
Choose the profile for the gap and the traffic
With true measurements in hand, the right product is chosen: a slim metal profile for a small step, a stone saddle where water control matters, a ramped reducer for a larger difference, or a flooring-level fix when no strip can bridge it gracefully.
- 4
Fit and fasten for movement
The transition is cut to the exact door opening and secured to the correct side of the joint — fastened so the two floors can still move independently. Pinning both materials rigidly together is the classic error that cracks tile or buckles the strip.
- 5
Seal the moisture line and verify the walk-over
On the bathroom side, the joint is sealed so mop water and shower drips cannot wick under the adjoining floor. The final check is the simplest: walking the doorway barefoot to confirm there is no rock, no click, and no edge to catch a toe.
Ready to plan your Boise bathroom?
Licensed & insured · 3-year workmanship warranty
Frequently asked questions
- What is the strip between the bathroom and hallway floor called?
- Generically a transition strip or threshold; the specific names follow the shape. A T-molding bridges floors of equal height, a reducer ramps a taller floor down to a lower one, an end cap finishes one edge, and a saddle — often marble in bathrooms — spans the doorway with a low hump. Tile installers also use slim metal profiles that guard the tile edge.
- How do you transition tile to wood when heights don’t match?
- With a profile shaped for the actual gap: a slim metal edge profile when the difference is small, a ramped reducer when it is larger. What does not work is forcing a flat T-molding over a real step — it rocks, loosens, and fails. Big mismatches are best solved at the flooring level, by adjusting the tile assembly height during installation.
- How high can a bathroom doorway threshold be?
- Accessibility standards from the U.S. Access Board allow a maximum of half an inch, and anything above a quarter inch must be beveled rather than square. Those numbers only bind in regulated buildings, but they are a sound benchmark for any home — a threshold taller than half an inch is a genuine daily trip hazard at a doorway crossed barefoot and half-awake.
- Why does my transition strip keep coming loose?
- Usually one of three causes: it was fastened rigidly across both floors, so normal expansion works it loose; the wrong profile was forced over a height mismatch, so every footstep levers it; or the substrate beneath the doorway is moving or moisture-damaged. The third is the one not to ignore — refastening into a failing subfloor just resets the countdown.
- Do I need a marble threshold in my bathroom?
- Need, no — but stone saddles earn their place in specific situations: a traditional design, a doorway where you want a raised water-stop line, or a step-down where a substantial sill looks intentional. In modern curbless-leaning bathrooms, a slim metal profile or a flush transition usually suits the design better. It is an aesthetic and water-management choice, not a requirement.
Sources
Claims and figures are drawn from the sources above and provided for general guidance; your project may vary. Photography is illustrative of design concepts. For a fixed price on your specific bathroom, request a free estimate.