Updated July 16, 2026 · 8 min read
By Boise Bath — bathroom & shower remodeling in Boise & the Treasure Valley
The short answer
The costliest walk-in shower mistakes are undersizing the footprint below roughly 36×48 inches, skipping in-wall blocking for future grab bars, and ordering glass before the layout is final. All three are cheap to prevent during framing and expensive to fix after tile. Plan the bench, niche, valve location, and glass on paper before demolition starts.
Key takeaways
- A walk-in shower under roughly 36×48 inches feels cramped and splashes the bathroom — NKBA planning guidelines recommend more generous footprints where the room allows.
- In-wall blocking for grab bars costs almost nothing during framing and cannot be added later without opening finished tile.
- Benches and niches must be framed and waterproofed with the shower — they are structural decisions, not accessories.
- Glass should be templated after tile is done, not ordered from the plan — and heavy fixed panels need the right layout to control splash.
- The valve and shower head belong where you can reach them without standing in the spray — a detail most regretted showers get wrong.
- Skipped or improvised waterproofing is the failure that costs the most, because it stays invisible until the framing rots.
Why walk-in showers fail in such predictable ways
Walk-in showers are unforgiving of bad planning. A tub hides its plumbing behind an apron and forgives a sloppy layout; a walk-in shower puts every decision — footprint, glass, drain, valve, bench — on permanent display, and locks most of them behind tile and waterproofing where changes mean demolition.
The mistakes below are not exotic. They are the same handful of planning errors that show up in remodel after remodel, usually because decisions got made in the wrong order: tile picked before layout, glass ordered before tile, blocking skipped because nobody asked about grab bars. This page covers what goes wrong in showers specifically — the broader remodel-planning traps live in our bathroom remodeling mistakes guide.
If you are still at the inspiration stage — layouts, tile looks, glass styles — start with our walk-in shower ideas and come back here before anything gets framed.
Mistake #1: Undersizing the footprint
The single most common regret is a shower that is simply too small. Homeowners replace a 60-inch tub with a shower the same width but skimp on depth to save a few square feet of floor, and end up with a stall where elbows hit glass and the spray has nowhere to go but out the opening.
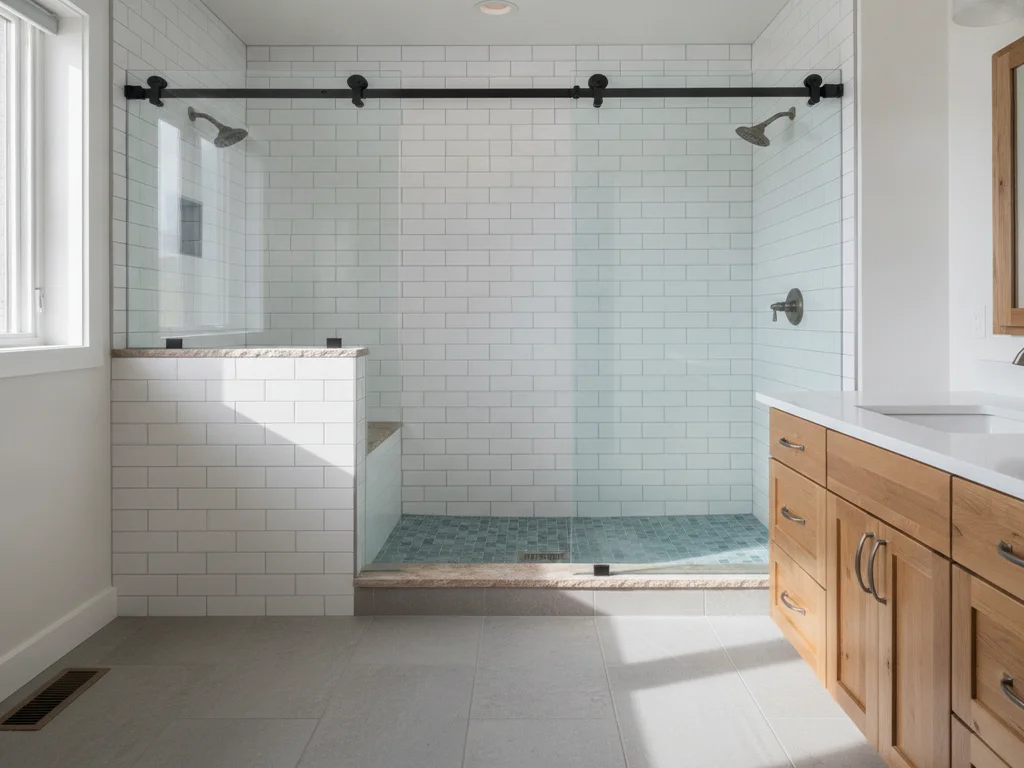
NKBA planning guidelines treat 36×36 inches as a bare minimum and recommend larger interior dimensions wherever the room allows; in practice, a walk-in shower starts feeling generous around 36×48 and genuinely comfortable at 42×60. Doorless designs need even more room, because the opening relies on depth and spray geometry — not a door — to keep water inside.
What pros do instead: measure the real usable footprint first, including door swings and fixture clearances, and let the shower take the space honestly. If the bathroom cannot support a comfortable walk-in, that is worth knowing before demolition — sometimes the answer is stealing space from a closet, and sometimes it is a better-designed small shower rather than a bad big one.
Mistake #2: Skipping blocking for grab bars and glass
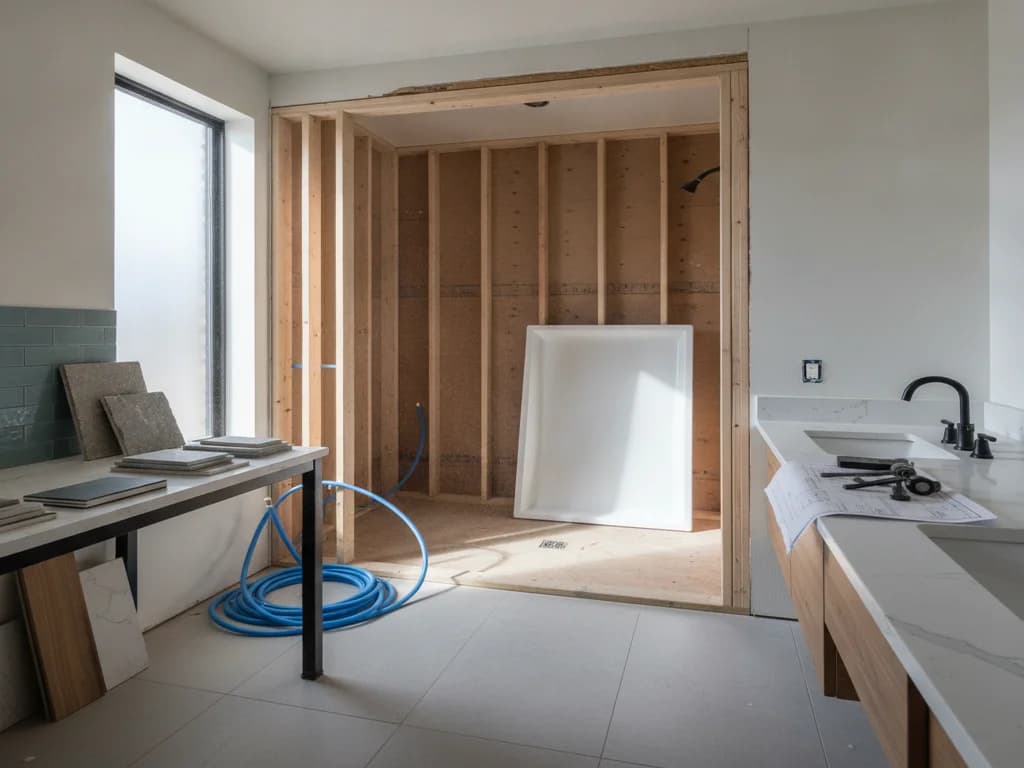
Blocking is solid lumber added between studs so that grab bars, heavy glass hinges, bench brackets, and shower doors have something structural to bite into. During framing it costs a few dollars and a few minutes. After tile, adding a properly anchored grab bar means opening the wall or trusting hollow-wall anchors with someone’s body weight.
This mistake hides for years. Nobody misses the blocking until a knee surgery, a pregnancy, or a parent moving in suddenly makes a grab bar urgent — and then the "quick fix" is drilling into tile and hoping to hit a stud.
What pros do instead: block the walls for grab bars in every shower, whether or not bars are installed now, and block wherever glass hardware and future hinges will land. It is invisible, nearly free, and the difference between a five-minute upgrade later and a demolition project.
Blocking is the cheapest insurance in the whole remodel
Ask your contractor, in writing, where blocking is being installed before the walls close. Photograph the open framing. Those photos make every future grab bar, glass repair, and shelf a stud-finder-free job — and they cost nothing.
Mistake #3: Treating the bench and niche as afterthoughts
Benches and niches look like accessories, so homeowners assume they can be decided late. They cannot. A tiled bench is framed, sloped, and waterproofed as part of the shower structure; a niche is a hole cut into the wall cavity that has to dodge studs, plumbing, and the exterior-wall insulation line. Both are locked in before the first sheet of backer board goes up.
The predictable failures: a niche placed on the plumbing wall where the valve leaves no cavity space, a niche on an exterior wall that costs insulation in a Boise winter, a bench added late that interrupts the waterproofing, or no bench at all in a shower meant to serve someone for the next twenty years — a bench is also where leg-shaving and aging-in-place actually happen.
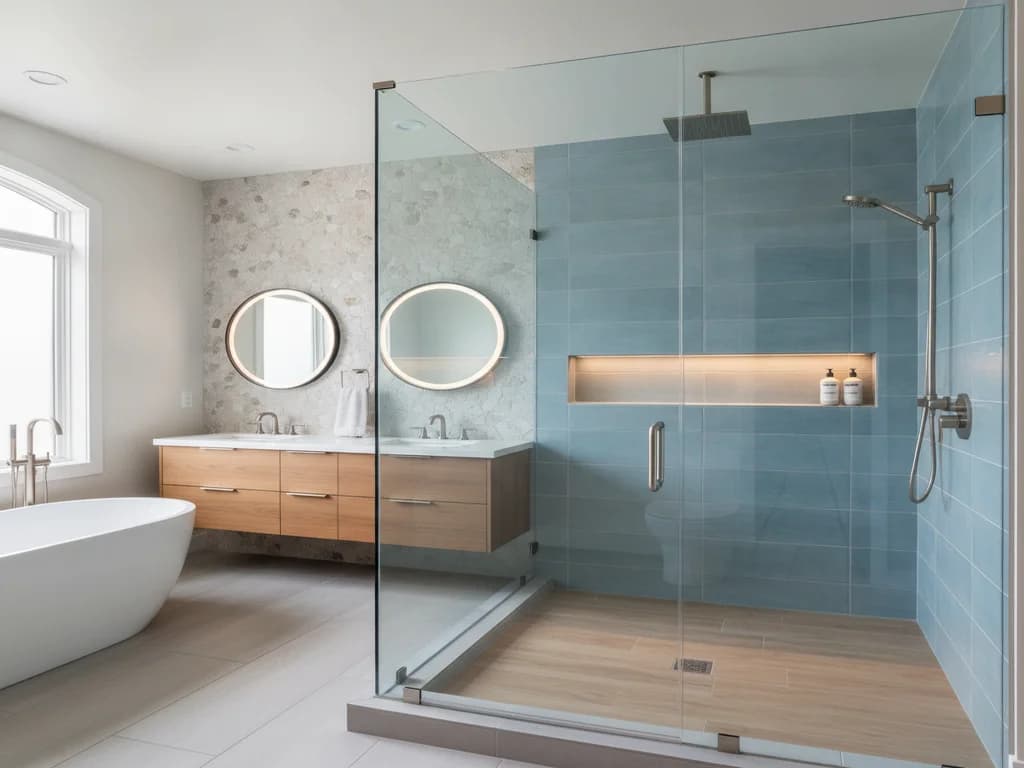
What pros do instead: place the niche on an interior wall away from the valve, size it to the tile grid so cuts look intentional, slope every horizontal surface, and waterproof bench and niche as continuous parts of the shower envelope — not patches.
Mistake #4: Choosing glass before the layout is final
Shower glass is expensive, heavy, and unforgiving. Frameless panels are typically 3/8- or 1/2-inch tempered glass that cannot be trimmed after fabrication — it is made to the opening, not the other way around. Ordering glass from the plan instead of templating the finished, tiled opening is how you get gaps, shims, and doors that never quite swing right.
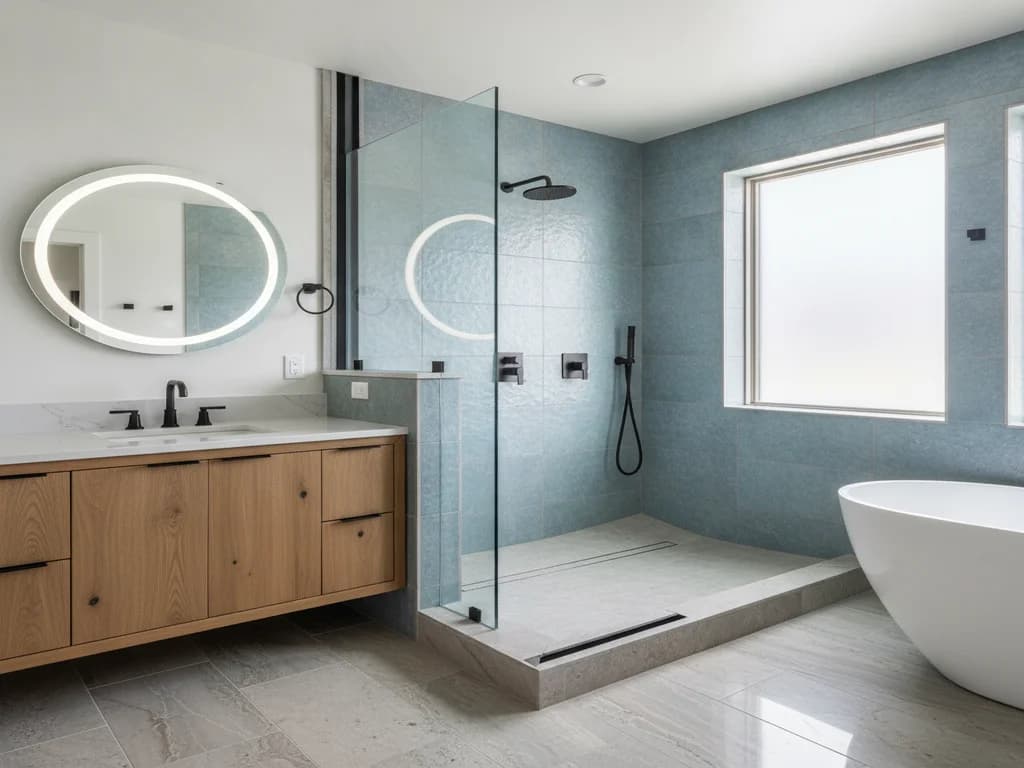
Layout mistakes compound the problem: a door that swings into the vanity, a fixed panel that blocks the valve so you soak your arm turning the water on, or a doorless opening aimed straight at the spray. Splash control is geometry — the opening, the shower head position, and the panel placement have to be designed together.
What pros do instead: finalize glass style during design (framed, semi-frameless, frameless, or doorless), rough the layout around it, then have the fabricator field-measure after tile. Expect roughly one to two weeks between templating and installation — a schedule reality worth building in, not discovering.
Mistake #5: Putting the valve in the spray zone
In most tubs the faucet and the spray share one wall because you are lying down anyway. Copy that layout into a walk-in shower and you get the daily annoyance of reaching through cold (or scalding) water to adjust the temperature.
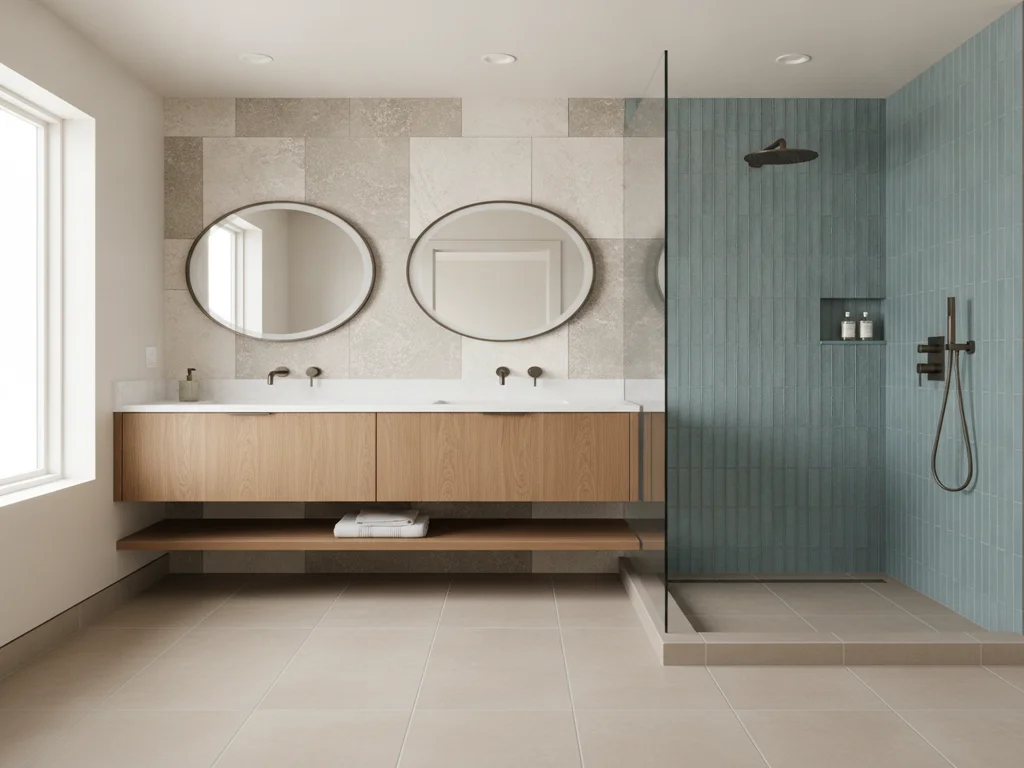
What pros do instead: put the valve near the entry, offset from the shower head — often on a side wall or at the glass end — so you can start the water and set the temperature from dry floor. In larger showers, separating the valve from the head entirely is standard practice. This is also the moment to think about a handheld on a slide bar, which adds rinsing flexibility and cleans the glass you just paid for.
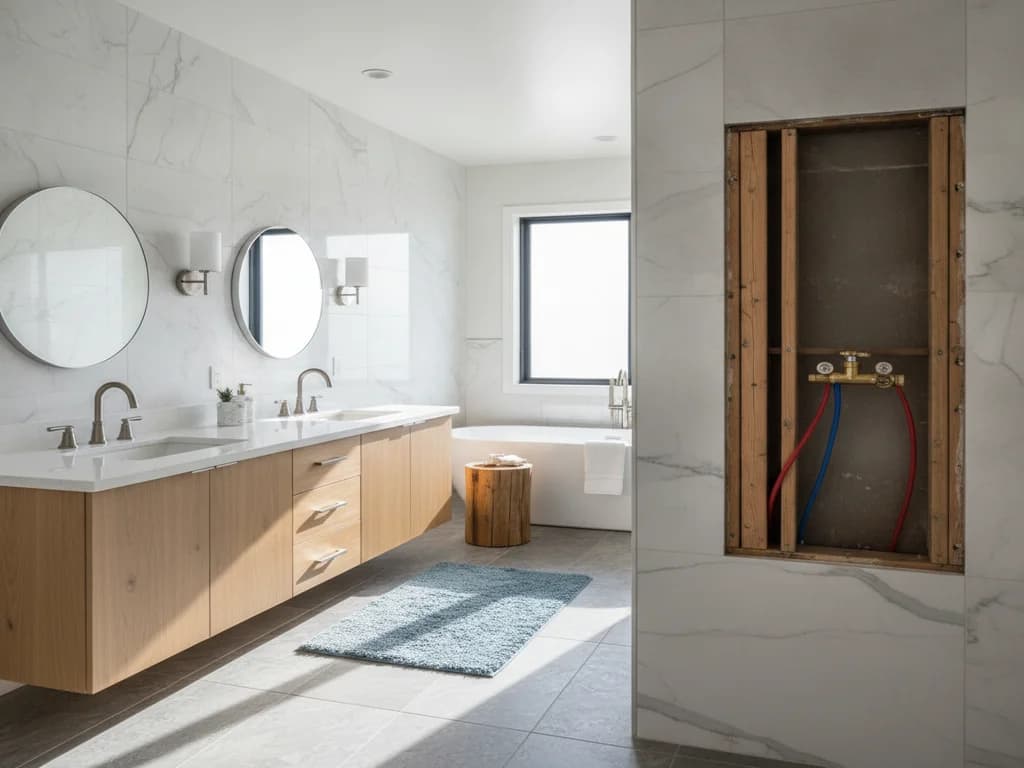
While the wall is open is also the only cheap time to correct old plumbing: an outdated two-handle setup, a valve without anti-scald protection, or supply lines that should not be trusted for another decade. What that work involves is covered in our guide to replacing a shower valve.
Mistake #6: Improvised waterproofing
The most expensive walk-in shower mistake is the one you cannot see at the final walkthrough. Tile and grout are not waterproof — the membrane system behind them is the actual shower. When waterproofing is skipped, thinned out, or cobbled together from mismatched products, the shower works fine for a year or three while water quietly reaches the framing.
The tell-tale shortcuts: greenboard drywall instead of a proper substrate, liquid membrane applied thinner than the manufacturer’s spec, no flood test before tile, and corners or niches "sealed" with caulk instead of banded membrane. Industry standards from TCNA and manufacturers like Schluter exist precisely because these details fail predictably.
What pros do instead is a topic big enough that we cover it separately — the full system, the flood test, and what to ask your contractor are in our shower waterproofing guide, and the specific failure patterns are in bathroom waterproofing mistakes. The short version: one tested system, installed to its spec, with photos before tile.
Mistake #7: Ignoring ventilation and hard-water reality
A walk-in shower — especially a doorless one — puts more moisture into the room than a curtained tub, and an undersized or ignored exhaust fan lets that moisture condense on paint, windows, and the attic side of the ceiling. Fan capacity should be matched to the room and actually used; a fan on a timer switch outperforms any amount of nagging.
Treasure Valley water adds a local wrinkle: our water is hard, and hard water reads as white scale on exactly the surfaces walk-in showers feature — clear glass and dark tile. Homeowners who choose polished black tile and frameless glass without planning for it sign up for a squeegee habit or permanent water spots.
What pros do instead: size the exhaust fan to the room per HVI guidance, vent it outside (not into the attic), and steer clients toward glass coatings, textured or mid-tone tile, and a squeegee hook when the water is hard and the maintenance appetite is honest.
How to avoid all seven at once
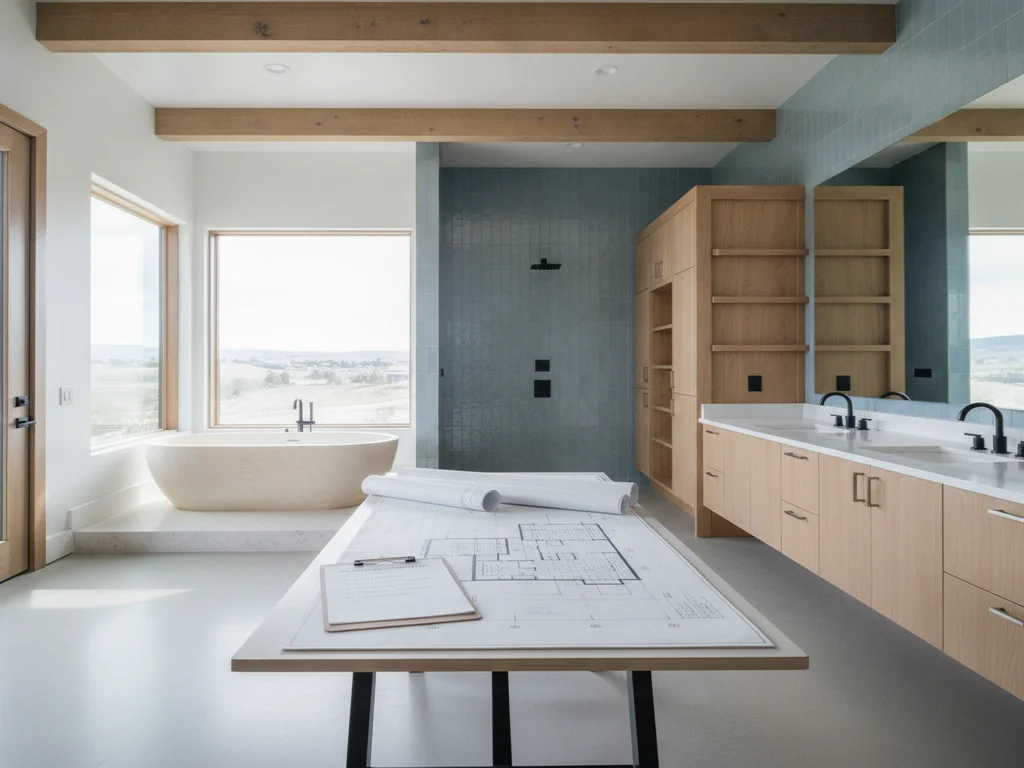
Every mistake on this list traces back to sequence: decisions made too late, in the wrong order, or by default. The fix is a complete plan before demolition — footprint, bench, niche, valve, glass style, blocking locations, and waterproofing system all decided on paper while changes are still free.
Budget belongs in that plan too. A walk-in shower done right is a system, and cutting the invisible parts (blocking, membrane, fan) to afford the visible ones (tile, glass) is exactly backwards — the full cost picture is in our shower replacement cost guide.
If you are converting a tub rather than rebuilding an existing shower, a separate set of traps applies — drain sizing, curb decisions, resale — and those are covered in tub-to-shower conversion mistakes. And if the plan is no curb at all, read curbless shower mistakes before anyone touches the subfloor.
Ready to plan your Boise bathroom?
Licensed & insured · 3-year workmanship warranty
Frequently asked questions
- What is the biggest mistake people make with walk-in showers?
- Undersizing the footprint. Homeowners shrink the shower to preserve floor space, then live with cramped elbows and water on the bathroom floor. NKBA guidelines treat 36×36 inches as a minimum, and comfort genuinely starts around 36×48. A smaller, well-designed shower beats a big bad one — but the footprint decision has to be honest from the start.
- How big should a walk-in shower be to avoid splashing?
- Splash control is about geometry, not just size. With a glass door, 36×48 inches works well. Doorless designs need more — typically 60 inches or more of depth, with the shower head aimed away from the opening. The spray pattern, opening location, and panel placement have to be designed together, which is why doorless showers are the least forgiving of improvised layouts.
- Should I put blocking in the walls even if I don’t want grab bars now?
- Yes, always. Blocking costs a few dollars of lumber during framing and nothing in appearance — it hides behind the tile. Without it, adding a grab bar later means opening a finished wall or relying on hollow-wall anchors that are not rated for body weight on tile. Every professionally built shower should be blocked for future bars and for glass hardware.
- When should shower glass be ordered?
- After tile is finished, from a field template — never from the plan. Frameless glass is fabricated to the exact opening and cannot be trimmed later, and tiled openings are never perfectly plumb or square. Choose the glass style during design so the layout accommodates it, then expect roughly one to two weeks between measurement and installation.
- Why does my new walk-in shower have water spots on the glass?
- Hard water. Treasure Valley water carries enough dissolved minerals to leave white scale on glass and dark tile every time drops dry in place. The fixes are a factory or aftermarket hydrophobic glass coating, a squeegee habit after showers, and — if you are choosing finishes now — textured or mid-tone tile that hides mineral haze instead of showcasing it.
- Do walk-in showers hurt resale value?
- A well-built walk-in shower generally helps resale — it is the most-requested bathroom feature in remodeling surveys. The exception is removing the home’s only bathtub, which can narrow your buyer pool in family neighborhoods. If the walk-in shower replaces your last tub, weigh that decision separately; our guide on [removing the only bathtub](/guides/should-i-remove-the-only-bathtub) covers it honestly.
Sources
- National Kitchen & Bath Association (NKBA)
- Tile Council of North America (TCNA)
- Schluter Systems
- Home Ventilating Institute (HVI)
Claims and figures are drawn from the sources above and provided for general guidance; your project may vary. Photography is illustrative of design concepts. For a fixed price on your specific bathroom, request a free estimate.