Updated July 16, 2026 · 8 min read
By Boise Bath — bathroom & shower remodeling in Boise & the Treasure Valley
The short answer
The costliest curbless shower mistakes are skipping the subfloor recess so the pan cannot slope properly, undersizing the drain capacity for the entry’s water path, and stopping the waterproofing at the shower’s edge instead of extending it into the room. A curbless shower has no curb to catch errors — the slope, drain, and membrane have to do everything.
Key takeaways
- A curbless shower needs the floor structure recessed (or built up) so the pan can fall roughly 1/4 inch per foot to the drain — plane-of-the-floor geometry a curb normally hides.
- Water follows slope, not intentions: without a proper recess, the shower floor either drains poorly or stands proud of the bathroom floor.
- Linear drains at the entry or back wall are the standard curbless solution because they let the floor slope in a single plane.
- Waterproofing must extend beyond the wet area into the bathroom floor — the membrane footprint, not the glass, defines where the shower ends.
- The flooring transition at the entry is where cheap builds fail: the bathroom floor outside a curbless entry gets wet and must be built for it.
- Retrofit feasibility depends on your floor framing — joist direction and depth decide whether the recess is simple or structural.
Why curbless is the least forgiving shower build
A curb is a dam. Whatever goes slightly wrong inside a curbed shower — a lazy slope, a drain that clogs, a splashy layout — the curb catches it. A curbless shower removes the dam, which means the slope, the drain, and the waterproofing have to be right, individually and together. There is no margin and nowhere for a mistake to hide.
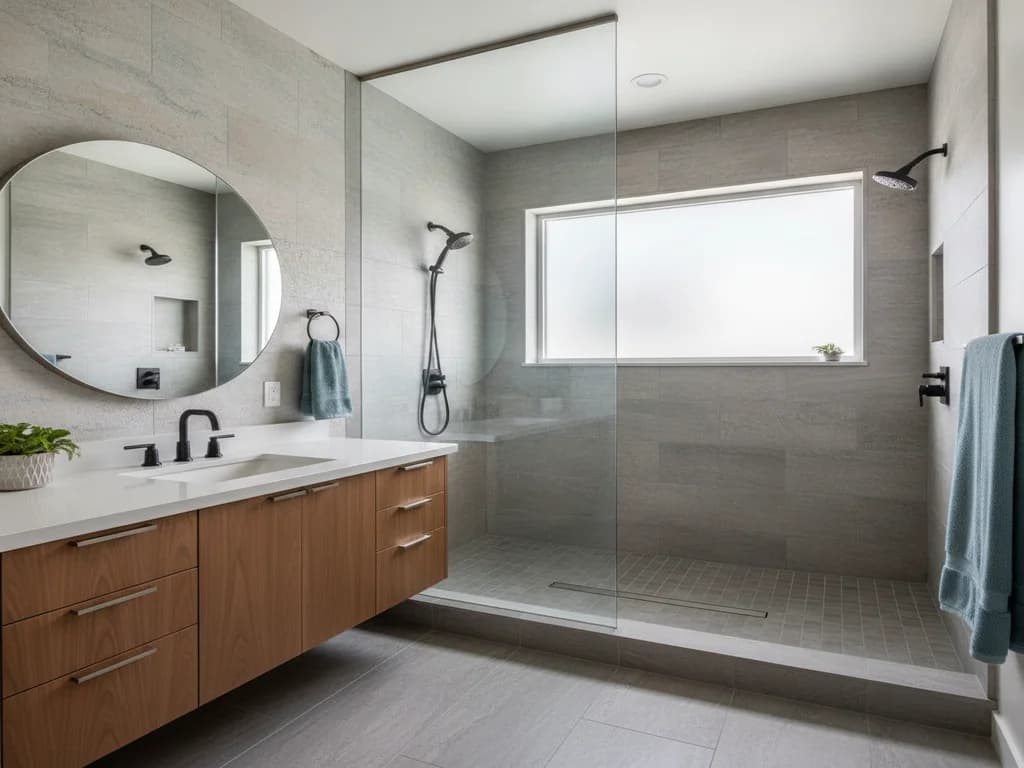
That is not an argument against curbless. Done properly, a curbless shower is safer to enter, easier to clean, and the single best aging-in-place upgrade a bathroom can get. Whether it is the right call for your bathroom — the honest trade-offs, including cost and splash behavior — is covered in curbless shower pros and cons. This page assumes you want one and covers how builds go wrong.
If you want the full professional build sequence — recess, pan, membrane, drain, tile — that lives in our guide to converting to a curbless shower.
Mistake #1: Skipping the subfloor recess
This is the foundational error every other curbless failure grows from. A shower floor must slope to its drain — the long-standing standard reflected in TCNA guidance and plumbing codes is roughly 1/4 inch of fall per foot. In a curbed shower, that slope happens above the bathroom floor and the curb hides the height difference. In a curbless shower, the slope has to happen *below* floor level, which means recessing the framing or the subfloor where the shower goes.
Skip the recess and you get one of two bad outcomes: a shower floor that ramps up above the bathroom floor (a trip hazard pretending to be barrier-free), or a floor with almost no slope, where water wanders instead of draining.
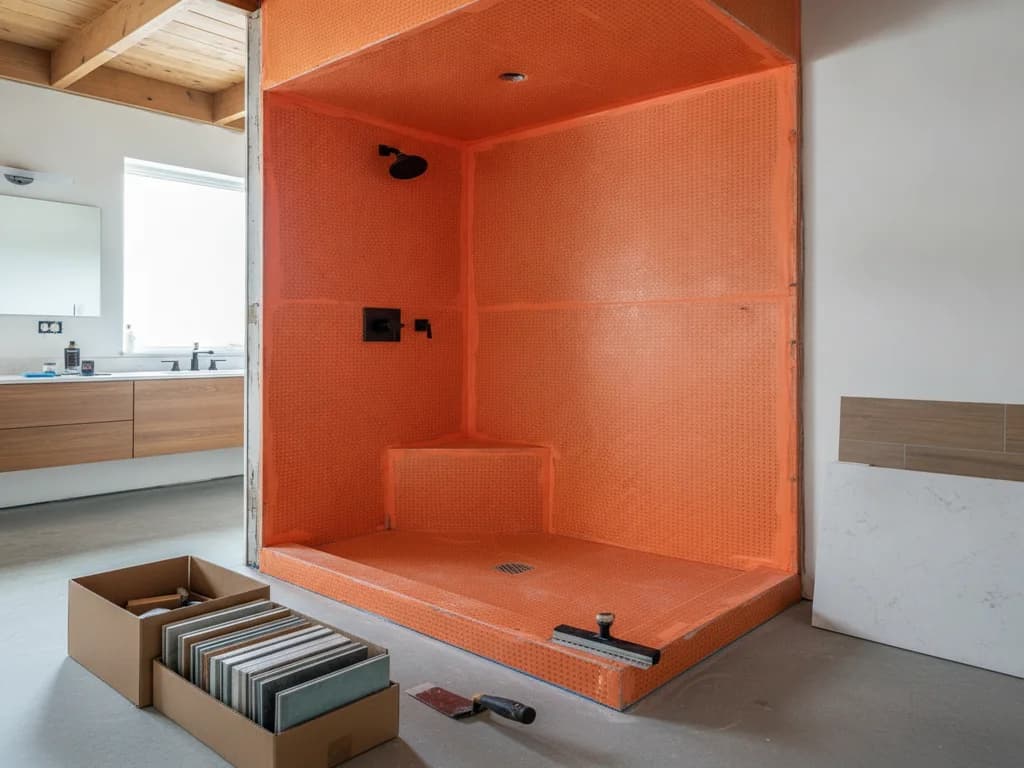
What pros do instead: plan the recess structurally before demolition. Over a wood-framed floor, that typically means dropping the subfloor between joists or sistering framing to create the depression — roughly 1.5 to 2 inches of depth depending on the pan system, per manufacturers like Schluter and wedi. Over a concrete slab, it means grinding or a full-bathroom floor build-up. Joist direction and depth decide how invasive this is, which is why a real site assessment comes before any curbless bid.
Mistake #2: Getting the slope wrong — in either direction
Too little slope and water stands in the pan or, worse, migrates toward the open entry. Too much slope and the floor is uncomfortable to stand on and telegraphs every tile edge. The standard is a consistent fall of roughly 1/4 inch per foot toward the drain, in a plane the tile can actually follow.
The subtler version of this mistake is an inconsistent plane: a floor that mostly slopes to the drain but holds a shallow birdbath near the entry, or a hand-mudded pan with a hump where two slopes meet. Large-format tile makes this worse — big tiles cannot bend into compound curves, which is why the drain choice and the slope geometry have to be designed together.
What pros do instead: use a pre-sloped foam pan sized to the layout, or screed the slope to the drain design deliberately — and check the plane with a level before waterproofing, then again before tile. A flood test (plugging the drain and holding water on the membrane) verifies both slope and seal while corrections are still cheap.
Mistake #3: Choosing the wrong drain for the geometry
A center point drain forces the floor to slope toward it from four directions — four planes, four diagonal fold lines, small tile only. That works fine in a curbed 36×36 stall. In a curbless shower, especially one meant to flow visually into the bathroom, it fights everything: the compound slopes complicate the recess, limit tile choice, and put the low point in the middle of the walking path.
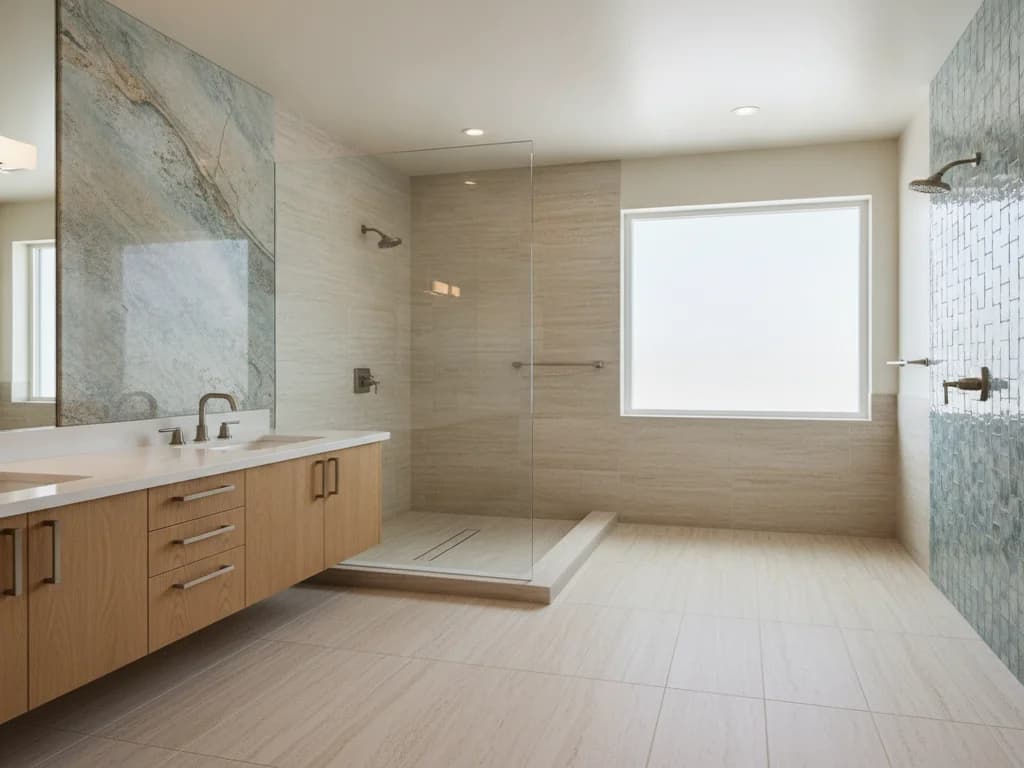
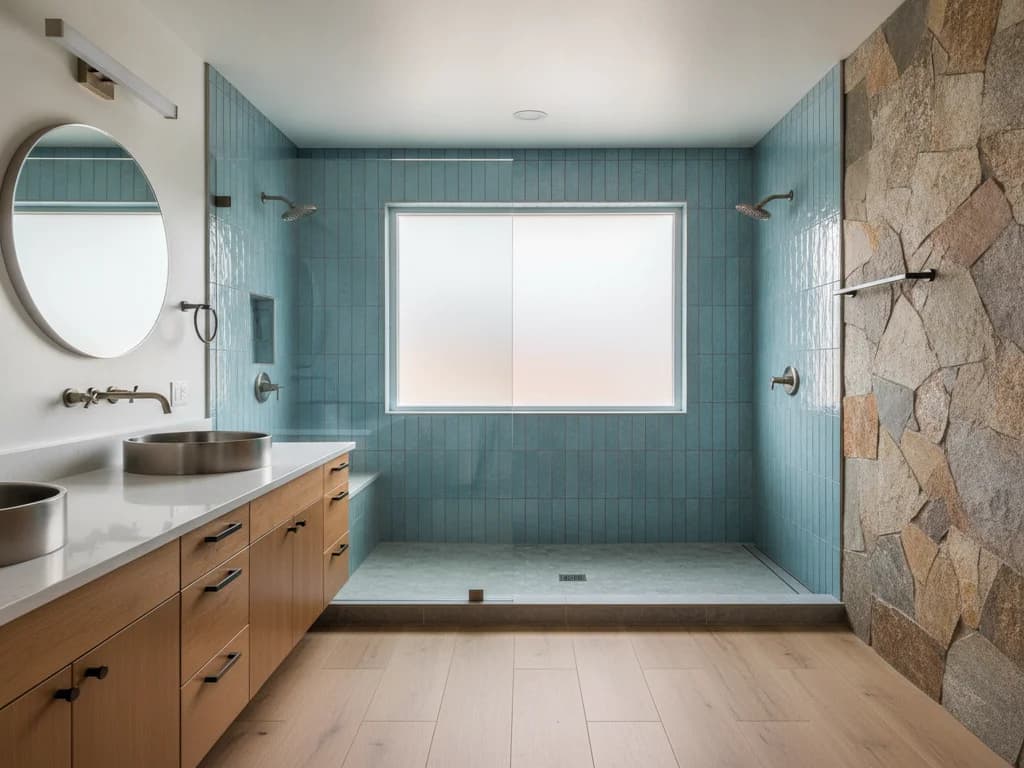
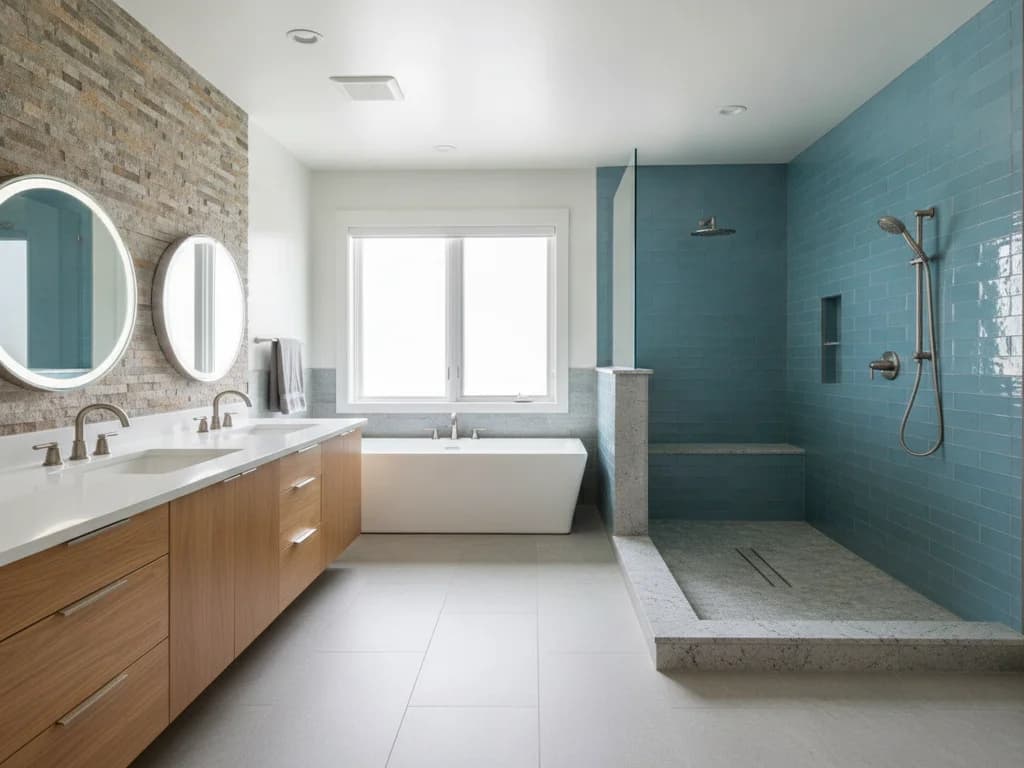
A linear drain along the back wall or across the entry lets the entire floor slope in one plane, in one direction — which is why it is the default in well-built curbless showers. One plane means large-format tile works, the recess is simpler, and an entry-line drain adds a second line of defense exactly where water wants to leave.
What pros do instead: match the drain to the layout, not the parts bin. Back-wall linear drains suit showers where you enter from the side; entry linear drains suit straight-in layouts and catch outbound water. The full comparison — including cost and cleaning trade-offs — is in linear drain vs. center drain showers. Capacity matters too: the drain and its 2-inch line must handle the shower system’s full flow, because in a curbless bathroom a backed-up drain has no curb holding the pond.
Mistake #4: Waterproofing that stops at the shower
In a curbed shower, the membrane can reasonably end at the curb. In a curbless shower, the wet area does not end where the glass ends — spray, splash, and dripping bodies carry water past the entry every single day. If the waterproofing stops at the notional shower boundary, that daily water finds the seam between "shower floor" and "bathroom floor" and works into the subfloor.
Industry guidance from TCNA and system manufacturers is consistent on the principle: in barrier-free installations, the waterproofing extends beyond the wet area — often several feet past the entry, and in many designs across the entire bathroom floor, turned up at the walls. The membrane footprint, not the glass panel, is the real edge of the shower.
What pros do instead: treat the bathroom as a wet room. One continuous membrane system — sheet or liquid, but one tested system, not a patchwork — runs from inside the shower out under the bathroom floor tile, with sealed transitions at the door and walls. What that system involves is covered in depth in our shower waterproofing guide.
The question that separates curbless pros from pretenders
Ask every bidder: "How far past the shower entry does your waterproofing membrane extend, and will you flood test before tile?" A contractor who waterproofs only inside the glass is building a curbed shower without the curb — the failure is not if, but when.
Mistake #5: Botching the flooring transition
The entry of a curbless shower is a flooring transition unlike any other in the house: two floors meeting flush, one of them sloped, both of them wet. The classic mistakes cluster right here — a floating LVP floor run up to the shower edge (its seams and expansion gap have no business meeting daily shower water), a height mismatch bridged with a metal ramp strip, or grout lines that leap alignment at the boundary and announce the compromise.
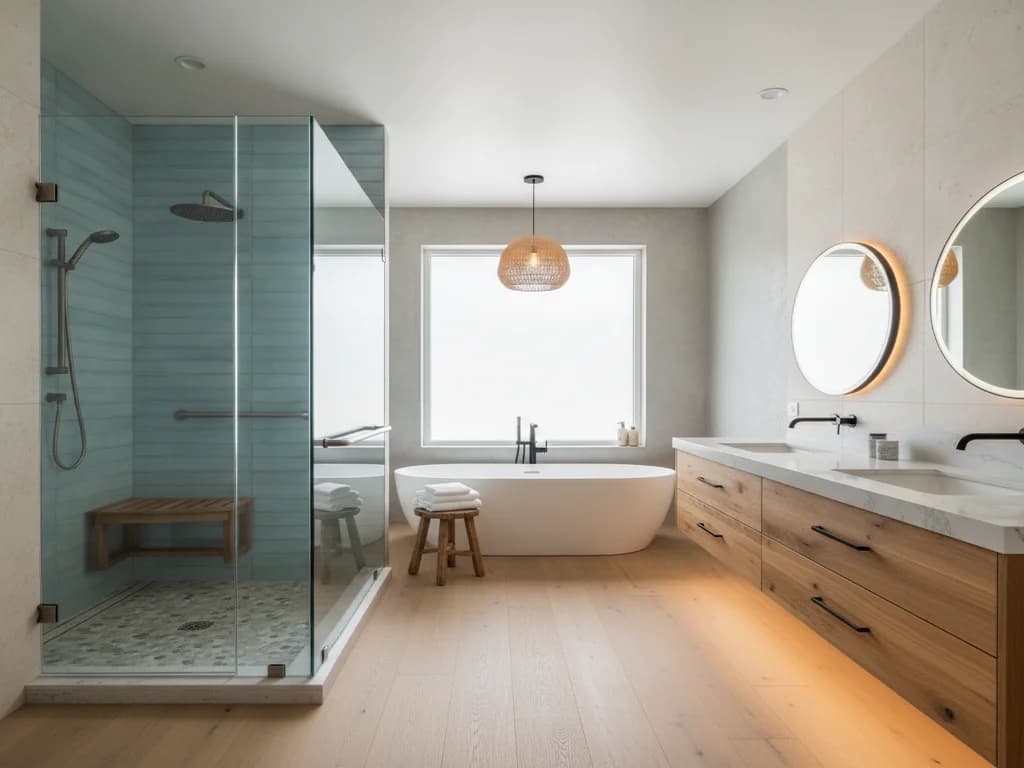
The bathroom floor outside a curbless entry must be built like shower floor: tile over the extended membrane, with slip resistance chosen for wet bare feet. This is also an argument for running one tile through the whole room — visually seamless and technically honest.
What pros do instead: plan the finished floor heights from the subfloor up, so shower tile and bathroom tile land flush without ramps; run the membrane under both; and pick floor tile with real wet traction rather than polished surfaces. The broader floor-selection traps live in bathroom flooring mistakes.
Mistake #6: Ignoring splash geometry because "it’s open anyway"
Curbless does not mean careless. Homeowners conflate curbless with doorless-and-glassless, aim a rain head toward the entry, skip the fixed panel, and then blame the concept when the bathroom floor is wet and the towels are damp from spray.
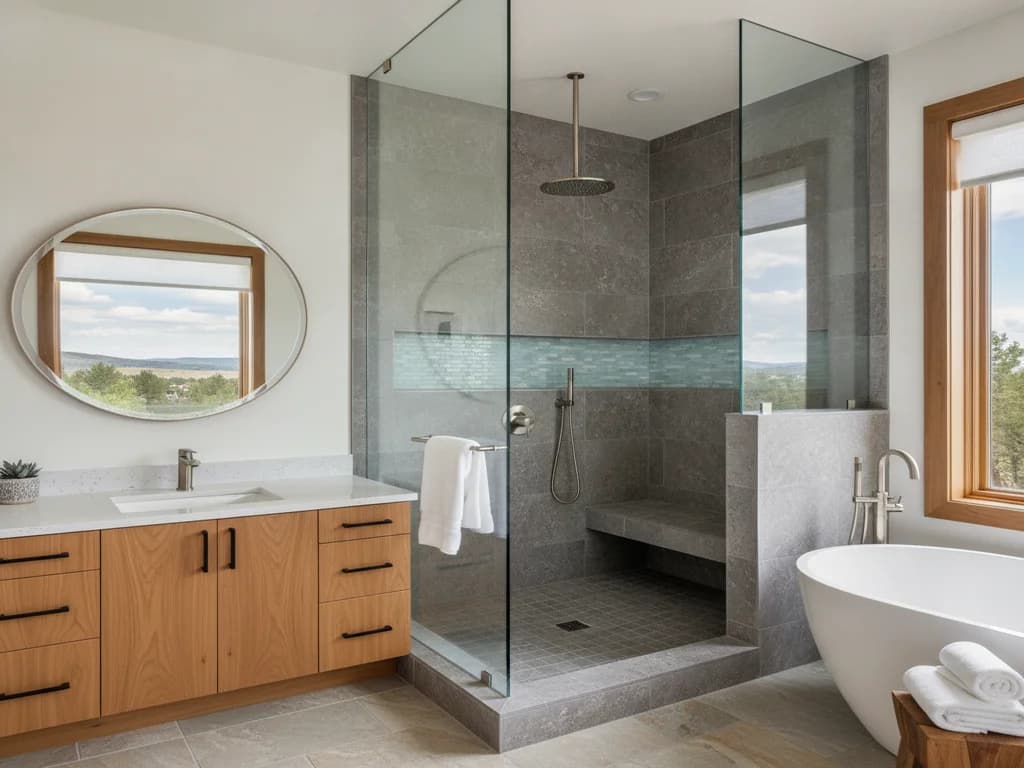
A curbless shower still needs splash design: the shower head aimed at walls rather than the opening, enough depth between spray and entry, and usually at least one fixed glass panel doing quiet containment work. Heated conversations about wet floors are almost always layout problems, not curbless problems.
What pros do instead: design spray containment the same way as in any walk-in — head position, depth, and glass working together (the general list is in walk-in shower mistakes) — and be honest when a bathroom is too small for a fully open curbless layout. In tight rooms, a curbless entry with a glass door beats an open entry with a wet floor. Budget honesty helps too: the recess, extended membrane, and linear drain are real cost adders, itemized in our shower waterproofing cost guide.
How to get a curbless shower right the first time
Every mistake above is a planning failure, not an installation accident. The recess is decided before demolition; the drain is chosen with the slope geometry; the membrane footprint is drawn before the first tile is ordered. By the time a curbless shower is being tiled, its fate is already sealed — literally.
That makes contractor selection the real decision. Curbless work is a system build, and the right builder talks fluently about recess depth, membrane extent, flood testing, and drain capacity without being prompted. If a bid is silent on those four things, the bid is the mistake.
For the complete professional sequence from site assessment through glass, read converting to a curbless shower — and if you are still weighing curbless against a low-curb build, curb height and shower dams covers the middle ground honestly.
Ready to plan your Boise bathroom?
Licensed & insured · 3-year workmanship warranty
Frequently asked questions
- Why is water escaping from my curbless shower?
- Almost always one of three build errors: insufficient slope (the recess was skipped or shorted, so water wanders instead of draining), splash geometry aimed at the entry with no glass containment, or a drain that cannot keep up with the shower’s flow. All three are preventable at design time; after tile, fixing slope means rebuilding the floor.
- How much slope does a curbless shower need?
- The long-standing industry standard is roughly 1/4 inch of fall per foot toward the drain, in a consistent plane. Getting that fall below the level of the bathroom floor is why the subfloor must be recessed — typically around 1.5 to 2 inches depending on the pan system. A curbless floor that was never recessed cannot have proper slope; something else was compromised.
- Do curbless showers need a linear drain?
- Not strictly, but linear drains are the standard choice for good reason: they let the whole floor slope in a single plane, which simplifies the recess, allows large-format tile, and puts drainage capacity along the line water actually travels. A center drain forces four converging slopes and small tile. In most curbless layouts, linear is the better engineering, not just the better look.
- How far should waterproofing extend outside a curbless shower?
- Past the entry — meaningfully. Guidance from tile-industry standards and membrane manufacturers is to extend waterproofing well beyond the wet area in barrier-free builds; many pros membrane the entire bathroom floor and turn it up at the walls, treating the room as a wet room. The membrane footprint, not the glass, is the true boundary of a curbless shower.
- Can any bathroom have a curbless shower?
- Most can, but the cost varies with the structure. Wood-framed floors with accessible joists take a recess readily; slab-on-grade floors require grinding the slab or building up the whole bathroom floor; and floors with shallow or perpendicular joists may need structural work. A site assessment of the framing is the honest first step of any curbless project — before pricing, not after.
- Is a curbless shower worth the extra cost?
- If anyone in the home will benefit from step-free entry — now or within the floor’s lifetime — usually yes: it is the single most future-proof shower decision, and it reads as high-end design rather than medical equipment. The premium buys the recess, extended waterproofing, and linear drain. Our curbless pros-and-cons guide weighs the trade-offs honestly, including when a low-curb build is the smarter buy.
Sources
- Tile Council of North America (TCNA)
- Schluter Systems
- wedi Corporation
- International Code Council (IRC/IBC)
Claims and figures are drawn from the sources above and provided for general guidance; your project may vary. Photography is illustrative of design concepts. For a fixed price on your specific bathroom, request a free estimate.