Updated July 16, 2026 · 7 min read
By Boise Bath — bathroom & shower remodeling in Boise & the Treasure Valley
The short answer
Replacing ceramic tile with porcelain is a genuine upgrade: porcelain is denser, absorbs less than 0.5 percent water under the TCNA-referenced standard, and resists chips and wear far better on floors. The job means tearing out the old tile, correcting the substrate, and setting new porcelain — typically three to five days for a bathroom floor.
Key takeaways
- Porcelain is a tighter, denser tile: under the ANSI standard TCNA references, it must absorb 0.5 percent water or less, versus considerably more for non-porcelain ceramic.
- On a bathroom floor that density shows up as fewer chips, less wear-through in traffic paths, and better tolerance of hard water and grime.
- Worn glaze, crazing, and dated 12×12 beige squares are the usual reasons a 1990s–2000s ceramic floor comes out.
- Tiling over the old floor is sometimes possible but usually the wrong call — tear-out lets the installer fix the substrate problems that cracked the ceramic in the first place.
- Cracks and hollow-sounding tiles are often substrate symptoms; new tile over an unfixed substrate inherits the same fate.
- Choose floor porcelain with a wet DCOF of at least 0.42, the ANSI A326.3 threshold TCNA points to for level interior wet areas.
Is porcelain really an upgrade over ceramic?
Yes, and it is a matter of specification, not marketing. Porcelain is pressed denser and fired harder than non-porcelain ceramic; under the ANSI definition the Tile Council of North America references, a tile only qualifies as porcelain if it absorbs 0.5 percent water or less. That density translates directly into what a floor experiences: more chip resistance, a harder wearing surface, and near-indifference to moisture.
The full spec comparison — PEI wear ratings, glazed versus through-body, where ceramic still makes sense on walls — is its own article, and we keep the deep dive in porcelain vs ceramic tile. The short version for this decision: on a bathroom floor, porcelain is the stronger material, and the price gap between the two has narrowed enough that few installers would set new ceramic underfoot today.
Signs your ceramic floor is due for replacement
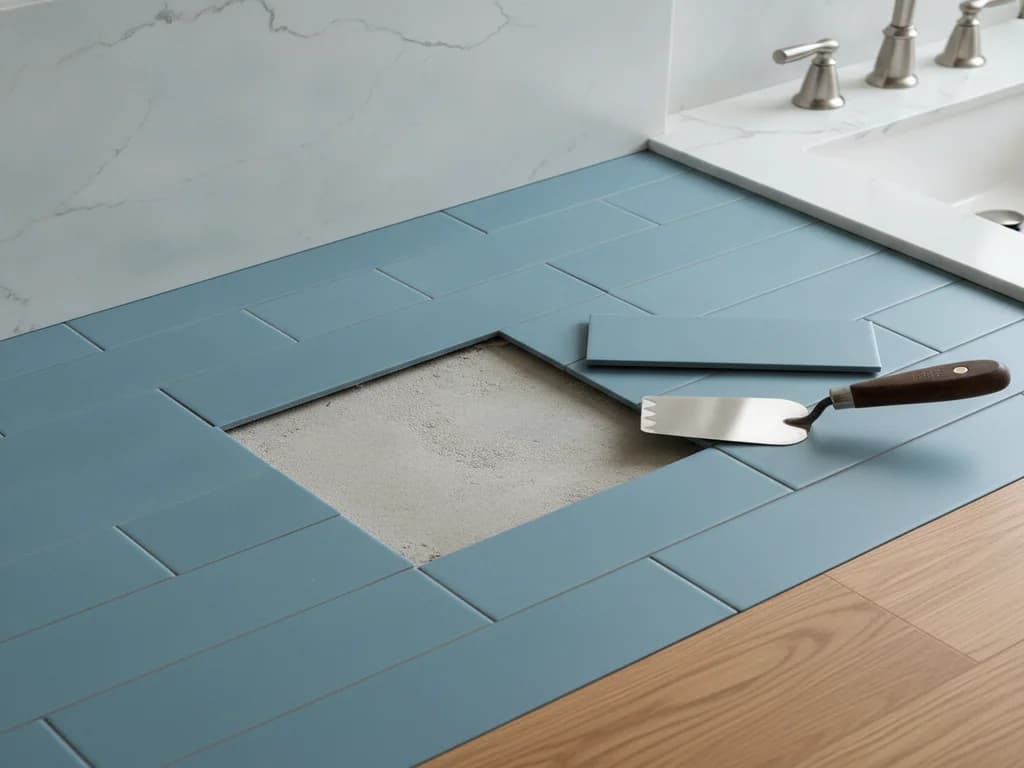
One cracked tile with the rest sound is a repair, not a replacement — replacing a cracked bathroom tile covers that path and its matching challenges. A floor showing several of the signs above is telling you the surface, and often what is under it, has reached the end.
- Glaze worn dull or through to the clay body along traffic paths — most visible on the 12×12 beige and almond squares of the 1990s–2000s
- Crazing: fine spiderweb cracks in the glaze that trap grime and darken with age
- Chips at tile edges showing a different-colored body underneath
- Cracked tiles, or tiles that sound hollow when tapped — often a substrate or bond problem, not just bad luck
- Grout that is permanently stained, crumbling, or has been patched one too many times
- A color and format that dates the whole room regardless of condition
Can you install porcelain over the existing ceramic?
Sometimes, technically. Tile-over-tile is a recognized method when the existing floor is completely sound, flat, and well bonded, and the added height causes no problems. In practice, professionals usually recommend tear-out in a bathroom, for three reasons.
First, height: a second tile layer raises the floor enough to strand the toilet flange, pinch door clearances, and create a step at the hallway. Second, trust: you cannot verify the bond of thirty-year-old tile you are burying, and the new floor is only as good as what it sits on. Third — and most important — if the old ceramic cracked, the cause lives in the substrate, and covering it seals the problem in rather than fixing it.
Cracks are messengers
A crack running across multiple tiles usually traces movement or a flatness problem in the substrate below. New porcelain set over the same unfixed substrate will crack along the same line. Tear-out is what lets the installer fix the cause instead of re-tiling the symptom.
What does tear-out reveal?
Under a 1990s–2000s ceramic floor you will typically find one of three things: cement backer board done properly, tile set straight over plywood — a shortcut that explains a lot of cracked floors — or, in older Boise homes, a thick mortar bed from an era when floors were floated by hand. Each dictates different prep for the new floor.
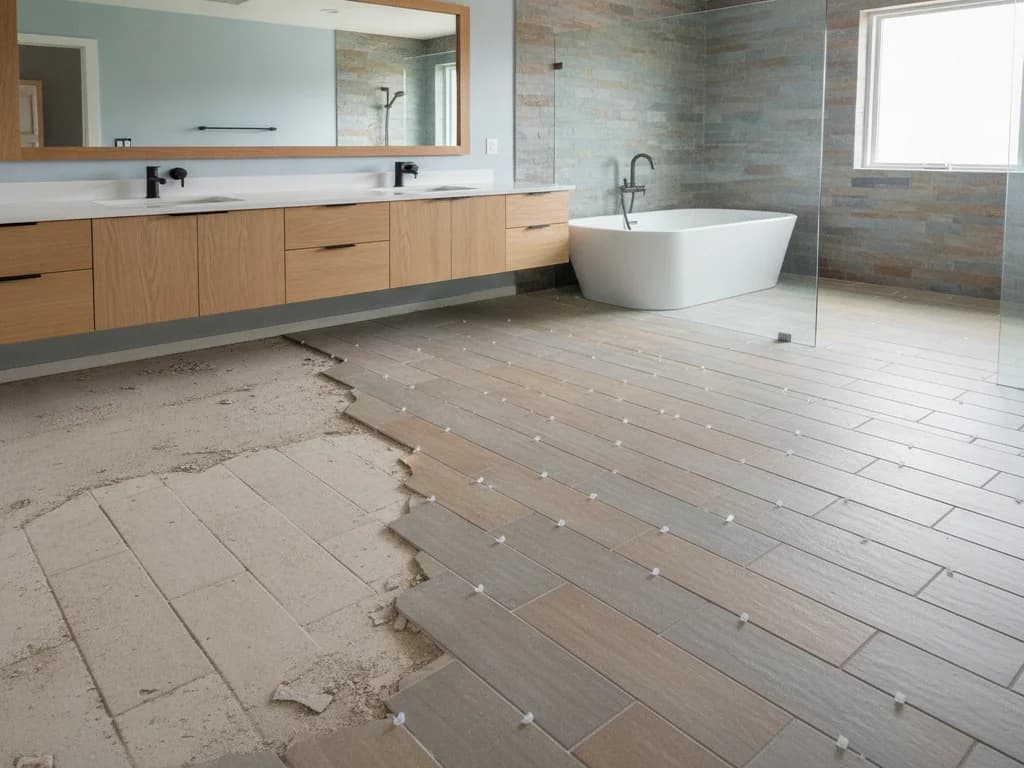
This is the productive part of the project. With the old assembly out, the installer can flatten the substrate, replace any water-damaged sections, and set the new porcelain over a proper backer or an uncoupling membrane that isolates the tile from seasonal movement. The result is a floor built to the standard the old one should have been.
How do you choose the right porcelain?
For a bathroom floor, start with slip resistance: look for a wet DCOF of at least 0.42, the ANSI A326.3 threshold TCNA points to for level interior spaces that get wet. Matte and textured finishes generally get there; polished surfaces often do not, and they show hard-water spotting besides — the trade-offs are laid out in matte vs polished tile.
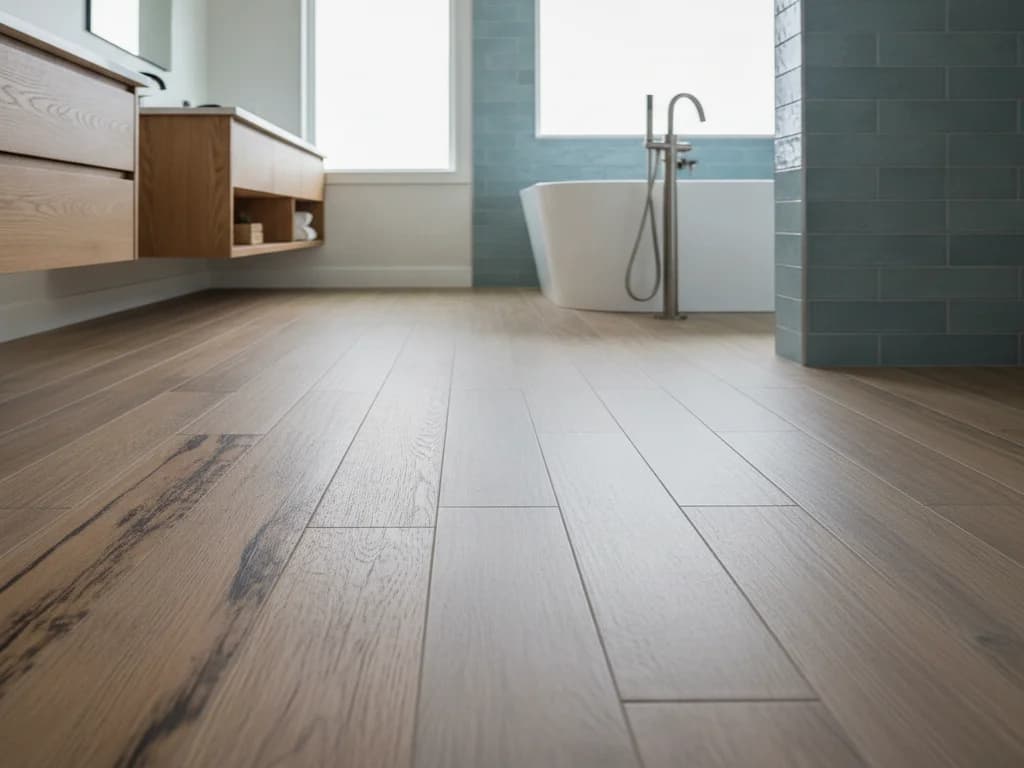
Then format and look. Larger tiles mean fewer grout lines to maintain, wood-look planks warm the room up, and today’s porcelain does stone convincingly enough to retire the real thing’s upkeep. For the full selection framework — size, color, grout pairing — see how to choose bathroom tile.
What does the upgrade cost?
Budget in two parts: demolition of the old tile floor, then the new installation. For a typical bathroom, a professionally installed tile floor generally runs roughly $900–$3,000 depending on tile choice and room size, per HomeAdvisor’s cost guides, and tear-out of the old ceramic adds labor on top — more if a mortar bed or bonded backer puts up a fight.
Porcelain itself typically costs somewhat more per square foot than comparable ceramic, but on a bathroom-sized floor the material difference is a small slice of the project; labor, prep, and demolition drive the total. The full breakdown of what moves tile pricing lives in bathroom tile installation cost factors.
Should the shower and walls come along for the ride?
If the floor is original, the tub surround or shower usually is too — same era, same wear, same dated palette. Replacing the floor alone is a fine project, but tile crews, dust protection, and a torn-open bathroom are fixed costs you pay once per visit. Pricing the floor against a floor-plus-shower scope is the honest way to decide, and it is exactly what a custom tile and stonework consultation is for.
What the process looks like
- 1
Evaluate the existing floor and plan the assembly
A pro checks flatness, taps for hollow tiles, traces any cracks to their cause, and identifies what the old tile is bonded to — which determines demolition effort and the new floor build-up.
- 2
Protect the room and pull the fixtures
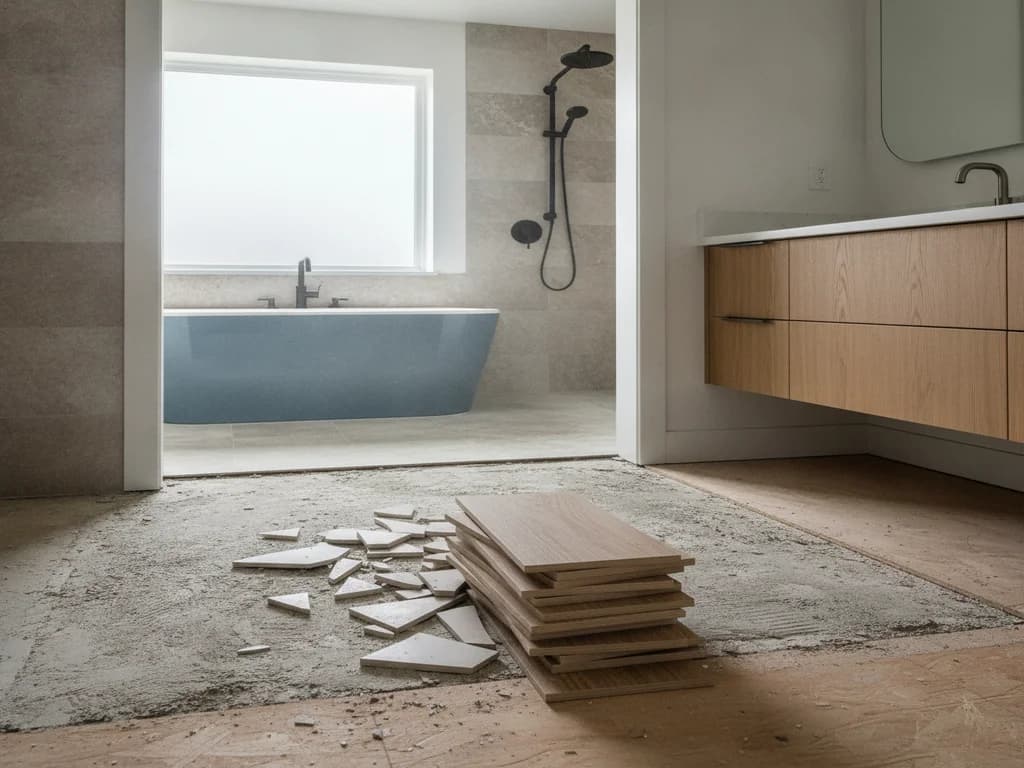
The toilet comes out, the vanity and tub are masked, and dust containment goes up — tile demolition is the messiest day of the project, and controlling it is part of the craft.
- 3
Demolish the old ceramic and substrate as needed
Tile, thinset, and compromised backer come out down to sound structure. A mortar bed is broken out or, if flat and sound, sometimes retained as the base for the new assembly.
- 4
Correct and prepare the substrate
The subfloor is repaired where needed, flattened to tile tolerance, and topped with cement backer or an uncoupling membrane — the step that determines whether the new floor outlives the old one.
- 5
Lay out and set the porcelain
The layout is dry-planned so cuts land at walls and sightlines stay clean, then the porcelain is set with appropriate thinset and leveled — dense porcelain demands sharper blades and more deliberate handling than the ceramic it replaces.
- 6
Grout, seal, and reset
Joints are grouted and cleaned, movement joints caulked at the perimeter, and the toilet reset with a fresh seal — plus a flange extender if the new assembly changed the floor height.
Ready to plan your Boise bathroom?
Licensed & insured · 3-year workmanship warranty
Frequently asked questions
- Is porcelain harder to install than ceramic?
- Yes — the density that makes porcelain durable also makes it harder to cut and less forgiving to set. It demands quality diamond blades, appropriate thinset, and careful substrate prep, which is why porcelain floors are more sensitive to installer skill than the ceramic they replace. The material upgrade only pays off with an installation to match.
- Can you tell porcelain from ceramic just by looking?
- Not reliably from the surface — glazed porcelain and glazed ceramic can look identical installed. The differences are in the body: porcelain is denser, absorbs 0.5 percent water or less under the ANSI definition, and a chip in through-body porcelain shows the same color as the face, while chipped glazed ceramic reveals a contrasting clay body.
- How long does replacing a ceramic tile floor take?
- Plan on three to five days for a typical bathroom: a day for demolition and haul-out, a day for substrate repair and prep, then setting, grouting, and cure time before furniture and foot traffic return. Surprises under the old tile — a stubborn mortar bed or hidden water damage — add time at the front, not the end.
- Do I have to replace the wall tile at the same time?
- No — floor and wall tile are separate assemblies, and a new porcelain floor can be color-matched to existing walls. That said, if the walls are the same vintage as the floor coming out, price both scopes at once: demolition protection, tile crew mobilization, and the disrupted bathroom are costs you would otherwise pay twice.
- Is porcelain worth the extra cost over new ceramic?
- On a floor, almost always. The per-square-foot premium is modest on a bathroom-sized room, and porcelain repays it in chip resistance, wear, and moisture performance — the exact stresses bathroom floors take. Ceramic still earns its keep on walls, where nothing steps or drops; our porcelain vs ceramic guide draws that line in detail.
Sources
- Tile Council of North America (TCNA)
- National Tile Contractors Association
- HomeAdvisor — True Cost Guide
Claims and figures are drawn from the sources above and provided for general guidance; your project may vary. Photography is illustrative of design concepts. For a fixed price on your specific bathroom, request a free estimate.