Updated July 16, 2026 · 6 min read
By Boise Bath — bathroom & shower remodeling in Boise & the Treasure Valley
The short answer
Replacing a pebble shower floor means removing the pebbles and their setting bed — and usually the pan beneath, since a deteriorated pebble surface has often let water through for years. Pebble floors fail early because grout makes up a huge share of the surface and the stones need regular resealing. Textured porcelain mosaics deliver the look with a fraction of the upkeep.
Key takeaways
- A pebble floor is mostly grout: the irregular stones leave far more exposed joint area than any standard tile, and grout is the weakest material in the shower.
- Natural stone pebbles are porous and need routine sealing — the Natural Stone Institute treats sealing as ongoing stone care, and few homeowners keep up the cadence.
- Failing grout between pebbles is not cosmetic: it is the surface opening up over the waterproofing, which is why pebble replacements often become pan inspections.
- Treasure Valley hard water accelerates the decline, building mineral scale into the textured surface that cleaning cannot fully remove.
- Textured 2-inch porcelain mosaics give the same barefoot grip and spa look with sealed-once-never-again maintenance — the standard recommendation for what goes back in.
Why did pebble shower floors take over — and then wear out?
The river-rock shower floor was everywhere in 2000s and early-2010s remodels, including plenty of Treasure Valley homes: natural texture, a built-in foot massage, and an instant spa look for the price of a mosaic sheet. The appeal was real. The material choice was the problem.
A shower floor is the hardest-working surface in the bathroom — soaked daily, scrubbed, walked on, and expected to stay perfectly sealed over the waterproofing below. Pebble sheets put two maintenance-hungry materials in that role at once: porous natural stone, and an enormous amount of grout. Most pebble floors do not fail suddenly; they decline steadily from the first year, and by year ten many look and perform far older than the tile around them.
The grout problem: a pebble floor is mostly joints
Lay a sheet of round stones and the gaps between them have to be filled with grout — and because the stones are irregular, the grout ends up covering a dramatically larger share of the surface than the thin, straight joints of a standard tile floor. Walk on a pebble floor and you are largely walking on grout.
Grout is the weakest, most porous material in the shower. On a floor it takes foot traffic, flexes with the pan, holds soap residue, and absorbs water unless it is sealed and stays sealed. Multiply that by the outsized joint area of a pebble floor and you get the familiar decline: grout that darkens and patches unevenly, hairline cracks around individual stones, then loose and missing grout — and eventually loose pebbles.
Recurring grout failure on a shower floor is not just ugly. The grout and stone are the wear surface protecting the pan membrane below; when the surface opens up, water starts working on the assembly underneath. That is why a pebble floor that keeps shedding grout has usually earned a look at the pan itself, not another tube of grout repair.
The sealing burden nobody keeps up with
Most pebble sheets are natural stone — river rock, quartzite, marble mixes — and natural stone in a wet zone needs sealing as ongoing care, not a one-time step, per the Natural Stone Institute’s stone-care guidance. On a shower floor, where water sits and traffic wears the sealer away, that means resealing on a recurring schedule for the life of the floor.
Almost nobody does it. The sealer wears off invisibly, the stones start absorbing water and soap, and the floor develops the blotchy, always-damp look that no amount of scrubbing fixes. Unsealed stone also holds onto minerals — and with the Treasure Valley’s hard water, scale builds into the textured surface and the grout valleys where a squeegee cannot reach.
The honest test for your pebble floor
Sprinkle a few drops of water on the dry stones. If it darkens them within a minute or two instead of beading, the sealer is gone and the floor has been absorbing shower water for a while. Pair that with cracking or missing grout, and you are past maintenance and into replacement territory.
When is a pebble floor done — reseal or replace?
A pebble floor that is structurally sound but dull can be deep-cleaned, regrouted where needed, and resealed — a maintenance project, with the understanding that the sealing clock restarts immediately and permanently.
Replacement is the right call when the failure is structural or chronic: pebbles that move or have come out, grout missing in patches larger than hairlines, a floor that stays discolored after cleaning, water stains showing outside the shower or on a ceiling below, or a floor that has already been regrouted once and failed again. At that point the surface has stopped protecting the pan, and putting maintenance money into it is refinishing a failing assembly.
What should go back in: better floors than pebble
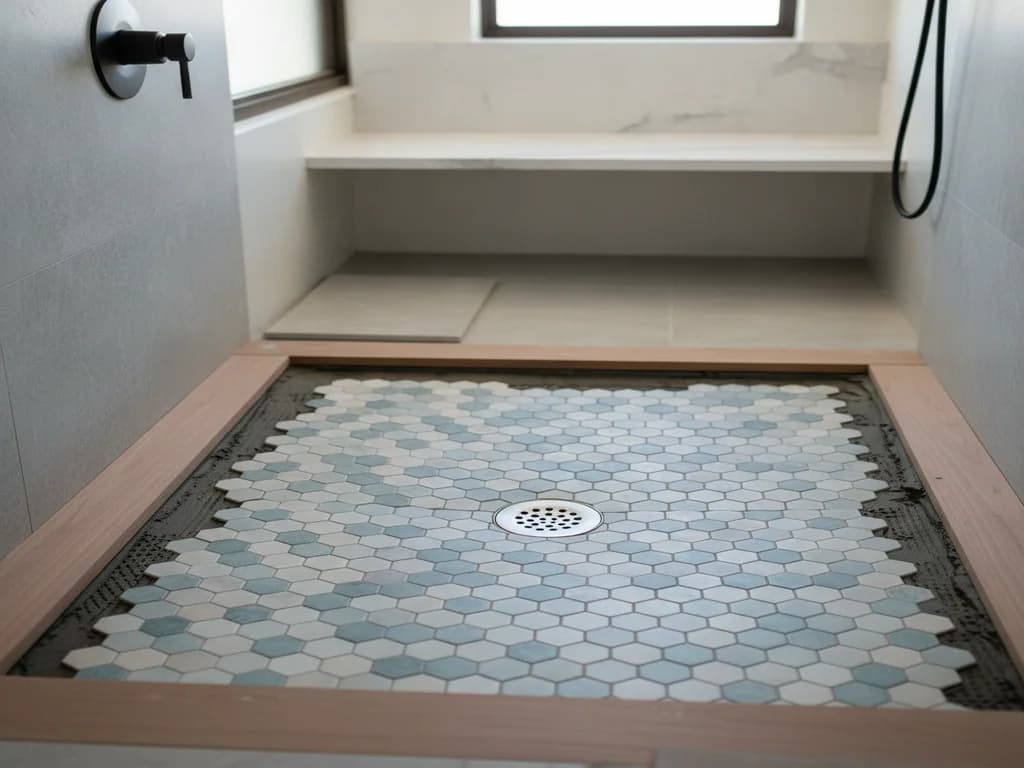
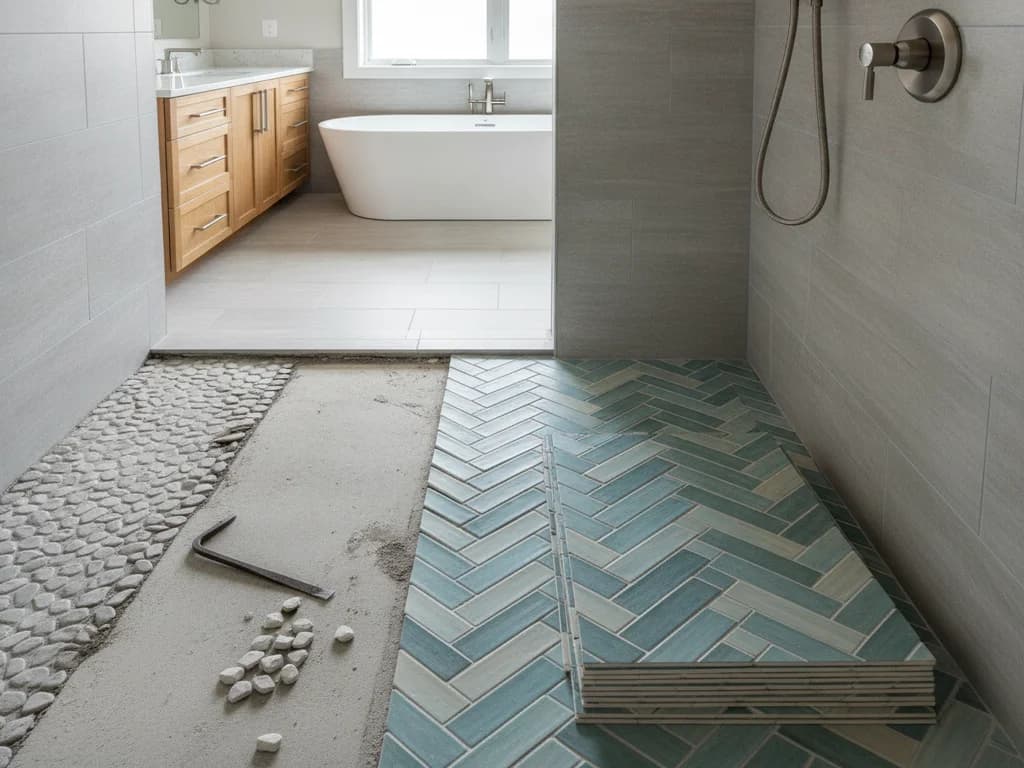
The good news is that the two things people loved about pebble — barefoot grip and natural texture — are exactly what modern porcelain mosaics are designed to deliver without the upkeep. Porcelain is effectively non-porous, never needs sealing, and the small 2-inch format gives a shower floor the many-joint flexibility it needs for slope while keeping the joints thin and straight.
Textured, matte, stone-look porcelain mosaics get remarkably close to the river-rock aesthetic; hexagon and penny-round formats read spa-modern; and if real stone is non-negotiable, a dense flat-cut stone mosaic is a better-behaved choice than round pebbles — though the sealing cadence comes with it. Tile industry standards from the TCNA also favor smaller floor mosaics for exactly the slope-conformance reason.
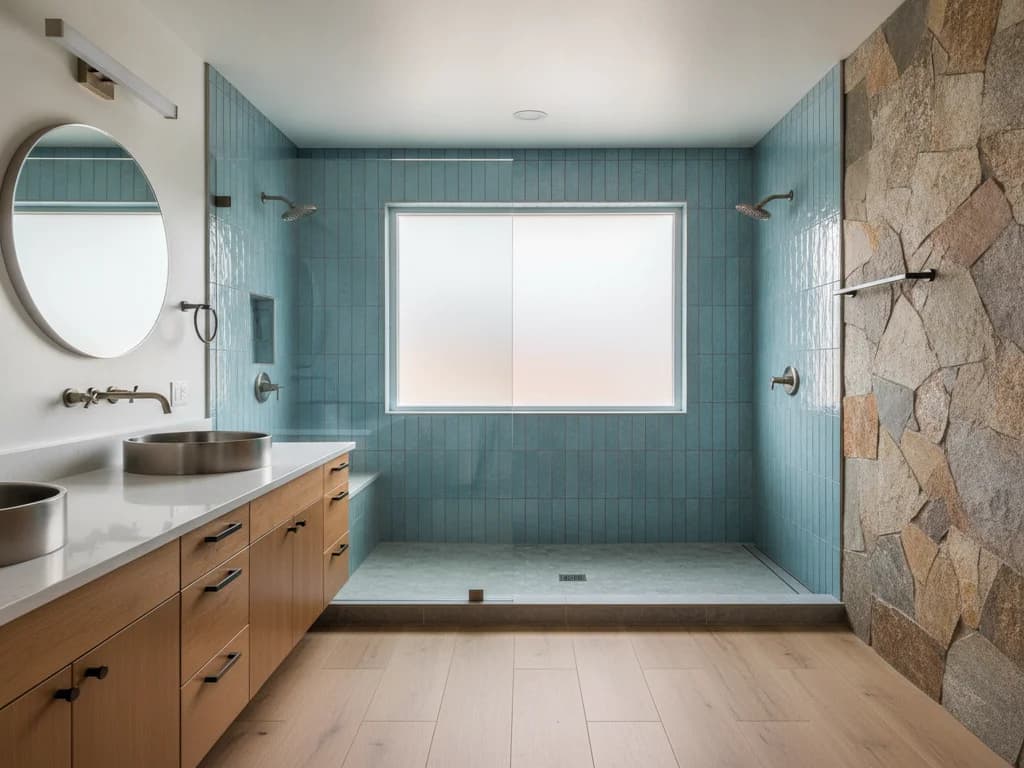
If the whole shower is opening up anyway, it is also the natural moment to rethink the floor entirely — a curbless entry rebuilds the pan and floor as one project, and a linear drain pairs well with the large-format looks that pebble floors never allowed.
| Option | Grip | Sealing | Look | Maintenance |
|---|---|---|---|---|
| Textured porcelain 2" mosaic | Excellent | Never | Stone-look, matte, modern | Low |
| Porcelain penny round / hex | Very good | Never | Spa-classic | Low |
| Flat-cut stone mosaic | Good | Recurring | Genuine natural stone | High |
| New pebble sheets | Excellent | Recurring | River rock | Highest — same cycle again |
What the replacement involves — and why it is rarely floor-only
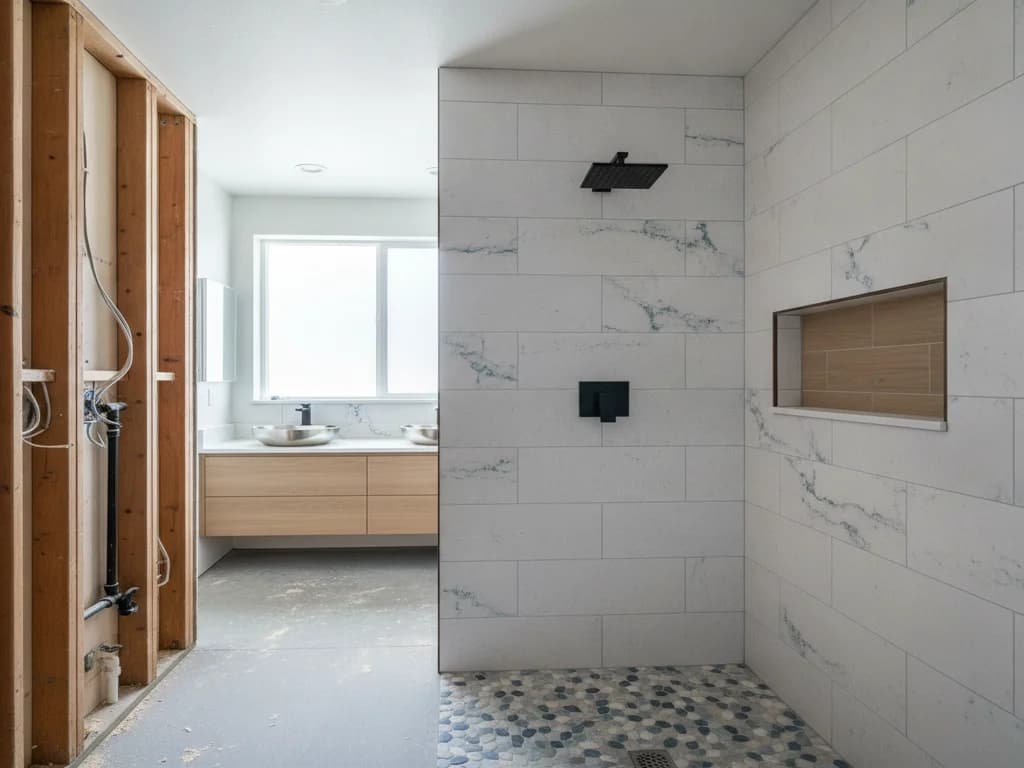
The shower floor is the top layer of the pan system, so replacing it means removing the pebbles and their setting bed down to the membrane — and the condition of that membrane decides the scope. A pebble floor replaced early, over an intact pan, can be a floor-and-lower-wall project. A pebble floor that spent years leaking through failed grout usually reveals a compromised pan, and the project becomes a pan replacement — for context, national guides such as HomeAdvisor put pan replacement roughly between $1,000 and $3,500 installed before tile variables.
Either way, the bottom course of wall tile typically comes off so the wall waterproofing can lap over the rebuilt floor correctly — the same tie-in covered in our shower waterproofing guide. Plan on two to five days depending on what the demo reveals.
What the process looks like
- 1
Assess the floor and the evidence around it
The contractor checks for loose stones, missing grout, and absorption, and looks for escaped moisture at baseboards or the ceiling below — setting expectations for whether this is a floor project or a pan project.
- 2
Protect the bathroom and demo the pebble surface
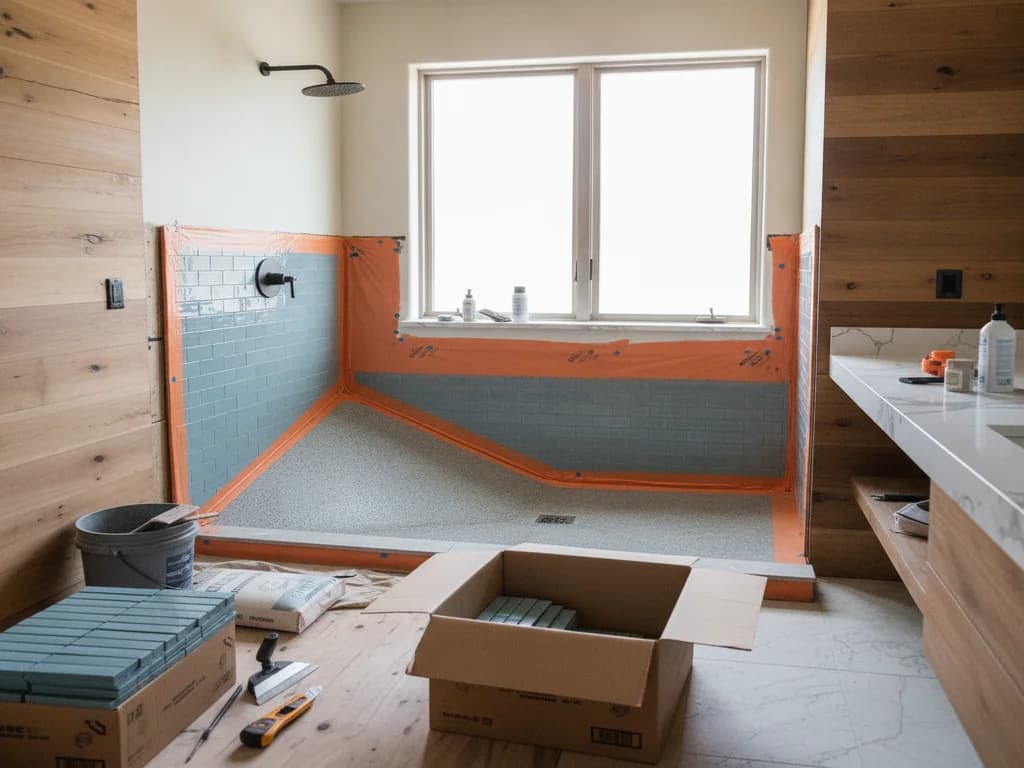
The pebble layer and its setting bed are chipped out down to the membrane, along with the bottom course of wall tile for the waterproofing tie-in.
- 3
Inspect the pan and subfloor
The exposed membrane and, where warranted, the structure below are evaluated and photographed — the decision point between resurfacing over a sound pan and rebuilding a failed one.
- 4
Rebuild or verify the pan
A compromised pan is replaced with a new sloped, waterproofed assembly; a sound one is prepped and its slope verified before anything goes back on top.
- 5
Set the new floor
The new mosaic is set to the slope, the wall tie-in course is rebuilt, and joints are grouted — with flexible sealant, not grout, at the plane changes.
- 6
Water-test and finish
The floor and drain connection are water-tested, stone (if chosen) gets its initial seal, and the shower is cured before returning to service.
Ready to plan your Boise bathroom?
Licensed & insured · 3-year workmanship warranty
Frequently asked questions
- Why does the grout in my pebble shower floor keep cracking and falling out?
- Because a pebble floor asks more of grout than any other shower surface. The irregular stones create a huge joint area, the floor flexes underfoot, and water and traffic attack the grout daily. Once cracks start, water gets behind neighboring joints and the failure spreads. Chronic grout loss also means the pan below is being exposed to water — worth an inspection, not just repair.
- Can I just regrout and reseal my pebble shower floor instead of replacing it?
- If the stones are all tight, the grout loss is limited to hairlines, and there is no sign of moisture escaping the shower — yes, a deep clean, spot regrout, and reseal buys time. But it restarts a permanent maintenance cycle, and a floor that has already been regrouted once and failed again is telling you the surface is done as a system.
- How often does a pebble shower floor need to be sealed?
- Natural stone in a wet, high-traffic zone needs recurring sealing for its lifetime — the Natural Stone Institute treats sealing as ongoing stone care rather than a one-time step, and a shower floor is the most demanding case. The practical answer: test with water drops periodically, and reseal whenever the stones darken instead of shedding water. Most homeowners quietly fall behind, which is how these floors decline.
- What is the best replacement for a pebble shower floor?
- For most homeowners, a textured matte porcelain mosaic in a 2-inch format — it keeps the barefoot grip and small-tile look, conforms to the floor slope, and never needs sealing. Penny rounds and hexagons are the spa-classic alternatives. Real stone remains available for purists, but it re-signs you up for the sealing schedule that wore out the pebble floor.
- How much does it cost to replace a pebble shower floor?
- The floor surface itself is a modest tile project — the swing factor is the pan underneath. If the membrane is intact, you are paying for demo, a mosaic floor, and the wall tie-in. If years of failed grout have compromised the pan, the job becomes a pan replacement, which HomeAdvisor puts at roughly $1,000–$3,500 installed before tile choices. The demo answers which project you have.
Sources
- Natural Stone Institute
- Tile Council of North America (TCNA)
- HomeAdvisor — True Cost Guide
- This Old House — Bathrooms
Claims and figures are drawn from the sources above and provided for general guidance; your project may vary. Photography is illustrative of design concepts. For a fixed price on your specific bathroom, request a free estimate.