Updated July 16, 2026 · 7 min read
By Boise Bath — bathroom & shower remodeling in Boise & the Treasure Valley
The short answer
Physically, yes — flooring can be cut around a toilet base. Practically, no: professionals always pull the toilet first. A new floor raises the finished height, leaving the flange recessed below it, and cutting around the base creates a caulked seam that traps water. Removal takes minutes; the leaks a worked-around flange causes take years to surface.
Key takeaways
- Flooring around a toilet is a visible shortcut: a scribed seam at the base that collects water, plus a locked-in footprint if the toilet is ever swapped for a different shape.
- The real issue is invisible — every new floor layer raises the finished height, leaving the closet flange recessed below the surface it is supposed to sit on.
- A recessed flange stretches the wax seal past what it can reliably close, and a slow seal leak soaks the subfloor for months before anything shows.
- Pulling a toilet is one of the cheapest steps in the whole flooring job — minutes of work against years of leak risk.
- The right sequence is always: toilet off, floor installed complete, flange height corrected with an extender if needed, new seal, toilet reset.
- If the floor around the toilet is already soft or stained, the project starts with a subfloor inspection, not with new flooring.
Yes it is possible — here is why pros refuse anyway
You can cut vinyl, laminate, or even tile around a toilet base. Big-box tutorials show it, and plenty of flipped houses prove it happens. The toilet stays put, the new floor gets scribed to the curve of the bowl, and a heavy bead of caulk hides the joint.
Professionals will not do it, and not out of fussiness. A toilet takes minutes to pull: water off, tank drained, two closet bolts, lift. Against that trivial effort, working around it buys three real problems — an ugly seam that traps water at the wettest spot in the room, a footprint lock-in if the toilet ever changes shape, and a flange-height error hidden underneath that can leak for months before anyone knows.
The first two problems are cosmetic and inconvenient. The third one rots floors. That is the one worth understanding.
The flange-height problem: the real reason removal is non-negotiable
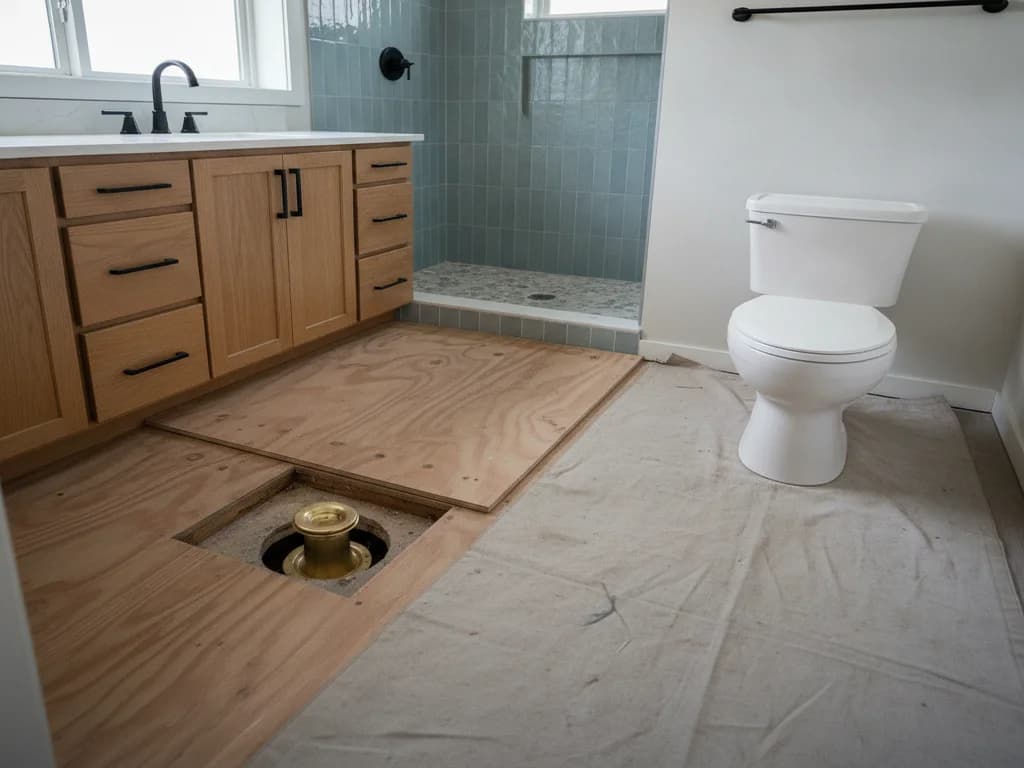
The closet flange — the ring the toilet bolts to — is designed to sit on top of the finished floor, or at most flush with it. That geometry is what lets a standard wax ring compress into a reliable seal between the toilet horn and the drain.
Every new floor layer raises the finished surface. Add a quarter-inch of LVP, or half an inch or more of backer and tile, and a flange that used to sit correctly is now recessed below floor level. Floor around the toilet and that error is permanent — sealed under material you just paid for.
A recessed flange forces the wax seal to bridge a gap it was never sized for. Installers compensate by stacking wax rings or squashing extra-thick ones, and sometimes it holds. When it does not, the failure is the quiet kind: a faint seep at every flush, wicking into subfloor, invisible until the floor softens or a ceiling stain appears below. What that repair involves is its own article — replacing the bathroom floor under a toilet — and it is a far bigger job than the flooring project that caused it.
A recessed flange under a new floor is a delayed leak
Flooring around a toilet locks the flange below the new finished height, where a standard wax seal cannot reliably close the gap. The failure mode is slow seepage into the subfloor at every flush — invisible for months. Correct flange height while the floor is open; never bury the problem under new material.
The wax seal is single-use — and it was coming off anyway
Even if height were not an issue, the seal itself settles the argument. A wax ring is a one-time gasket: it compresses when the toilet is set and never springs back. Any disturbance — including the flexing and bumping of a flooring crew working tight around the base — can break a seal that will not reseal itself.
That means the honest version of "leave the toilet in place" still ends with pulling the toilet, because a responsible installer wants a fresh seal under any toilet that has been worked around. At which point the shortcut has saved nothing.
The pull is also free diagnostics. With the toilet off, the flange gets inspected for cracks and corrosion and the subfloor around it gets probed — the exact check that catches hidden water damage before new flooring covers it. That ten-minute look is the most valuable part of the sequence, the same inspection at the heart of replacing a toilet.
What flooring around a toilet looks like in two years
Start with the visible seam. The scribed cut around a toilet base is never as tight as a factory edge, so it gets caulked — and that caulk line sits at the splash zone of the room, collecting the drips and cleaning water that a toilet base attracts. Caulk in that service yellows, peels, and gets re-done, or it silently admits water to the cut edge of the flooring. For click-lock LVP and laminate, a wet cut edge is the swelling point.
Then the footprint. Toilet bases vary by brand and model — round-front versus elongated, skirted versus exposed trapway. Replace the toilet later with almost anything else and the old outline shows as bare subfloor around the new base. What was a flooring shortcut becomes a visible patch, or a second flooring job.
And underneath, whatever the flange situation was, it still is. Two years is roughly when a marginal wax seal on a recessed flange starts announcing itself — a rocking toilet, a stain at the base, a smell that cleaning does not fix.
| Factor | Floor around the toilet | Pull and reset |
|---|---|---|
| Time saved | Minutes | — |
| Edge at the base | Scribed cut + permanent caulk seam | Flooring runs under; clean bolt-down on top |
| Flange height | Locked below new floor level | Corrected with an extender while floor is open |
| Wax seal | Old, disturbed, unreliable | New seal, set once, correctly compressed |
| Future toilet swap | Must match old footprint | Any model fits |
| Subfloor inspection | Skipped | Automatic while the toilet is off |
What the correct sequence looks like
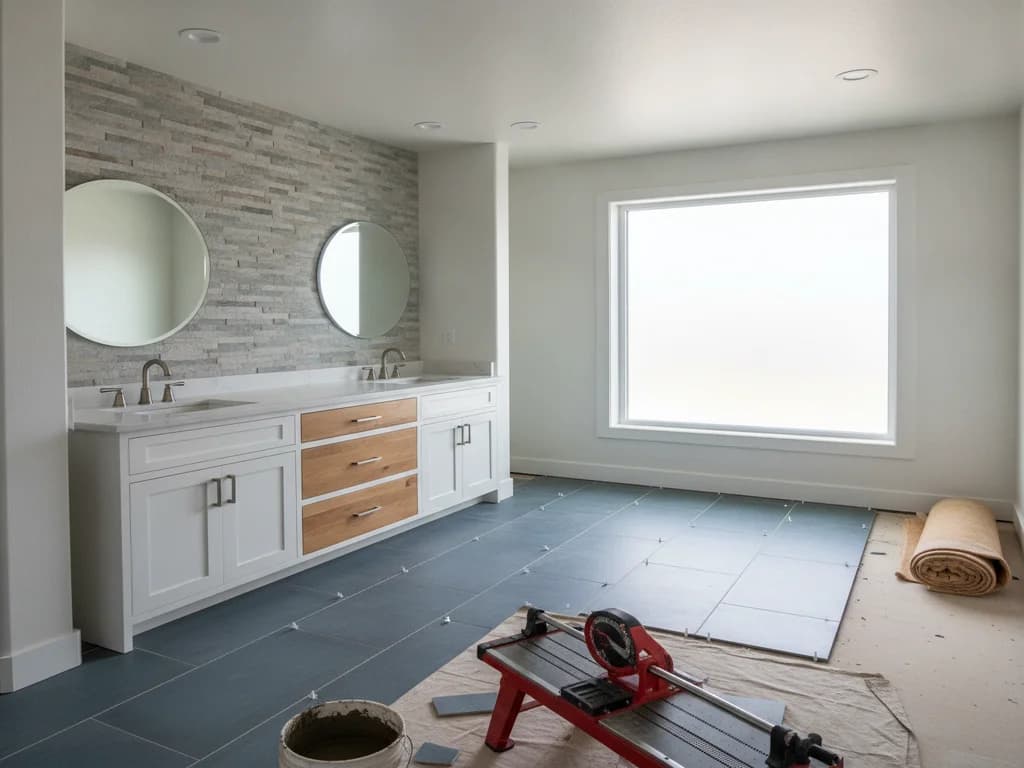
Done right, the toilet is the first thing off and the last thing back on. The supply is shut, the tank and bowl are emptied, the closet bolts come out, and the old wax is scraped off the flange. The new floor then runs complete — under where the toilet sits, tight to the flange opening — with no scribing and no seam.
With the finished height established, the flange gets corrected, not accommodated. If the new floor leaves it recessed, a flange extender ring builds it back up so it sits flush with or atop the new surface — a standard, inexpensive part that exists precisely because floors get replaced. A cracked or corroded flange gets repaired at the same time.
Then a fresh seal, new closet bolts, and the toilet set plumb in one motion. In Boise, a like-for-like reset over an existing drain typically stays clear of permit territory, but flange repairs that cut into the drain plumbing fall under City of Boise Planning & Development Services — a call a licensed contractor makes before the work, not after.
The cost math: this is the cheapest step in the job
Pulling and resetting a toilet is minor labor — national cost guides such as HomeAdvisor put professional toilet installation, including removal, at a couple hundred dollars in typical cases, and as a line inside a flooring job the pull-and-reset is smaller still. A wax ring and bolts are pocket change; a flange extender is a small add.
Compare that with the downside case: a slow seal leak that soaks subfloor for a year. That repair means pulling the new floor around the toilet, cutting out rotten structure, and refinishing — the full sequence in replacing the bathroom floor under a toilet, at multiples of the entire original flooring budget.
This is also the natural moment to upgrade the toilet itself if it is old — the fixture is already off, so a swap adds only the cost of the new unit. And if the bathroom is trending toward a bigger refresh, flooring plus fixtures is exactly where a full bathroom remodel starts making sense as one coordinated job instead of serial small ones.
One exception worth naming — and one hard stop
The near-exception is a genuinely temporary floor: a peel-and-stick refresh in a rental you are patching for a season. Even then the seam and caulk problems apply, but the flange stakes are lower because the added height is minimal. It is a compromise with open eyes, not good practice.
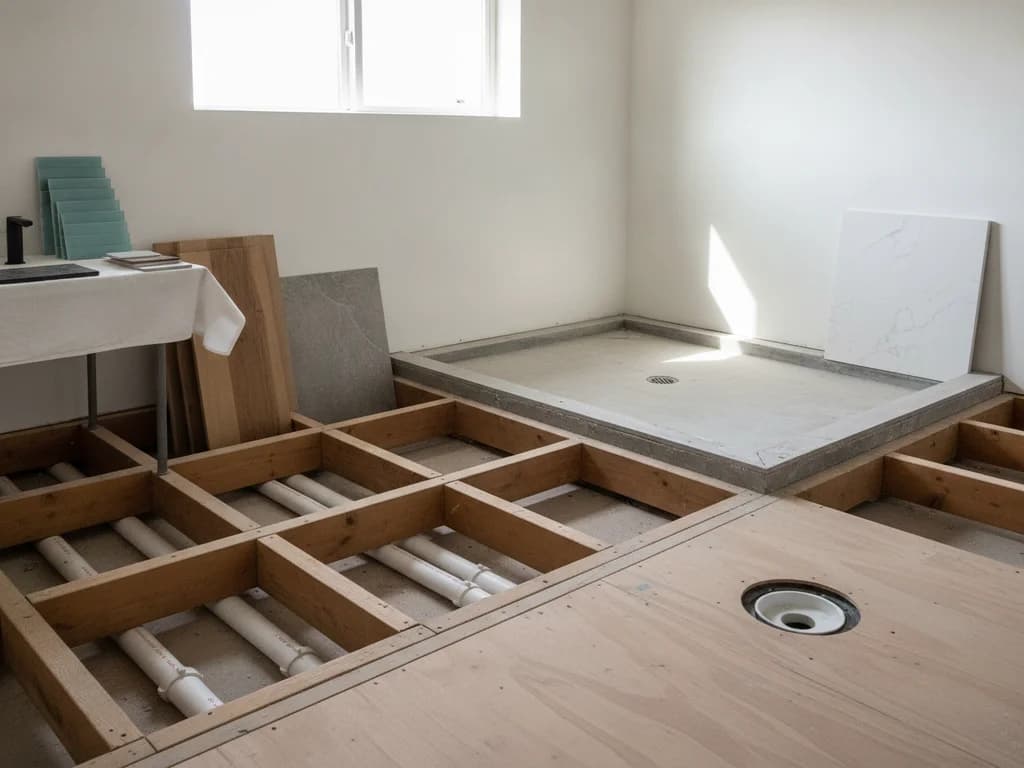
The hard stop runs the other way. If the floor around the toilet is already soft, spongy, or stained, do not plan a flooring project at all yet — plan an inspection. Softness at the toilet means the old seal has been leaking, and new flooring over compromised subfloor fails fast. The warning signs and what they mean are covered in replacing a rotten bathroom floor.
Everything else — which material goes down, how transitions and heights get handled room-wide — lives in our main guide to replacing bathroom flooring.
Ready to plan your Boise bathroom?
Licensed & insured · 3-year workmanship warranty
Frequently asked questions
- Do you have to remove the toilet to install new bathroom flooring?
- Strictly, no — flooring can be cut around the base. But every professional standard points to removal: the flange must end up flush with or above the new finished floor, the wax seal should be replaced once disturbed, and a scribed caulk seam at the base traps water. Removal takes minutes and eliminates all three problems, which is why pros treat it as non-negotiable.
- What happens to the toilet flange when the floor gets thicker?
- It ends up recessed below the new finished floor, when it is designed to sit flush with or on top of it. A recessed flange forces the wax seal to bridge a larger gap than it is sized for, which invites slow seepage into the subfloor at every flush. The fix is a flange extender ring installed while the floor is open — cheap and standard.
- Can you put LVP around a toilet without removing it?
- You can cut it, but the cut edge at the base has to be caulked, and click-lock LVP swells if water reaches an unsealed edge — and the toilet base is the wettest spot in the room. Pulling the toilet lets the planks run under the footprint with the flange opening cleanly framed, no vulnerable seam, and a fresh seal on reset.
- How much does it cost to remove and reset a toilet during a flooring job?
- It is one of the smallest line items in the project. National guides like HomeAdvisor put standalone professional toilet installation at roughly a couple hundred dollars, and within a flooring job the pull-and-reset is typically less — plus a few dollars for a new wax ring and bolts, and a small add if a flange extender is needed.
- Can stacking two wax rings fix a low flange?
- It is a common improvisation, not a fix. Doubled wax can hold, but it is unstable under the slight movement every toilet sees, and failures leak slowly into the subfloor where they go unnoticed. The correct repair is a flange extender that restores proper height — so a single standard seal compresses the way it was designed to.
- The floor around my toilet already feels soft — can I just floor over it?
- No. Softness at the toilet means water has been getting past the seal and the subfloor is compromised. New flooring over rotten structure fails quickly and hides the damage while it spreads. The toilet needs to come off and the subfloor opened and repaired first — that inspection and repair is its own project, and it comes before any new finished floor.
Sources
- HomeAdvisor — True Cost Guide
- City of Boise — Planning & Development Services
- This Old House — Bathrooms
- Fine Homebuilding
Claims and figures are drawn from the sources above and provided for general guidance; your project may vary. Photography is illustrative of design concepts. For a fixed price on your specific bathroom, request a free estimate.