Updated July 16, 2026 · 8 min read
By Boise Bath — bathroom & shower remodeling in Boise & the Treasure Valley
The short answer
Replacing bathroom drywall means matching board to zone: moisture-resistant gypsum (greenboard or purple board) on general walls and ceilings, and cement board or a listed backer — never greenboard — behind tile in showers and tubs, per IRC and TCNA guidance. Small, dry, isolated damage can be patched; soft, stained, or moldy board gets cut back and replaced.
Key takeaways
- Greenboard and purple board are moisture-resistant, not waterproof — they belong on general bathroom walls and ceilings, outside the wet zone.
- Behind tile in a shower or tub surround, code and industry standards call for cement board, fiber-cement, or glass-mat backer — the IRC removed greenboard as an approved wet-area tile backer years ago.
- Paper-faced drywall is mold food; paperless purple board resists mold growth but still cannot serve as a wet-area tile backer on its own.
- Patch when damage is small, dry, and isolated; replace when board is soft, crumbling, stained from behind, or moldy over a wide area.
- The EPA advises professional remediation guidance when mold covers more than about 10 square feet — a common finding behind failed shower walls.
- Hanging and finishing drywall typically runs roughly $1.50 to $3.50 per square foot installed, per HomeAdvisor — cheap enough that replacing suspect board rarely deserves hesitation.
Why bathroom drywall fails in the first place
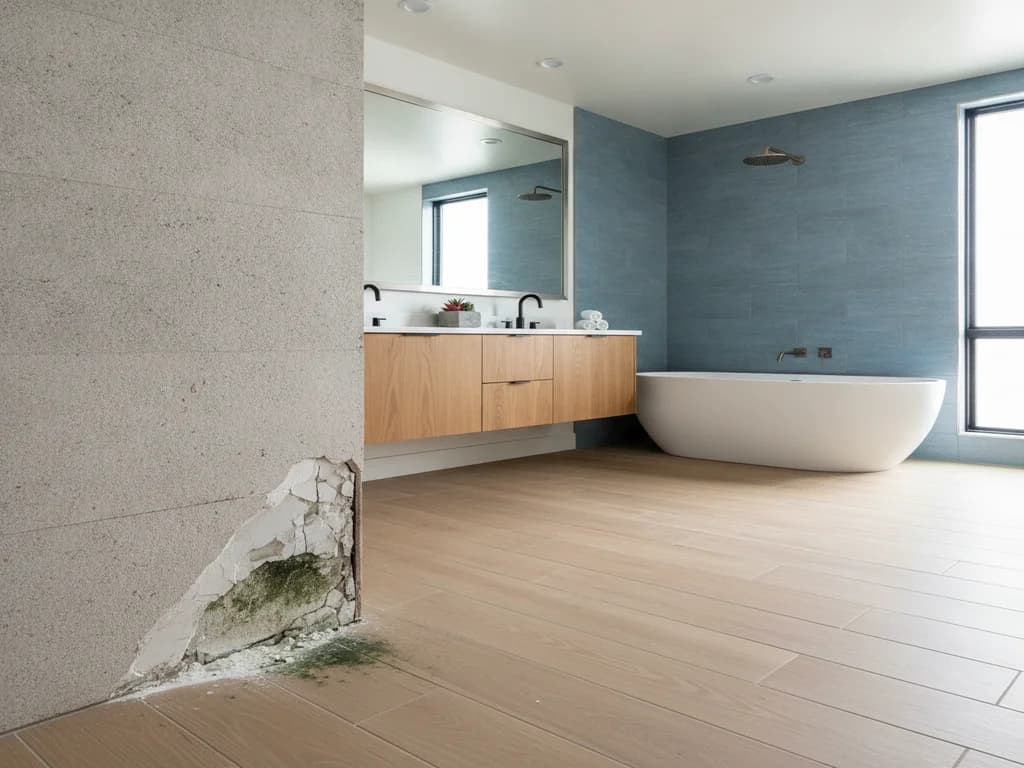
Standard drywall is gypsum wrapped in paper, and paper is exactly what moisture and mold want. In a bathroom, board fails from three directions: humidity working on the surface year after year, splash zones around tubs and vanities wicking water into cut edges, and leaks inside the wall — a fitting, a valve, a failed shower pan — soaking it from behind.
The failure you can see is usually late-stage: bubbling paint, tape seams lifting, a soft spot that gives under thumb pressure, or the tea-colored staining of a slow leak. What you cannot see is the more common problem — mold on the back face of the board, growing quietly in the wall cavity where the paper stays damp.
That is why the diagnosis matters more than the patch. Damaged drywall is a symptom; the cause is ventilation, a leak, or the wrong board in the wrong zone — and replacing board without fixing the cause just resets the clock on the same failure.
Greenboard, purple board, cement board: where each belongs
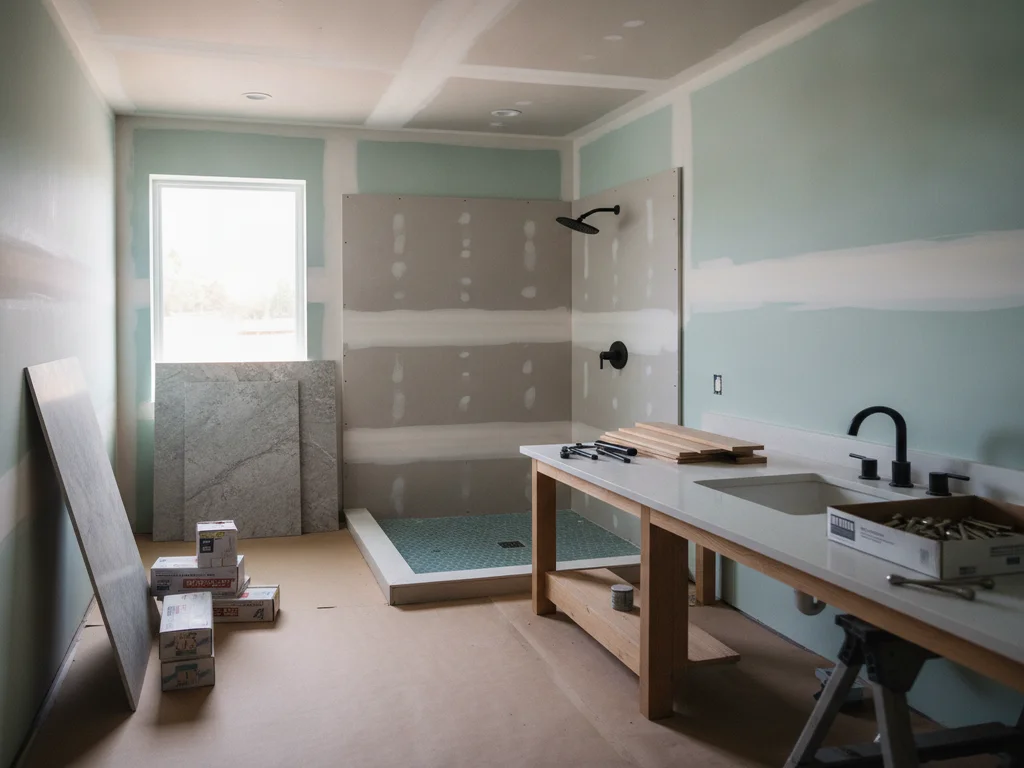
The board aisle sorts into three honest tiers. Moisture-resistant gypsum — classic greenboard — uses treated paper and a water-resistant core to shrug off humidity better than standard board. Paperless mold-resistant board — the purple family, with fiberglass mats instead of paper facing — removes the mold food entirely and handles humidity better still. Cement board and its cousins (fiber-cement, glass-mat backer, foam board systems) are a different species: dimensionally stable when wet, and built to carry tile in places that get soaked.
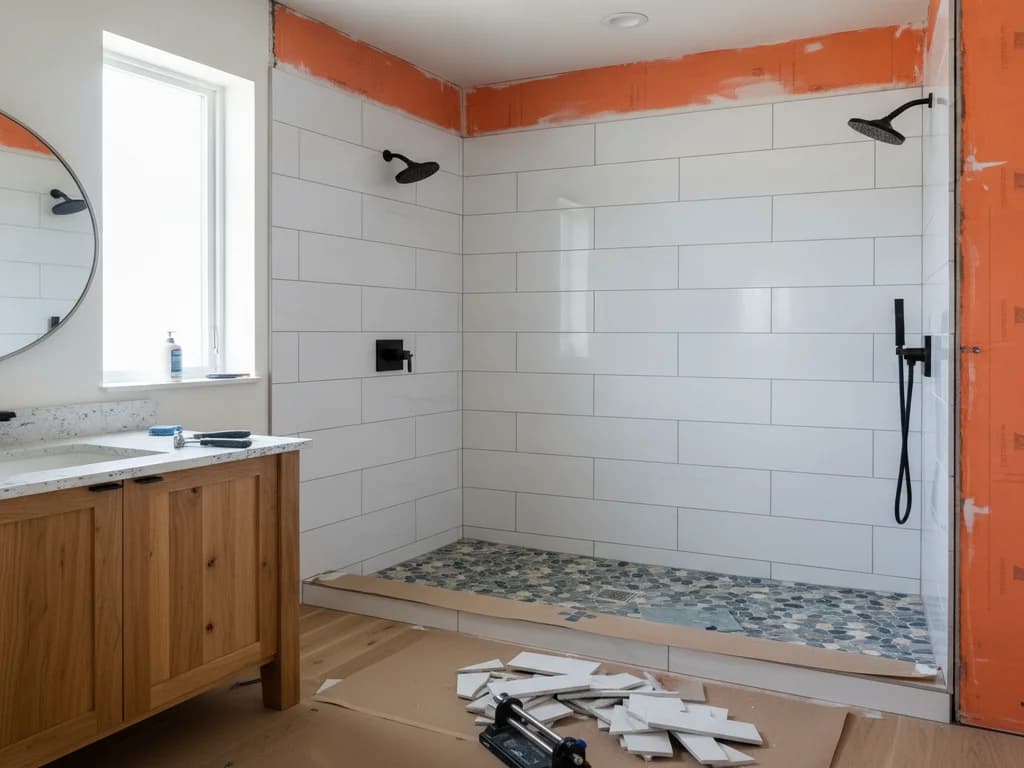
The zoning rule is simple. General bathroom walls and ceilings: moisture-resistant or paperless gypsum. Splash-adjacent areas outside the enclosure: same, with paperless board the better spend. Inside the shower or tub surround, behind tile: cement board or an equivalent listed backer, paired with a waterproofing layer — a membrane or coating, because cement board resists water but does not stop it.
Manufacturer systems formalize this: backer and membrane products from companies like Custom Building Products are specified as assemblies, and the Tile Council of North America publishes the standard methods for wet-area walls that tile installers bid against. When a contractor names the TCNA method they are building to, that is a good sign.
| Board | What it is | Belongs | Never |
|---|---|---|---|
| Standard drywall | Gypsum, paper faced | Nowhere in a bathroom if you can help it | Any bathroom wall in a remodel |
| Greenboard (MR gypsum) | Water-resistant core, treated paper | General walls & ceilings | Behind tile in showers/tub surrounds |
| Purple / paperless board | Gypsum with fiberglass facing, mold-resistant | General walls, ceilings, splash-adjacent areas | As the sole wet-area tile backer |
| Cement / glass-mat backer | Cementitious or glass-mat panel | Behind tile in showers and tub surrounds, with waterproofing | As a finish surface — it must be tiled or covered |
Greenboard behind shower tile is a known failure
For years greenboard was the default shower backer, and thousands of Treasure Valley bathrooms from the 1980s and 90s were built that way. The IRC has long since removed water-resistant gypsum as an approved tile backer in tub and shower wet areas — when it gets wet through grout, it softens, the tile lets go, and the wall rots. If your shower walls flex when pressed, that is likely what you are feeling.
When patching beats replacing
Not every ding is a tear-out. A doorknob hole, an old fixture cutout, or a small dry stain from a one-time, already-fixed leak patches cleanly and permanently. The tests are size, moisture, and cause: small, dry, and explained — patch it.
Replacement wins the moment any of those fail. Board that is soft or crumbling has lost its gypsum core and cannot hold a patch. Staining that keeps growing means an active leak. Mold across the surface — or damage in a wall you already know houses old plumbing — means the drywall is the least of it, and the cavity needs to be opened and inspected. Recurring damage in the same spot is the wall telling you the cause was never fixed.
One more honest tiebreaker: paint. A patch in the middle of a ten-year-old painted wall never quite disappears, while replacing a full panel to clean corners repaints invisibly. On a wall that is mostly damaged, replacement is often the faster, better-looking path — hanging and finishing drywall typically runs roughly $1.50 to $3.50 per square foot installed, per HomeAdvisor, which is cheap insurance against doing it twice.
The mold question, handled honestly
Surface mildew on paint wipes off and is a ventilation complaint, not a demolition order. Mold that has colonized the drywall itself — fuzzy growth on the surface, or discoloration bleeding through from the back — does not clean off, because the paper facing is the food source. That board gets cut out and discarded, full stop.
Scale matters. The EPA’s guidance draws a practical line around 10 square feet: below that, careful removal with containment-minded habits is reasonable; above it, or when mold keeps returning, professional remediation guidance applies. Behind a failed shower wall, findings above that line are not rare.
The permanent fix is upstream of the board: fix the leak, get the exhaust fan actually moving air, and rebuild with paperless board and a properly waterproofed wet zone. Our guide to mold prevention in a bathroom remodel covers the full defensive stack, and signs of bathroom water damage helps you read what the stains are saying before anything is opened.
Open walls are an opportunity, not just a repair
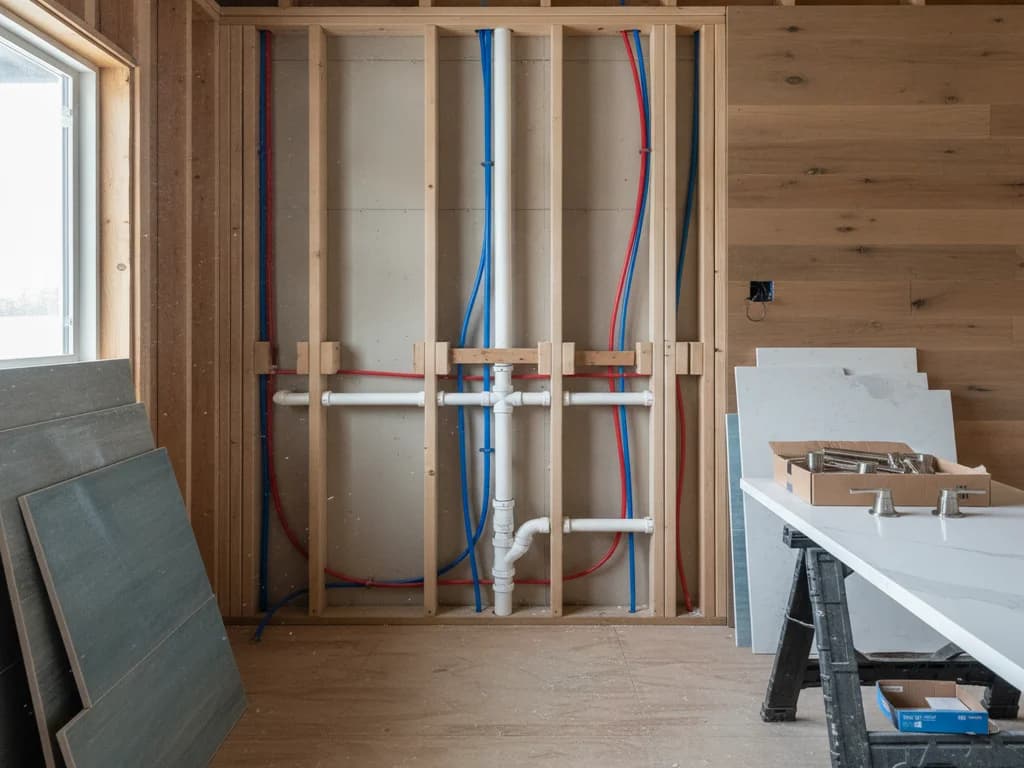
The most expensive part of wall work is the opening and the finishing — what happens in between is comparatively cheap. So while the studs are exposed, a good contractor reads the whole cavity: plumbing condition and material, wiring and box condition, insulation on exterior walls, and blocking for anything the bathroom will want later — grab bars, a wall-hung vanity, a heavier mirror.
In older Boise housing stock this is where the real decisions surface. Galvanized supply lines or aging drains found behind a failed wall change the conversation from drywall repair to replacing bathroom plumbing — and doing that discovery now, with the wall already open, costs nothing compared to opening it again in two years.
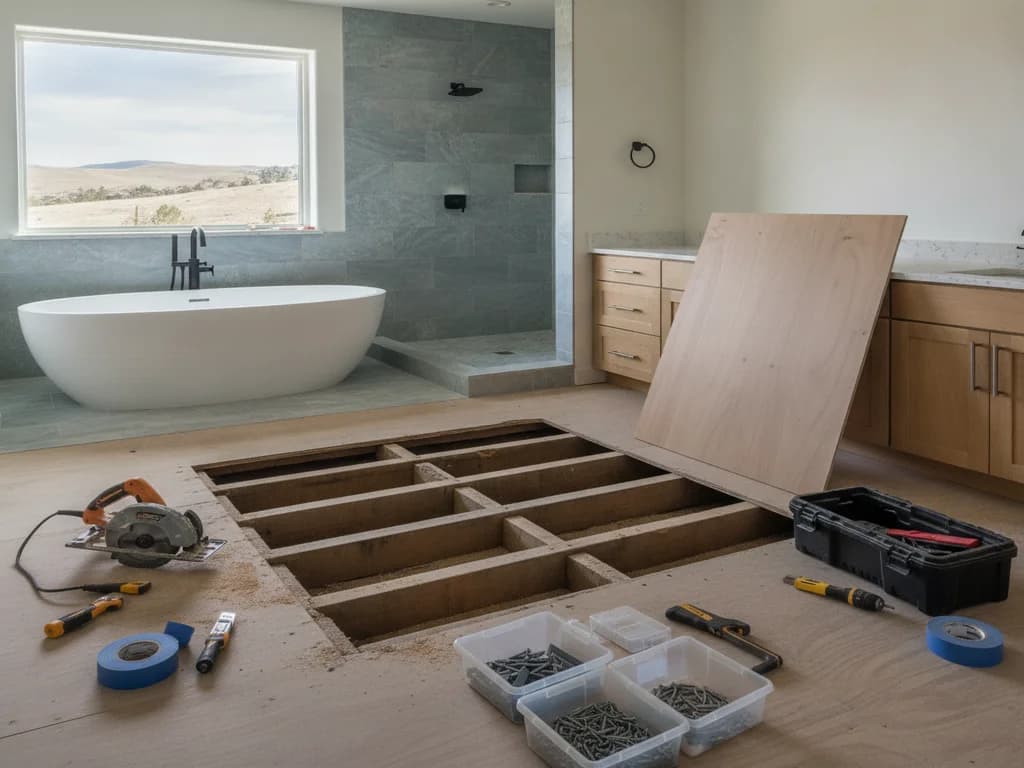
This is also the logic that folds wall repair into a full bathroom remodel: if the shower walls are coming off anyway, the incremental cost of doing the enclosure correctly — proper backer, real waterproofing, new tile — is a fraction of doing it as a standalone project later.
Finishing details that make it last
Rebuilding the wall is half the job; finishing it for a bathroom is the other half. Cut edges around tubs and fixtures get sealed, gaps get flexible sealant rather than rigid mud, and the paint system matters — a quality bathroom-rated paint over a proper primer handles washdowns and humidity that flat builder paint cannot.
The wet-area handoff deserves the most care: where the tiled enclosure meets the drywall field, the waterproofing and the board transition have to be detailed so water in the enclosure stays in the enclosure. That detail — more than any board choice — is what separates a fifteen-year bathroom wall from a five-year one. The full system logic lives in our shower waterproofing guide.
What the process looks like
- 1
Diagnose the cause before the demo
The source of the damage — leak, splash, condensation, or wrong board in a wet zone — is identified first, because replacing drywall over an unfixed cause guarantees a repeat.
- 2
Cut back to sound, dry material
Damaged board is cut out to the nearest studs past any softness, staining, or mold — never patched edge-to-edge against compromised material — with moldy sections bagged and removed.
- 3
Inspect and correct inside the cavity
Plumbing, wiring, insulation, and framing get inspected while exposed; leaks are repaired, and blocking is added for grab bars or heavy fixtures the bathroom will want.
- 4
Dry the cavity completely
Wet framing and cavities are dried and verified — often over days with air movement — before anything closes, because sealing moisture into a wall restarts the failure.
- 5
Hang the right board for each zone
Moisture-resistant or paperless gypsum goes on general walls and ceilings; cement board or listed backer goes in tile-bound wet areas, gapped and fastened to the manufacturer’s spec.
- 6
Waterproof the wet zone
Tile-bound areas get a membrane or liquid-applied waterproofing over the backer per the system spec — the layer that actually keeps water out of the wall, since no board does it alone.
- 7
Tape, finish, and seal
Seams are taped and finished with setting-type compound, edges and penetrations are sealed, and the field gets primer and bathroom-rated paint — with the exhaust fan verified working before the room goes back into service.
Ready to plan your Boise bathroom?
Licensed & insured · 3-year workmanship warranty
Frequently asked questions
- Can I use greenboard in a shower?
- Not behind tile in the wet area. Greenboard resists humidity, but the IRC removed water-resistant gypsum as an approved tile backer in tub and shower wet areas — through-grout moisture softens it, tile loses its bond, and the wall fails. Shower walls get cement board, fiber-cement, or glass-mat backer plus a waterproofing layer. Greenboard remains fine on the bathroom walls outside the enclosure.
- What is the difference between greenboard and purple drywall?
- Greenboard is gypsum with water-treated paper facing — moisture-resistant, but the paper can still feed mold if it stays damp. Purple-family board replaces paper with fiberglass mats, so there is no paper for mold to colonize, and it typically resists moisture at least as well. For bathroom walls the paperless board is the better spend; neither one substitutes for cement board behind shower tile.
- How much does it cost to replace bathroom drywall?
- Hanging and finishing drywall typically runs roughly $1.50 to $3.50 per square foot installed, per HomeAdvisor, so a single damaged wall is usually a modest job. The budget movers are what is found behind it — leak repairs, mold remediation, or plumbing work — and the finish quality on the way back: waterproofed backer in wet zones and bathroom-rated paint cost a little more and are worth it every time.
- Should moldy bathroom drywall be patched or replaced?
- Replaced. Mold colonizes the paper facing and often the back side you cannot see, so cleaning the visible surface leaves the colony in place. The affected board gets cut out past the visible growth to sound material, the cavity gets dried, and the cause gets fixed. The EPA advises professional remediation guidance when the affected area exceeds about 10 square feet — behind a failed shower wall, that threshold arrives fast.
- How do I know if the damage goes past the drywall?
- Press and look: board that is soft in an area larger than your hand, staining that returns after painting, a musty smell, or damage low on a wall shared with a tub or shower all point behind the board. The honest move is a small inspection opening rather than a cosmetic patch — five minutes with the cavity visible answers what months of guessing cannot, and reveals whether framing, insulation, or plumbing are involved.
Sources
- International Code Council (IRC/IBC)
- Tile Council of North America (TCNA)
- EPA — Mold
- HomeAdvisor — True Cost Guide
- Custom Building Products (RedGard)
Claims and figures are drawn from the sources above and provided for general guidance; your project may vary. Photography is illustrative of design concepts. For a fixed price on your specific bathroom, request a free estimate.