Updated July 16, 2026 · 7 min read
By Boise Bath — bathroom & shower remodeling in Boise & the Treasure Valley
The short answer
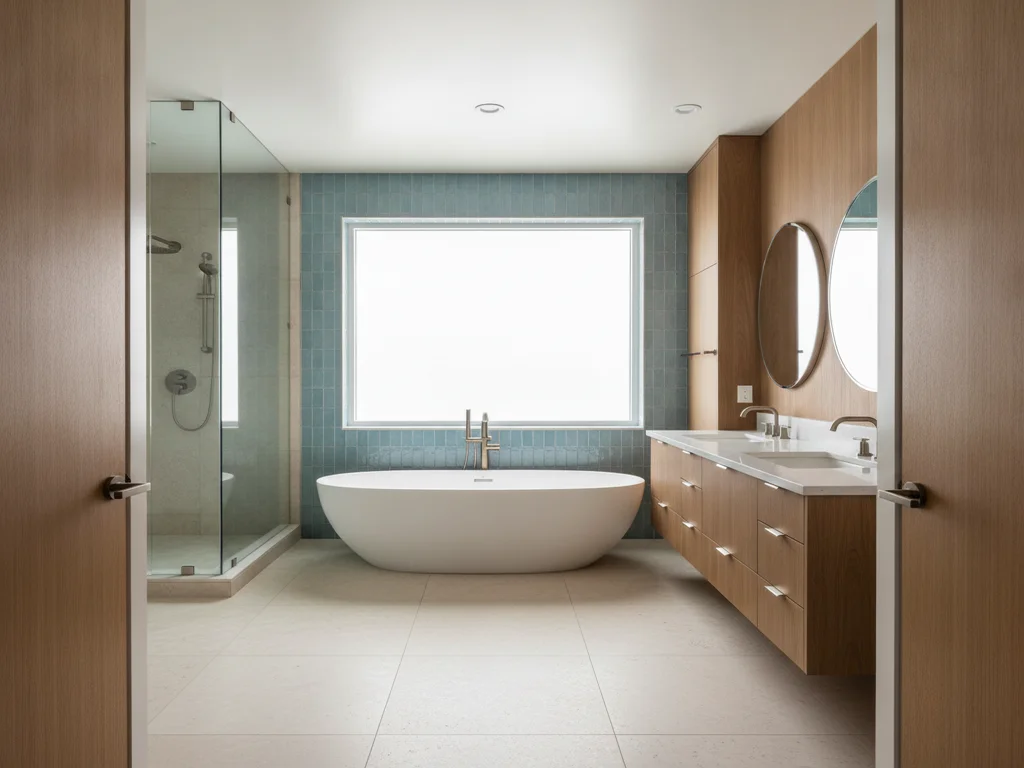
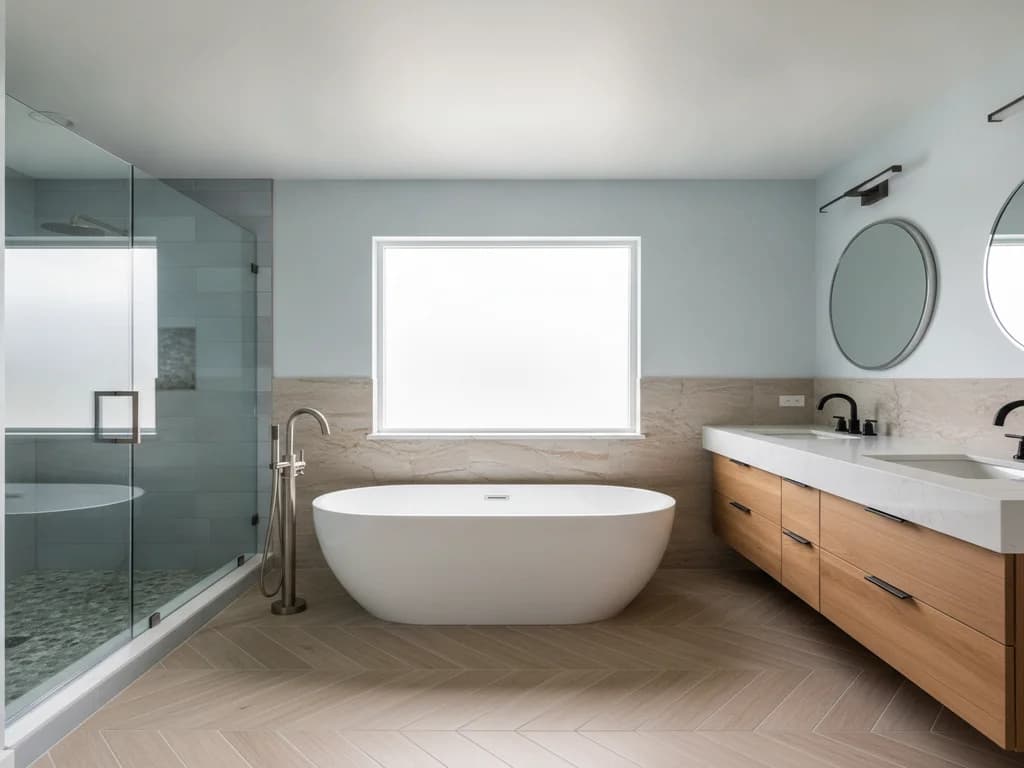
Replacing a built-in bathtub with a freestanding tub means removing the old tub and its surround, relocating the drain to the new tub’s position, running supply lines for a freestanding or floor-mounted filler, extending the flooring so it runs under the tub, and refinishing the exposed walls. Most conversions take several days to a week and need a plumbing permit.
Key takeaways
- This swap is a plumbing and flooring project first and a tub delivery second — the drain almost always moves, and the filler needs supply lines run to a new location.
- A floor-mounted tub filler is the most invasive choice: its supply lines run under the floor, which is straightforward over a crawl space and a real project over a finished ceiling or slab.
- Built-in tubs sit on subfloor; freestanding tubs sit on finished floor — so the flooring has to be patched or replaced to run continuously under the new tub.
- The walls the old surround covered need drywall and paint or tile, because a freestanding tub hides nothing.
- Boise and neighboring Treasure Valley cities require a plumbing permit whenever the drain, trap, or valve moves — which this conversion nearly always does.
Why this is a plumbing project, not a tub swap
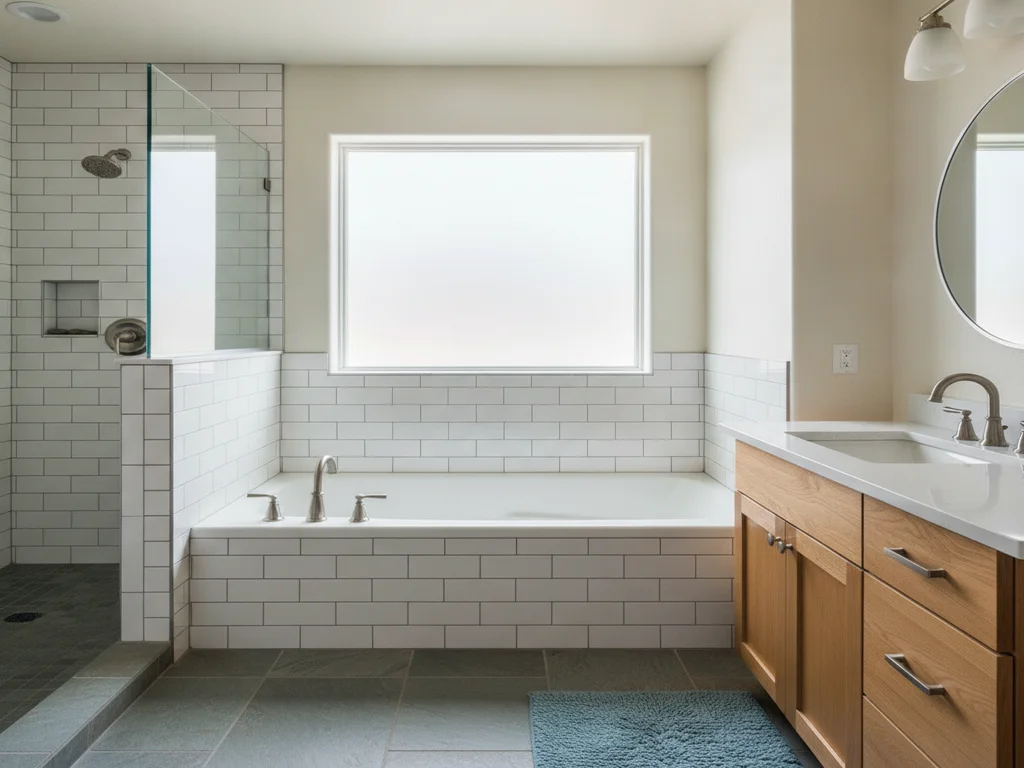
A like-for-like alcove replacement reuses the drain location and the valve in the wall. A freestanding conversion usually reuses neither. The new tub sits away from the walls, its drain lands in a different spot on the floor, and the old wall-mounted spout and valve are in the wrong place to serve it.
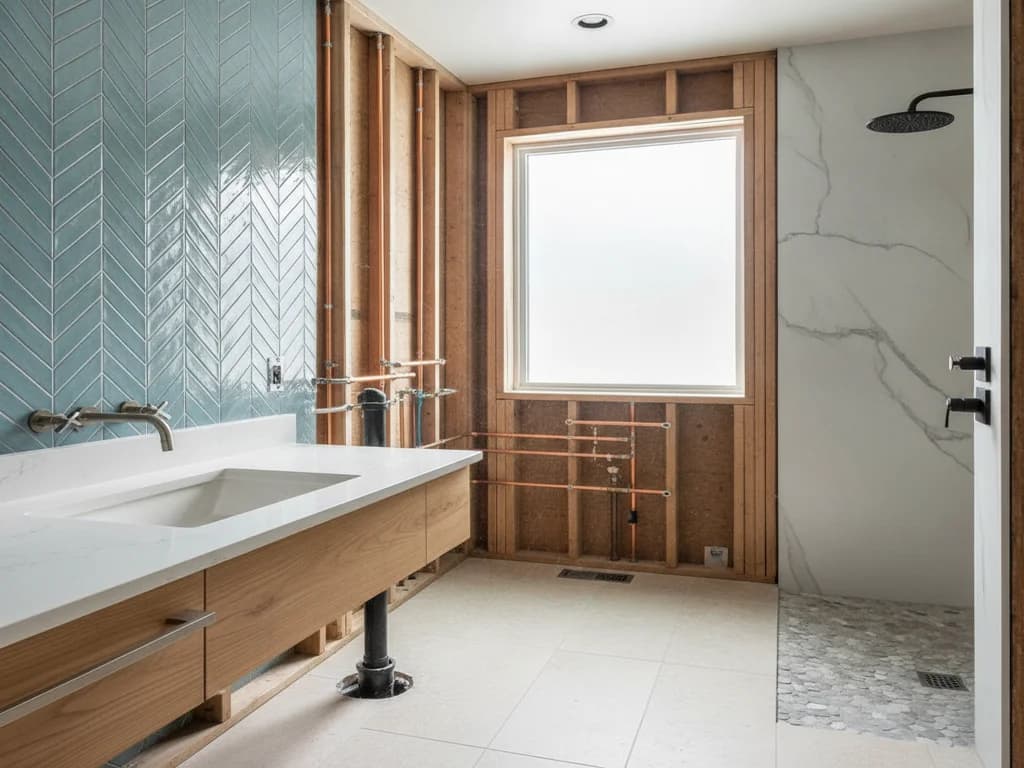
That means the real scope lives below the floor and behind the walls: relocating the trap and drain line, capping the old valve, and running new supply lines to wherever the filler mounts. The tub itself is often the easiest part of the job. If you are still weighing whether a freestanding tub is the right call at all, start with our comparison of freestanding vs. built-in tubs — this article assumes you have decided and explains what the conversion involves.
What happens to the old alcove or deck?
The old tub comes out the same way it does in any replacement: the drain and overflow are disconnected, the surround or deck is demolished enough to free the tub, and the tub is removed — broken up in place if it is cast iron, carried out whole if it is steel or acrylic. We cover that stage in detail in our bathtub replacement overview.
The difference is what happens next. An alcove swap rebuilds the surround; a freestanding conversion removes it entirely. The three walls that spent decades behind tile or panels come back as finished, painted drywall — or an accent of tile — because every inch of them is now visible. Budget for wall repair as its own line, not an afterthought.
The drain almost always moves
Freestanding tubs drain near their center or at one end, at a spot dictated by the tub you choose — and it rarely matches the old alcove drain sitting tight against a wall. The trap and a section of drain line get relocated under the floor to meet it, and the overflow, if the tub has one, is integral to the tub rather than plumbed through a wall.
How hard that is depends on what is under the bathroom. Over a crawl space or unfinished basement — common across Treasure Valley homes — a plumber works from below and the floor above barely knows it happened. Over a finished ceiling or a slab, access costs real money; the broader trade-offs are the same ones we walk through in bathroom plumbing relocation costs.
How does a freestanding tub get its water?
With no deck and no wall within reach, the filler is its own decision, and it drives more of the plumbing scope than anything else in the project.
A floor-mounted filler is the signature freestanding look — a tall standpipe rising next to the tub — and the most invasive to install. Its hot and cold supplies run beneath the floor and anchor to blocking between the joists, so the same access question that governs the drain governs the filler. Manufacturers like Kohler publish rough-in specs that lock the filler’s position before the flooring goes down, which is why the tub and filler get chosen before demo, not after.
| Filler type | Where the supply lines run | Plumbing scope |
|---|---|---|
| Floor-mounted | Under the floor, anchored to joist blocking | Heaviest — needs access from below or an opened floor |
| Wall-mounted | Inside an adjacent wall, tub placed within reach | Moderate — tub must sit close to that wall |
| Deck-mounted on tub rim | Up through the floor at the tub edge | Similar to floor-mount, fewer parts exposed |
Rough-in positions come from the specific tub and filler spec sheets — both get selected before demolition starts.
The flooring has to run under the tub
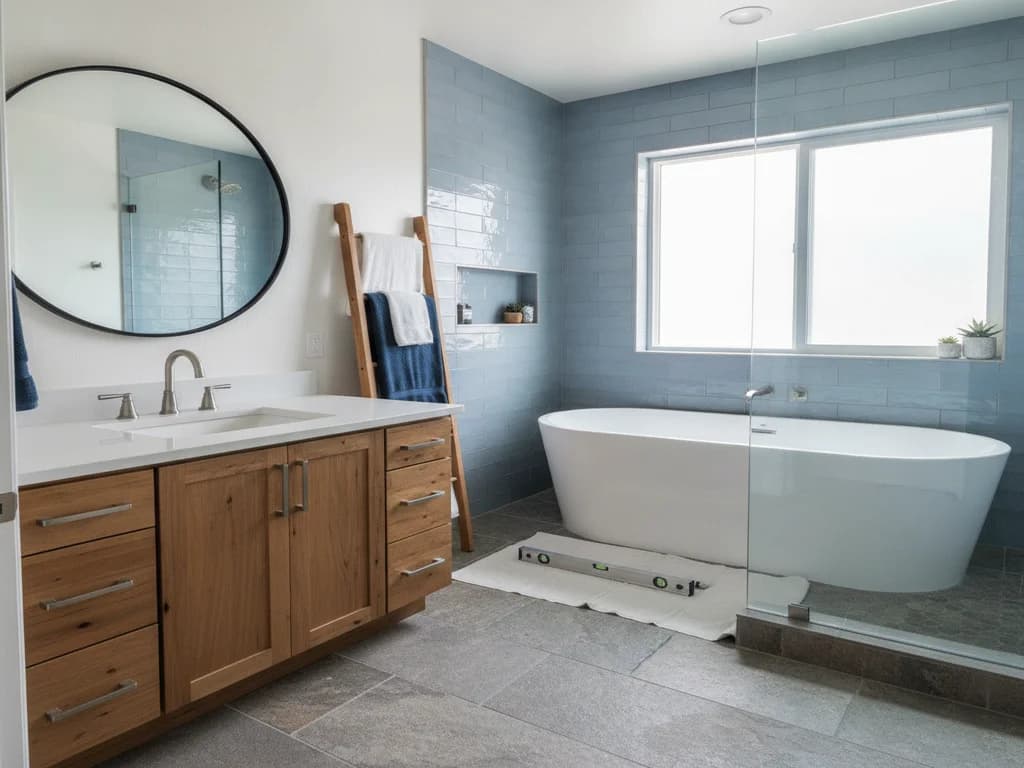
Here is the detail that surprises the most homeowners: a built-in tub sits on bare subfloor, with the finished flooring stopping at its apron. Pull the tub out and you are looking at a tub-shaped hole in the floor. A freestanding tub, by contrast, sits on top of the finished floor — so that hole has to be filled with flooring that matches or replaces what is there.
Matching a discontinued tile or an aged LVP run cleanly is a long shot, which is why many conversions fold in new flooring for the whole room. It is also why this swap pairs naturally with a broader remodel: the floor is already open, the walls are already being refinished, and the incremental cost of doing the room right is at its lowest.
Plan the floor patch before you order the tub
The flooring under and around the new tub must be waterproof-appropriate, level, and structurally sound before the tub is set — a freestanding tub is never installed over a patch you intend to fix later. Decide match-the-patch versus reflood-the-room during planning, not during install week.
Can your floor carry the weight?
An acrylic freestanding tub is light enough that most floors shrug it off. Cast iron, stone resin, and true stone tubs are another matter — a filled cast-iron soaker with a bather can concentrate well over a thousand pounds on a few square feet of floor.
Part of the demo-stage inspection is checking joist size, span, and direction under the new tub location, guided by the structural provisions of the International Residential Code. Sistering joists or adding blocking from a crawl space is routine work when it is needed; discovering the need after the tub is set is not. Material choice is one of the bigger cost levers too — the full picture is in our guide to freestanding tub cost factors.
Permits, timeline, and what drives the budget
Because the drain, trap, and supply lines all move, the City of Boise Planning & Development Services requires a plumbing permit, with equivalents in Meridian, Nampa, Eagle, and the surrounding cities. Your contractor pulls it and schedules the rough-in inspection while the floor is open.
A conversion with good under-floor access typically runs three days to a week — demo, plumbing rough-in and inspection, floor and wall repair, then set and trim. Slab foundations, finished ceilings below, and whole-room flooring stretch it. On budget, national guides like HomeAdvisor and Angi show freestanding installations spanning a wide range depending on the tub, the filler, and the plumbing access; the factor-by-factor breakdown lives in freestanding tub cost factors, and design directions worth stealing are in freestanding tub ideas.
What the process looks like
- 1
Select the tub and filler first
The specific tub and filler set the drain location, the filler rough-in, and the floor-load requirement — all of which get verified against the room and the structure below before anything is demolished.
- 2
Demolish the old tub and surround
The drain and overflow are disconnected, the surround or deck comes off, and the old tub is removed — with the walls stripped back to a repairable surface since nothing will hide them anymore.
- 3
Relocate the drain and cap the old valve
The trap and drain line are moved to the new tub’s drain position, the old wall valve and spout are removed and capped, and new supply lines are run to the filler location.
- 4
Verify structure and pass rough-in inspection
Joists under the tub’s footprint are checked for the filled weight and reinforced if needed, filler blocking is anchored, and the city’s rough-in inspection happens while everything is open.
- 5
Repair the floor and walls
The subfloor is patched flat and sound, finished flooring is extended under the tub footprint — or replaced room-wide — and the former surround walls are finished with drywall, paint, or tile.
- 6
Set the tub and mount the filler
The tub is placed, leveled, and connected to the relocated drain; the floor- or wall-mounted filler is installed to its rough-in and both are tested for flow and leaks.
- 7
Seal, trim, and close the permit
The drain connection is fill-tested, escutcheons and trim go on, any tub-to-floor sealing the manufacturer specifies is completed, and the final inspection closes out the job.
Ready to plan your Boise bathroom?
Licensed & insured · 3-year workmanship warranty
Frequently asked questions
- Can you put a freestanding tub where a built-in tub was?
- Usually, yes — the old alcove footprint fits most freestanding tubs with room to spare. The work is in the details: the drain moves to the new tub’s position, supply lines are run to a new filler location, the flooring is extended under the tub, and the old surround walls are refinished. It is a several-day project, not a swap.
- Does the drain have to move for a freestanding tub?
- Almost always. Built-in tubs drain against a wall; freestanding tubs drain wherever their design dictates, usually nearer the center of their footprint. A plumber relocates the trap and a section of drain line under the floor — easy over a crawl space or unfinished basement, more invasive over a slab or a finished ceiling.
- How does a floor-mounted tub filler get installed?
- Its supply lines run beneath the floor and the filler anchors to solid blocking between the joists, at a position taken from the manufacturer’s rough-in spec. That is why the filler is chosen before demolition: the plumbing and blocking go in while the floor is open, and the filler mounts through the finished flooring at the end.
- Do freestanding tubs need floor reinforcement?
- Acrylic tubs rarely do. Cast iron, stone resin, and stone tubs can concentrate over a thousand pounds when filled, so the joists under the footprint get checked against the structural requirements of the residential code and sistered or blocked where they fall short — quick work from a crawl space, done during the demo stage.
- What happens to the flooring where the old tub sat?
- The old tub sat on bare subfloor, so removing it leaves a tub-shaped gap in the finished floor. Because a freestanding tub sits on top of finished flooring, that gap must be filled — either with carefully matched material or, more often, with new flooring for the whole room, since matching aged or discontinued flooring cleanly is a long shot.
- Do I need a permit for this conversion in Boise?
- Yes. Moving the drain and trap and running new supply lines count as altering plumbing, which requires a permit through City of Boise Planning & Development Services or your city’s building department, plus a rough-in inspection before the floor and walls close. A licensed contractor handles both.
Sources
- HomeAdvisor — True Cost Guide
- Angi — Cost Guides
- City of Boise — Planning & Development Services
- International Code Council (IRC/IBC)
- Kohler
Claims and figures are drawn from the sources above and provided for general guidance; your project may vary. Photography is illustrative of design concepts. For a fixed price on your specific bathroom, request a free estimate.