Updated July 16, 2026 · 7 min read
By Boise Bath — bathroom & shower remodeling in Boise & the Treasure Valley
The short answer
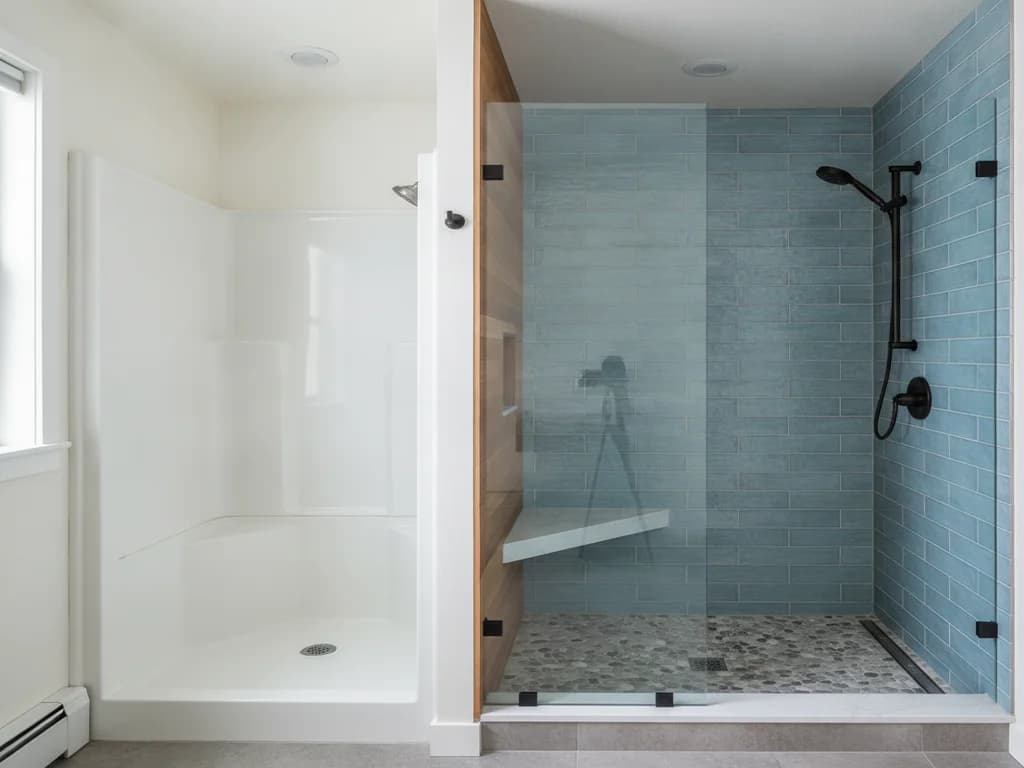
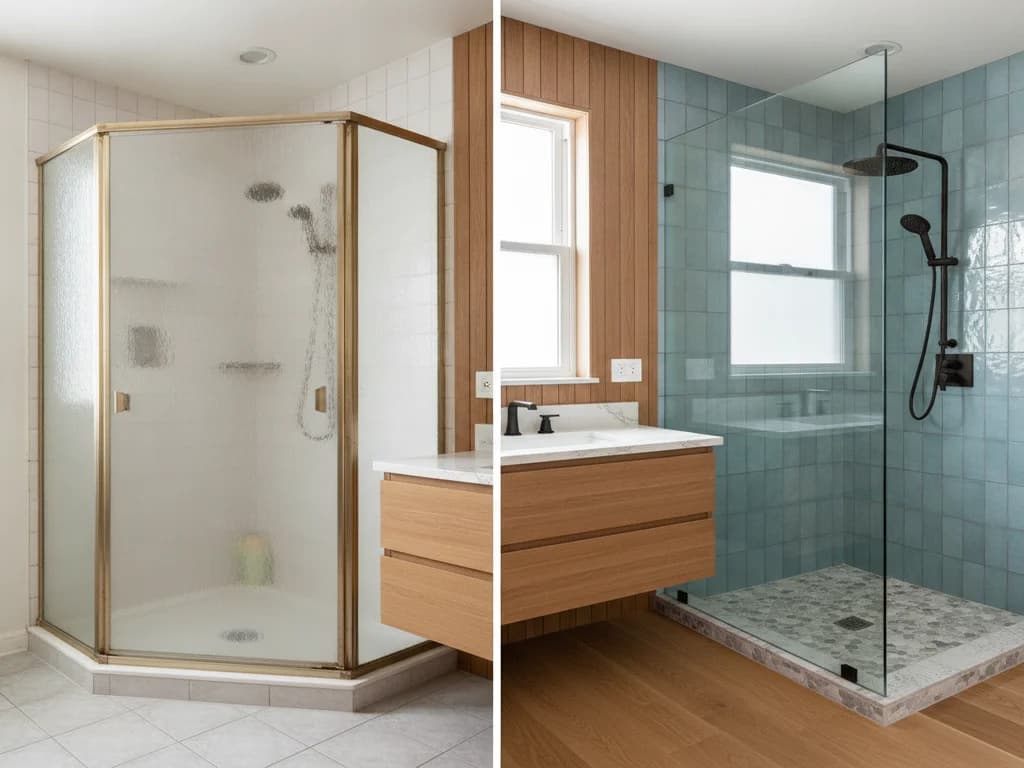
Replacing a neo-angle corner shower with a walk-in means removing the kit and its diagonal door, then building a rectangular or open shower that uses the full corner instead of a clipped wedge. The same corner typically feels dramatically larger, and a single fixed glass panel replaces the fussy folding door entirely.
Key takeaways
- A neo-angle unit clips the corner on the diagonal — a 38-inch kit gives you noticeably less standing room than a rectangular shower built in the same corner.
- The gain comes from geometry, not square footage: squaring off the enclosure and swapping the hinged diagonal door for a fixed glass panel with an open entry reclaims the wedge the kit wasted.
- Most corner-shower bathrooms can fit a walk-in without moving walls; if walls do move, that decision belongs in a full layout plan first.
- The magnetic seals, corner hinges, and framed tracks on neo-angle doors are the units’ chronic failure points — a walk-in eliminates the door entirely or replaces it with a single fixed panel.
- Replacement runs roughly three days to a week and nearly always includes a new valve and pan, which puts the project under a standard plumbing permit.
Why corner showers feel cramped by design
The neo-angle corner shower — a pentagon-shaped kit with two tiled or paneled sides against the walls and a diagonal door across the corner — was the standard answer for small bathrooms and basement baths for decades, including plenty of 90s and 2000s Treasure Valley homes.
The pitch was space efficiency. The geometry says otherwise: clipping the corner on the diagonal removes exactly the part of the enclosure where your elbows go. A common 38-inch neo-angle unit encloses meaningfully less usable standing area than a simple rectangular shower built into the same corner, because the diagonal door plane slices off the deepest part of the footprint.
Add a framed folding or pivot door with magnetic seals on odd angles — the part that fails first on nearly every unit — and you get a shower that is small, awkward to clean, and fussy to keep sealed.
Where does the space gain actually come from?
Three places. First, squaring off: a rectangular enclosure using the same two walls captures the wedge the diagonal door gave away — that alone is the biggest single gain, with zero change to the bathroom’s floor plan.
Second, the kit-to-framing gap: like all prefab units, neo-angle kits come in catalog sizes, and the installer hid the leftover inches behind the surround. A custom rebuild is sized to the actual corner. That reclaim story is the same one covered in replacing a prefab shower stall.
Third, the entry itself: a walk-in with a fixed glass panel and an open entry needs no door swing clearance. In a small bathroom, the floor area a hinged door swept over becomes usable again — for a wider vanity stance, a towel bar, or simply room to turn around.
What walk-in layouts fit where a corner shower was?
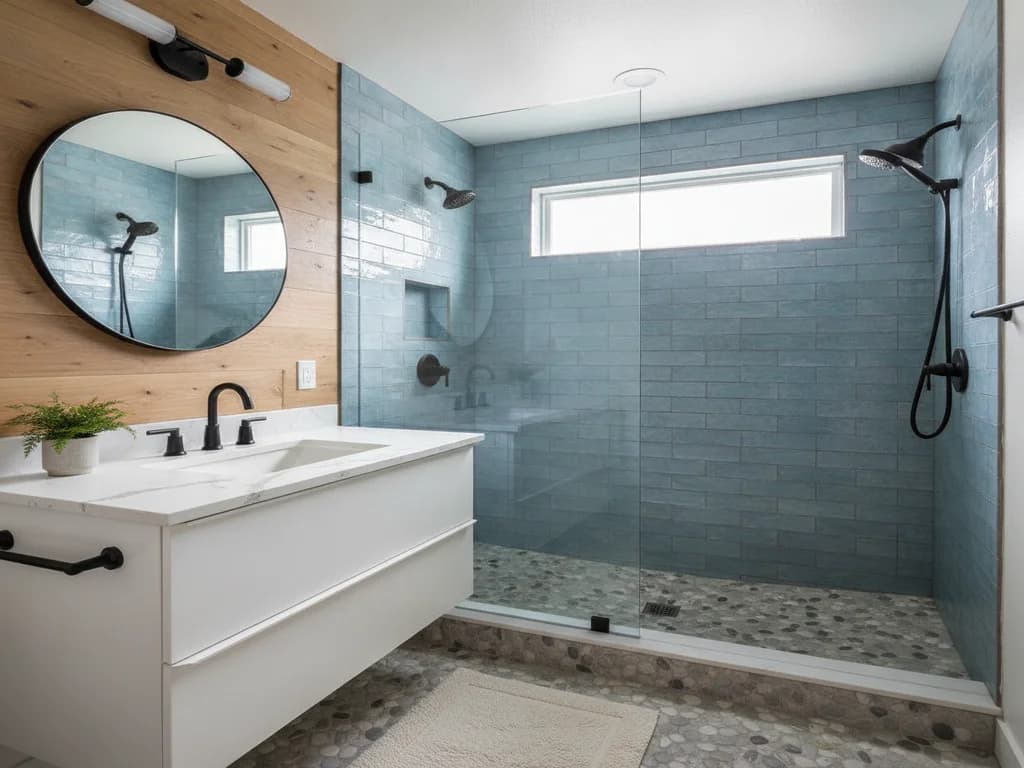
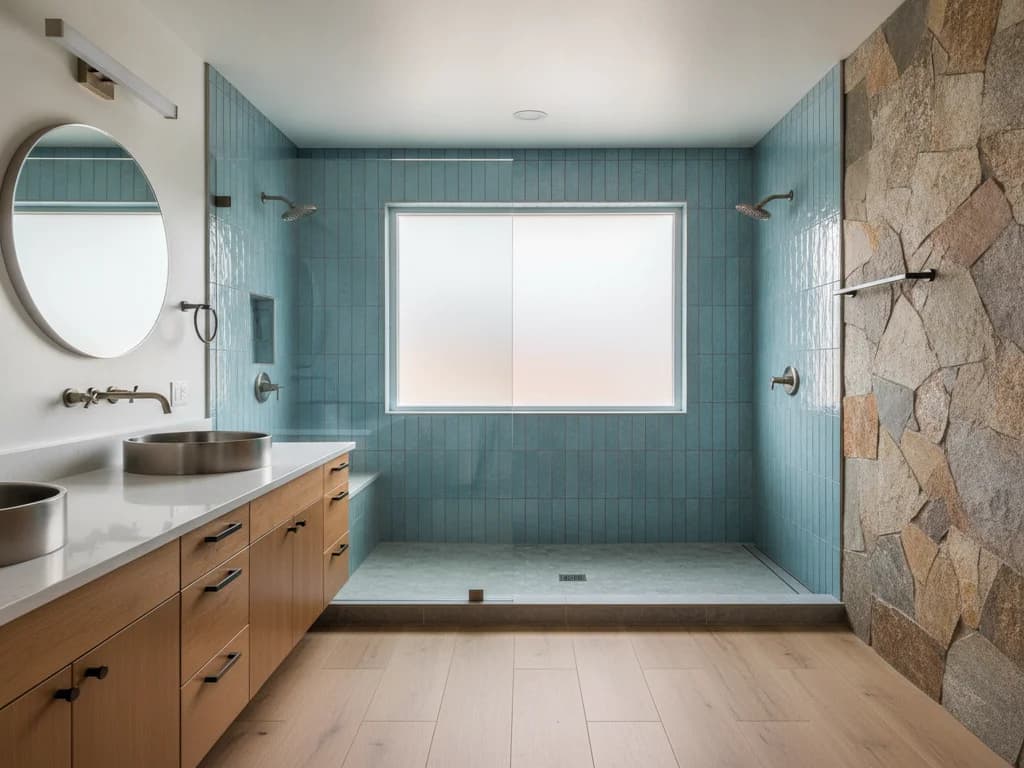
The default is a rectangular walk-in on the same two walls: typically somewhere in the range of 36 by 48 inches where the room allows, with a single fixed frameless panel on the long side and an open entry at the end. It uses the corner fully and needs no wall changes.
Where the adjacent run of wall is longer — say the corner shower sits beside a tub or a stretch of vanity — extending the shower along that wall creates the five-foot walk-in that transforms the room, sometimes absorbing a tub in the process (that bigger swap is covered in replacing a bathtub with a walk-in shower).
And if you find yourself sketching moved walls or borrowed closet space, stop and zoom out: enclosure shape is a layout decision before it is a shower decision. Our guide to choosing a bathroom layout walks through how showers, vanities, and clearances trade off — the shower design should fall out of that plan, not precede it.
| Layout | Wall changes | Space feel | Best for |
|---|---|---|---|
| Rectangular walk-in, same corner | None | Big gain from squaring off | Most bathrooms — the default move |
| Extended walk-in along one wall | None or minor | Full transformation | Corners next to a tub or long wall |
| Open curbless corner | None, floor rework | Largest visual gain | Accessibility, modern open designs |
Mind the door-swing and code clearances
An open walk-in entry still needs a sensible dry path — NKBA planning guidelines recommend a minimum 32-inch shower interior (36 preferred) and clear floor space at the entry. A layout that squeezes the entry against the toilet or vanity trades one cramped shower for another. Have the clearances drawn before demo.
What happens to the old unit and the corner behind it?
Neo-angle kits are multi-piece, so removal is disassembly: door and frame first, then the wall sections, then the pan — a morning of work, not a cut-out. Behind the panels expect bare studs or unprotected drywall, since the kit was its own water barrier, and expect the usual suspects at the caulk seams: staining, soft board, occasionally a framing repair.
The pentagon-shaped pan leaves a pentagon-shaped scar. The new rectangular pan covers most of it, and the flooring outside the old footprint is patched or — more often, since corner units usually date the whole floor — folded into a flooring update while the trades are there.
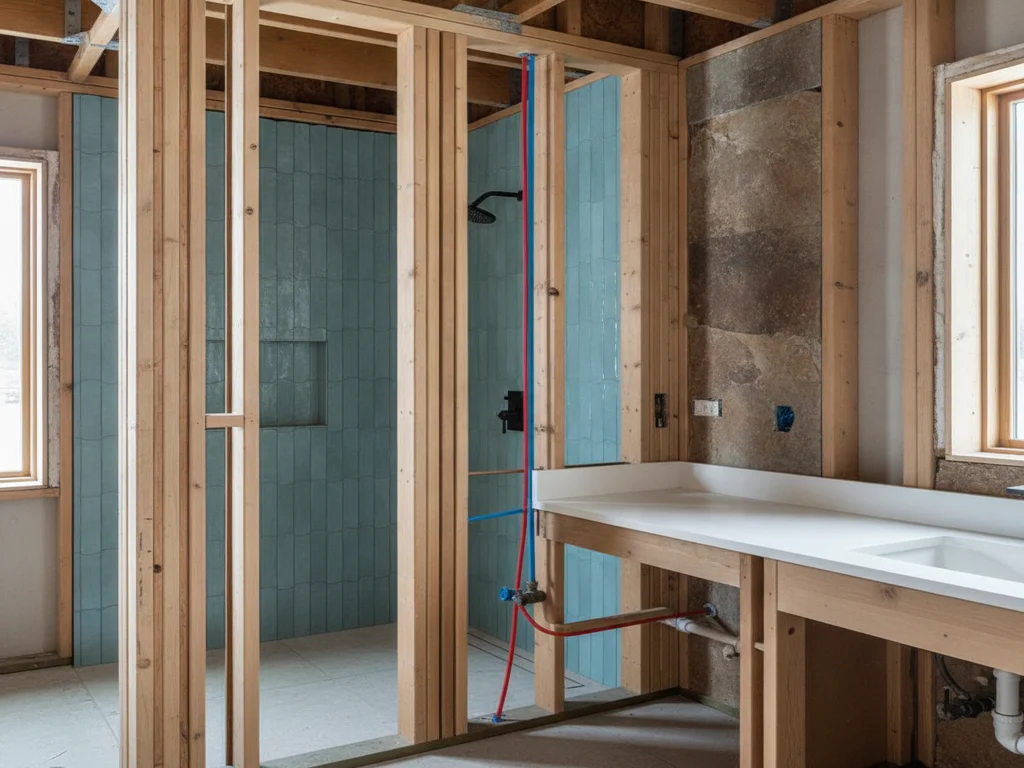
From there the rebuild follows the standard sequence: new valve, blocking for glass and grab bars, substrate and continuous waterproofing per our shower waterproofing guide, then tile or panels and the fixed glass.
Glass and entry choices for the new walk-in
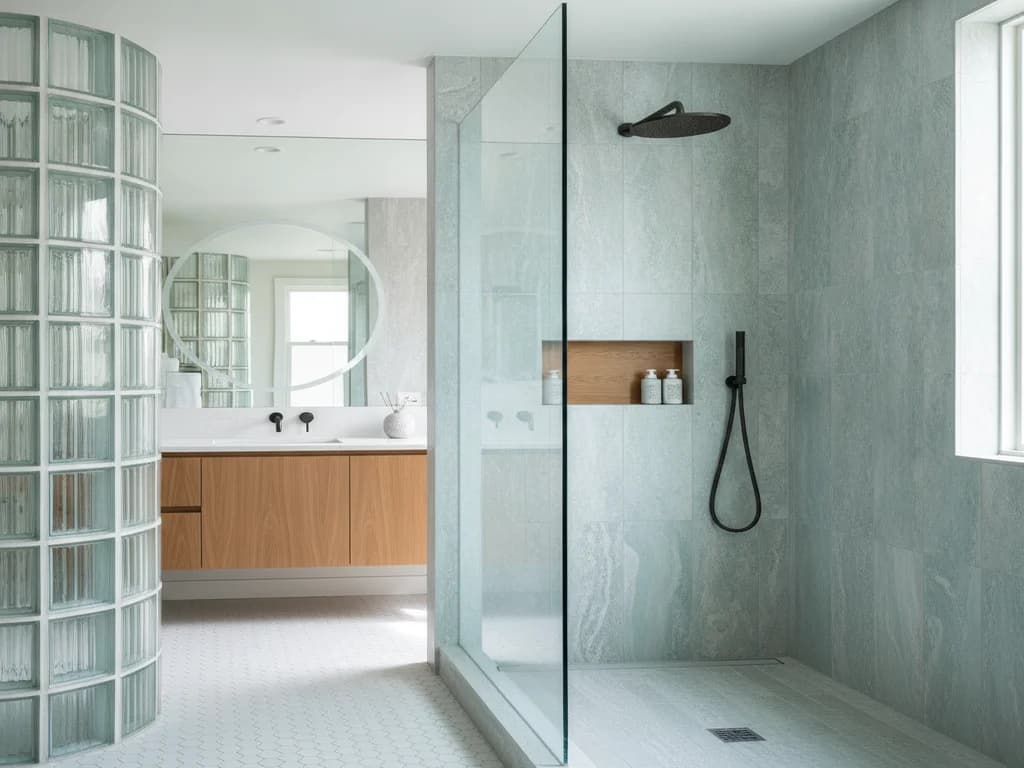
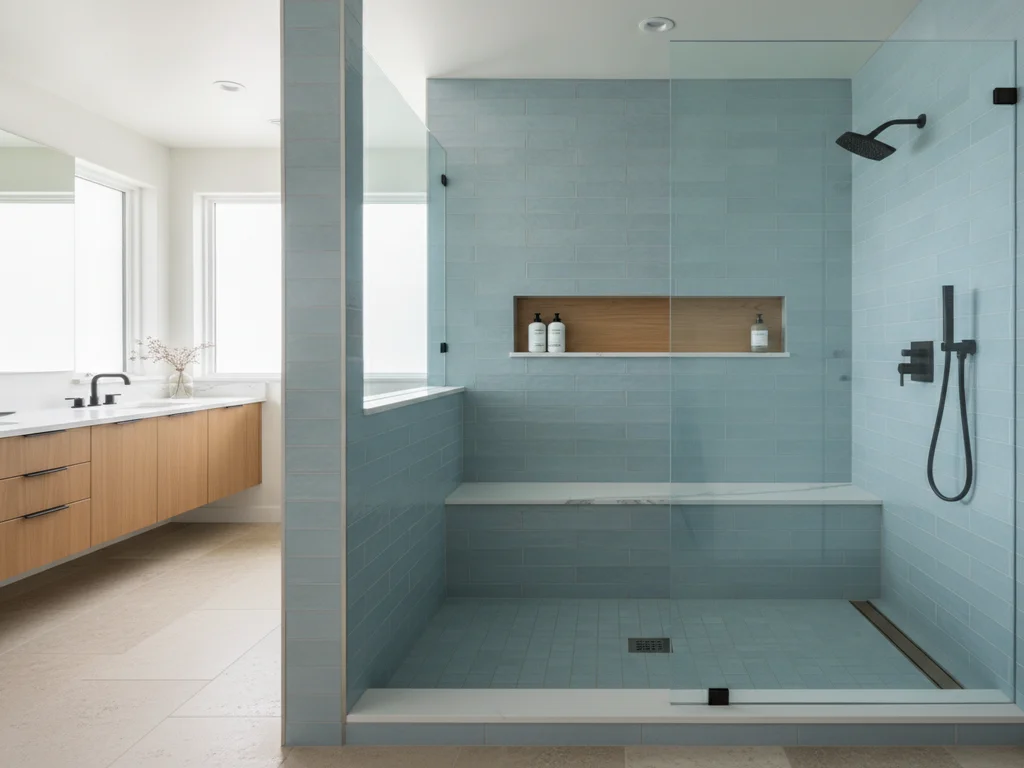
The single fixed frameless panel is the workhorse: one piece of 3/8" or 1/2" glass on the long side, open entry at the end, nothing to fold, roll, or seal. It is also the easiest glass to keep clean — one flat pane, no tracks.
Where splash control needs more coverage — a small footprint, or a showerhead aimed at the entry — a panel-plus-door or a return panel closes the gap. The full menu, including coatings that fight hard-water spotting, is in the shower glass enclosure guide.
Going curbless is the other entry decision worth making now, while the floor is open: it is a framing-and-drain question best answered during this project or never. See converting to a curbless shower for what it takes.
Cost, permits, and timeline
National cost guides such as HomeAdvisor and Angi put walk-in shower projects broadly between a few thousand dollars for a system-built replacement and ten to fifteen thousand or more for full custom tile with frameless glass. A same-corner rebuild sits at the lower end of custom work since no plumbing relocates far and no walls move.
The valve and drain work puts the project under a plumbing permit with the City of Boise Planning & Development Services or the equivalent Treasure Valley city; the contractor pulls it and schedules inspections. Timeline runs roughly three days to a week — kit-style systems at the short end, tile at the long end with cure times.
For what moves the local number, see the Boise walk-in shower cost guide.
What the process looks like
- 1
Plan the layout and clearances
The contractor measures the corner and the room, confirms entry, toilet, and vanity clearances against NKBA guidelines, and locks in the new footprint, glass plan, and curb-or-curbless decision before demo.
- 2
Protect the room and disconnect
Floors and the exit path are covered, water is shut off, and the valve trim and drain connection are freed.
- 3
Disassemble the neo-angle unit
The diagonal door and frame come off first, then the wall sections, then the pentagon pan — multi-piece kits come apart in sections in a morning.
- 4
Strip the corner and inspect
Drywall in the wet area comes out to the studs, and the crew inspects framing and subfloor at the old seam lines and drain, replacing anything compromised.
- 5
Rough in plumbing for the new footprint
A new pressure-balancing valve is set, the drain moves to the center or linear position the new pan requires, and blocking goes in for glass and grab bars. Permitted work gets its rough-in inspection.
- 6
Build the pan, substrate, and waterproofing
The new rectangular or curbless pan goes in with a continuous waterproofing membrane over cement board or foam board — sized to the actual corner, not a catalog dimension.
- 7
Finish surfaces and set the glass
Tile or wall panels are installed, the fixed frameless panel is templated and set, and the floor outside the old footprint is patched or refinished.
- 8
Seal, test, and final-inspect
Fixtures and trim go on, everything is sealed and water-tested, and the permit closes with a final inspection before the walkthrough.
Ready to plan your Boise bathroom?
Licensed & insured · 3-year workmanship warranty
Frequently asked questions
- Can you replace a corner shower with a walk-in without moving walls?
- Usually, yes. The standard move is a rectangular walk-in built on the same two walls the corner unit used — the space gain comes from squaring off the clipped diagonal and eliminating the door swing, not from expanding the bathroom. Wall changes only enter the picture when you want a substantially longer shower than the corner allows.
- How much bigger does a walk-in feel than a neo-angle corner shower?
- Bigger than the tape measure suggests. Squaring off the corner reclaims the diagonal wedge where your elbows go, the custom build recovers the inches the catalog-sized kit hid behind its panels, and a fixed glass panel with an open entry removes the visual box entirely. The same corner routinely goes from feeling like a phone booth to feeling like a real shower.
- How much does it cost to replace a corner shower with a walk-in?
- National guides such as HomeAdvisor and Angi put walk-in shower projects roughly between a few thousand dollars for a system-built replacement and ten to fifteen thousand or more for custom tile with frameless glass. Same-corner rebuilds trend toward the lower end of custom work because plumbing stays close and walls stay put.
- What is the minimum size for a walk-in shower?
- NKBA planning guidelines call for a 32-inch minimum interior with 36 inches preferred, and doorless entries want enough run for spray control — commonly around four feet of depth or a return panel. Most corners that held a 36- or 38-inch neo-angle unit can meet the preferred numbers once the enclosure is squared off.
- Do walk-in showers without doors get water everywhere?
- Not when the geometry is planned: a fixed panel on the spray side, a showerhead aimed away from the entry, and adequate depth keep the dry zone dry. In tight footprints, a glass return panel or a panel-plus-door layout closes the gap. This is a design question solved on paper before demo, not something discovered after.
Sources
- National Kitchen & Bath Association (NKBA)
- HomeAdvisor — True Cost Guide
- Angi — Cost Guides
- This Old House — Bathrooms
- City of Boise — Planning & Development Services
Claims and figures are drawn from the sources above and provided for general guidance; your project may vary. Photography is illustrative of design concepts. For a fixed price on your specific bathroom, request a free estimate.