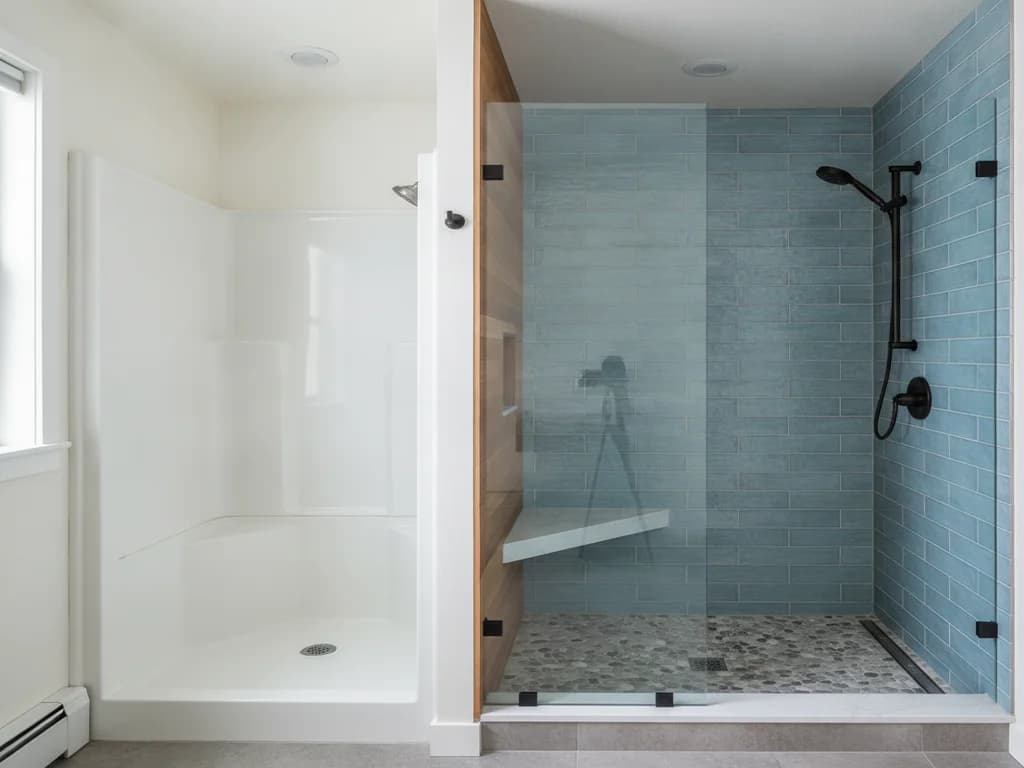
Updated July 16, 2026 · 7 min read
By Boise Bath — bathroom & shower remodeling in Boise & the Treasure Valley
The short answer
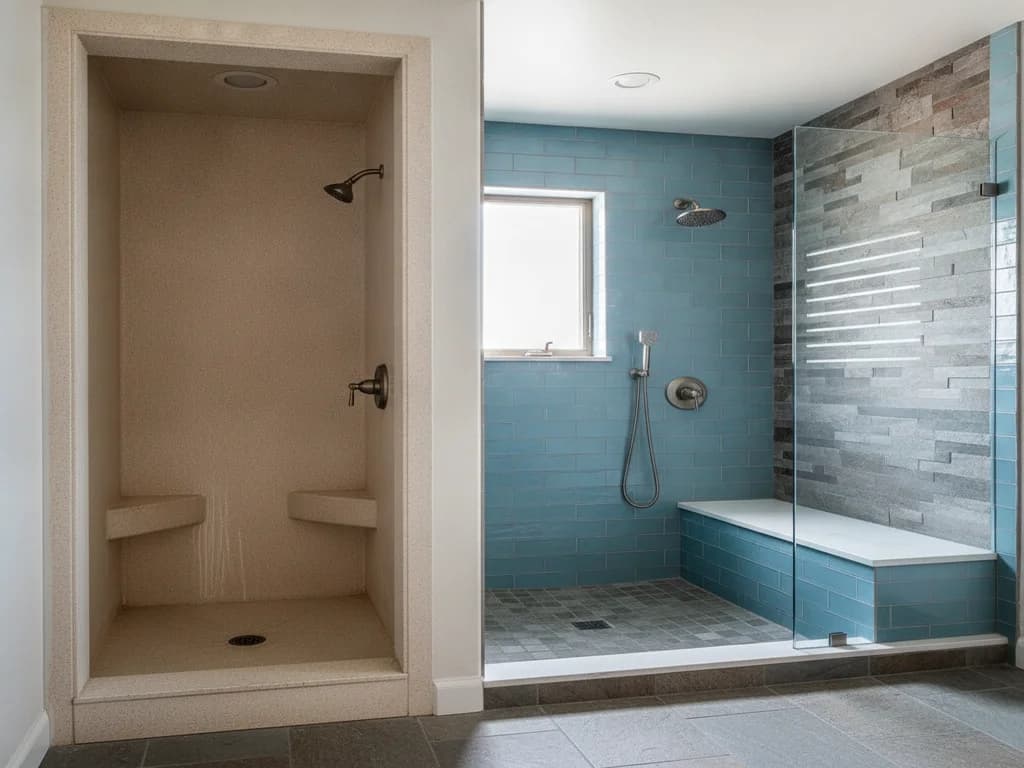
Replacing a prefab shower stall means removing the kit — pan, wall sections, door — stripping the alcove to the studs, and choosing what goes back: a newer prefab system, wall panels over a manufactured pan, or custom tile. Because kits come in fixed catalog sizes, replacement is the shower’s first chance to actually fit the framed space.
Key takeaways
- Prefab stalls come in fixed catalog sizes — 32", 36", 48" — so most were installed with dead space hidden behind the walls that a custom replacement reclaims.
- Multi-piece stalls come apart in sections through a finished doorway; only one-piece fiberglass units need to be cut out.
- Behind a prefab stall is usually bare framing or unprotected drywall — the stall was the waterproofing — so every upgrade path starts with a new substrate and membrane.
- The upgrade ladder runs: newer prefab kit, then wall panels over a manufactured pan, then full custom tile — each step buys more fit, finish, and design freedom.
- The demo and rebuild cost is similar for every option, so the price gap between paths is smaller than the sticker prices of the systems suggest.
What counts as a prefab shower stall?
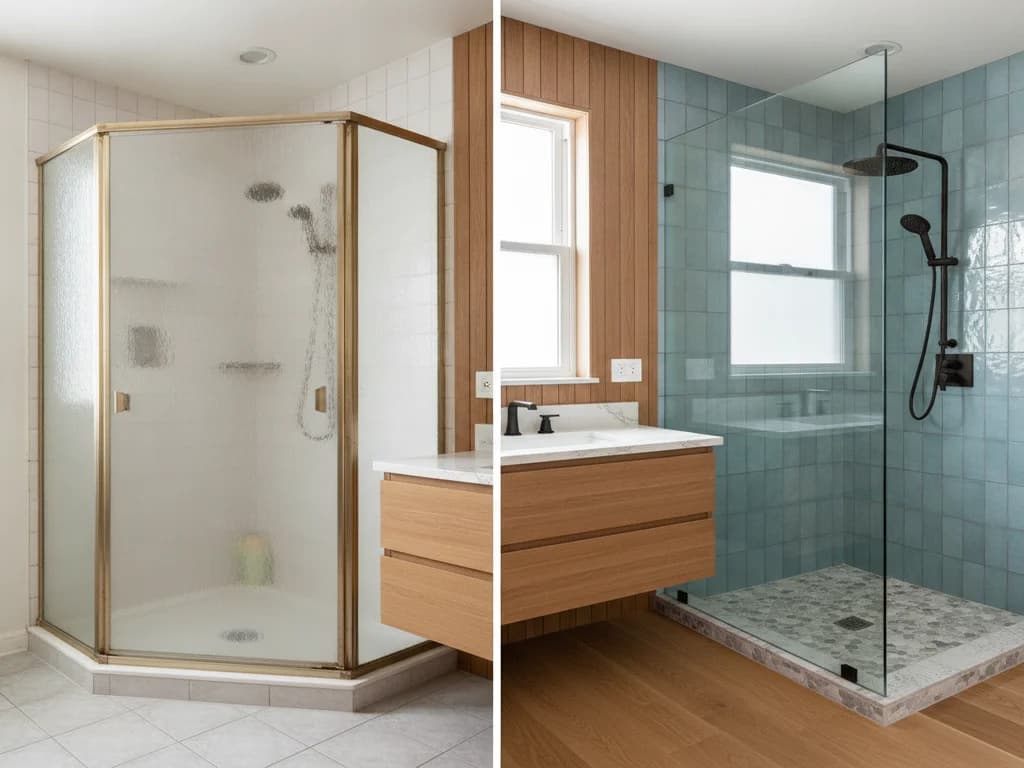
A prefab stall is any factory-made shower kit: a molded pan plus wall sections in acrylic, fiberglass, or composite, usually with a framed sliding or pivot door. Multi-piece kits — two to five wall panels that snap or seal together over the pan — are the common configuration, because they fit through a finished doorway and became the standard for remodels and basement bathrooms.
The one-piece molded fiberglass unit is its own animal: it was set during construction before the drywall, and it leaves by being cut apart. That removal story is covered in our fiberglass shower guide — this article is about the kit stalls that come apart in sections, and about what to put in their place.
Thousands of Treasure Valley bathrooms have one, especially 2000s builder-grade hall baths and finished-basement showers where a 32- or 36-inch kit was the fast answer.
When is a prefab stall due for replacement?
The failure signs are consistent across brands: a pan that flexes or crackles underfoot, seams between wall sections whose caulk keeps failing, wall panels that have gone dull or yellowed past what cleaning fixes, and doors whose rollers and frames corrode.
The seams deserve the most attention. A multi-piece stall has joints a one-piece unit does not, and every joint is a caulk line with a maintenance clock. Once seam caulk fails quietly, splash water reaches whatever is behind the panels — and with hard Treasure Valley water, the seams also collect scale that makes recaulking adhere worse each round.
The other trigger is not failure at all: the stall is fine and the bathroom is not. A 32-inch plastic box in a bathroom you otherwise like is often the single most dated thing in the room, and replacement is a contained project compared to a full remodel.
A flexing pan is the deadline
A prefab pan that visibly flexes was likely never fully bedded in mortar underneath. Years of movement fatigue the drain connection and the pan itself — and once either cracks, water is reaching the subfloor every shower. Persistent flex is the sign to plan the replacement rather than recaulk again.
The real reason to upgrade: prefab sizes never fit the framing
Kit stalls come in catalog dimensions. Framed alcoves do not. The installer picks the largest kit that fits, and the difference — often two to six inches in each direction — gets furred out or hidden behind the walls. Multiply that by two walls and a prefab shower can be surrendering a shoe-box worth of standing room in a bathroom that has none to spare.
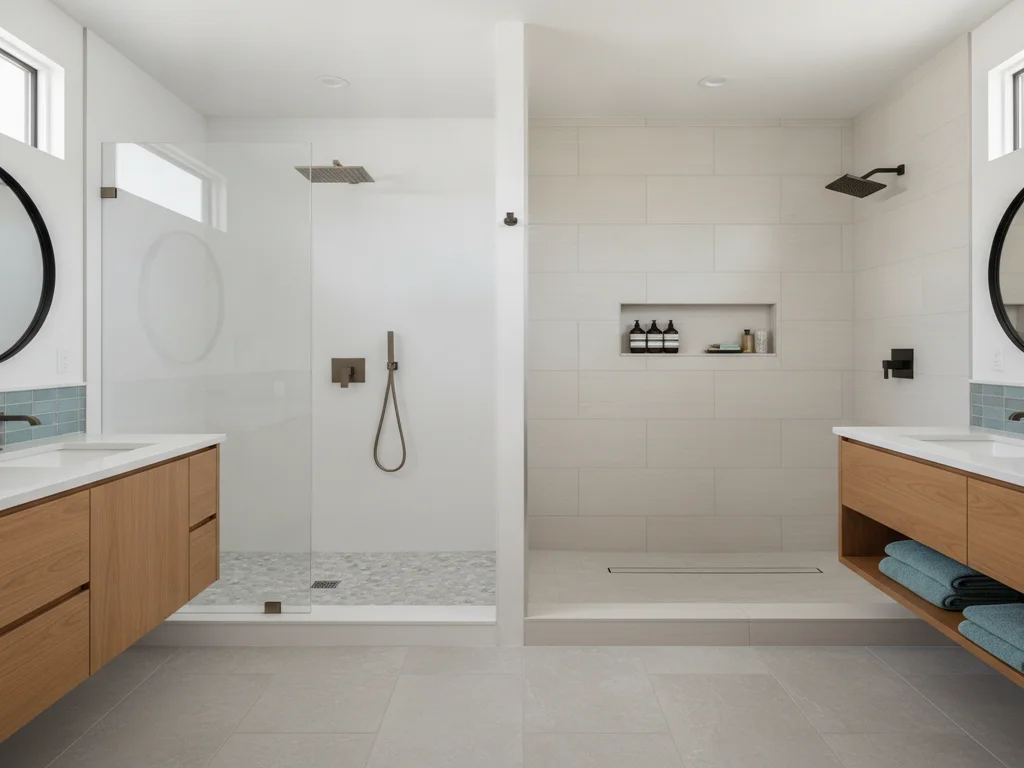
A custom rebuild claims all of it. Tile and panel systems are built to the actual framing, so the same alcove yields a measurably wider shower, and features that kits cannot offer — a recessed niche, a bench, a curbless entry, a full-height glass panel instead of a framed slider — become available.
If the footprint question is bigger than the alcove — moving walls, stealing space from a closet — that belongs in the layout conversation: see choosing a bathroom layout.
What are the upgrade paths?
Three honest tiers. A newer prefab kit is the like-for-like swap: cheapest, fastest, and better than what came out — modern acrylic systems are a real step up from a 20-year-old builder kit. It remains a catalog size in a framed hole.
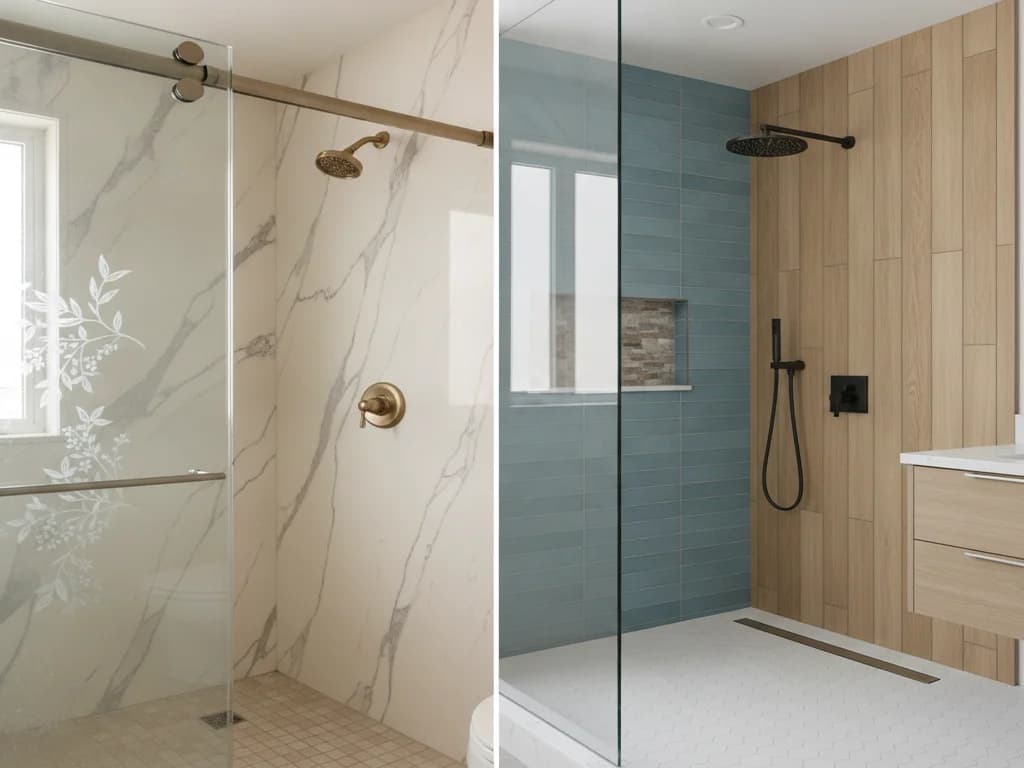
Wall panels over a manufactured pan are the middle path: large-format solid-surface or composite sheets with almost no seams, built to the actual alcove width, grout-free. Our shower wall panel systems guide covers the options.
Custom tile is the full-freedom path — any dimension, any layout, curbless if framing allows, and the strongest visual transformation. It costs the most and takes the longest. The trade-offs are laid out squarely in acrylic vs. tile shower and the wider field in best shower wall materials.
| Path | Fit to your space | Design freedom | Install time | Relative cost |
|---|---|---|---|---|
| New prefab kit | Catalog sizes only | Minimal | Fastest | $ |
| Pan + wall panels | Built to the alcove | Moderate | Fast | $$ |
| Custom tile | Built to the inch | Unlimited | Longest | $$$ |
Why the price gap is smaller than it looks
The demo, plumbing rough-in, substrate, and waterproofing are essentially the same work for every path — and per national cost guides like HomeAdvisor and Angi, that shared base is a meaningful slice of any shower replacement, with full projects running broadly from a few thousand dollars for a kit swap to ten thousand or more for custom tile.
That math is why the middle and upper tiers punch above their sticker difference: you are already paying for the tear-out, the new valve, and the waterproofed rebuild no matter what. Upgrading from a new kit to panels or tile means paying the difference on materials and finish labor only — not repeating the whole project cost.
For local budget context, the Boise walk-in shower cost guide breaks down what actually moves the number.
Permits and timeline
Replacing the valve and reconnecting the drain — standard on any stall old enough to replace — requires a plumbing permit from the City of Boise Planning & Development Services or the neighboring Treasure Valley jurisdiction. The contractor pulls it and handles rough-in and final inspections.
Timeline follows the path chosen: a kit swap can wrap in two to three days, a panel system in three to five, and custom tile roughly a week with waterproofing and grout cure time. The tear-out itself — unscrewing wall sections, freeing the pan — is usually a morning.
What the process looks like
- 1
Measure the framing, not the stall
The contractor opens up sight lines where possible and measures the true framed alcove — the gap between the old kit and the studs is the space the new shower gets to reclaim — then locks in the replacement system.
- 2
Protect the room and disconnect
Floors and the exit path are covered, water is shut off, and the door, valve trim, and drain connection are removed before the panels come loose.
- 3
Remove the wall sections and pan
Multi-piece walls unscrew or pry off in sections; the pan is freed from the drain and lifted out. Stubborn adhesive usually takes some drywall along, which is coming out anyway.
- 4
Strip the wet area and inspect
Remaining drywall in the enclosure comes out to the studs, and the crew checks framing and subfloor for damage at the old seam lines and drain, replacing anything soft.
- 5
Rough in plumbing and blocking
A new pressure-balancing valve goes in, the drain is set for the new pan, and blocking is added for niches, benches, glass, and grab bars. Permitted work gets its rough-in inspection here.
- 6
Build the substrate and waterproofing
Cement board or foam board goes up with a continuous waterproofing membrane and a properly sloped, sealed base — the assembly the prefab stall never had behind it.
- 7
Install the new system and finish
The pan, panels, or tile go in per the chosen path, then glass and trim are set, everything is sealed and water-tested, and the permit closes with a final inspection.
Ready to plan your Boise bathroom?
Licensed & insured · 3-year workmanship warranty
Frequently asked questions
- How hard is it to remove a prefab shower stall?
- Multi-piece stalls come apart in reverse order of assembly: door first, then wall sections, then the pan — usually a morning of work for a crew. The labor is in what comes after: stripping the alcove, fixing anything the failed seams let water reach, and building a properly waterproofed replacement. One-piece fiberglass units are the exception; those get cut out.
- Can you replace a prefab shower stall with a tile shower?
- Yes — it is the most common upgrade path. The stall comes out, the alcove is stripped to the studs, and a tiled shower is built over new backer board and waterproofing, sized to the actual framing rather than a catalog dimension. The same alcove typically yields a noticeably wider shower plus options like a niche, bench, or curbless entry.
- How much does it cost to replace a prefab shower stall?
- National cost guides such as HomeAdvisor and Angi put shower replacement broadly between a few thousand dollars for a new kit and ten thousand or more for custom tile. Because demo, plumbing, and waterproofing are shared across every path, upgrading tiers costs less than the sticker gap suggests — a fixed local bid is the honest number.
- Is it worth upgrading from a prefab stall to custom tile?
- If the bathroom is one you plan to keep, usually yes: you are already paying for tear-out, plumbing, and waterproofing regardless of what goes back in, and tile is what converts a catalog-sized box into a shower built to the room. If speed and budget lead, a quality panel system captures most of the fit benefit at a lower cost.
- What is behind a prefab shower stall?
- Typically bare studs or unprotected drywall — the stall itself was the water barrier, so builders rarely put a membrane behind it. That is why every replacement path starts with new substrate and waterproofing, and why the tear-out doubles as the moment to catch any damage the old seams caused before it gets sealed behind a new shower.
- How long does replacing a shower stall take?
- The removal is a morning. Start to finish, a like-for-like kit swap runs about two to three days, a pan-and-panel system three to five, and a custom tile shower roughly a week — the long end driven by waterproofing and grout cure times rather than the demolition.
Sources
- HomeAdvisor — True Cost Guide
- Angi — Cost Guides
- This Old House — Bathrooms
- Schluter Systems
- City of Boise — Planning & Development Services
Claims and figures are drawn from the sources above and provided for general guidance; your project may vary. Photography is illustrative of design concepts. For a fixed price on your specific bathroom, request a free estimate.