Updated July 17, 2026 · 8 min read
By Boise Bath — bathroom & shower remodeling in Boise & the Treasure Valley
The short answer
Standard shower pans come in set sizes: 32x32, 36x36, and 48x36 for compact and corner showers, up to 60x30, 60x32, and 60x36 for alcove and tub-replacement footprints. Materials run from ready-to-use acrylic and fiberglass to tile-ready foam or poured mud beds. Anything beyond the stock sizes means a custom, usually tiled, pan.
Key takeaways
- Stock shower pans are sold in fixed sizes — 32x32, 36x36, 48x36, 60x30, 60x32, and 60x36 are the common ones — so the pan, drain, and enclosure all line up.
- A 60x30 or 60x32 pan is the standard drop-in replacement for a removed alcove tub, reusing the same footprint and wet wall.
- Acrylic and fiberglass pans arrive finished and install fastest; tile-ready foam pans and poured mud beds accept tile for a fully custom look but add labor and waterproofing steps.
- Single-threshold pans suit alcoves with one open side; double- and triple-threshold pans handle corner and neo-angle showers with two or three open sides.
- A curbless or zero-threshold pan is the accessible option, but it requires a recessed or sloped subfloor to hide the slope — a decision made before framing, not after.
- Any footprint outside the stock sizes means a custom pan; below roughly 30x30 inches of interior space a shower stops meeting code and comfort minimums.
Standard shower pan sizes
Shower pans — the waterproof base the walls sit on — come in a set of standard sizes so the pan, the drain location, and the enclosure hardware all match. The smallest practical square is 32x32 inches, with 36x36 the more comfortable square for a stand-up shower. Rectangular and alcove pans run 48x36, 60x30, 60x32, and 60x36 inches, the larger sizes lining up with a removed bathtub’s footprint.
Corner and neo-angle pans use their own set of dimensions — 36x36, 38x38, and 42x42 for neo-angle bases that tuck a shower into a corner with an angled front. The key point is that these are manufactured sizes: a stock acrylic or fiberglass pan comes only in these footprints, and the walls, doors, and drains are engineered to match. When your opening falls between sizes, you either frame down to the nearest stock pan or move to a custom tiled base.
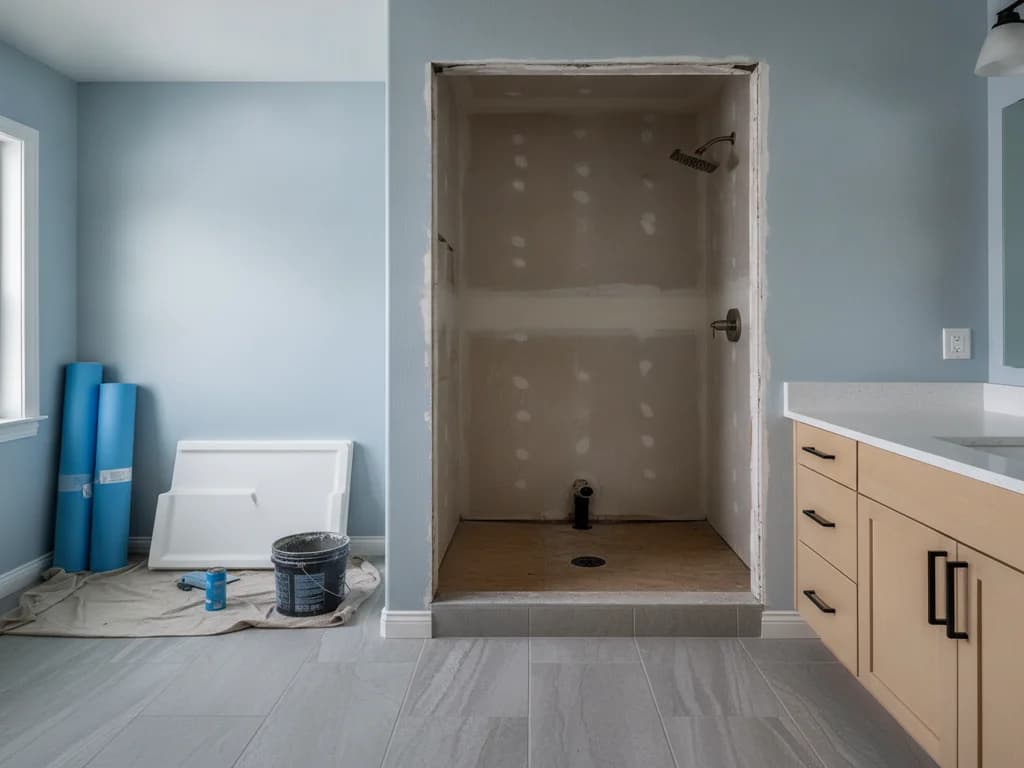
One footprint drives more remodels than any other: the 60-inch alcove left behind when a tub comes out. A 60x30 or 60x32 pan drops straight into that space, which is why the tub-to-shower swap is one of the most efficient changes a bathroom can get. Our guide to replacing a bathtub with a walk-in shower covers that conversion end to end.
Pan materials: acrylic, fiberglass, tile-ready, and mud-set
The pan’s material decides how it looks, how long it lasts, and how much labor it takes to install. Acrylic and fiberglass (composite) pans arrive finished from the factory in the standard sizes above. They are the fastest to install, the least expensive, and the most forgiving to keep clean — the tradeoff is the limited size menu and a molded look rather than tile. Acrylic generally wears better than basic fiberglass; the material comparison lives in our acrylic vs. fiberglass shower guide.
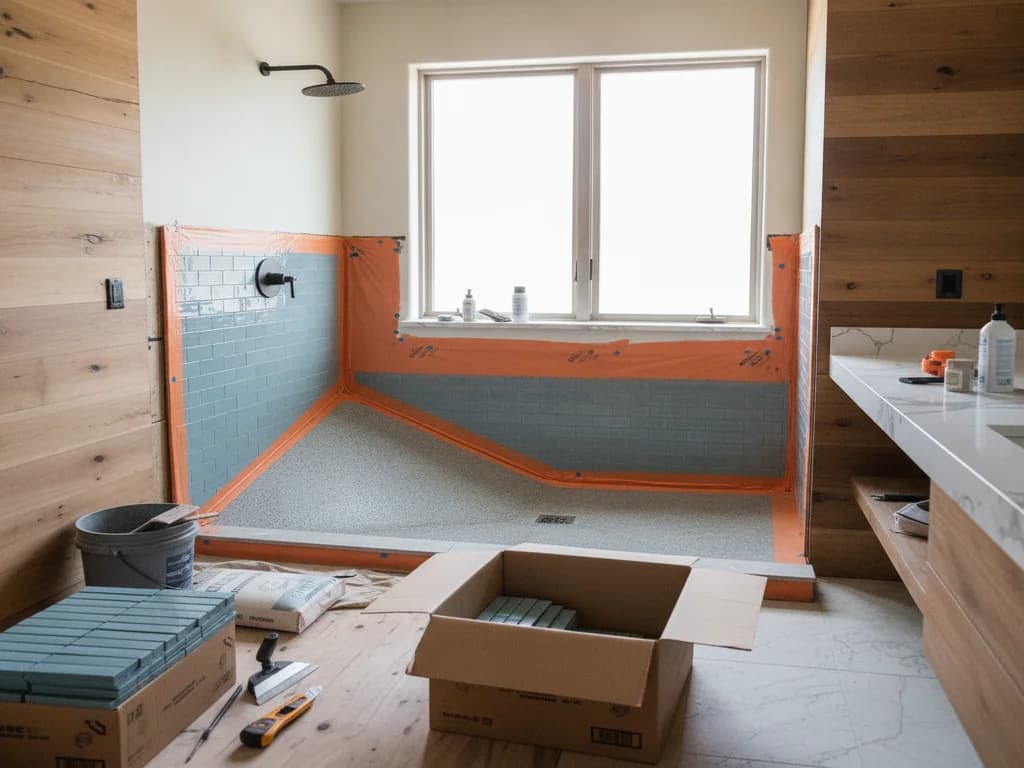
Tile-ready pans — pre-sloped foam bases from systems like Schluter, wedi, or similar — are built to be covered in tile. They arrive already pitched to the drain and integrate with a bonded waterproofing membrane, so a tiled floor can go on without a separate mortar bed. They cost more than acrylic and require a tile installer, but they open the door to any tile look in a wide range of sizes.
The traditional method is a poured mud bed: a mortar base built and sloped by hand on top of a waterproofing membrane, then tiled. Done correctly it is fully custom in size and shape and extremely durable, but it is the most labor-intensive and the most dependent on the installer’s skill. For a deeper look at how these bases compare on durability, see our guide to the best shower base materials.
The size and type table
The table below pairs the common footprints with the materials and threshold styles that fit them. Interior dimensions matter more than the nominal size — a 36x36 pan gives roughly 34x34 of standing room once the walls are set.
| Pan size / type | Footprint | Best for |
|---|---|---|
| 32x32 square | Compact stall | Powder-room additions and very tight baths — near the minimum |
| 36x36 square | Standard stall | A comfortable single stand-up shower |
| 48x36 rectangle | Mid-size alcove | A roomier walk-in without a tub footprint |
| 60x30 / 60x32 alcove | Tub replacement | Drop-in swap for a removed alcove tub — same wet wall |
| 60x36 alcove | Large alcove | A generous walk-in with room for a bench and niche |
| 36x36–42x42 neo-angle | Corner | Fitting a shower into a corner with an angled glass front |
| Acrylic / fiberglass pan | Stock sizes only | Fast, budget-friendly, low-maintenance installs |
| Tile-ready foam pan | Stock + custom sizes | A tiled floor without a hand-built mortar bed |
| Poured mud bed | Fully custom | Custom shapes, curbless designs, premium tile work |
Interior/standing dimensions run smaller than the nominal pan size once walls are set. Minimum shower size per the International Residential Code; comfort recommendations per NKBA planning guidelines run larger.
Single vs. double (and triple) threshold
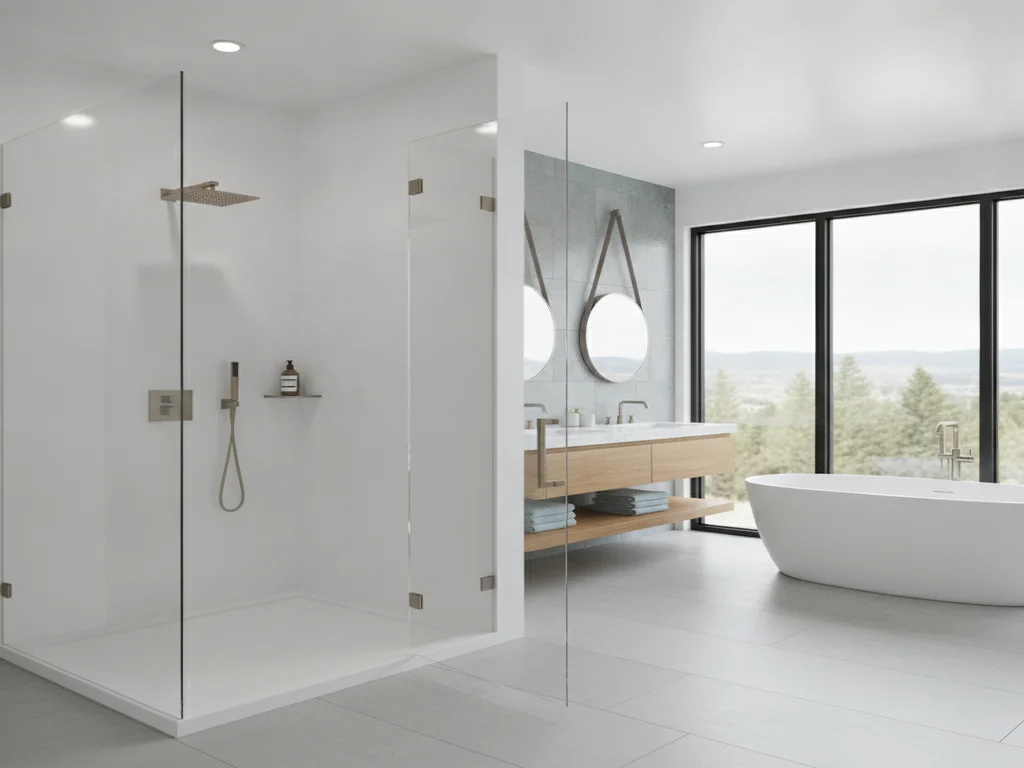
The threshold is the curb you step over, and pans are classified by how many open sides they have. A single-threshold pan has one open side and three walls — the classic alcove shower where a tub used to be. A double-threshold pan has two open sides, and a triple-threshold has three; these suit corner and peninsula showers where more than one side faces the room and needs a curb and glass.
The number of thresholds is not a style choice so much as a consequence of where the shower sits. An alcove wants a single threshold; a corner shower wants a neo-angle or double-threshold pan. Getting this right up front matters because the pan, the curb, and the glass are all engineered together — you cannot add an open side to a single-threshold pan after the fact.
Curbless and custom pans
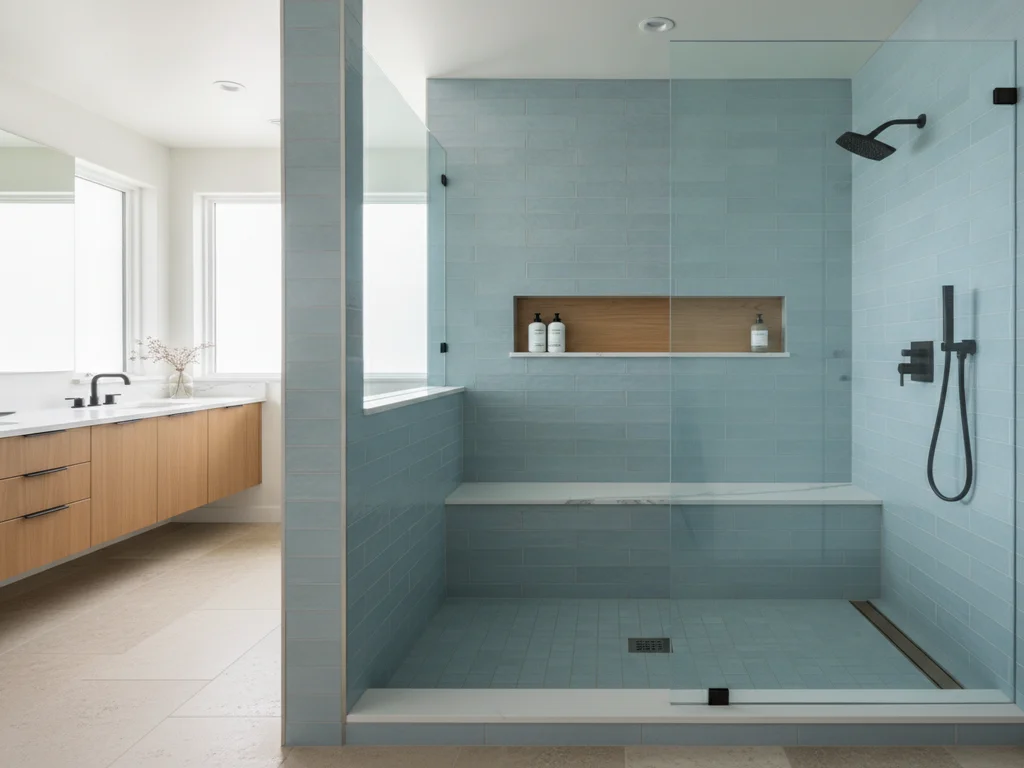
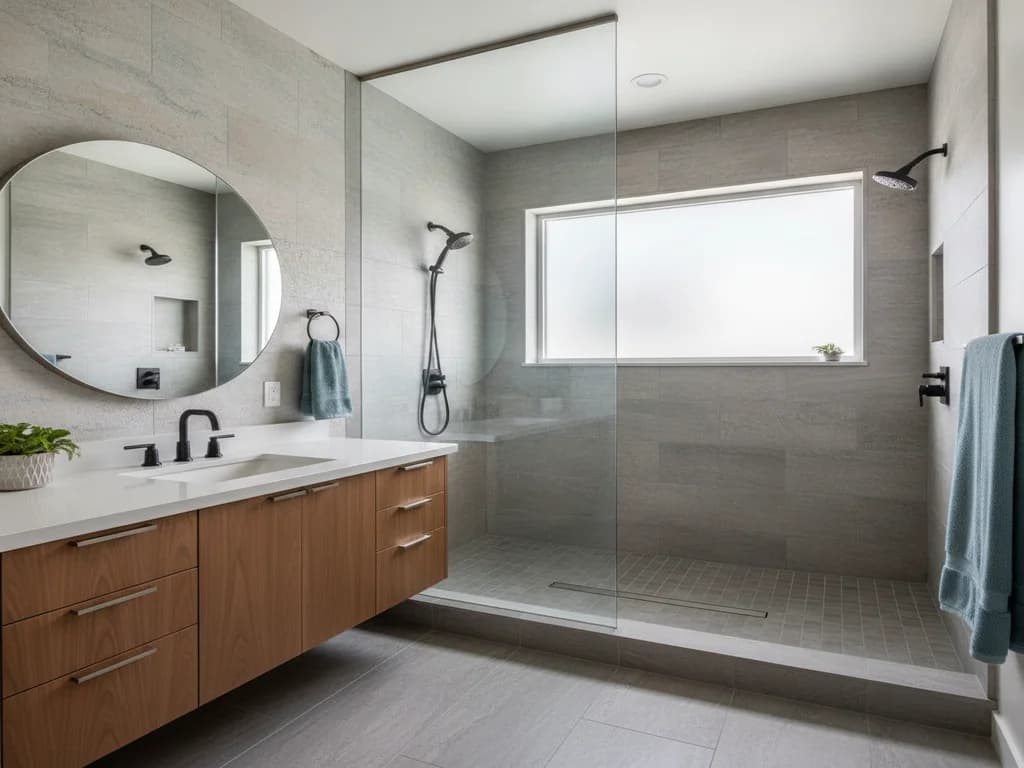
A curbless — or zero-threshold — shower has no curb at all: the floor runs level into the shower, which looks clean, feels larger, and is the standard for accessible and aging-in-place bathrooms. The catch is structural. To hide the slope-to-drain without a curb, the subfloor under the shower has to be recessed or the whole bathroom floor built up, which means the decision belongs in the framing stage, not the finish stage. Our guide to converting to a curbless shower walks through what that involves.
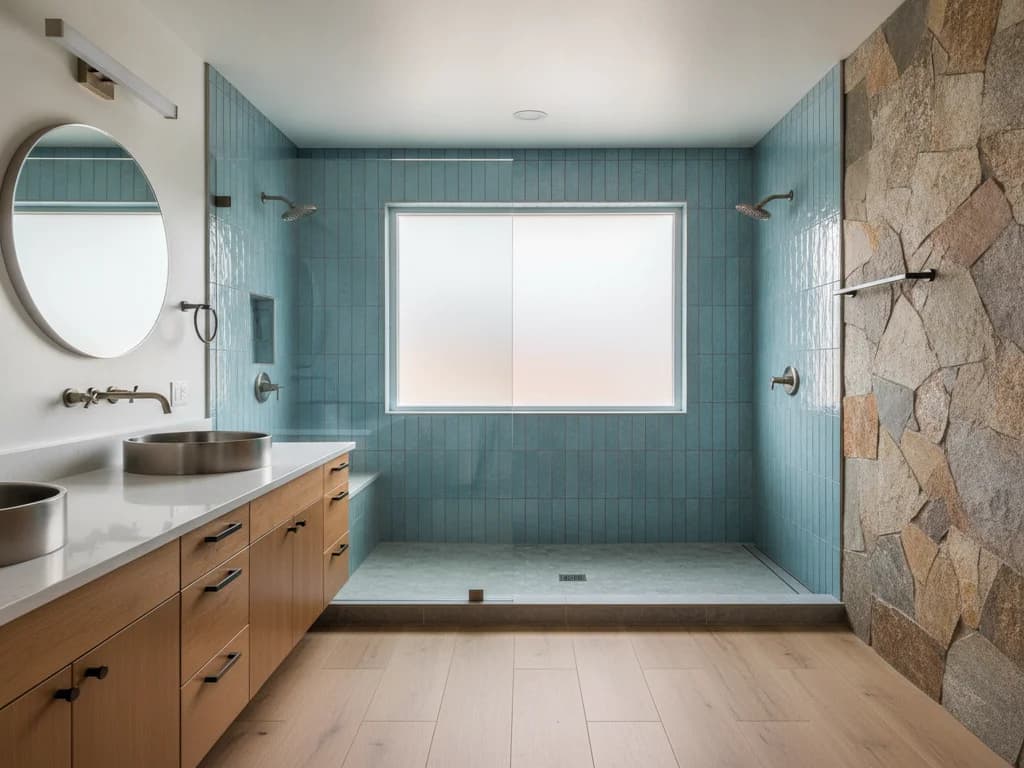
A custom pan — poured mud bed or a bonded tile-ready system cut to size — is the answer whenever the footprint falls outside the stock menu, the shape is irregular, or the design calls for a curbless entry, a linear drain along one wall, or an oversized footprint. Custom costs more in labor and waterproofing, but it is the only route to a shower that fits a nonstandard space exactly. What that base is worth on its own is covered in our shower pan replacement cost guide.
Waterproofing is the pan’s real job
A shower pan is a waterproofing assembly first and a floor second. Whatever the size or material, the base, curb, and drain have to form a continuous watertight system — a slow leak here is what rots subfloors and framing. On any tiled or curbless pan, the membrane and drain detail are not the place to cut corners.
How to choose the right pan for your space
Start with the footprint you actually have. Measure the opening wall to wall, then match it to the nearest stock size or accept that you are going custom. A removed tub almost always points to a 60x30 or 60x32 alcove pan; a fresh stall in a small bath points to a 36x36 or 48x36; a corner points to a neo-angle. If your opening lands between stock sizes, framing down an inch or two to hit a standard pan is usually cheaper than a custom base.
Then let the material follow the goal. If speed and budget lead, an acrylic pan in a stock size wins. If the look of tile and a flexible size lead, a tile-ready foam pan or a poured mud bed earns its extra cost. If accessibility leads, plan a curbless pan from the framing stage. Whichever you choose, the pan sets the ceiling on the whole shower — get the size and type right first, and the walls, glass, and drain fall into place around it. If your existing base is failing, replacing the shower pan covers the swap itself.
What the process looks like
- 1
Measure the opening wall to wall
A professional measures the rough opening at floor level and at the walls, checking for out-of-square corners. Framing routinely runs a fraction proud or shy — enough to decide between two stock pan sizes.
- 2
Match to a stock size or commit to custom
The measured footprint is matched to the nearest standard pan. If it lands between sizes, the framing is adjusted to hit a stock pan, or the plan moves to a custom tiled base sized to the exact opening.
- 3
Choose the material for the goal
Acrylic or fiberglass for speed and budget; a tile-ready foam pan or poured mud bed for a tiled, custom look. The choice sets the drain type and the waterproofing approach for everything that follows.
- 4
Set the threshold and drain layout
The number of open sides fixes the threshold count — single for an alcove, neo-angle or double for a corner — and the drain is located to match the pan (center for most stock pans, linear along a wall for many custom builds).
- 5
Waterproof the base and curb
On a tiled or curbless pan, a professional installs the sloped base, bonds the waterproofing membrane, and details the drain and curb into a continuous watertight assembly — tested before any tile goes down.
- 6
Verify slope and clearances
The finished base is checked for correct slope to the drain (about a quarter-inch per foot) and for interior clearances so the door and glass clear the walls and fixtures once installed.
Ready to plan your Boise bathroom?
Licensed & insured · 3-year workmanship warranty
Frequently asked questions
- What is the standard shower pan size?
- There is no single standard — pans come in a set of sizes. Common squares are 32x32 and 36x36 inches; common rectangles and alcoves are 48x36, 60x30, 60x32, and 60x36. The 60x30 and 60x32 sizes are the most common in remodels because they drop into the footprint left by a removed alcove bathtub.
- What is the smallest shower pan you can use?
- A 32x32-inch pan is the smallest practical square, and it sits near the code minimum — the International Residential Code requires roughly 30x30 inches of interior clear space inside the finished walls. Anything smaller stops meeting comfort and code minimums. A 36x36 pan is a more usable size for a genuine stand-up shower.
- Should I use an acrylic or a tile-ready shower pan?
- Acrylic pans arrive finished, install fastest, cost less, and are the easiest to clean, but they come only in stock sizes with a molded look. Tile-ready foam pans and poured mud beds accept tile for a fully custom appearance and flexible sizing, at the cost of more labor and a separate waterproofing step. The choice comes down to budget versus a custom tiled look.
- What is the difference between a single- and double-threshold shower pan?
- The threshold count reflects how many open sides the pan has. A single-threshold pan has one open side and three walls — the standard alcove shower. A double-threshold pan has two open sides and a triple has three, which suit corner and peninsula showers where more than one side faces the room and needs a curb and glass.
- When do I need a custom shower pan?
- You need a custom pan whenever the footprint falls outside the stock sizes, the shape is irregular, or the design calls for a curbless entry, a linear drain, or an oversized base. Custom pans are built as poured mud beds or bonded tile-ready systems cut to size. They cost more in labor and waterproofing but fit a nonstandard space exactly.
- Can any shower pan be curbless?
- No — a curbless pan requires the subfloor under the shower to be recessed or the bathroom floor built up so the slope to the drain hides without a curb. That is a framing-stage decision, not a finish-stage one. Standard drop-in acrylic pans come with a molded curb; going curbless generally means a custom tiled base planned before the floor is built.
Sources
- International Code Council (IRC/IBC)
- National Kitchen & Bath Association (NKBA)
- Schluter Systems
- Tile Council of North America (TCNA)
Claims and figures are drawn from the sources above and provided for general guidance; your project may vary. Photography is illustrative of design concepts. For a fixed price on your specific bathroom, request a free estimate.