Updated July 16, 2026 · 7 min read
By Boise Bath — bathroom & shower remodeling in Boise & the Treasure Valley
The short answer
Shower caulk keeps mildewing because the cause never changes: moisture trapped behind the bead from caulking over a damp or moldy joint, the wrong caulk, weak ventilation, or water fed from behind by failing grout. Mildew under the bead cannot be cleaned off — the fix is full removal, a dry treated joint, mildew-resistant silicone, and a fan running after showers.
Key takeaways
- Mildew on the caulk surface cleans off; mildew showing through from inside or under the bead never does — that growth was sealed in on installation day.
- The most common recaulking mistake is caulking over a joint that is still damp or still colonized, which locks moisture and spores under the new bead.
- Caulk choice matters: 100% silicone with mildewcide resists colonization; acrylic and painter caulks in a wet joint absorb water and feed it.
- A bead that re-blackens in weeks despite good caulk and prep usually means water is reaching it from behind — failing grout or waterproofing above it.
- Ventilation sets the clock: per the EPA, mold can establish on damp material within 24–48 hours, and a joint that never dries between showers never gets a break.
- Recaulking is cheap and worth doing right — the technique lives in our caulking guide; this page is about why the last three attempts failed.
First, look at where the black is living
Two kinds of black caulk look identical from a step away and mean completely different things. Get close.
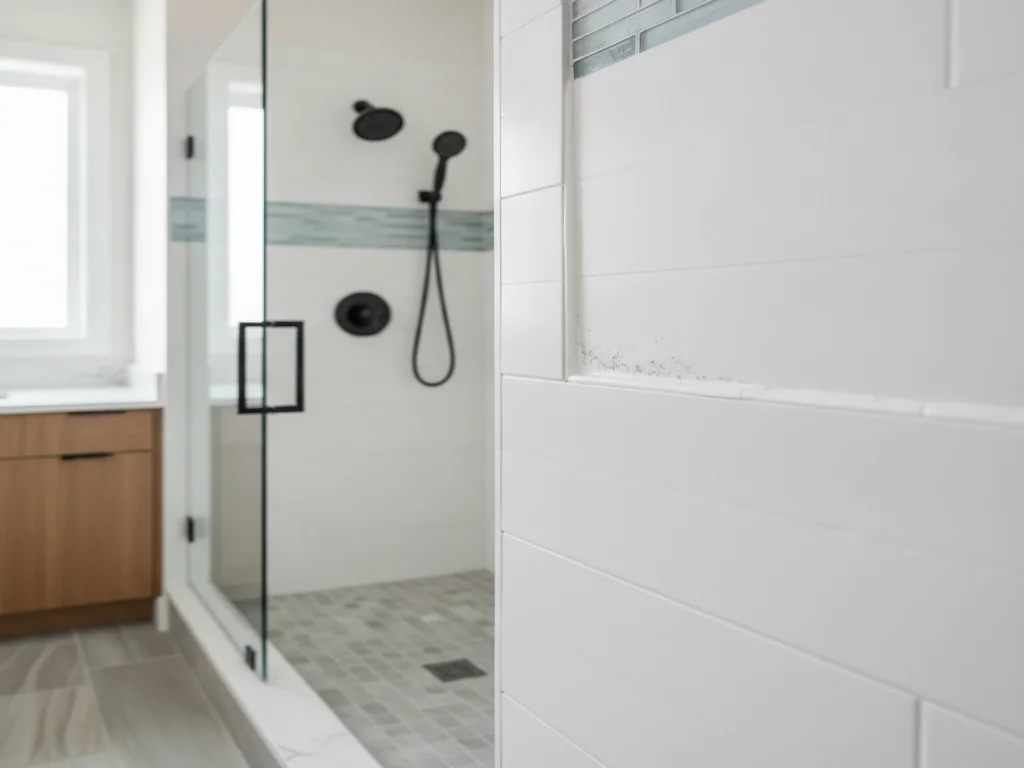
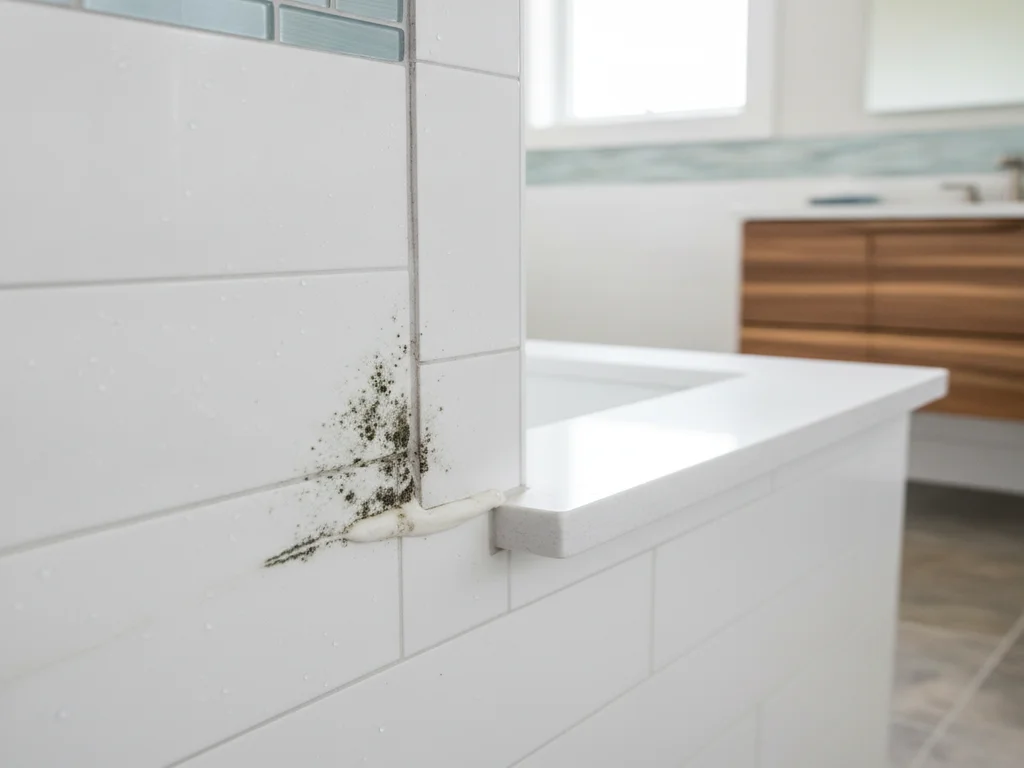
Surface mildew sits on top of the bead — a speckle or film that responds to a mildew cleaner and a brush. It grows where soap residue and standing droplets feed it, usually along the bottom of the bead and in corners. Annoying, cosmetic, and preventable with ventilation and an occasional clean.
Behind-bead mildew shows through the silicone — gray or black blotches inside the material, or a dark line at the bead’s back edge where it meets the wall. No cleaner reaches it, because the growth is between the caulk and the substrate, sealed under a waterproof cover. Scrubbing brightens the surface for a week and changes nothing. If your caulk "keeps mildewing" no matter what you clean it with, this is almost certainly what you have.
The root causes, ranked
Chronic caulk mildew traces to a short list, in descending order of how often each is the culprit.
- Caulking over a damp or colonized joint. The old bead comes off, the joint looks clean enough, and the new bead goes on the same afternoon — sealing residual moisture and live spores underneath. The new caulk blackens from the inside within weeks. This single mistake explains most "I just recaulked it" cases.
- Old caulk residue left in the joint. Silicone will not bond to old silicone film, so the new bead sits slightly proud with micro-gaps behind it — capillary channels that pull shower water behind the bead every day.
- The wrong caulk. Acrylic and general-purpose painter caulks absorb water and degrade in a wet joint; bargain silicone without mildewcide colonizes faster. Wet-zone joints want 100% silicone rated for kitchen and bath, with mildew-resistant additives.
- Weak ventilation. A joint that stays wet from the morning shower until the evening one never dries, and per the EPA, mold can establish on damp material within 24–48 hours. Ventilation does not cause the failure, but it sets how fast every other cause plays out — see the bathroom ventilation guide.
- Water arriving from behind. Cracked or porous grout above the joint, a failed waterproofing layer, or a leaking tile assembly feeds water down the wall and out at the caulk line. The bead mildews from the back no matter how well it was installed — the caulk is the messenger.
Severity triage: cosmetic, chronic, or structural
Cosmetic: surface spotting that cleans off and stays away for months when the fan runs. Maintenance, not a problem. Clean it, squeegee the corner it favors, move the shampoo caddy that blocks airflow over it.
Chronic: a bead that blackens from inside within weeks or a couple of months of every recaulk. The joint itself is the problem — trapped moisture, bad prep, or the wrong product — and the fix is a properly executed full replacement, not another bead over the top.
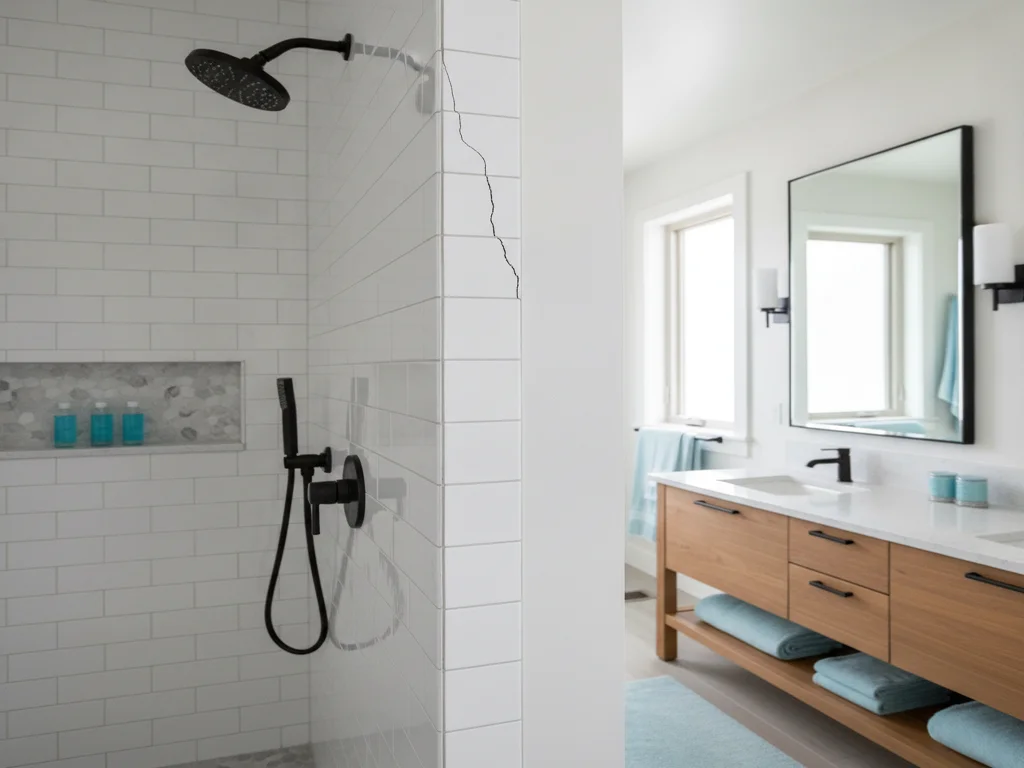
Structural: mildew concentrated where the caulk meets a grout line that is cracked or crumbling, a bead that re-fails fastest in one spot, spongy or discolored wall around the joint, or caulk failure paired with loose tiles. Water is moving behind the assembly. Recaulking treats the symptom for a few weeks while the wall keeps getting wet — the patterns to check are in signs of a leaking shower and why grout keeps cracking.
The three-week rule
A fresh, correctly chosen silicone bead in a clean, dry joint should stay clean for many months with normal ventilation. If new caulk shows black within about three weeks, stop recaulking — either the joint was sealed wet, or water is reaching the bead from behind. A third recaulk will fail exactly like the first two until the moisture source changes.
Why the quick recaulk keeps failing
The recaulk-every-spring cycle is almost always a preparation failure. A durable caulk joint needs the old bead fully removed — including the invisible silicone film left on tile and tub — the joint treated for mildew, and then the part nobody does: time to dry completely, which can mean a day or more without showers, longer for a joint that has been chronically wet.
Skip the drying and you have resealed the original problem. Skip the residue removal and the new bead never bonds, leaving water channels behind it. Use the leftover painter’s caulk from the garage and the bead itself becomes the food source. Each shortcut independently recreates the failure, which is why the cycle feels so stubborn — three different mistakes all produce the same black line.
Done properly, a recaulk is a genuinely satisfying small job, and the full technique — removal, prep, product choice, tooling the bead — is covered step-by-step in our bathroom caulking guide. This page’s job is making sure you fix the reason the last bead failed before laying the next one.
When the caulk is telling you about the wall
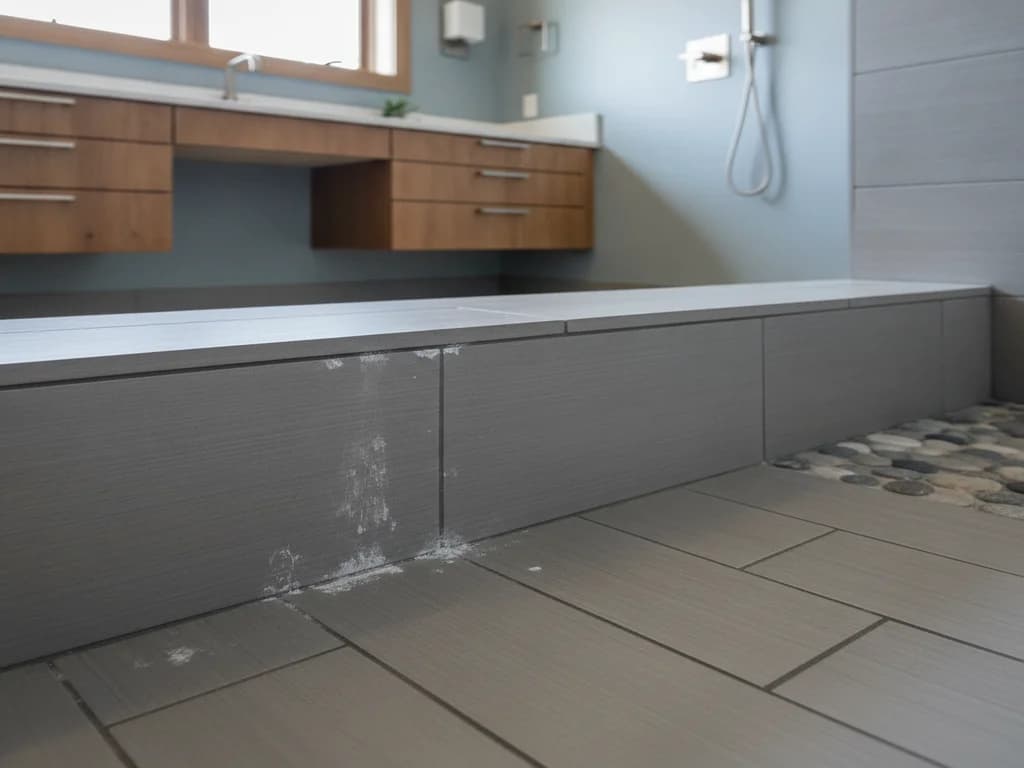
Sometimes the bead is fine and the wall is not. Caulk that mildews fastest directly below a run of cracked grout, a joint that re-fails at the same spot each time, or black growth paired with hollow-sounding or shifting tiles all point to water getting behind the tile assembly and finding its exit at the caulk line.
That distinction changes the scope entirely. A failing joint is an afternoon of prep and a tube of silicone. A failing waterproofing layer means water has been reaching the wall cavity — and a professional will check for soft drywall, inspect the grout and tile bond, and in older showers evaluate whether the assembly behind the tile ever had a real waterproofing membrane at all. Many builder-grade showers from the 90s and 2000s did not.
The honest framing: if your shower is at the recaulk-twice-a-year, grout-crumbling, tiles-loosening stage, the caulk is the cheapest symptom of a shower nearing end of life. That is a fold-it-into-a-remodel conversation, not a caulk-gun conversation — and catching it at the mildew stage beats catching it at the soft-floor stage.
Breaking the cycle for good
The durable fix stacks four things. One: full removal and a genuinely dry, treated joint before any new caulk — no same-day reseal over a chronically wet joint. Two: the right product, a kitchen-and-bath 100% silicone with mildewcide. Three: fix any water path from behind first — regrout or repair failing grout, address leaks, or accept that caulk over a leaking assembly is a bandage. Four: change the drying math — run the exhaust fan during and 20–30 minutes after showers, and if the fan cannot hold a square of toilet paper to its grille, replace it (start with the best bathroom exhaust fans).
Small habits extend the interval further: a 30-second squeegee pass on walls and the caulk line after showers, shampoo bottles off the corners of the tub deck so air reaches the joints, and a periodic mildew-cleaner wipe before spotting establishes.
Do all of that and shower caulk becomes what it should be: a maintenance item you think about every few years, not every few weeks. If mildew is showing up beyond the caulk line — ceiling, walls, grout field — zoom out to bathroom mold: when to worry, because the caulk may be the visible edge of a room-level moisture problem.
Ready to plan your Boise bathroom?
Licensed & insured · 3-year workmanship warranty
Frequently asked questions
- Why does my shower caulk turn black so fast after recaulking?
- Because the failure got sealed in. Recaulking over a joint that was still damp or still colonized traps moisture and spores under the new bead, and it blackens from the inside within weeks. Leftover silicone residue does similar damage by preventing a bond, letting water behind the bead. A proper redo means full removal, mildew treatment, complete drying — often a shower-free day — then fresh silicone.
- Can you clean mold out of shower caulk?
- Only surface mildew. Spotting on top of the bead responds to mildew cleaners and a brush. Black growth showing through the silicone or lining its back edge is under or inside the bead, where no cleaner reaches — that caulk is done and needs replacement. The quick test: if scrubbing brightens it briefly but the shadow remains or returns within days, the growth is not on the surface.
- What caulk stops mildew in showers?
- A 100% silicone rated for kitchen and bath use, with mildew-resistant additives — these resist water absorption and colonization far better than acrylic or general-purpose caulks, which soak up water in a wet joint and feed growth. Product choice is necessary but not sufficient: the same silicone fails fast in a joint that was sealed damp or is fed by water from behind failing grout.
- Does moldy shower caulk mean my shower is leaking?
- Usually not — most caulk mildew is surface moisture, ventilation, and prep. But a few patterns do point behind the wall: mildew concentrated below cracked or crumbling grout, a bead that re-fails at the same spot every time, hollow or loose tiles nearby, or soft wall around the joint. Those suggest water moving behind the tile assembly, which recaulking cannot fix — have the shower evaluated.
- How often should shower caulk be replaced?
- A well-installed silicone bead in a ventilated bathroom commonly lasts on the order of five years or more; replace it whenever it cracks, pulls away from the wall, or shows growth through the bead rather than on it. If you are recaulking more than once a year, frequency is the diagnosis: something — trapped moisture, wrong product, or water from behind — is cutting the bead’s life short.
- Why does the caulk only mildew in one corner of the shower?
- Because that corner stays wet longest. Corners collect the most runoff, dry slowest, and are usually where bottles and caddies block airflow over the joint. Persistent one-spot mildew can also mark a local water source — a grout crack channeling water to that section, or a bead gap pulling water behind it there. Clean it, clear the airflow, and if that one spot always re-blackens first, inspect the grout above it.
Sources
Claims and figures are drawn from the sources above and provided for general guidance; your project may vary. Photography is illustrative of design concepts. For a fixed price on your specific bathroom, request a free estimate.