Updated July 16, 2026 · 6 min read
By Boise Bath — bathroom & shower remodeling in Boise & the Treasure Valley
The short answer
Sometimes — but rarely cleanly. An alcove tub’s flange sits behind the bottom row of wall tile, so removing the tub usually sacrifices that row, and matching discontinued tile is the real problem. If the tile is worth keeping, refinishing the tub in place is often the smarter move; if it isn’t, plan the walls into the project.
Key takeaways
- An alcove tub is installed before the wall tile: its vertical flange gets covered by the bottom row, so the tub physically cannot slide out without disturbing that row.
- The realistic best case is losing only the bottom row or two of tile and patching it — which works visually only if matching tile still exists.
- Tile older than a few years is usually discontinued; a near-miss match at the most visible seam in the room reads worse than an intentional border.
- Freestanding and some drop-in tubs are the exception — no wall flange means no tile conflict.
- If the goal is a better-looking tub under tile you love, refinishing costs a fraction of replacement, per national cost guides, and touches nothing.
- If the tile is dated or failing anyway, replacing tub and walls together is cheaper than doing them separately a year apart.
Why the tub and the tile are physically connected
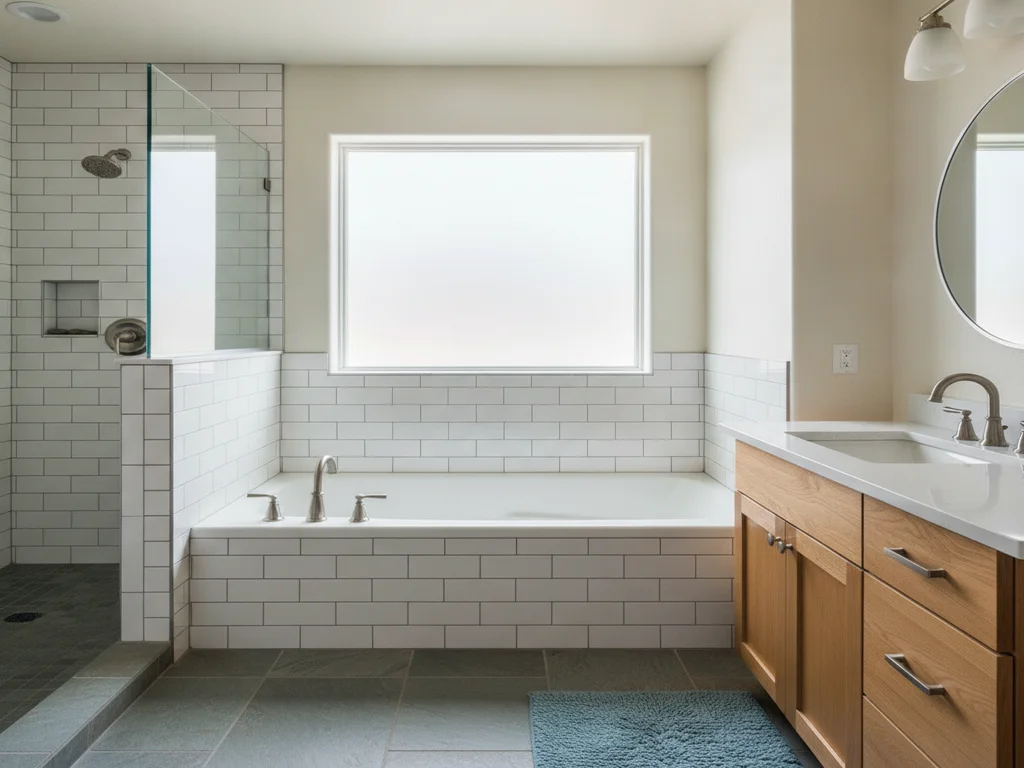
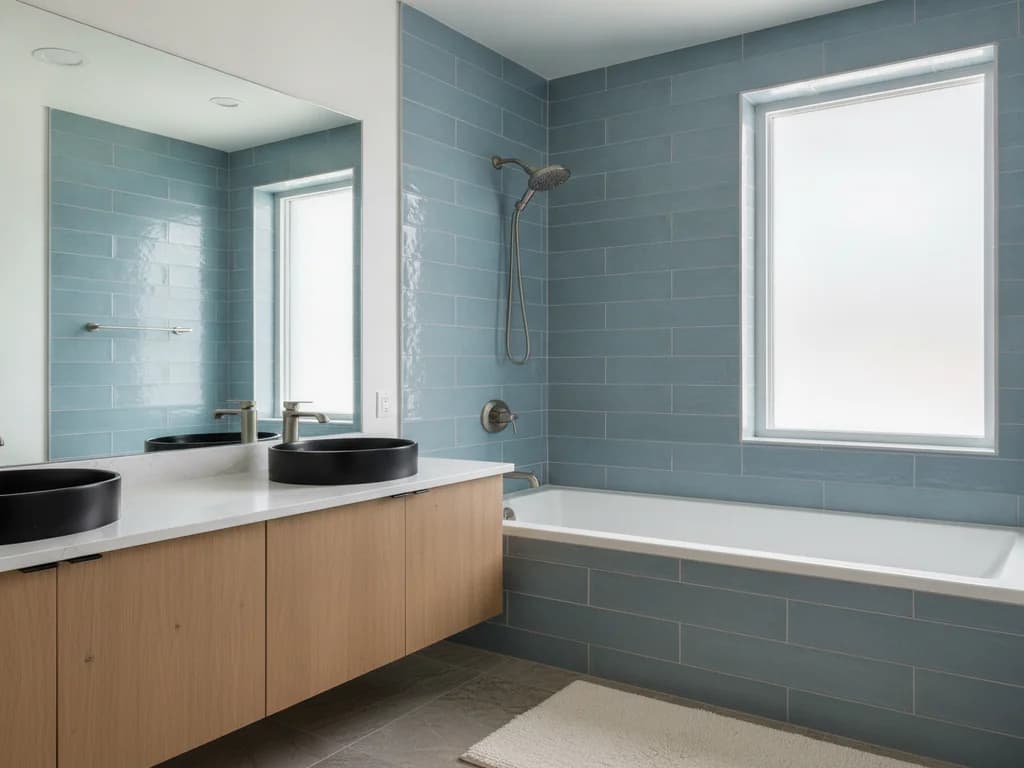
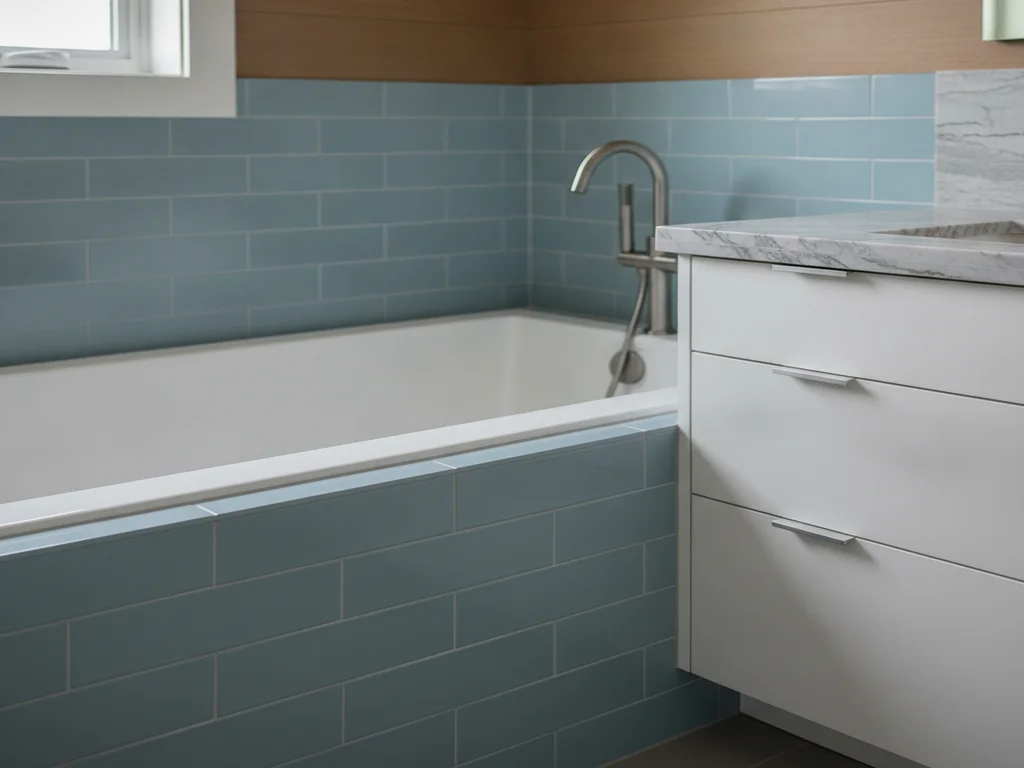
To understand the honest answer, you need one piece of construction sequence: in a standard alcove installation, the tub goes in first. Its three wall sides have a vertical lip — the tiling flange — that stands an inch or so up the studs. The wall board and tile are then installed down over that flange, so water running down the walls sheds onto the tub instead of behind it.
That overlap is great waterproofing and terrible for selective demolition. The bottom row of tile physically traps the tub’s flange. You cannot lift the tub out, and you cannot drop a new tub in, without freeing that flange — which means cutting or removing at least the bottom course of tile on all three walls.
This is why "we’ll just slide the old tub out" is not a thing contractors say about tiled alcoves. The full removal-and-replacement sequence is covered in replacing a bathtub and, for the standard three-wall setup, replacing an alcove bathtub.
The best case: sacrificing one row and patching it
The tile-preserving version of a tub swap looks like this: the installer scores the grout line above the bottom row, carefully removes that course (and often the one above it, since collateral cracking is common), frees the flange, swaps the tub, then installs new tile in the gap and re-caulks the tub-to-tile joint.
When it works, you keep 90-plus percent of the wall. But three things have to break your way. The tile has to release without cracking its neighbors — older mastic-set tile often takes the row above with it. The wall behind the removed row has to be sound, because a tub swap is exactly when hidden moisture damage shows up. And you have to be able to get matching tile.
The new tub also has to cooperate: its flange height and apron dimensions need to land close to the old tub’s, or the patch row won’t cover the gap. Standard 60-by-30-inch alcove tubs make this plausible; switching tub styles or depths usually doesn’t.
The match problem is the real problem
Tile lines turn over fast — a colorway from even five years ago is often discontinued, and hard-water exposure shifts the sheen of what’s on your wall. A close-but-wrong bottom row sits at eye level when you’re in the tub and at the room’s most scrutinized seam. If you can’t source true matching tile (spares in the garage are gold), assume a visible patch or plan an intentional contrast band.
When the answer is a clean yes
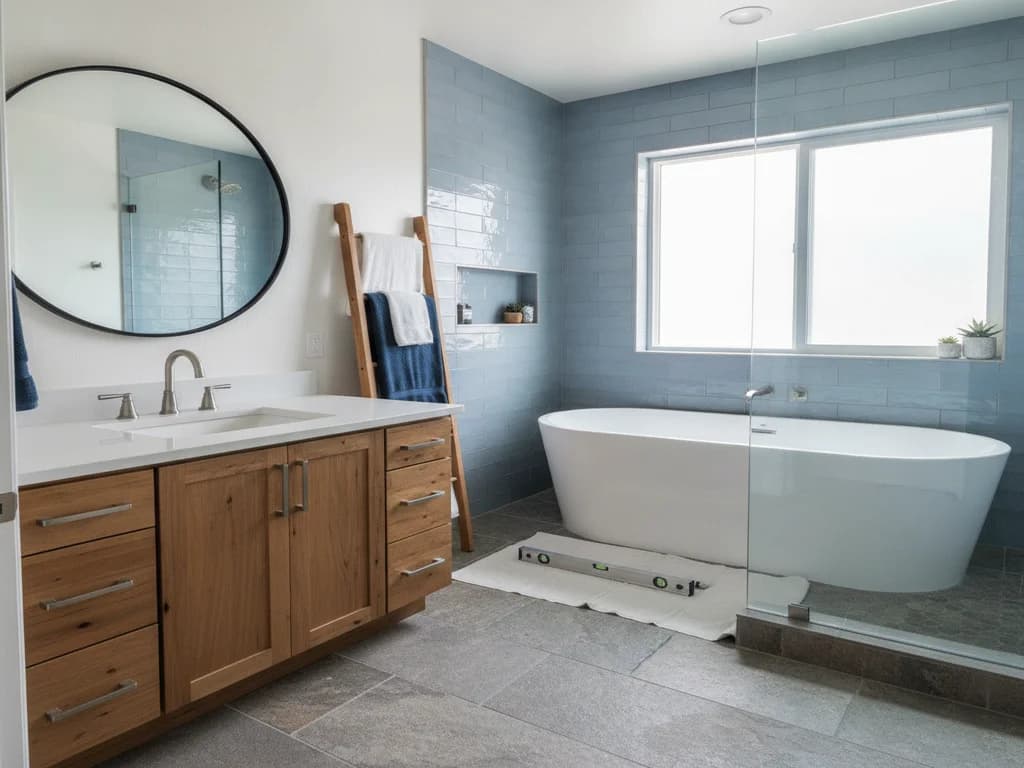
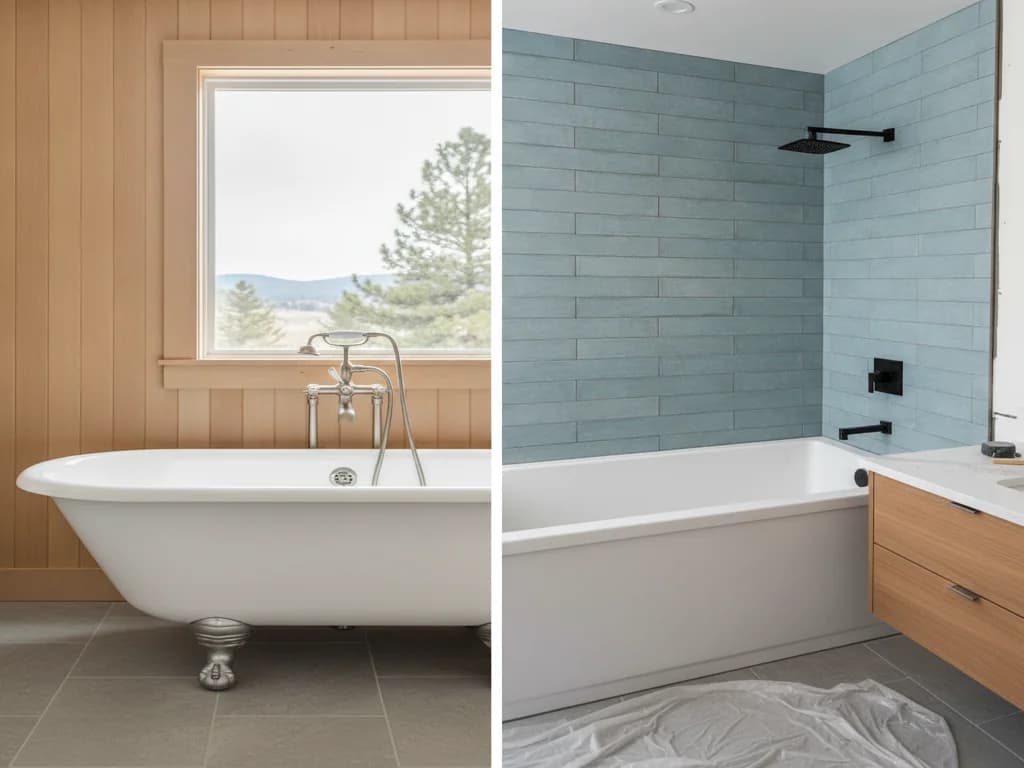
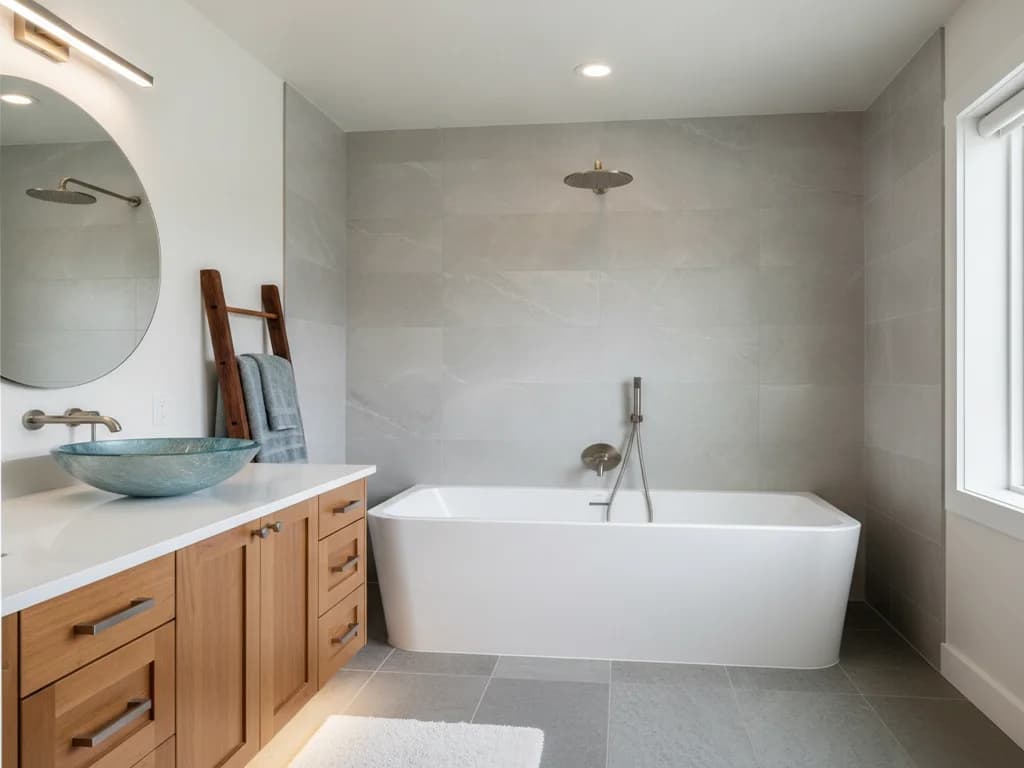
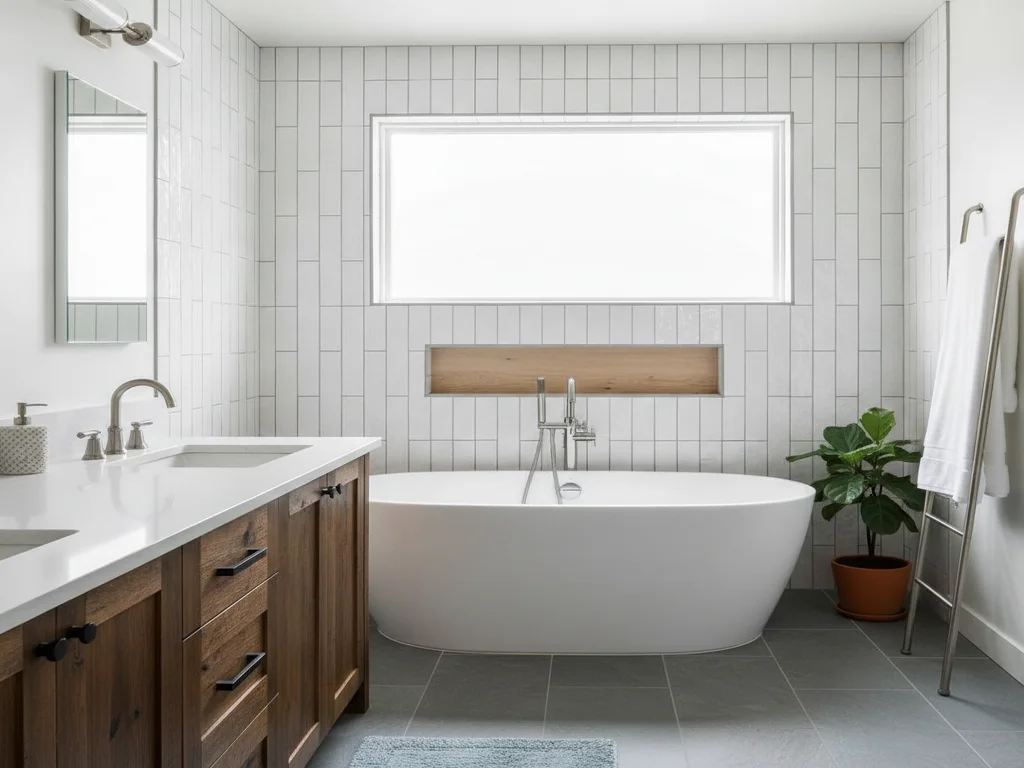
Two situations dodge the flange problem entirely. A freestanding tub has no wall flange — if you’re replacing freestanding with freestanding, the tile never enters the conversation, and even converting an alcove to freestanding shifts the work from tile removal to plumbing relocation, covered in replacing a bathtub with a freestanding tub.
Drop-in tubs set in a deck are the other partial exception: the tub drops into a frame from above, so wall tile survives — though the deck tile around the rim usually doesn’t, which trades one matching problem for another.
There’s also the case where you have real spare tile. Treasure Valley homes from the 2000s building boom sometimes have a box of the original tile left in the garage or crawl space — if you do, the sacrificed-row approach moves from gamble to plan.
When the answer is no — and what to do instead
If the wall tile is set in a mud bed or the grout joints are tight and brittle, row-by-row removal tends to cascade — pros will tell you upfront that the demo may not stop where anyone wants it to. If the caulk line has been failing for years, the wall behind the bottom rows may be damaged, at which point partial preservation is moot; water-damaged backer has to go regardless.
And if the reason you want a new tub is that the whole alcove looks tired, preserving the tile optimizes for the wrong thing. Tub and walls redone together share one demolition, one waterproofing pass, and one trade schedule — done separately a year or two apart, you pay for the overlap twice. National guides such as HomeAdvisor put installed tub replacement roughly in the $1,400 to $7,500 range depending on tub and scope; the wall work is a large share of that either way.
The middle path many homeowners actually want: if the tile is genuinely worth keeping and the tub is merely worn, refinishing the tub resurfaces it in place for a few hundred dollars, per national cost guides — no demolition, no flange, no tile risk. It’s a 5-to-15-year finish rather than a forever fix, but it’s purpose-built for exactly this situation.
What professionals check before promising anything
A contractor quoting a tile-preserving tub swap should be checking, not assuring. The inspection list: how the tile was set (mastic on drywall releases differently than thinset on cement board or a mud bed), the condition of the caulk joint and the grout in the bottom courses, any flex or hollow sound in the lower wall, and whether the replacement tub’s dimensions actually match the old footprint.
They’ll also ask about tile supply — remnants, attic boxes, or a still-active tile line — before committing to a patch. And they’ll pull the tub apron area apart mentally: drain access, whether the floor under the tub is sound, and how the drain and overflow will connect to a new tub, since that hardware rarely transfers.
The honest quote often comes with a fork in it: a price for the preserve-the-tile version, a price for the redo-the-walls version, and a plain statement of what discovery during demo would move you from one to the other. Be suspicious of anyone who guarantees the tile survives before a single tile is off.
| Approach | Tile impact | Best when |
|---|---|---|
| Tub swap, sacrifice bottom row | Bottom 1–2 rows replaced | Matching tile exists; walls sound; same-size tub |
| Tub swap + new walls | All wall tile replaced | Tile dated or failing; changing tub style or size |
| Refinish tub in place | None | Tile worth keeping; tub worn but sound |
| Freestanding-to-freestanding swap | None | No wall flange involved |
| Tub-to-shower conversion | All wall tile replaced | Tub rarely used; walls opening anyway |
The budget logic: separate projects cost more than one
The math that decides most of these projects: wall demolition, backer board, waterproofing, and tile labor get paid for whenever the walls come apart. If you preserve tile now and redo the walls in three years, you buy a careful, slower tub installation today and a full wall job later — including pulling and re-caulking around the tub you just installed.
That’s why the tile-preservation question is really a timeline question. Tile you love and plan to keep for a decade justifies the careful swap or a refinish. Tile you merely tolerate makes the combined project the better spend — and once walls are open, upgrades like a niche or better waterproofing cost their materials, not a separate mobilization. If the room is trending that direction anyway, a full bathroom remodel folds the tub in as one line item.
Ready to plan your Boise bathroom?
Licensed & insured · 3-year workmanship warranty
Frequently asked questions
- Why can’t the tub just slide out from under the tile?
- Because the tile overlaps the tub’s tiling flange — a vertical lip that runs up the wall behind the bottom tile row on all three alcove walls. The overlap is intentional waterproofing: water sheds from tile onto tub. It also mechanically traps the tub, so at minimum the bottom course of tile has to come off to free it.
- How many rows of tile are usually lost in a tub replacement?
- Plan on one to two rows across all three walls in the best case. The bottom row must come off to free the flange, and the row above frequently cracks or releases during that removal, especially with older mastic-set tile. Careful pros score grout lines and work slowly, but they’ll quote the job assuming some collateral loss.
- What if my tile is discontinued?
- You have three real options: source remnants (tile resellers, online remnant marketplaces, a box in the garage), install an intentional contrast row — a deliberate border reads far better than a near-miss match — or accept that the walls should be redone with the tub. A slightly-off patch at the tub line is the most noticeable seam in the room.
- Is refinishing the tub a good alternative to replacing it?
- When the tile is the thing you’re protecting, often yes. Refinishing resurfaces the existing tub in place — typically a few hundred dollars, per national cost guides like HomeAdvisor, versus thousands for replacement — and touches no tile. The finish lasts roughly 5 to 15 years with care. It doesn’t fix cracks, structural problems, or a tub that drains poorly.
- Does replacing a bathtub require a permit in Boise?
- A like-for-like tub swap with no drain relocation is often treated as a fixture replacement, but once demolition opens walls or the drain moves, plumbing permits typically apply through City of Boise Planning & Development Services or your city’s building department. A licensed contractor confirms the requirement for your specific scope before work starts.
- Can I replace a tub-shower combo without replacing the surround?
- The same flange logic applies — a one-piece or panel surround overlaps the tub lip just like tile does. Multi-piece surrounds can sometimes be unclipped and reinstalled, but aged panels rarely survive removal flat and re-sealable. Most combo replacements treat tub and surround as one unit; see our guide to replacing a tub-shower combo for the full picture.
Sources
- HomeAdvisor — True Cost Guide
- Tile Council of North America (TCNA)
- This Old House — Bathrooms
- City of Boise — Planning & Development Services
Claims and figures are drawn from the sources above and provided for general guidance; your project may vary. Photography is illustrative of design concepts. For a fixed price on your specific bathroom, request a free estimate.