Updated July 16, 2026 · 8 min read
By Boise Bath — bathroom & shower remodeling in Boise & the Treasure Valley
The short answer
LVP bathroom problems follow a pattern: water slips through click seams and the toilet-flange cutout, swells the subfloor, and hides the damage under a vapor-tight floor. Add plank telegraphing over uneven subfloors, fading in sunny windows, and warranty fine print that excludes "excessive moisture" — most failures trace back to water the planks themselves survived.
Key takeaways
- Almost every LVP bathroom failure is a water-path problem, not a plank problem — the seams, perimeter gap, and toilet cutout are the unsealed routes to the subfloor.
- Cupped or peaked seams near the toilet or tub are the classic symptom of water that got in months ago, not yesterday.
- A floating vinyl floor is vapor-tight from above, so it traps subfloor moisture instead of letting it dry — small leaks do outsized damage.
- Telegraphing — seeing subfloor ridges and fastener heads through the planks — is an installation-prep failure and shows up within the first year.
- Rigid vinyl cores expand in direct sun; south-facing windows can fade patterns and open or peak seams.
- "Lifetime waterproof" warranties routinely exclude standing water, subfloor moisture, and "excessive moisture" — read the exclusions before counting on coverage.
Why "waterproof" floors still fail in bathrooms
Start with the distinction that explains nearly everything on this list: the plank is waterproof; the floor is not. An LVP plank is plastic and mineral composite through and through — you can soak one for a week and nothing happens. But a floor is planks plus hundreds of feet of click-lock seams, an unsealed expansion gap around the whole perimeter, and rough cutouts at the toilet flange and tub edge. None of those joints are watertight.
In a kitchen or hallway, that rarely matters. A bathroom is different: it is the one room where water sits on the floor daily — splash over the tub rim, drips at the toilet base, condensation runs off a cold tank. Given time, standing water finds a seam. What happens next is the real problem: the water reaches the wood subfloor and then sits there, because the vinyl floor above it is vapor-tight and will not let it dry upward.
That mechanism — water in easily, water out never — drives the big failures below. If you are still deciding whether LVP belongs in your bathroom at all, the balanced case for and against is in our LVP pros and cons guide; this page is the catalog of what goes wrong when it goes wrong.
Problem 1: Seam swelling and peaking
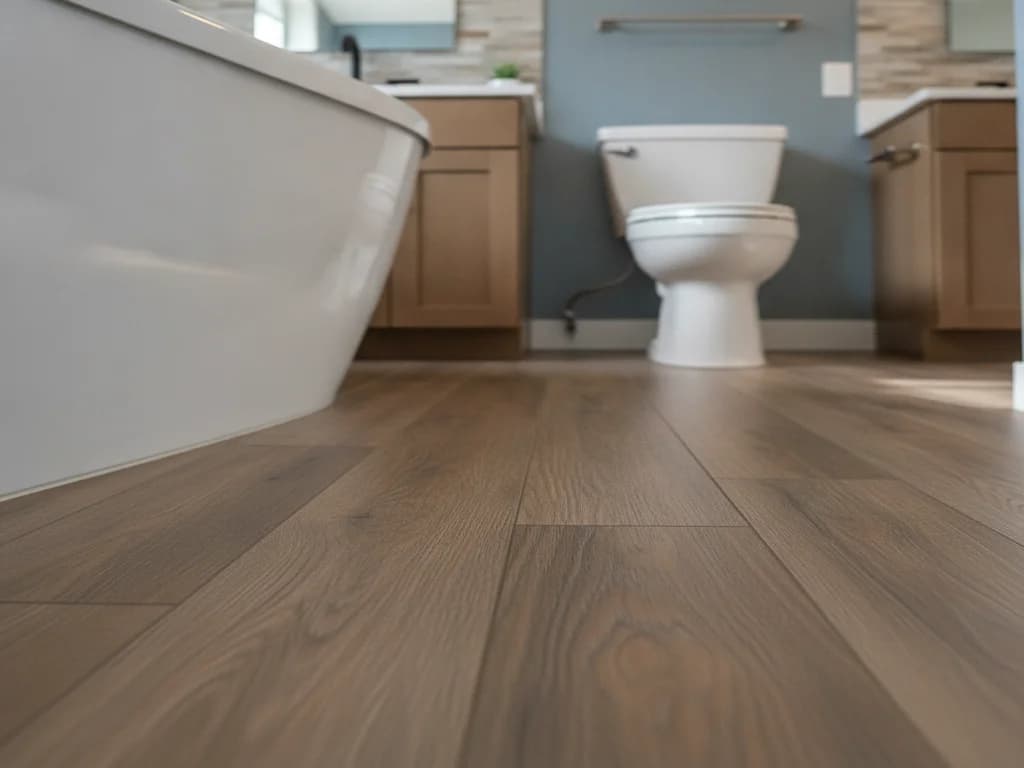
The most visible LVP failure is a seam that no longer lies flat — either cupped (edges raised in a shallow V) or peaked (two planks pushed up into a ridge). In bathrooms, cupped seams cluster in the high-water zones: beside the tub, in front of the shower, around the toilet.
Cupping usually means moisture: either water that worked through the seam and swelled the wood subfloor beneath (the plank is riding a hump), or — in cheaper planks with wood-plastic composite cores — the core itself absorbing moisture at the cut edge. Peaking usually means pressure: the floor was installed without an adequate expansion gap, or the baseboards or a heavy vanity pinned the floating floor so it had nowhere to move when warm, humid conditions expanded it.
The honest diagnostic: a peaked seam in a dry area is an install problem and often fixable by relieving the perimeter. A cupped seam near a water source means water has been getting under the floor — and the plank is the least of your worries.
Problem 2: Water wicking at the toilet and tub edges
This is the failure that does real damage, and it is nearly invisible until late. The toilet-flange cutout is a rough hole in the floating floor, and the tub-to-floor joint is a caulk line that ages. A wax-ring seep, a slow supply-line drip, or daily splash past tired caulk delivers small amounts of water to those openings — and every drop that gets through lands on the subfloor under a vapor-tight lid.
OSB and plywood subflooring swell, delaminate, and eventually rot when they stay wet, and the EPA notes mold can establish on damp material within 24–48 hours. Under a floating vinyl floor, "damp" can persist for months. The eventual symptoms — a spongy spot underfoot, a toilet that starts to rock, a musty smell, cupped planks radiating from the toilet — describe a floor system that has been wet for a long time.
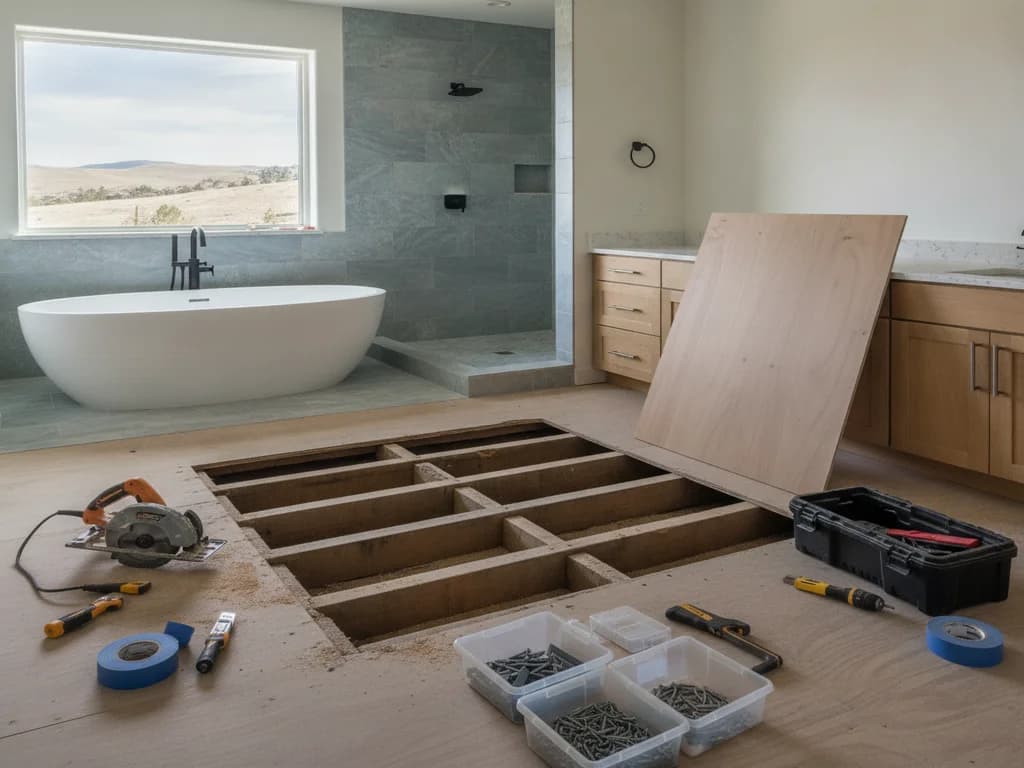
By the time it is visible, the fix is no longer a flooring fix: the floor comes up and the damaged decking gets cut out and replaced. Our guide to replacing a bathroom subfloor covers what that project involves; the budget side lives in the subfloor replacement cost guide.
The 10-minute annual check that prevents most of this
Once a year, press a fingertip along the caulk lines at the tub and toilet base and recaulk anything loose, and look for any darkening or lifting at plank edges in those zones. A soft spot underfoot or a toilet that has started to rock is not a flooring symptom — it is a subfloor symptom, and it is worth a professional look now, not next year.
Problem 3: Telegraphing and soft spots
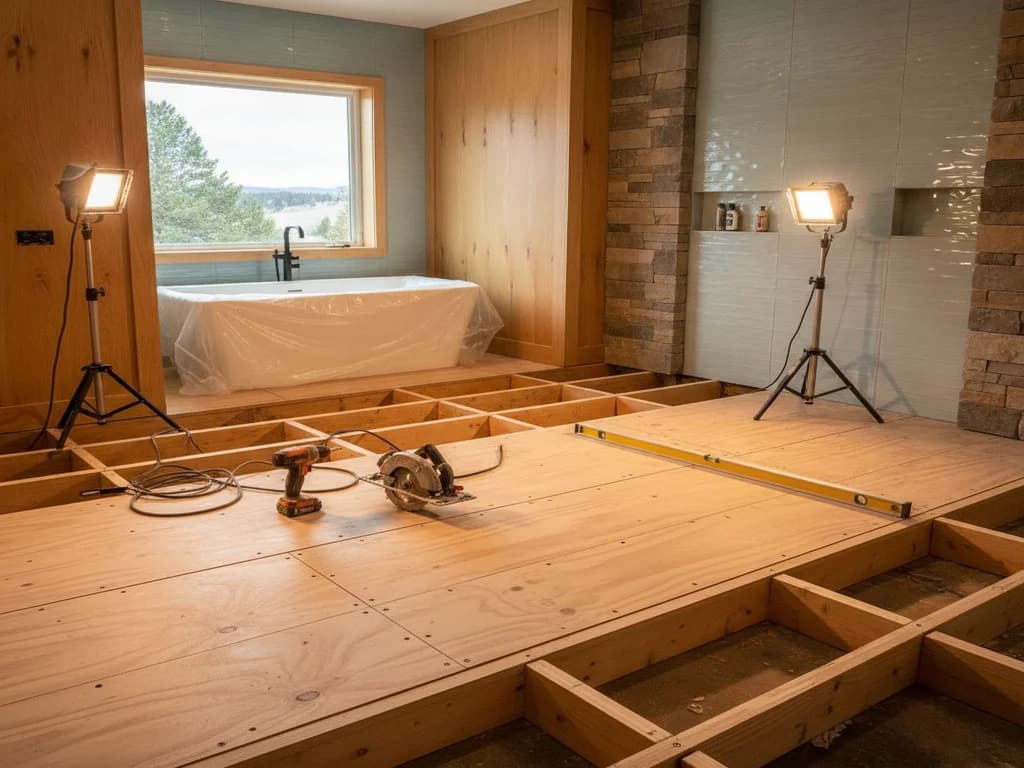
Telegraphing is the floor showing you what is underneath it: ridges at subfloor panel joints, dips where the old floor sagged, even individual fastener heads reading through the plank surface over time. Thin LVP over a poorly prepped subfloor is a projector for every flaw below.
This one is purely an installation failure. Every manufacturer publishes a flatness spec — commonly within about 3/16 inch over 10 feet — and meeting it means grinding humps and filling dips with patching compound before the first plank clicks together. Skipping prep is the classic corner cut in cheap installs, because the floor looks perfect on day one and telegraphs within the first year.
Related: seams that flex or click underfoot. Click joints are rigid plastic; flexed repeatedly over a hollow or a dip, they wear and can break, and a broken lock never lies flat again. If your floor moves when you walk on it, the subfloor prep was the problem — the symptom just took months to arrive.
Problem 4: Sun fade and heat movement
Vinyl is a plastic, and plastics respond to sun. In a bathroom with a large south- or west-facing window, two things happen over the years: the printed pattern fades where direct sun lands (the rug-shaped outline is the giveaway), and the planks themselves expand and contract with the daily heat swing. Rigid SPC cores handle this far better than older flexible planks, but no vinyl is immune — and manufacturers publish temperature limits for a reason.
The movement problem compounds the seam issues above: a floor cycling through expansion in a sunny bathroom needs its full perimeter gap, and one pinned by baseboards or a heavy vanity peaks at the seams instead. Boise’s dry, bright summers and cold winters give bathrooms with big windows a real annual swing — worth factoring in when choosing between LVP and tile, which is dimensionally indifferent to all of it.
Fade has no fix — the image layer cannot be refinished. Window film, a bath mat rotated occasionally, and honest product selection (check the spec sheet for fade and heat ratings, per Consumer Reports testing guidance) are the whole toolkit.
Problem 5: The warranty fine print
The shelf tag says "lifetime waterproof warranty." The warranty document says something narrower. Reading the actual terms across major brands, the pattern is consistent: coverage applies to the plank being damaged by normal surface moisture — and excludes standing water, flooding, plumbing leaks, subfloor moisture, hydrostatic pressure, and the elastic catch-all "excessive moisture."
In other words, the exact scenarios that ruin bathroom floors are the ones excluded. A wax-ring seep that rots the subfloor is a plumbing leak; an overflowed tub is standing water; the trapped dampness under the floor is subfloor moisture. The plank warranty is honest on its own terms — the plank really is not damaged — but homeowners routinely hear "waterproof floor" and assume "covered bathroom." They are not the same claim.
Warranties also commonly require proof of installation to spec: manufacturer-approved underlayment, documented subfloor moisture readings, correct expansion gaps. A DIY or corner-cut install can void coverage before the first drop lands. None of this makes LVP a bad product — it makes the warranty a poor substitute for good caulk and an annual check.
Which problems are fixable — and which mean starting over
The good news: a floating floor is the most repair-friendly format in flooring, when the damage is limited and the cause is fixed first.
- Peaked seams with a dry subfloor: often fixable by relieving the perimeter — trimming plank edges under the baseboards so the floor can float again.
- A few damaged planks near a wall: the floor unclicks back to the damage and reassembles — if you kept spare planks. Discontinued colorways are the gamble; a box in the garage is cheap insurance.
- Cupping from a one-time water event: fix the leak, then let a pro lift the affected area and verify the subfloor dried sound before relaying.
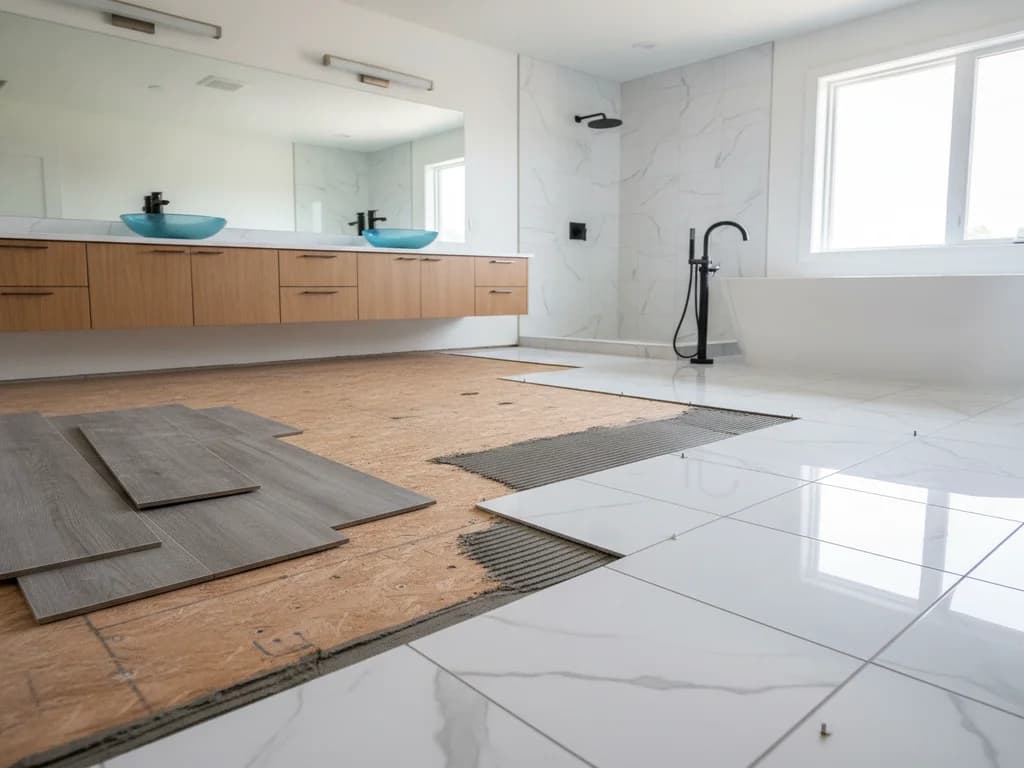
- Widespread cupping, soft spots, a rocking toilet, or musty odor: this is subfloor damage. The floor comes up, the decking gets repaired, and the honest question becomes what to install next.
- Telegraphing across the room: there is no fix from above — the floor must come up for the prep that should have happened the first time.
What to install after an LVP failure
If your LVP floor failed from a one-off cause — a supply-line leak, a bad install — and you liked the floor, replacing it with better LVP over a properly prepped, verified-dry subfloor is a legitimate answer. The product was never the problem; the water path was.
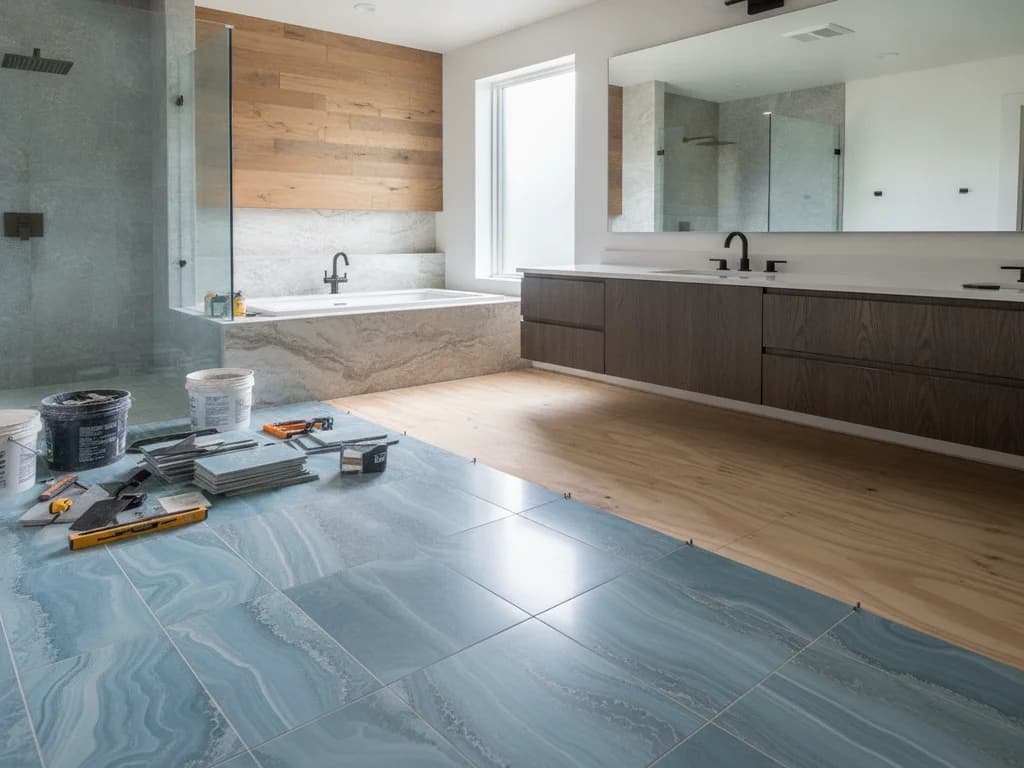
But if the bathroom itself is the problem — a high-splash kids’ tub, a toilet with a leak history, a household that will not keep up with caulk — the failure is information. Tile over a proper waterproofing membrane fails loudly and locally instead of silently and broadly, which is exactly what you want in a wet room. Many homeowners make that switch on the second floor install; replacing LVP with tile covers the project, and the tile vs. LVP comparison covers the decision.
Either way, the subfloor repair and the new floor should be one scope with one contractor accountable for both — the seam between "the guy who fixed the wood" and "the guy who laid the floor" is where the next failure hides.
Ready to plan your Boise bathroom?
Licensed & insured · 3-year workmanship warranty
Frequently asked questions
- Why is my LVP floor lifting near the toilet?
- Lifting or cupped planks around a toilet almost always mean water has been reaching the subfloor — typically a slow wax-ring seep or condensation running down the tank — and the swollen wood is pushing the planks up. The planks are the messenger, not the problem. Have the toilet pulled and the subfloor inspected; recaulking over the symptom just hides it longer.
- Can water get under waterproof vinyl plank flooring?
- Yes. The planks are waterproof but the floor system is not: click seams, the perimeter expansion gap, and the toilet-flange cutout are all unsealed paths. Standing water given enough time finds one. Worse, once water is under the floor, the vapor-tight vinyl above prevents it from drying upward — so small amounts of trapped water do outsized subfloor damage.
- Does the LVP waterproof warranty cover bathroom water damage?
- Usually not the kind that matters. Typical warranties cover the plank itself against surface moisture but exclude standing water, plumbing leaks, subfloor moisture, and "excessive moisture" — the exact failure modes of bathrooms. Many also require documented installation to spec. Read the exclusions section of your specific warranty; assume subfloor damage is on you.
- Why can I see ridges and bumps through my vinyl plank floor?
- That is telegraphing — the subfloor’s panel joints, dips, or fastener heads reading through planks that were installed without proper prep. Manufacturers require the subfloor to be flat within a published spec (commonly about 3/16 inch over 10 feet) before installation. There is no fix from above; correcting it means lifting the floor and doing the grinding and patching that was skipped.
- How do I know if the subfloor under my LVP is damaged?
- Warning signs: a spongy or soft spot underfoot, a toilet that has started to rock, a musty smell, dark staining at plank edges, or cupped seams clustered near a water source. Any of those near a toilet or tub justifies lifting a few planks for a direct look — floating floors make inspection easy, and catching swollen decking early is dramatically cheaper than replacing rotted joists later.
- Should I replace failed LVP with tile or more LVP?
- Match the material to the failure. A one-off cause — a burst supply line, a bad install — fixed properly can justify better LVP again. A bathroom-behavior cause — chronic splash, a leak-prone toilet, caulk nobody maintains — argues for tile over a waterproofing membrane, which tolerates surface water indefinitely and fails visibly instead of silently. Our tile vs. LVP guide walks through the decision.
Sources
Claims and figures are drawn from the sources above and provided for general guidance; your project may vary. Photography is illustrative of design concepts. For a fixed price on your specific bathroom, request a free estimate.