Updated July 16, 2026 · 7 min read
By Boise Bath — bathroom & shower remodeling in Boise & the Treasure Valley
The short answer
Replacing bathroom wall tile means demolishing the old tile and usually the drywall behind it — old mastic-set tile rarely releases cleanly — then hanging new backer and setting new tile. For non-shower walls like wainscots and half-walls, standard drywall backing is acceptable, waterproofing is optional, and the project is mainly a design decision: height, tile format, and trim.
Key takeaways
- Wall tile outside the shower is decorative armor, not waterproofing — which makes replacing it simpler and cheaper per square foot than shower tile.
- Old wall tile rarely pops off cleanly; plan on replacing the drywall or plaster behind it rather than salvaging it.
- Tile eras date a bathroom instantly: 4×4 pastels read 1990s, 6×6 builder beige reads 2000s — the wainscot is usually the giveaway.
- Classic wainscot height runs roughly 36–48 inches; how the top edge is trimmed matters as much as the tile itself.
- If a shower rebuild is on the horizon, replacing wall tile at the same time gets one demolition, one tile order, and one cohesive room.
What counts as wall tile outside the shower?
This article is about the tile on your bathroom walls that never gets sprayed: the wainscot running around the room at chair height, the half-wall behind a pedestal sink, the backsplash over a vanity, or the full-height field tile that older bathrooms wrapped around every wall. Shower and tub-surround tile is a different project with different rules — waterproofing rules — and it is covered under our custom tile and stonework work.
The distinction matters because dry-area wall tile is decorative armor. It protects paint from splashes, toothpaste, and mop water, but no membrane is required behind it and no code minimums govern it. That makes replacement simpler, cheaper per square foot, and far more of a design decision than a technical one.
How does wall tile date a bathroom?
Faster than any other surface. Tile eras are legible the way car designs are: 4×4 squares in almond, bone, seafoam, or dusty rose say early 1990s. Six-inch beige squares with matching beige grout say builder-grade 2000s — the finish in a huge share of Treasure Valley subdivisions from that boom. Glossy white 4×4s with a black accent stripe reach back further still.
Because a wainscot sits at eye level when you are seated and wraps the whole room, it sets the bathroom’s age more than the floor does. A bathroom with a new vanity and mirror over a 1990s pastel wainscot still reads 1990s. This is why wall tile replacement punches above its cost in perceived update — you are removing the room’s timestamp.
Current directions worth considering: larger formats and stacked layouts, zellige-look and handmade-edge ceramics, fluted and dimensional tile, and classic subway laid in fresher patterns. Our bathroom tile pattern ideas roundup shows what these look like in real layouts, and choosing bathroom tile covers material and finish trade-offs.
Repair the old tile or replace it?
If you like the tile and one piece is damaged, spot repair is legitimate — the process and the discontinued-tile matching problem are covered in replacing cracked bathroom tile. Aged grout can also be renewed on its own; see regrouting bathroom tile for when that works.
Replacement is the answer when the tile itself is the problem: a dated era, a color you have repainted around three times, tiles popping loose from old mastic, or a layout change that moves fixtures. There is no refinishing path that changes a tile’s format or color convincingly at wall scale — paint-on tile coatings exist, but on walls you touch and scrub, they are a short-term cosmetic at best.
| Situation | Sensible path |
|---|---|
| One or two damaged tiles, tile still available | Spot repair |
| Grout stained or crumbling, tile sound and liked | Regrout |
| Dated era, color, or format | Replace the wall tile |
| Tiles loose or hollow across the wall | Replace tile and backing |
| Shower rebuild planned within a year or two | Replace together, one project |
What will demolition reveal behind the tile?
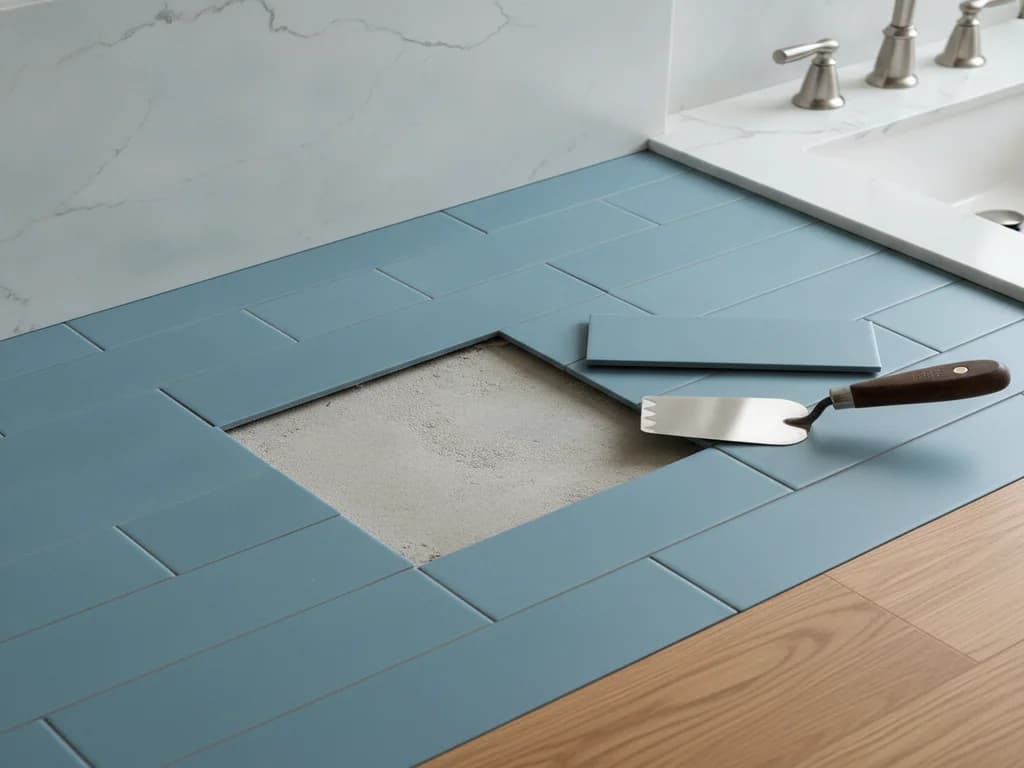
Here is the expectation to set: old wall tile almost never comes off clean. Tile set in the mastic era grips the drywall paper so well that removal takes the paper — and often chunks of gypsum — with it. Mid-century bathrooms may hide a mud-set wall: tile on a thick bed of mortar over metal lath, which comes off in heavy sheets and takes real labor to demo.
Practically, that means the wall behind the tile gets replaced, not skimmed. Pros plan for new drywall (or cement board where extra durability is wanted) from the start, which is also the moment to fix anything the wall has been hiding — old wallpaper layers, previous patch jobs, or the odd plumbing surprise near the sink.
This is the honest reason wall-tile bids include more demolition and drywall than homeowners expect. The tile is the visible line item; the wall rebuild behind it is the real scope.
Plaster walls change the math
In Boise’s older North End and Bench homes, wall tile often sits on plaster over lath. Plaster demo is dustier and heavier than drywall, and edges where tile meets remaining plaster need careful transition work. Budget accordingly — and protect the rest of the house from the dust.
How high should the new tile go?
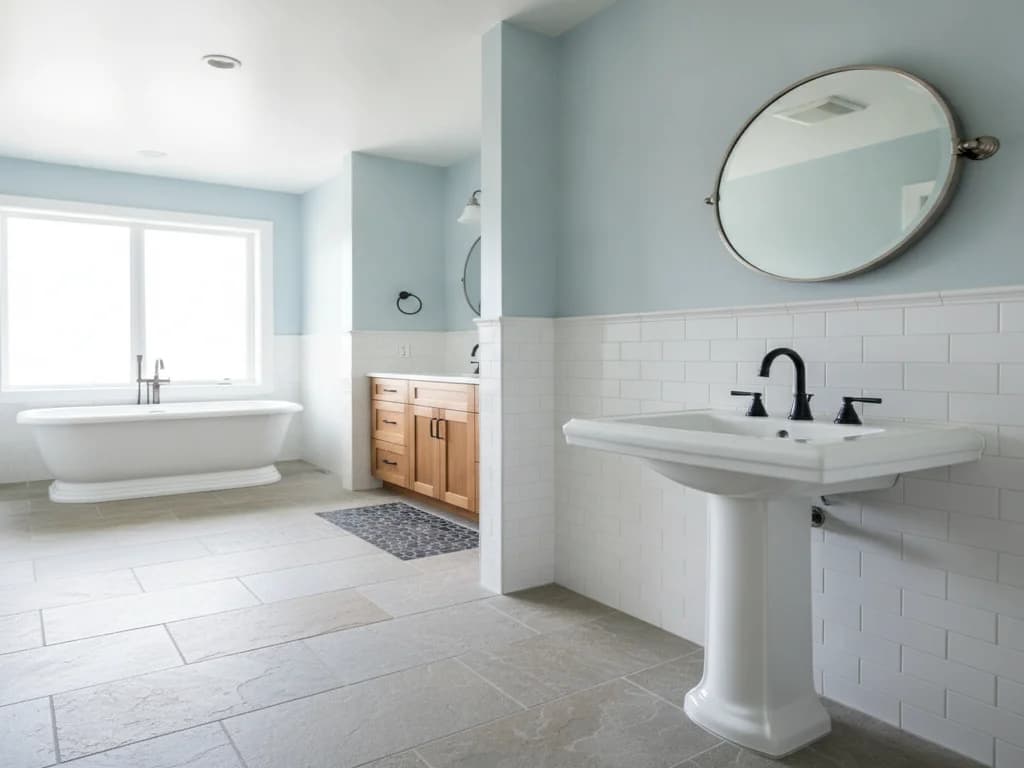
Wainscot height is the room’s biggest proportion decision. The classic range runs roughly 36 to 48 inches — chair-rail height — which protects the splash zone and suits most rooms. Running taller, to 54–60 inches, reads more traditional and works well behind pedestal sinks and freestanding tubs. Full-height tile on a single accent wall is the more current move, turning a vanity wall into a feature without wrapping the whole room.
The top edge deserves as much thought as the field. A bullnose or pencil trim gives a finished cap; a metal profile edge reads modern; a wood chair rail leans traditional. Whatever the choice, plan the tile layout so cuts land at the floor, not the top — the eye-level edge should be a full tile. Our tile layout planning guide walks through exactly this kind of decision.
What does replacing wall tile cost?
Wall tile installation is generally priced per square foot, with tile choice as the biggest swing: ceramic field tile sits at the economical end, while handmade-look, natural stone, and dimensional tiles climb quickly. Per Angi and HomeAdvisor cost guides, professionally installed wall tile commonly runs in the range of roughly $7–$25 per square foot for standard materials, with demolition and drywall replacement added to that.
The good news on scope: a 40-inch wainscot around a typical hall bath is a modest number of square feet, which is why this project delivers so much visual change per dollar. The cost levers are the same ones covered in our tile installation cost factors guide — tile price, layout complexity, trim, and what demolition uncovers.
Do it alone or fold it into a bigger update?
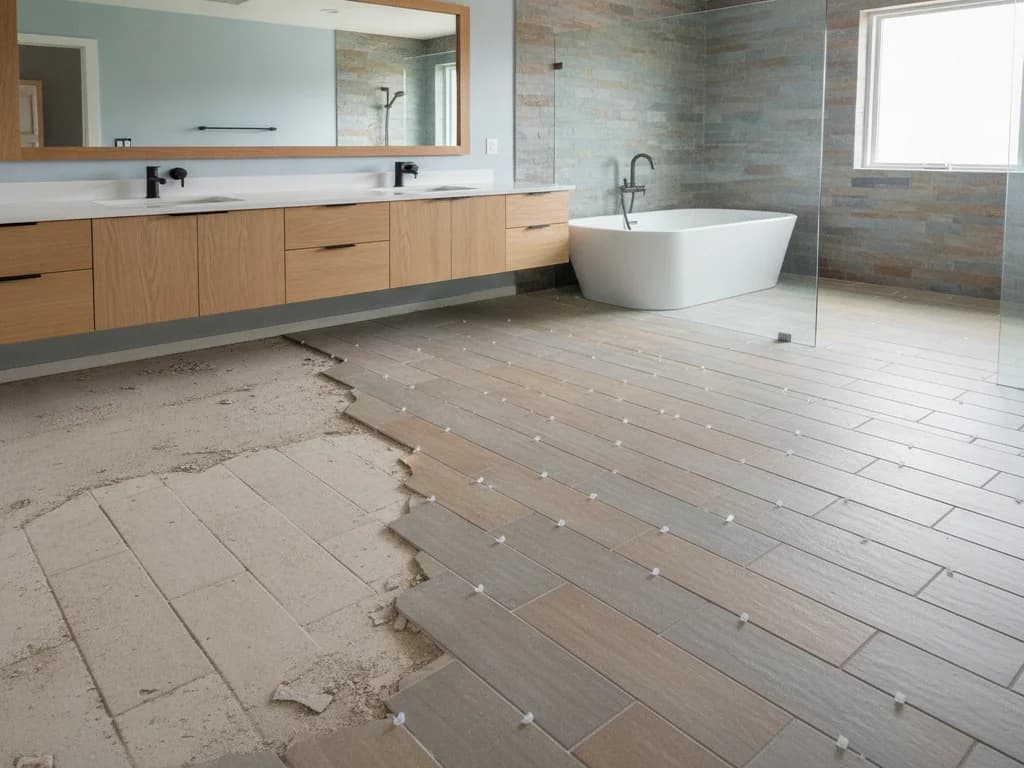
A wall-tile refresh stands perfectly well on its own — it is contained, dry-area work with no plumbing risk. But if the same bathroom has a shower rebuild, new flooring, or a vanity swap on the two-year horizon, sequencing matters: baseboards, trim, and paint all interlock with wall tile, and doing them piecemeal means paying twice for protection, setup, and touch-ups. One project gets you one demolition, one tile order with matched dye lots, and a room where the wainscot, floor, and shower actually talk to each other.
What the process looks like
- 1
Plan the layout and order the tile
Heights, trim profile, and pattern get decided first, and tile is ordered with overage — extra boxes cover cuts, breakage, and the future repair that keeps this tile matchable.
- 2
Protect the room and remove fixtures
Floors and fixtures are masked, and anything mounted on the tile — mirrors, towel bars, the vanity backsplash, sometimes the toilet tank — comes off or out of the work zone.
- 3
Demolish tile and backing
Tile and the drywall or plaster behind it come off to the studs in the tiled zone. Mastic-era tile takes the wall surface with it, so removal is planned as a rebuild, not a peel.
- 4
Rebuild the wall surface
New drywall or cement board is hung flat and true, seams taped and finished at the edges where tile will meet paint — flatness here is what makes the finished tile plane look sharp.
- 5
Set the tile
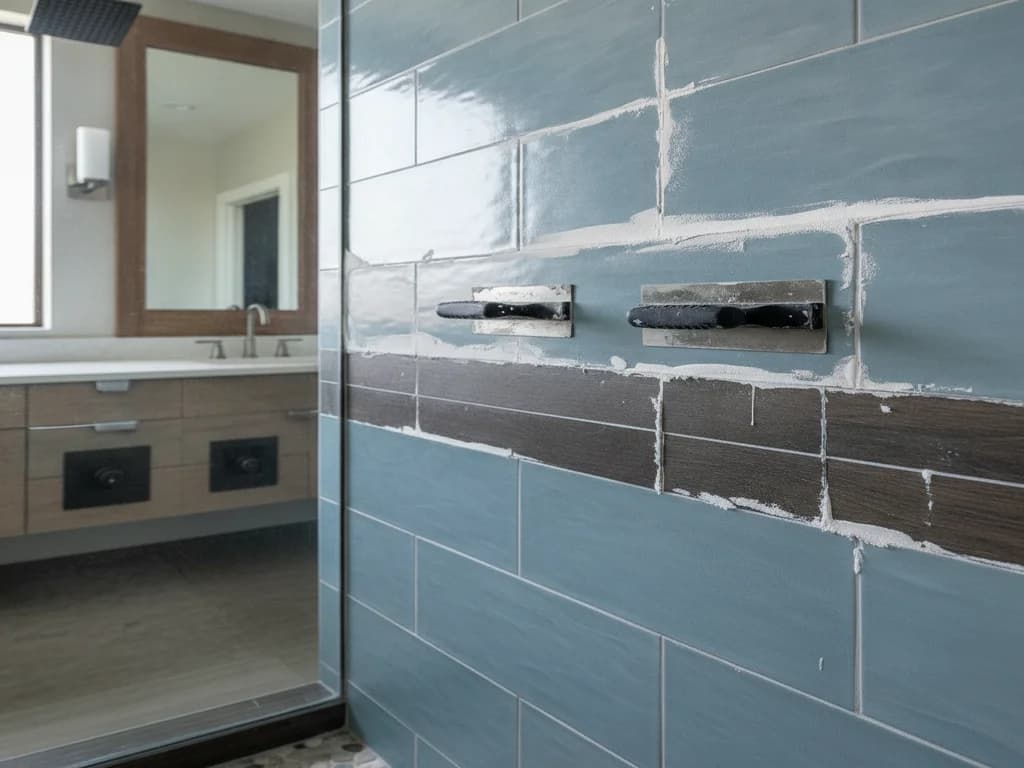
Layout lines go up first so the top course is a full tile, then the field is set in thinset with consistent joints, trim and edge profiles installed as the field reaches them.
- 6
Grout, caulk, and reinstall
Joints are grouted and cleaned, plane changes and the tile-to-counter or tile-to-floor lines get flexible sealant, and fixtures are remounted — with anchors appropriate for tile, not drywall guesses.
Ready to plan your Boise bathroom?
Licensed & insured · 3-year workmanship warranty
Frequently asked questions
- Can you tile over existing bathroom wall tile?
- It is physically possible on a sound, flat wall, but rarely the right call: it adds thickness at every edge, trim, and outlet, telegraphs any failure in the old bond, and leaves the dated tile entombed for the next owner to discover. Since dry-area demolition is straightforward, pros almost always remove the old tile and rebuild the backing.
- Does non-shower wall tile need waterproofing behind it?
- No. Wainscots, half-walls, and vanity backsplashes are dry-area finishes — standard drywall is acceptable backing under industry installation guidelines, and no membrane is required. Waterproofing rules apply to wet areas like showers and tub surrounds. Some installers still use moisture-resistant board near sinks as cheap insurance, which is reasonable but optional.
- How high should bathroom wainscot tile be?
- The classic range is roughly 36–48 inches, which covers the splash zone and suits most rooms. Taller wainscots of 54–60 inches read more traditional and pair well with pedestal sinks and freestanding tubs. The key layout rule: plan so the top course is a full tile with a deliberate trim cap, and put cut tiles at the floor.
- What does it cost to replace bathroom wall tile?
- Professionally installed wall tile commonly runs roughly $7–$25 per square foot for standard ceramic and porcelain per Angi and HomeAdvisor cost guides, plus demolition and new drywall behind it. Because a wainscot covers modest square footage, total project costs stay far below shower retiling — while changing the room’s look more than almost anything else.
- Will removing wall tile damage the drywall?
- Almost certainly, and pros plan for it. Tile adhesive bonds to the drywall’s paper face, so removal tears the surface and usually requires replacing the board in the tiled zone rather than patching it. In older plaster homes the demolition is heavier still. Treat backing replacement as part of the project cost, not a surprise.
Sources
- Tile Council of North America (TCNA)
- Angi — Cost Guides
- HomeAdvisor — True Cost Guide
- This Old House — Bathrooms
Claims and figures are drawn from the sources above and provided for general guidance; your project may vary. Photography is illustrative of design concepts. For a fixed price on your specific bathroom, request a free estimate.