Updated July 16, 2026 · 7 min read
By Boise Bath — bathroom & shower remodeling in Boise & the Treasure Valley
The short answer
Laminate fails in bathrooms because its wood-fiber core swells permanently when water reaches the seams — and in a bathroom, it always does. Replacing it with tile means removing the floating floor, drying and repairing the subfloor beneath, then building a proper tile base of backer board or uncoupling membrane before setting a floor that water cannot touch.
Key takeaways
- Laminate’s core is compressed wood fiber — once it swells at the seams, the damage is permanent, not something that flattens back out as it dries.
- Bathrooms attack laminate at its weakest points: seams, cut edges at the toilet and tub, and the unsealed perimeter under the baseboards.
- Swollen laminate is usually the visible symptom of a wet subfloor — the tear-out doubles as a damage inspection.
- Porcelain tile is the opposite failure profile: the material itself is unaffected by standing water.
- The conversion is mostly substrate work — the laminate comes out in hours, and the tile base is what takes the skill.
Why does laminate fail in bathrooms?
Laminate flooring is a photograph of wood glued to a core of compressed wood fiber — HDF, essentially dense cardboard’s tougher cousin. The wear layer on top is genuinely durable; the core is the problem. Wood fiber absorbs water and swells, and unlike solid wood, it does not shrink back when it dries. Every swollen edge is permanent.
A bathroom delivers water to exactly the places laminate cannot defend: the seams between planks, the cut edges around the toilet and tub where the factory sealing is gone, and the perimeter under the baseboards where splash and mop water wick in. It is not a question of whether a bathroom laminate floor meets water at its edges — only when, and how often.
This is why laminate sits at the bottom of every serious bathroom flooring ranking, including our own comparison of the best bathroom flooring options. Builders and flippers still install it in bathrooms for one reason: it is cheap and matches the hallway. Homeowners replace it for all the others.
What do the failure signs look like?
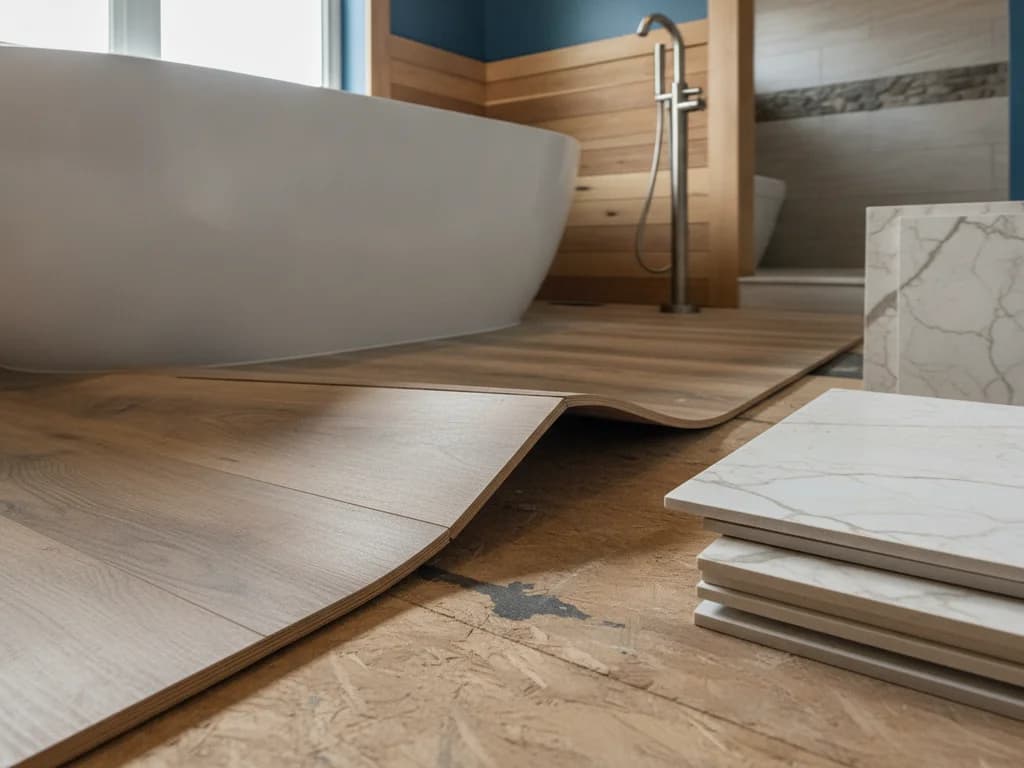
Laminate announces water damage in a recognizable sequence. First the seams: edges that catch your sock, a faint ridge where planks meet — called peaking — as the swollen cores press against each other. Then visible swelling, especially around the toilet base and along the tub. Then the surface itself: bubbling, a wear layer that delaminates at the corners, planks that click or shift underfoot as swollen joints lose their grip.
The end stage is soft spots — flex you can feel, which usually means the water has moved past the laminate and into the subfloor below. At that point the flooring is the least of it; the checklist in signs of bathroom water damage covers what else to look for before the tear-out confirms it.
"Water-resistant" laminate is not bathroom-proof
Newer laminates advertise 24- or 72-hour surface water resistance. That rating describes a topside spill wiped up in time — not steam, not perimeter wicking, not a slow toilet-seal weep reaching the core from below. In a full bathroom, the failure mode is unchanged; only the clock is slower.
What is hiding under failed laminate?
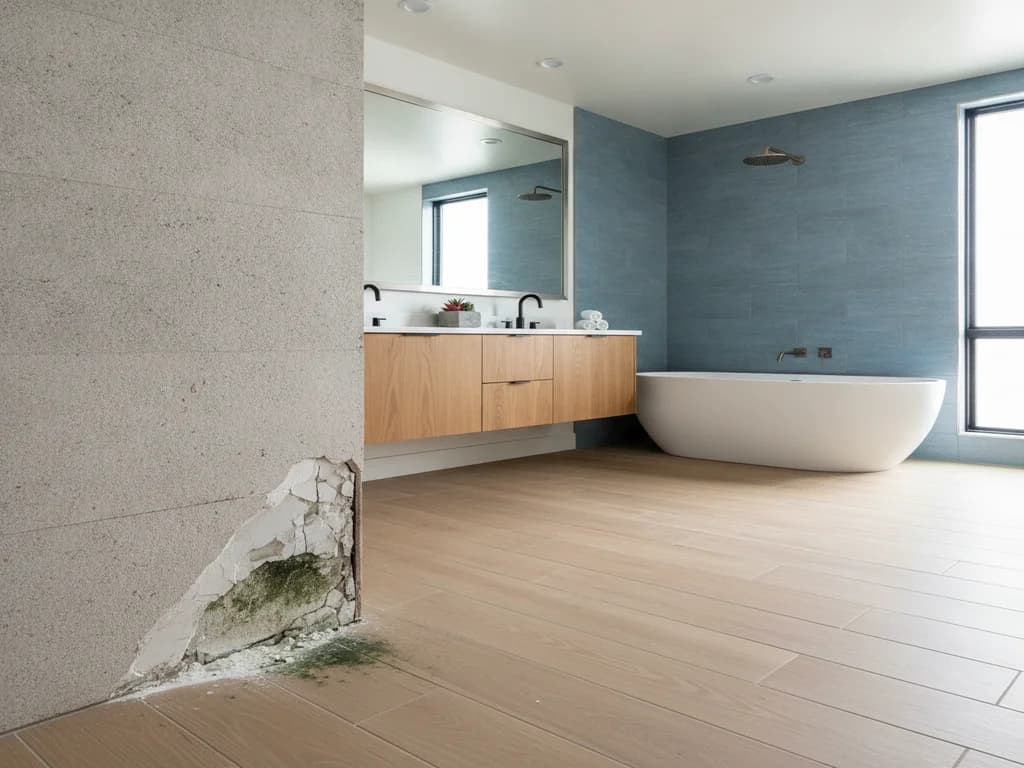
Because laminate floats on a foam pad, water that gets through the seams spreads underneath it unseen — the pad holds moisture against the subfloor like a poultice. It is common for the tear-out to reveal staining or damp OSB well beyond the visibly swollen planks.
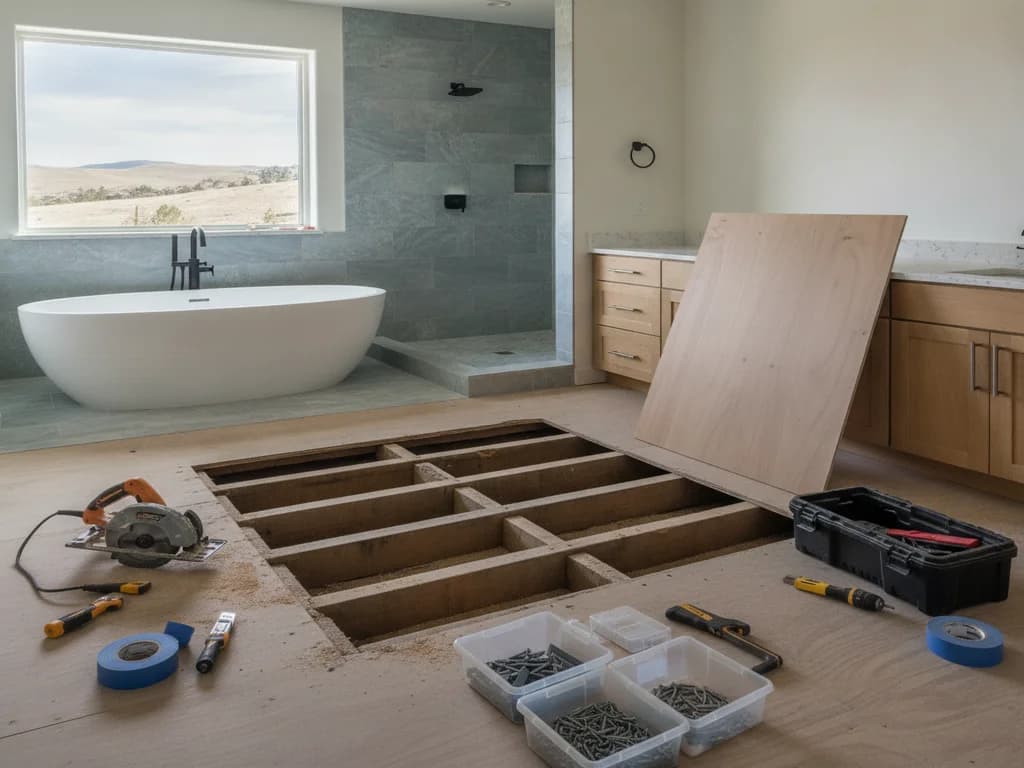
This is why the conversion is scoped with a contingency for subfloor work. Minor staining that has dried gets refastened and moves on; genuine damage means patching or sheet replacement, covered in replacing a bathroom subfloor. If the moisture has been at work for years — a slow leak nobody caught — the scope can extend to framing, which is the territory of replacing a rotten bathroom floor. Finding it now, with the floor already open, is the cheap version of that discovery.
Why is tile the natural upgrade?
Tile is laminate’s opposite in the one dimension a bathroom tests. Porcelain absorbs almost no water — the material is fired glass-hard and simply does not care about standing water, steam, or humidity. Where laminate fails at its seams, a grouted and sealed tile floor is designed as a continuous surface; where laminate’s damage is permanent, tile’s weak points (grout, caulk joints) are maintainable and renewable for decades.
It also solves the aesthetic problem that got the laminate installed in the first place: today’s wood-look porcelain planks give the wood-floor continuity people wanted, in a material that belongs in a wet room. And unlike laminate, tile takes electric floor heat — worth considering while the floor is open, as our heated bathroom floor guide lays out.
The one honest caveat: tile demands more of the structure beneath it than a floating floor ever did. That is where the real work of the conversion lives.
What does the laminate-to-tile conversion involve?
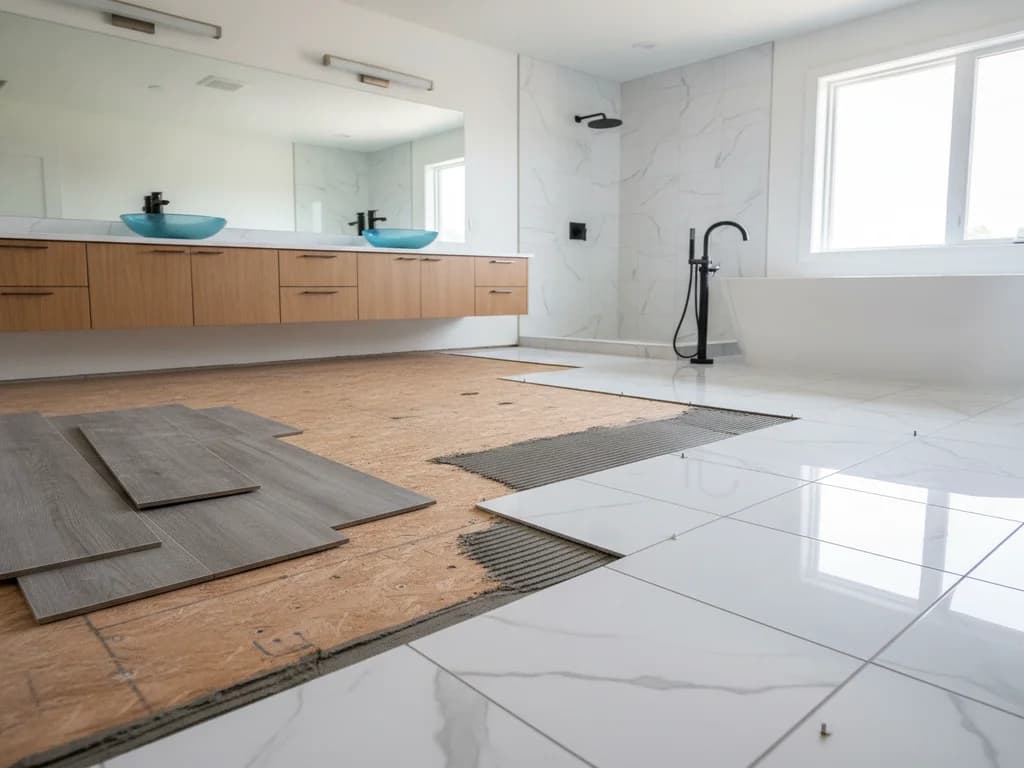
The removal is the fast part. Floating laminate unclicks and stacks, the foam pad rolls up, and a typical bathroom is down to subfloor in a couple of hours — the toilet coming out first so the new floor can run beneath it, per the details in replacing the bathroom floor under a toilet.
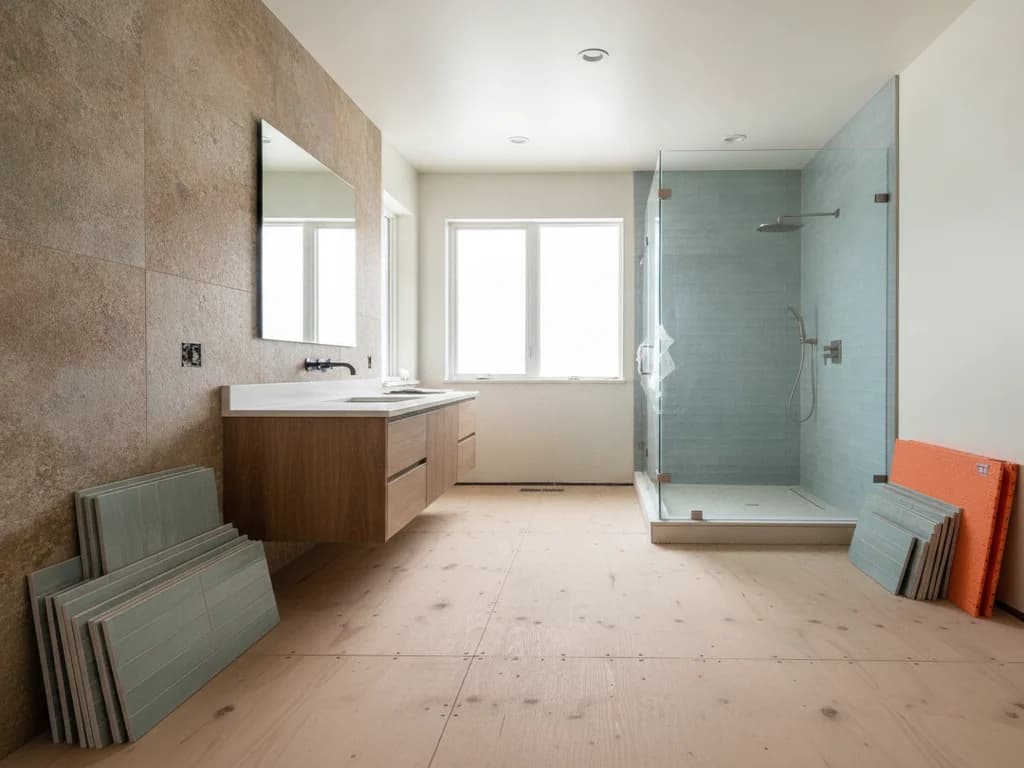
Then the floor is rebuilt for a rigid finish. The subfloor is dried, repaired, refastened, and flattened; tile industry standards from the Tile Council of North America set stiffness and flatness requirements that a floating floor never imposed. Cement backer board or an uncoupling membrane goes down as the setting base, and from there it is a standard professional tile installation — set, cure, grout, seal.
Height changes less than you might expect: laminate with its pad runs about a half inch, and a tile assembly lands in the same neighborhood, so doors and transitions usually need only minor adjustment. The process shares its bones with our umbrella guide to bathroom floor replacement; what is distinct here is the moisture investigation and the substrate upgrade.
What does the upgrade cost, and when is it worth it?
Tile costs more than the laminate did — that is the point, and the honest framing. Cost guides such as Angi and HomeAdvisor put installed ceramic and porcelain floor tile in a broad range of roughly $10–$25+ per square foot depending on tile and prep, with subfloor repairs as the wildcard a fixed number cannot capture. In a bathroom-sized room, minimum job pricing matters more than the per-foot rate.
When is it worth it? Almost always, if the laminate has already failed — reinstalling the material that just proved itself wrong in this room is a two-to-five-year subscription to this problem. If the laminate is intact but you are remodeling anyway, converting while the room is open is far cheaper than a standalone job later. Picking the right tile is its own decision; start with how to choose bathroom tile.
What the process looks like
- 1
Pull the toilet and lift the laminate
The toilet comes out first, then the floating floor unclicks and stacks — typically the fastest tear-out in flooring. The foam pad comes up with it, along with the baseboards or shoe molding.
- 2
Assess the moisture picture
The exposed subfloor is checked for damp, staining, and soft spots — especially under where the swelling showed and around the toilet flange. The source of any water gets identified before anything new goes down.
- 3
Repair and stiffen the subfloor
Damaged sections are cut out and replaced, the field is refastened flat and squeak-free, and the structure is verified against tile stiffness standards — a check a floating floor never required.
- 4
Build the tile setting base
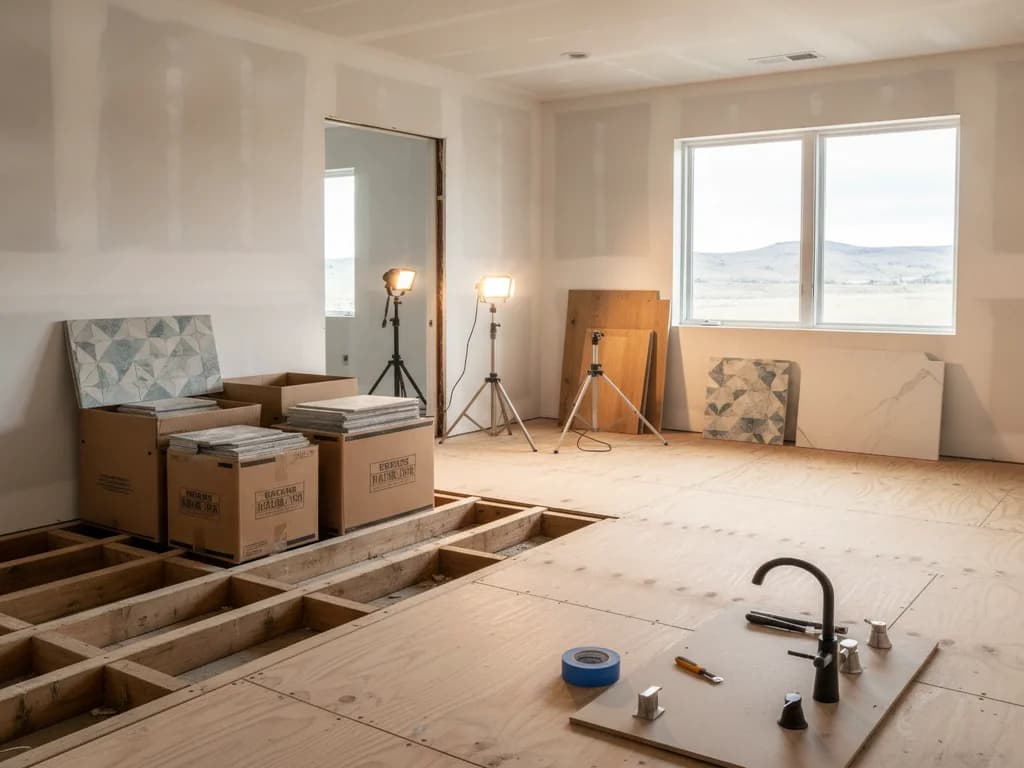
Cement backer board or an uncoupling membrane is bedded per manufacturer specs, giving the tile the rigid, flat, bond-ready surface its longevity depends on.
- 5
Set, grout, and seal the tile
The layout is dry-fit, the tile set with full mortar coverage, then grouted after cure and sealed — with perimeter joints kept flexible so the floor can live with seasonal movement.
- 6
Reset the toilet and close the perimeter
The flange is matched to the new floor height and the toilet reset on a fresh seal. Transitions, trim, and a sealed caulk line at the tub finish the room watertight at its edges.
Ready to plan your Boise bathroom?
Licensed & insured · 3-year workmanship warranty
Frequently asked questions
- Can you install tile directly over laminate flooring?
- No. Laminate is a floating floor — it moves, flexes, and is not bonded to anything, which makes it an impossible base for a rigid, bonded finish like tile. It also may be hiding subfloor moisture that needs addressing. Fortunately, removal is quick: floating laminate comes up in hours, not days.
- Will swollen laminate flatten out once it dries?
- No — this is the defining weakness of the material. The wood-fiber core expands when wet and stays expanded when dry, so peaked seams and swollen edges are permanent. Once a bathroom laminate floor shows swelling, the choice is living with it or replacing it; there is no recovery.
- How long does a laminate-to-tile bathroom conversion take?
- Typically three to five working days: a fast tear-out, then subfloor drying and repair as needed, substrate installation, and the set-cure-grout sequence tile requires. Significant subfloor damage is the main variable — a wet, rotted section can add days, which is exactly why it should be found now rather than tiled over.
- Is water-resistant laminate okay for a half bath?
- A powder room with no tub or shower is laminate’s most survivable bathroom — less steam, less standing water. It can be a reasonable budget choice there if the perimeter and toilet cutout are carefully sealed. But the toilet seal remains the classic slow-failure point, and tile or vinyl removes the gamble entirely.
- Does replacing laminate with tile add value?
- In bathrooms, generally yes — buyers and inspectors read laminate in a wet room as a deferred problem, while tile reads as done right. Remodeling-impact research from groups like NAHB consistently shows bathroom finish quality influencing buyer perception. The bigger return is avoiding the water-damage repair the laminate was queuing up.
Sources
- National Association of Home Builders (NAHB)
- Tile Council of North America (TCNA)
- This Old House — Bathrooms
- Angi — Cost Guides
Claims and figures are drawn from the sources above and provided for general guidance; your project may vary. Photography is illustrative of design concepts. For a fixed price on your specific bathroom, request a free estimate.